How to Check Purchase History on Apple App Store
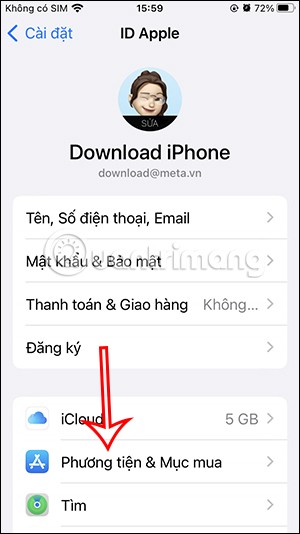
Through your purchase history on the App Store, you will know when you downloaded that app or game, and how much you paid for the paid app.
Taking a screenshot of an iPhone is similar to taking a screenshot of a computer screen , which will help you save important content. This article will guide you through how to take a screenshot of an iPhone on all versions from iPhone 5, 5s, 6, 6s, 7, 7 Plus, 8/8 Plus to iPhone X, Xr, Xs, iPhone 11, iPhone 12.
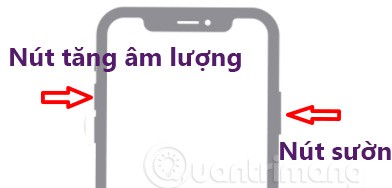
iPhone X, iPhone XR, iPhone XS / Phone XS Max, iPhone 11, iPhone 11 Pro, iPhone 11 Pro Max, iPhone 12 are devices that have removed the Home button. To take a screenshot on these iPhones, do the following:
Step 1: Simultaneously press and release the side button and the volume up button .
Step 2: Tap the screenshot in the lower left corner, edit if needed, then tap Done .
Step 3: Save to Photos/Files or share, delete iPhone screenshot.
iPhone 8 and earlier are iPhones with a hard Home button. To take a screenshot on these iPhones, press and then release the Home button and the Power button at the same time (iPhone 4, 5) or the Home button and the side button (iPhone 6, 7, 8).
Then follow steps 2 and 3 above.
If you often have to take screenshots on your iPhone, you can add this feature to your virtual Home button operations to take screenshots faster.
Step 1: Turn on the virtual Home button
Step 2: Access virtual Home settings:
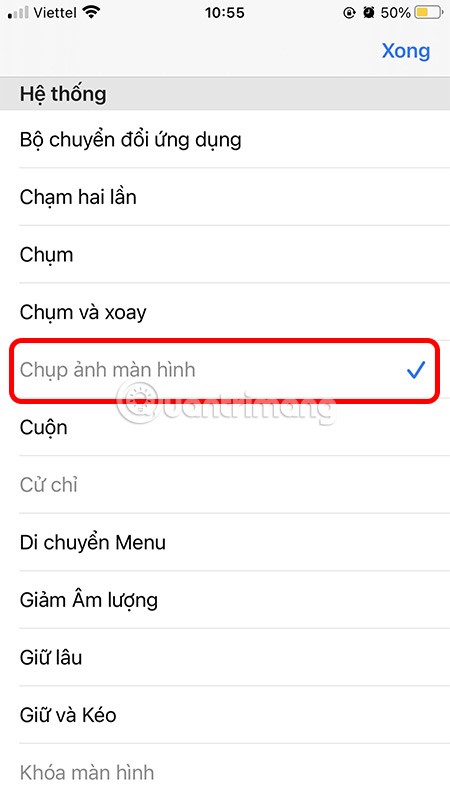
Step 3: Click on Double tap to select the task to perform. A list of tasks will appear for the user to choose from, click on Take screenshot . So when you want to take a screenshot, just double-click the virtual Home button icon to take a screenshot .
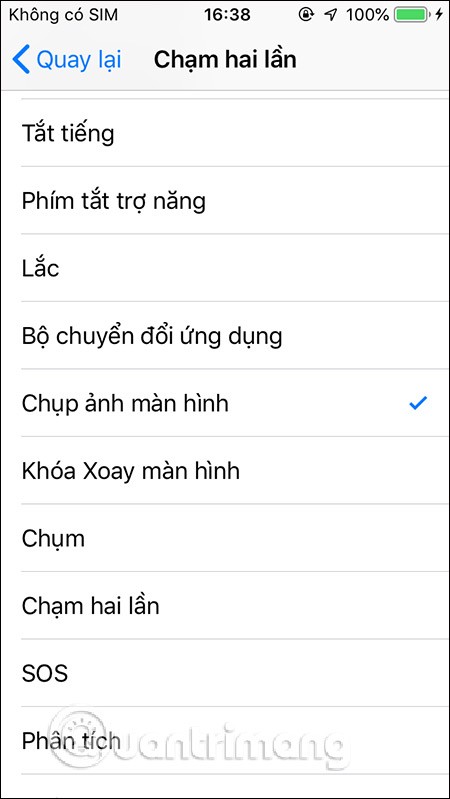
The operation of taking a screenshot of the iPhone screen by double-tapping the virtual Home button is applied to most current iPhone models.
If you are afraid of using the hardware keys and do not need to take screenshots too often, you can add the iPhone screenshot feature to the virtual Home button.
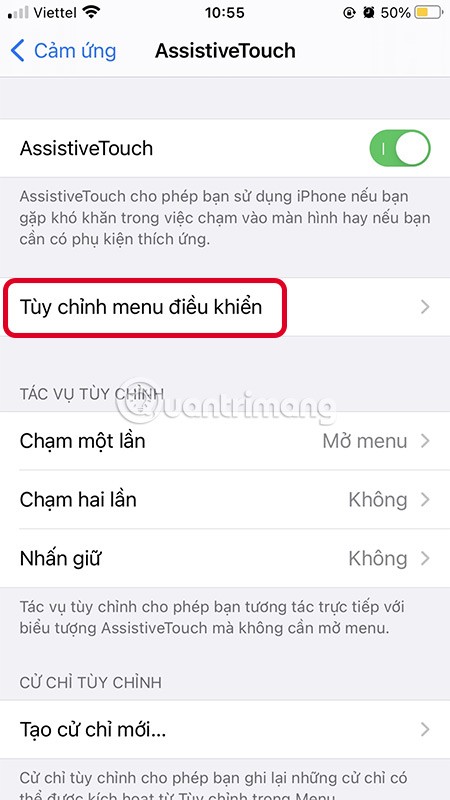
Step 1: Go to virtual Home button settings (AssistiveTouch)
Step 2: Select Customize control menu
Step 3: Click on any icon then select Take Screenshot from the list that appears.
Step 4: To take a screenshot of your iPhone, click on the virtual Home button , select Take a screenshot .
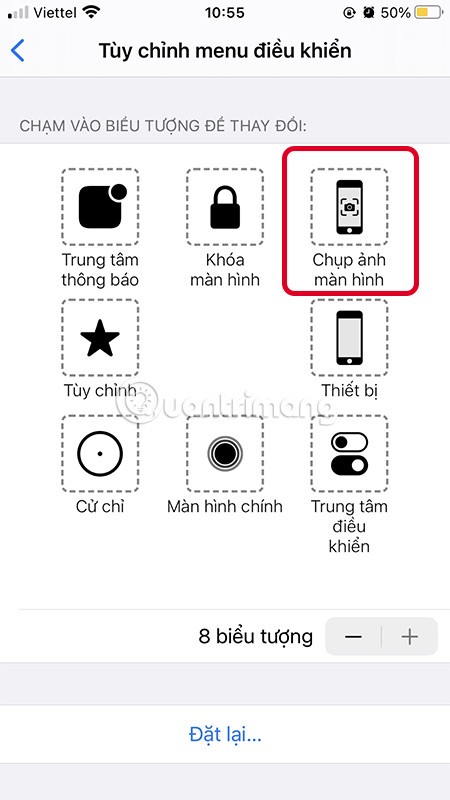
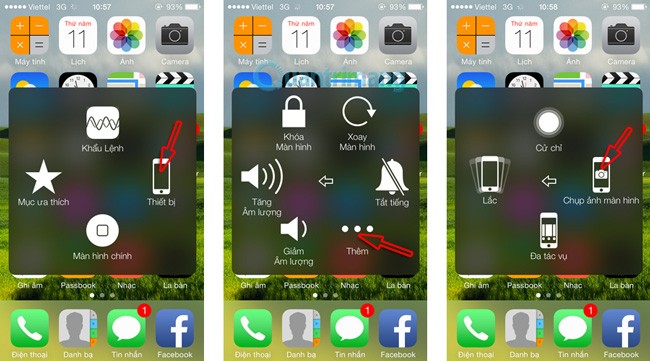
On older iOS, after enabling the virtual Home button, simply tap on the virtual Home, select Device > select More > Take a screenshot . The photo will also be saved to the Camera Roll folder in *.PNG format:
It's simple and easy, isn't it?
5. Take a screenshot by tapping the back
Since iOS 14, Apple has added the Back Tap function , you can use this feature to take screenshots by tapping the back of the device without having to do too much.
Setting up the back tap feature to take a screenshot is also very easy. Just go to Settings > Accessibility > Touch > Tap on back > Double tap/Triple tap > Take screenshot.
Once set up, you can now double-tap the back of your device to quickly take a screenshot. Note that this feature only supports iPhone 8 and later running Apple's latest operating system, iOS 14.
Good luck!
Through your purchase history on the App Store, you will know when you downloaded that app or game, and how much you paid for the paid app.
iPhone mutes iPhone from unknown callers and on iOS 26, iPhone automatically receives incoming calls from an unknown number and asks for the reason for the call. If you want to receive unknown calls on iPhone, follow the instructions below.
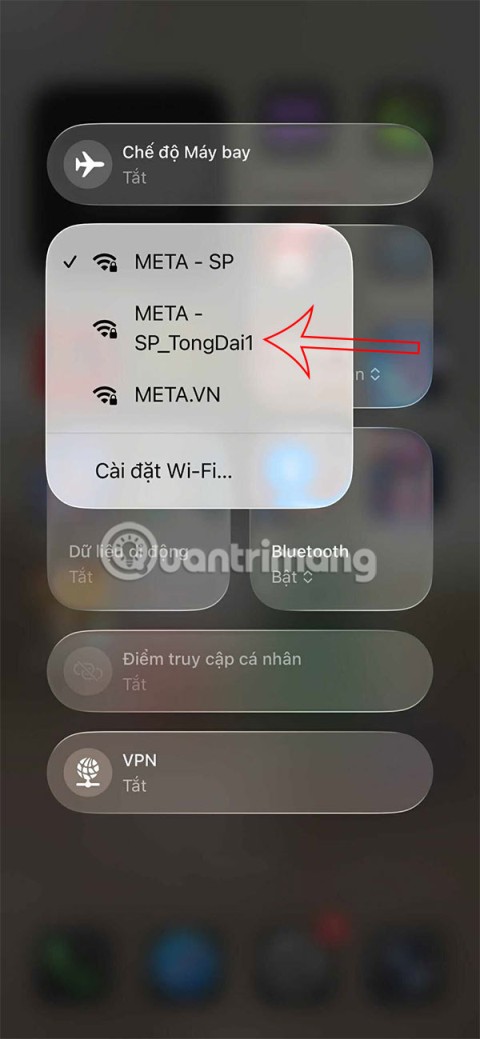
Apple makes it easy to find out if a WiFi network is safe before you connect. You don't need any software or other tools to help, just use the built-in settings on your iPhone.
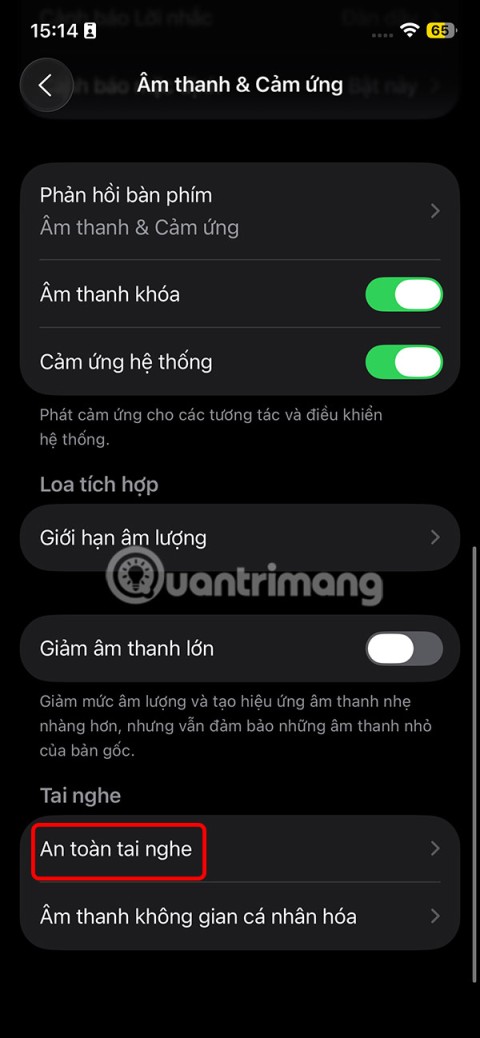
iPhone has a speaker volume limit setting to control the sound. However, in some situations you need to increase the volume on your iPhone to be able to hear the content.
ADB is a powerful set of tools that give you more control over your Android device. Although ADB is intended for Android developers, you don't need any programming knowledge to uninstall Android apps with it.
You might think you know how to get the most out of your phone time, but chances are you don't know how big a difference this common setting makes.
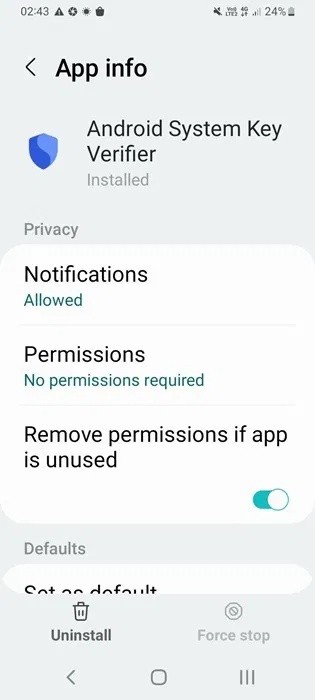
The Android System Key Verifier app comes pre-installed as a system app on Android devices running version 8.0 or later.
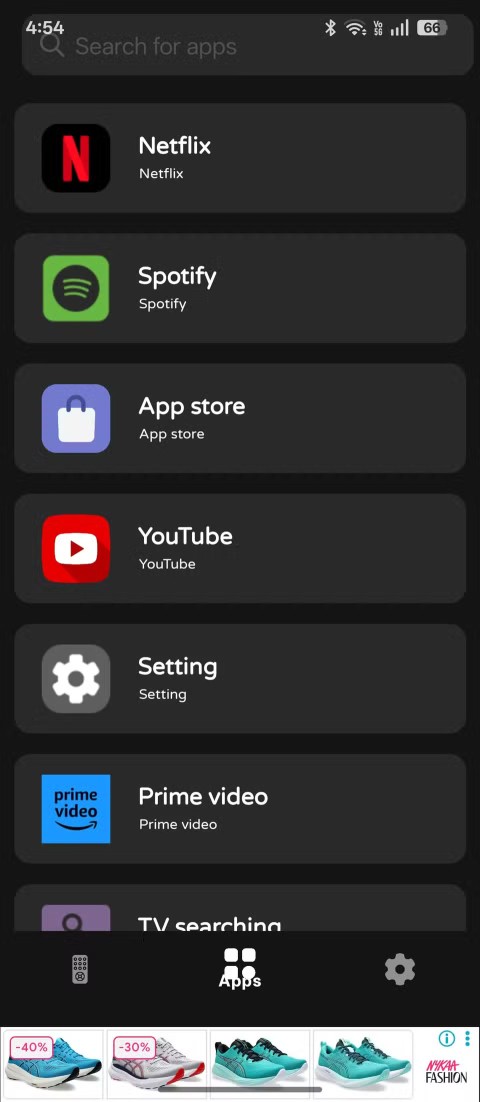
Despite Apple's tight ecosystem, some people have turned their Android phones into reliable remote controls for their Apple TV.
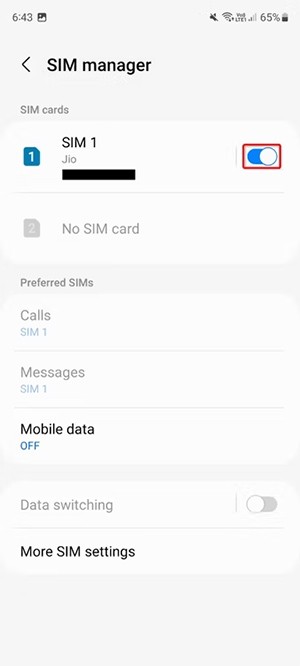
There are many reasons why your Android phone cannot connect to mobile data, such as incorrect configuration errors causing the problem. Here is a guide to fix mobile data connection errors on Android.
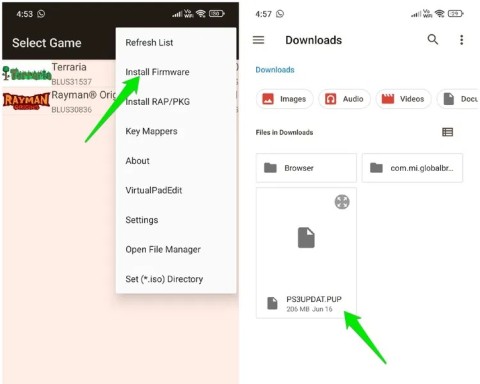
For years, Android gamers have dreamed of running PS3 titles on their phones – now it's a reality. aPS3e, the first PS3 emulator for Android, is now available on the Google Play Store.
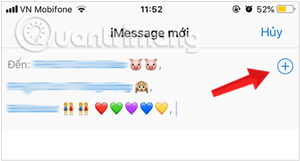
The iPhone iMessage group chat feature helps us text and chat more easily with many people, instead of sending individual messages.
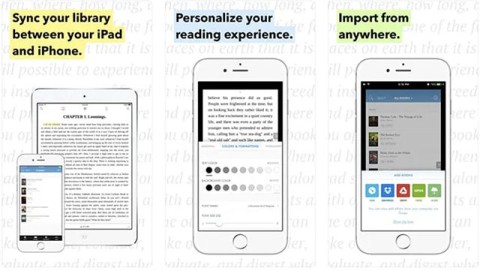
For ebook lovers, having a library of books at your fingertips is a great thing. And if you store your ebooks on your phone, you can enjoy them anytime, anywhere. Check out the best ebook reading apps for iPhone below.
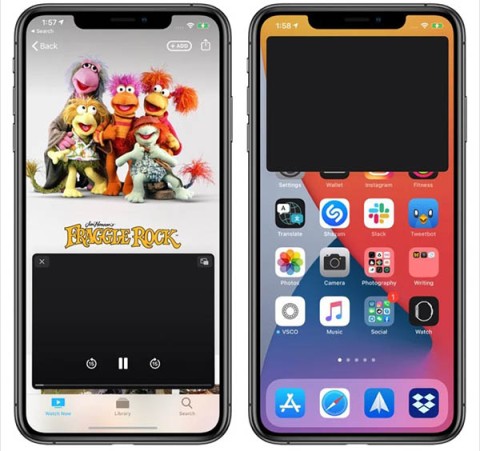
You can use Picture in Picture (PiP) to watch YouTube videos off-screen on iOS 14, but YouTube has locked this feature on the app so you cannot use PiP directly, you have to add a few more small steps that we will guide in detail below.
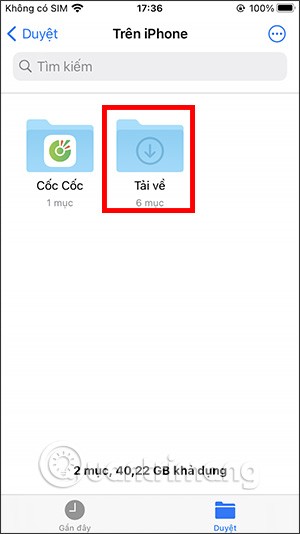
On iPhone/iPad, there is a Files application to manage all files on the device, including files that users download. The article below will guide readers on how to find downloaded files on iPhone/iPad.
If you really want to protect your phone, it's time you started locking your phone to prevent theft as well as protect it from hacks and scams.
