Summary of new updates for the Photos app since iOS 18
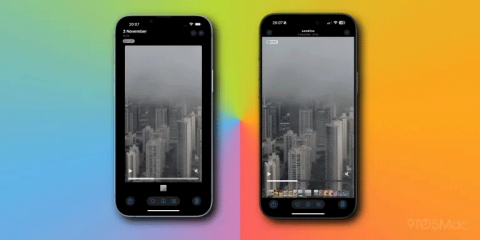
As part of iOS 18, Apple announced the biggest redesign ever for the Photos app.
The Photos app on your iPhone is more than just a place to store your memories. If you're new to iOS or unfamiliar with Apple's Photos app, check out these tips and tricks to quickly master the app.
1. Organize photos using Albums
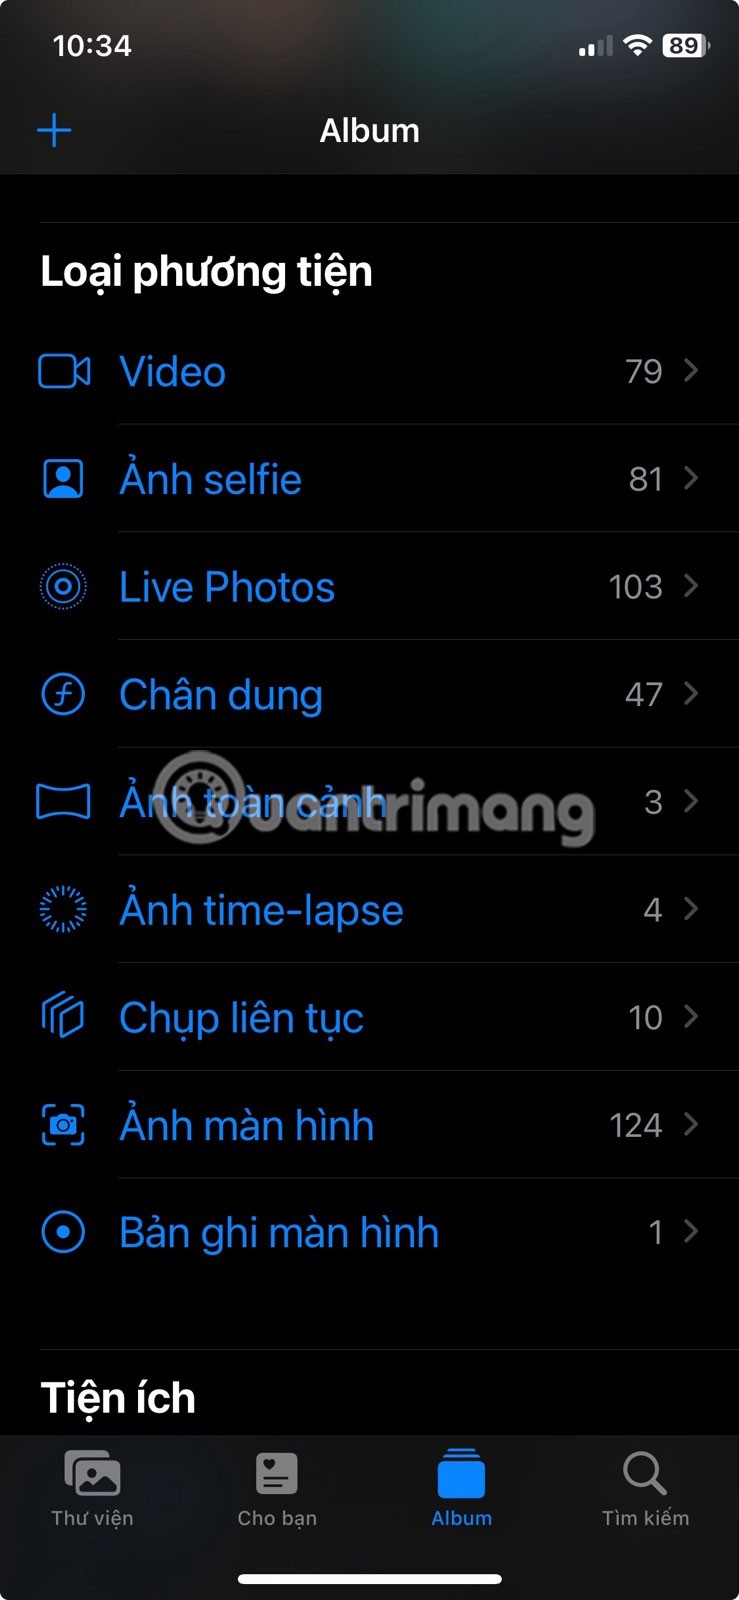
You can easily organize your photos into albums in the Photos app. This makes it easier to find and access the images you want without having to scroll through clutter.
To create a new album, follow these steps:
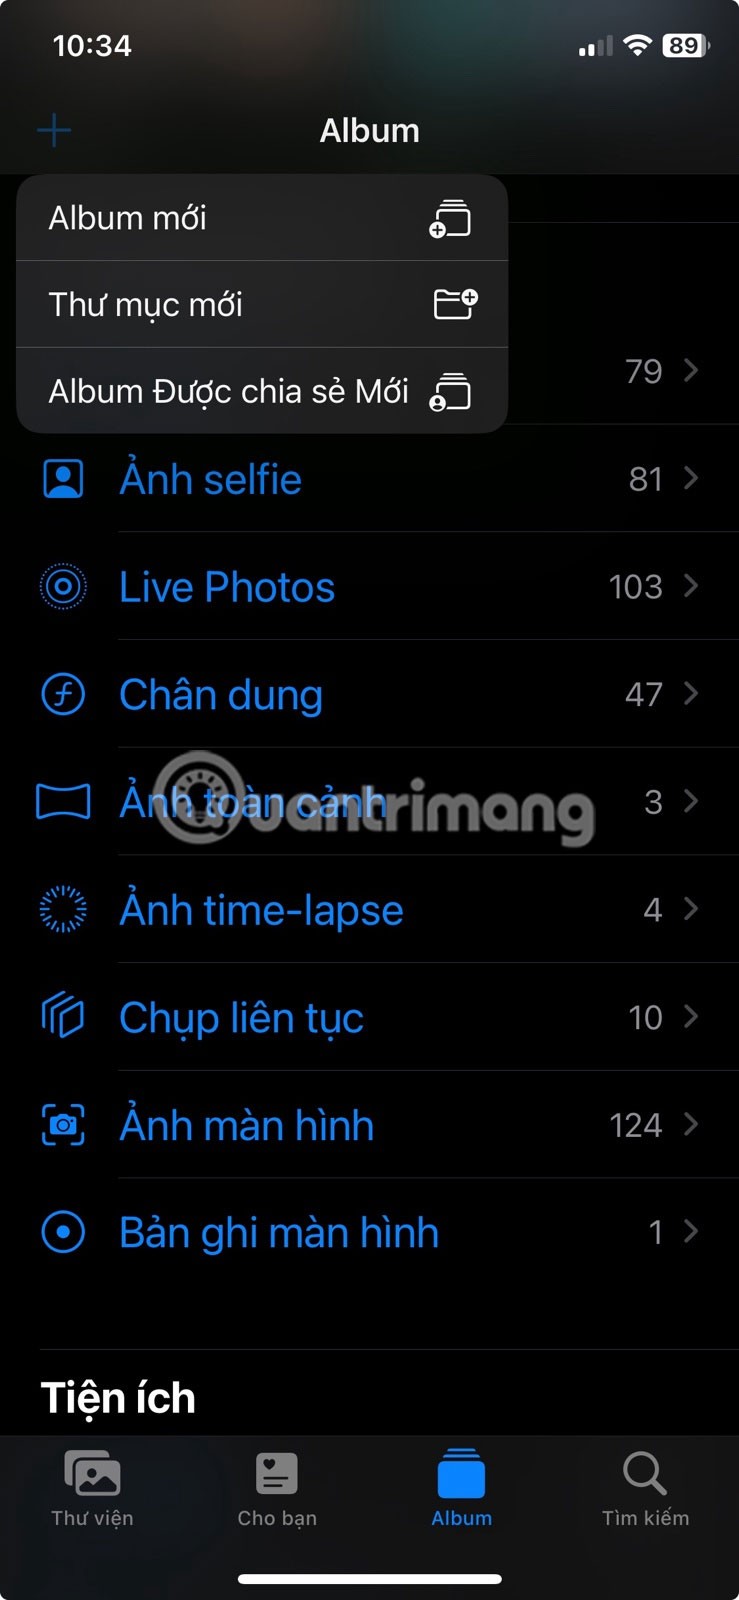
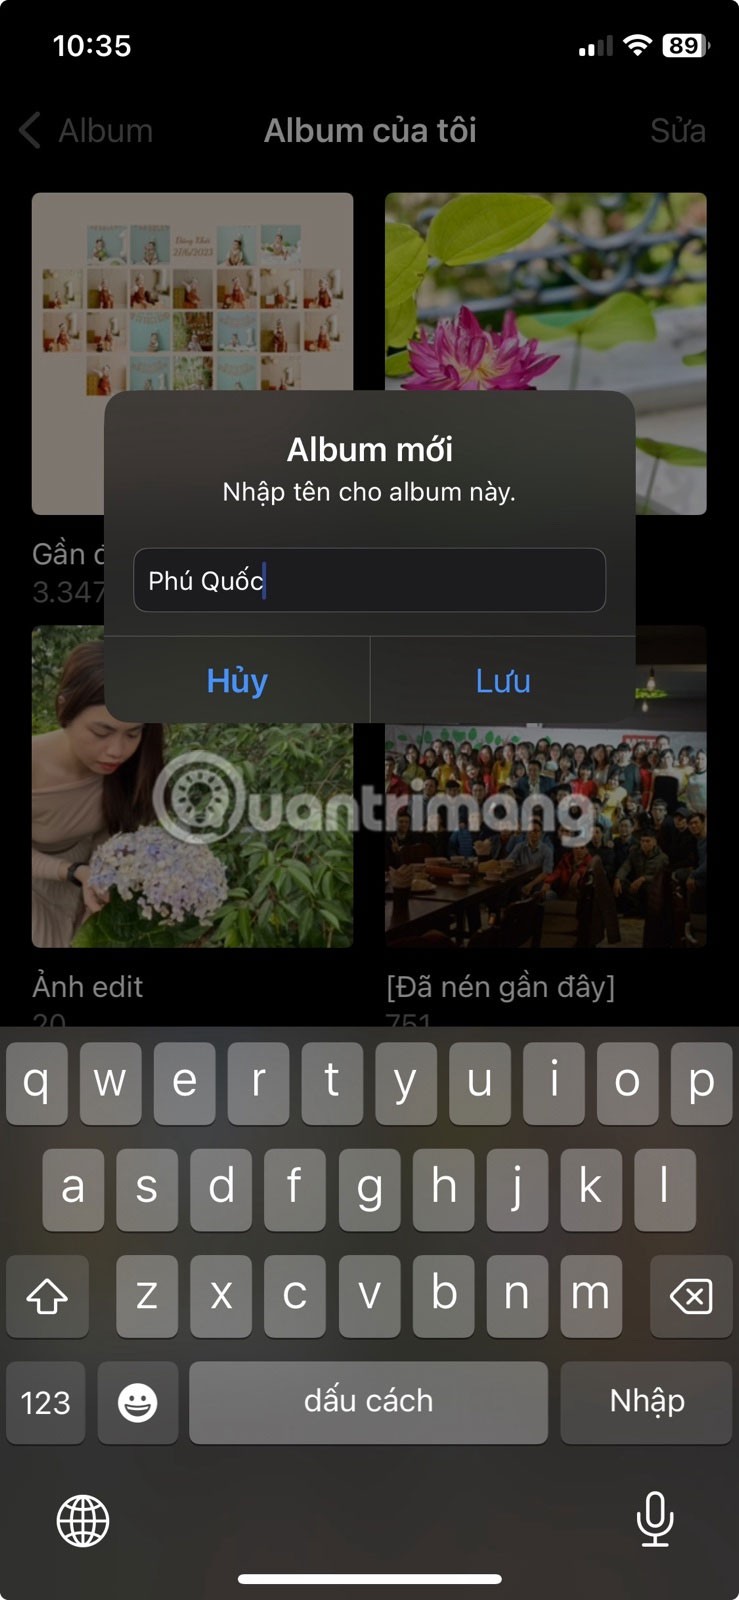

You can also edit or delete this album at any time by opening it and tapping the ellipsis icon (...) in the upper right corner.
2. Search for photos by keyword or category
The search feature in the Photos app works like a mini search engine. Just type in a keyword or phrase and it will instantly show you all the relevant images. You can further refine your search by using categories like screenshots, selfies, live photos, or even specific content within an image. Here’s how:
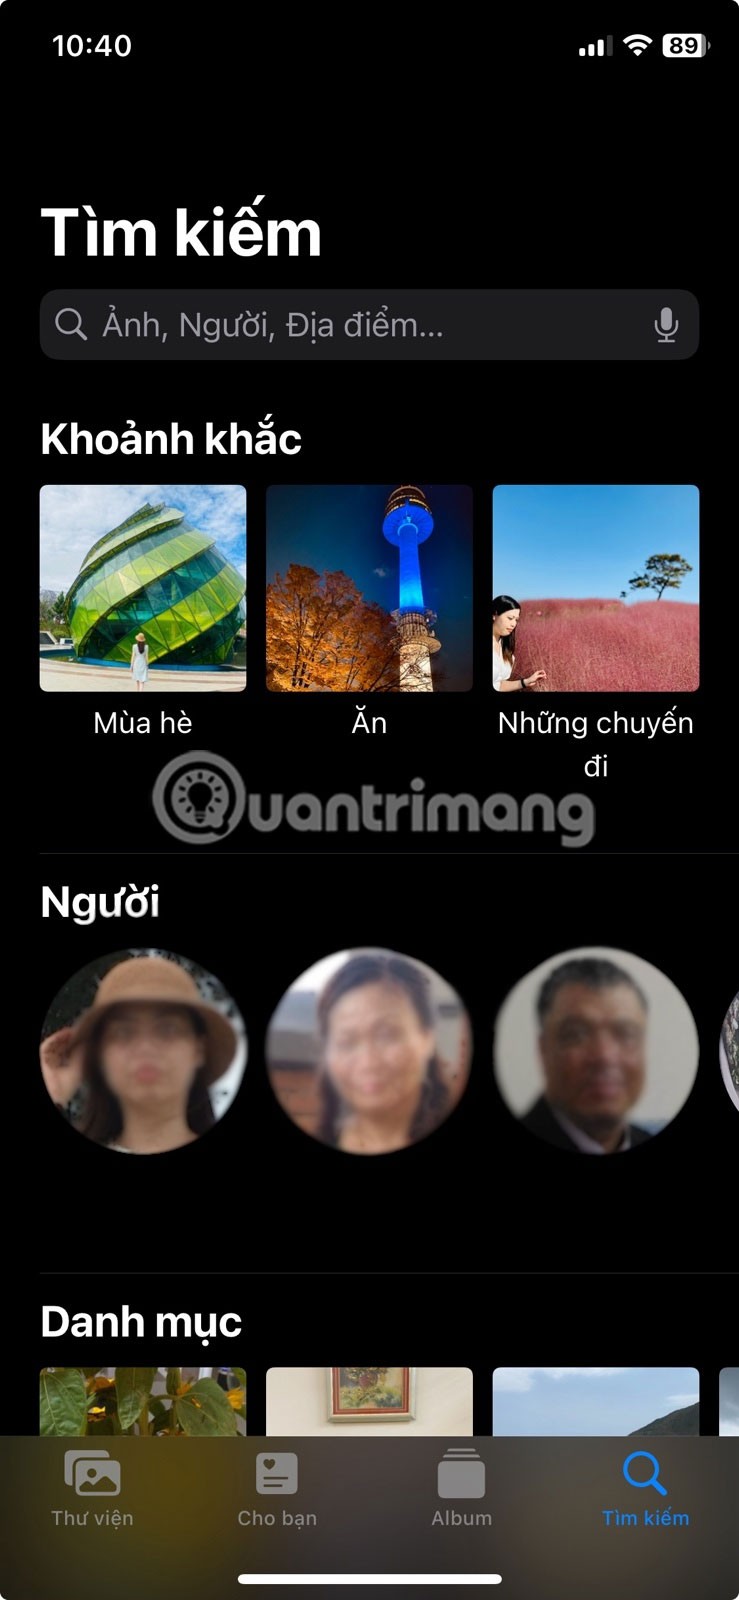
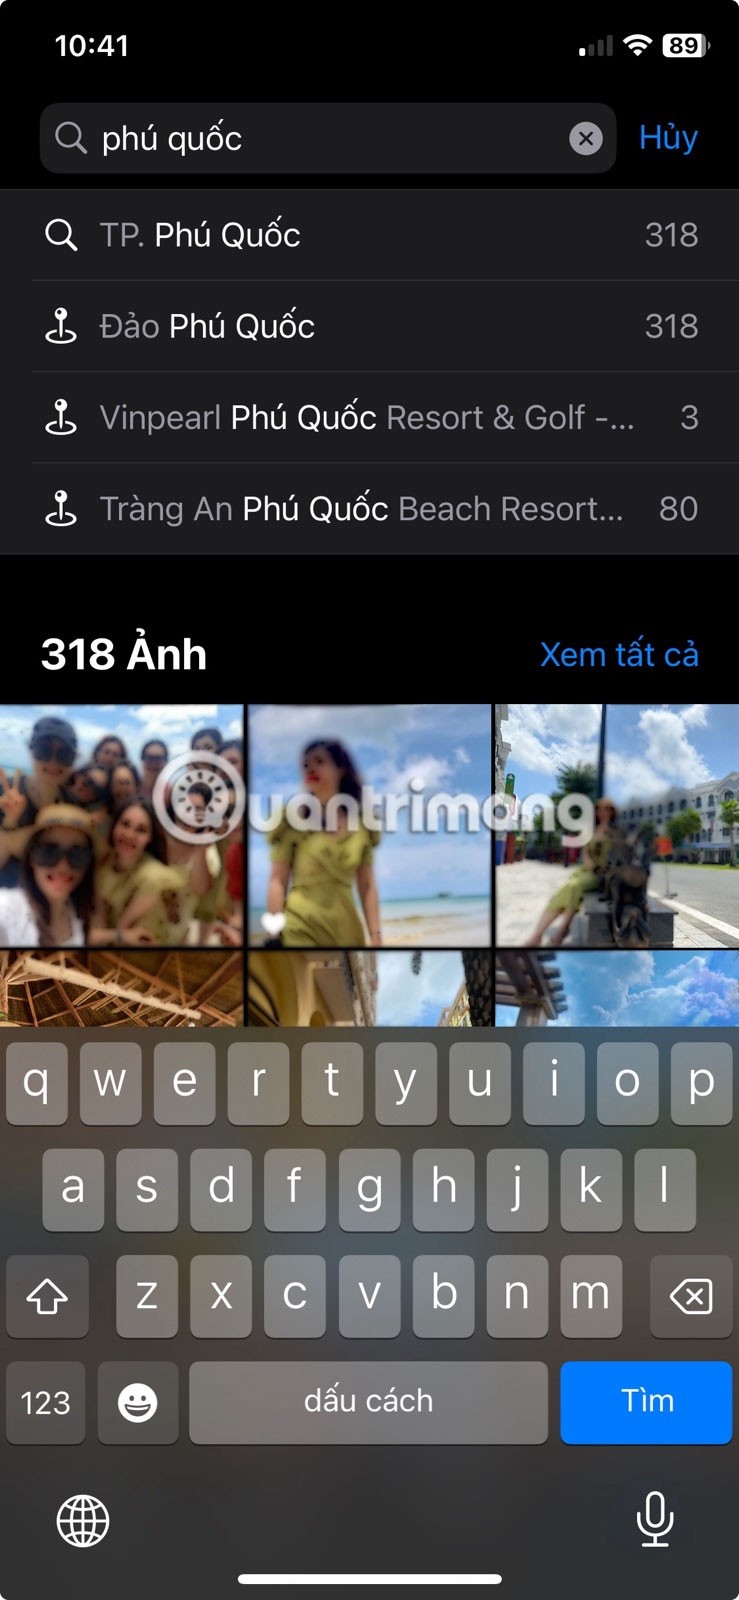
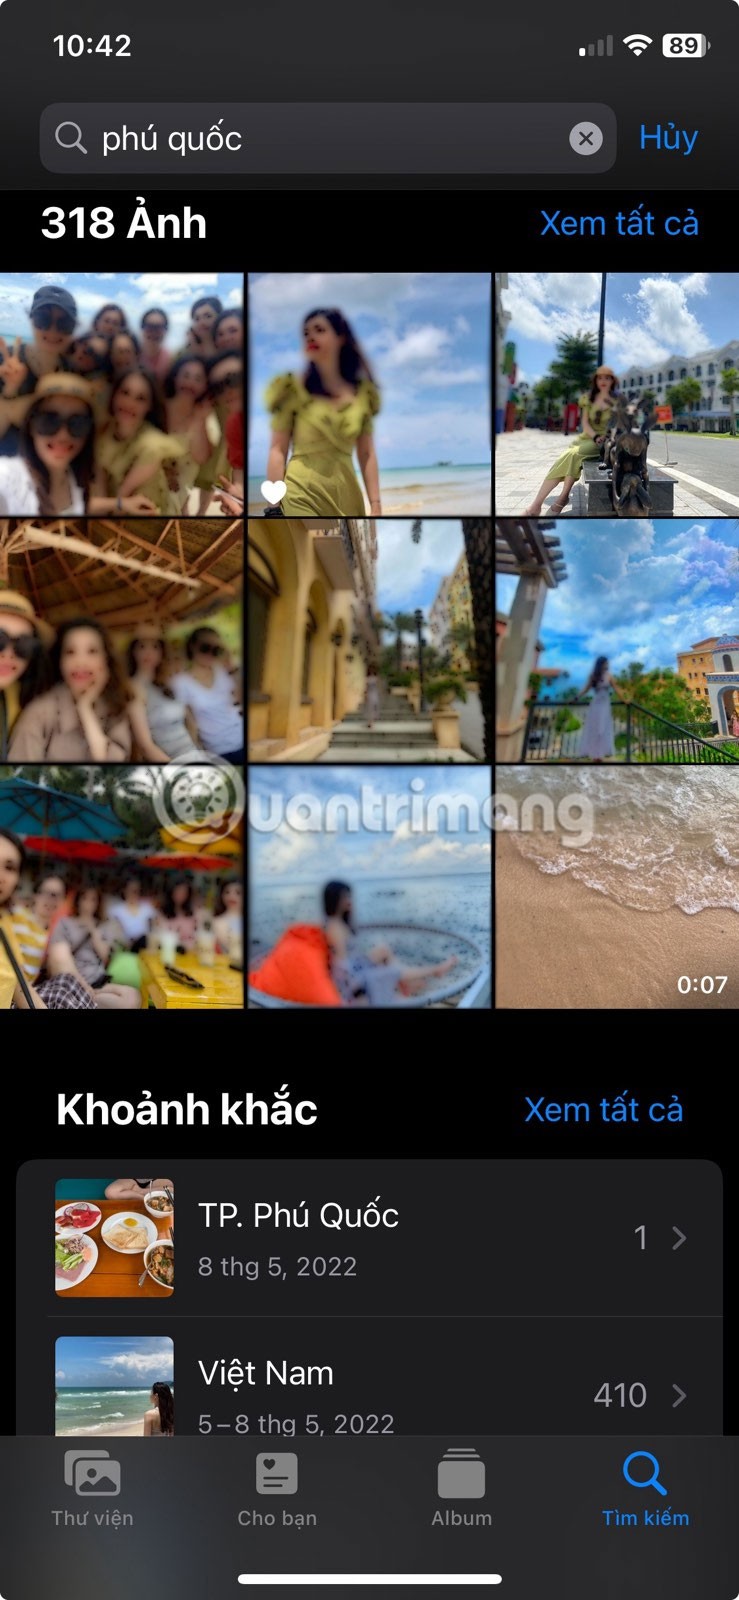
Additionally, results can be filtered based on specific dates, locations, or people.
3. Adjust the date, time and location of the image
The Photos app automatically organizes photos based on date and location data, though you can adjust this information manually if needed. This is useful for old photos or for finding images from different locations later.
To view the metadata of a photo on iPhone and then edit it, follow these steps:

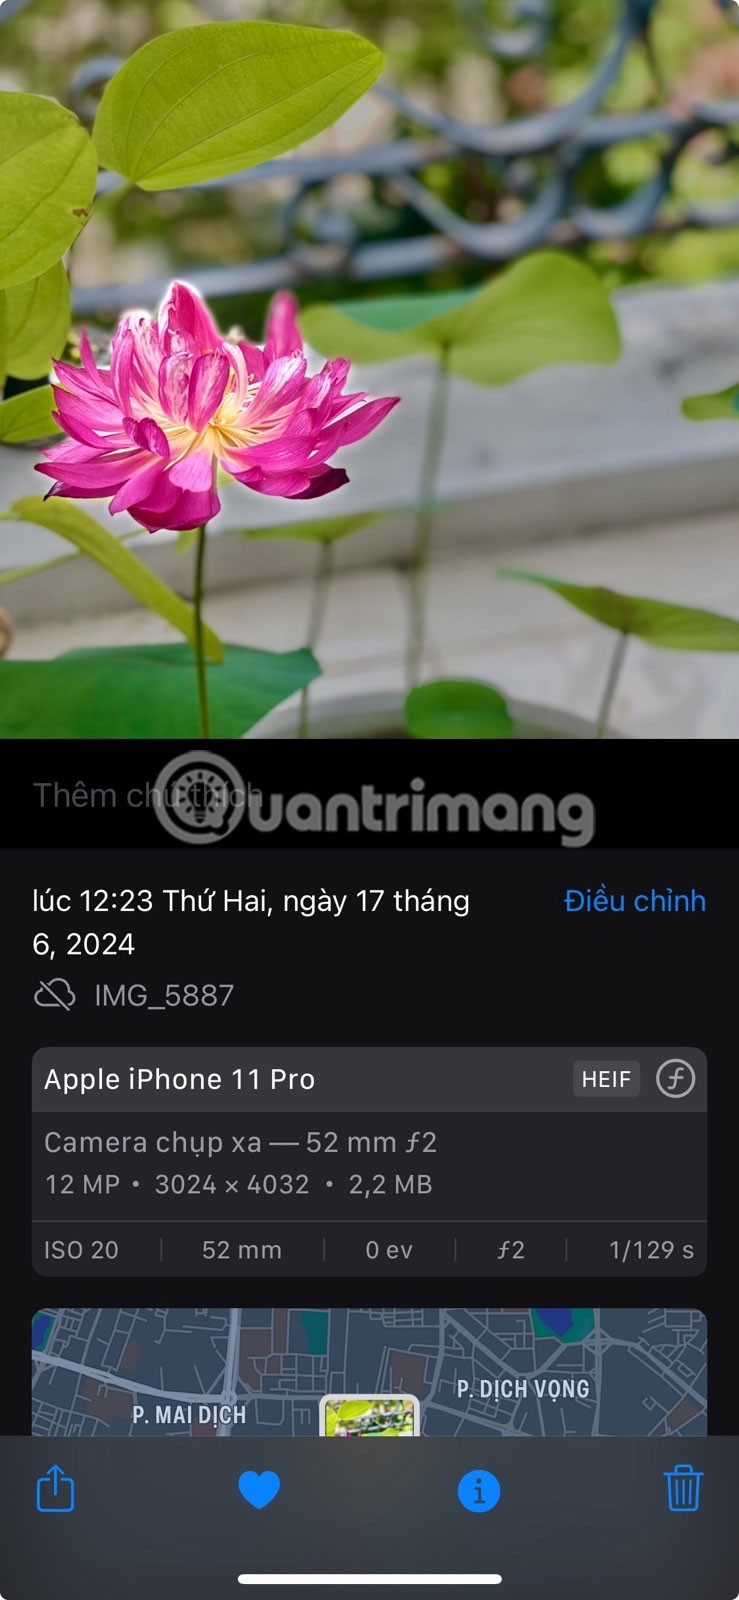
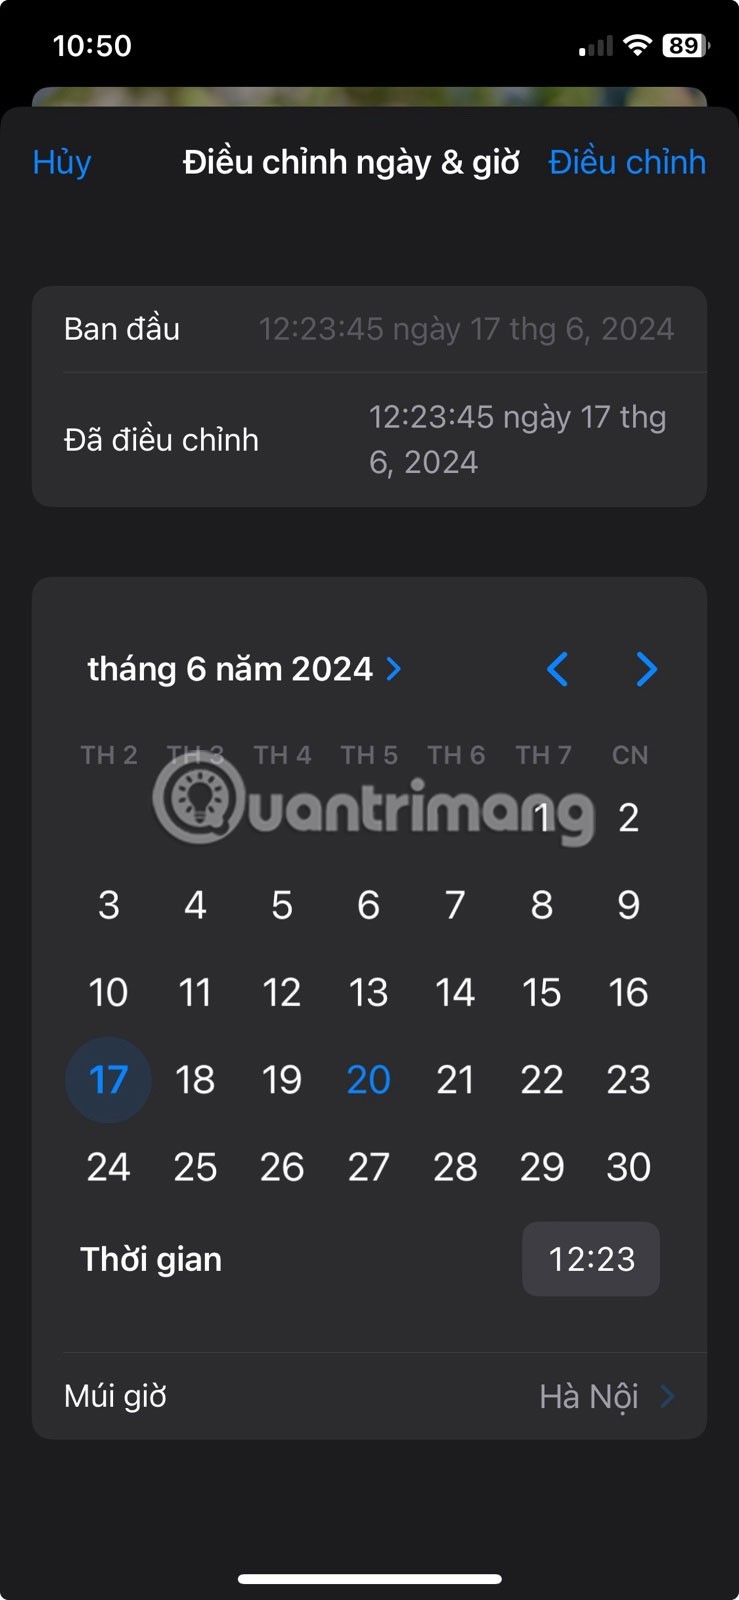
To go back to the original date and time, you can follow the same steps and tap Revert in the upper right corner.
Similarly, the position of the image can be changed by following these steps:
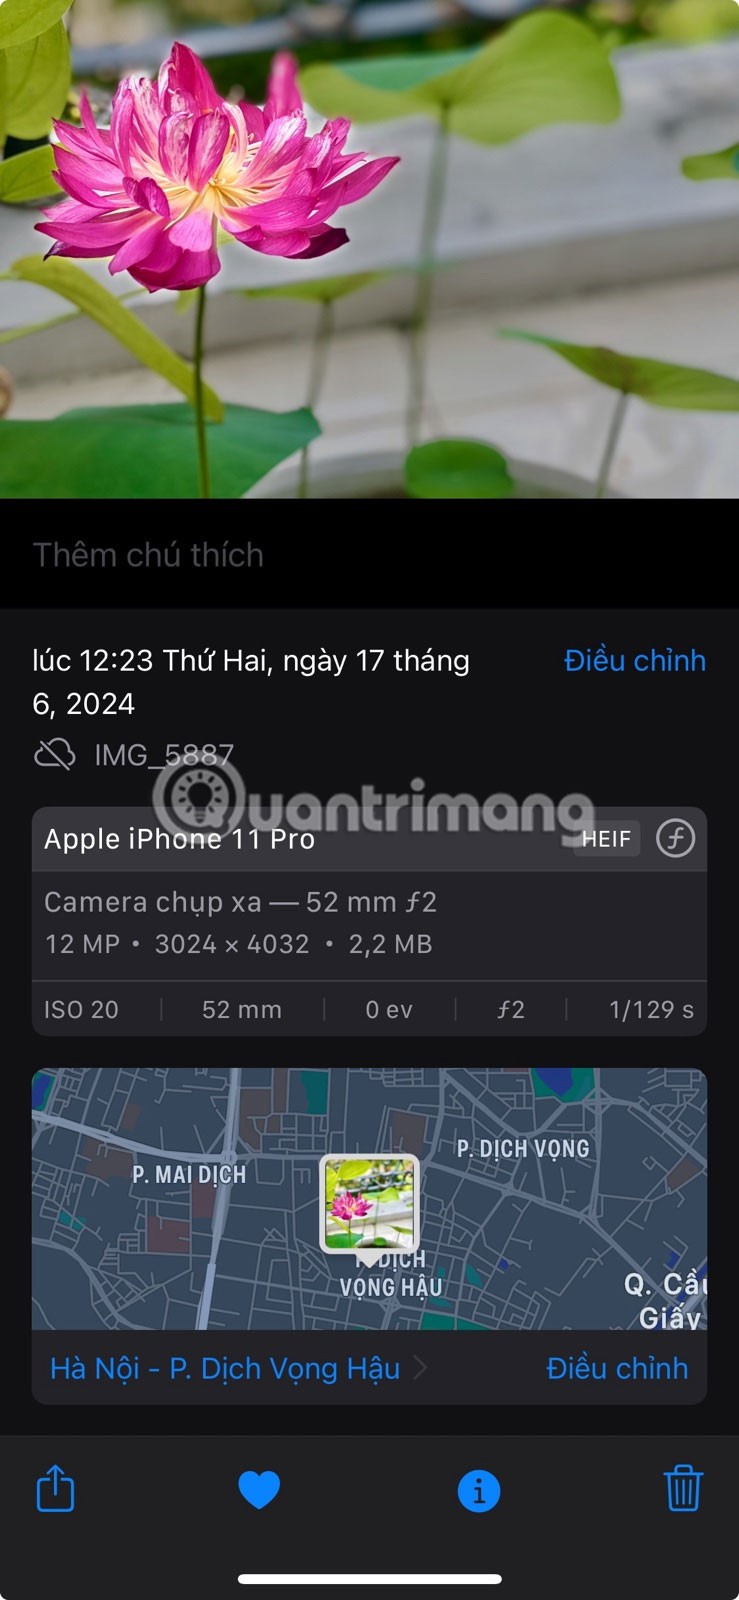
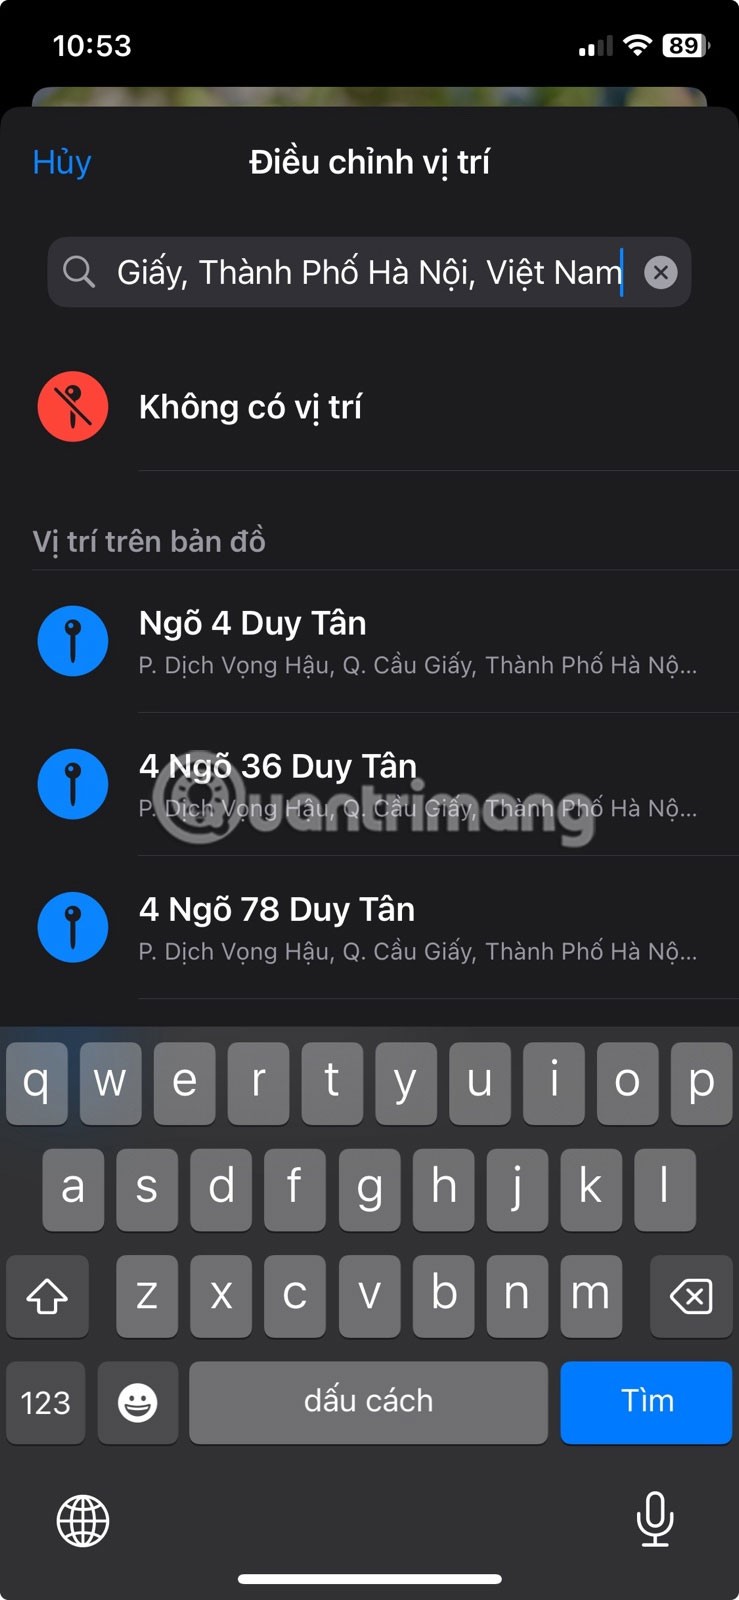
The map preview will show the new location in the info panel. To revert to the original location, repeat the steps above and tap Adjust > Revert .
4. Use visual search to identify objects
Another handy feature in the Photos app is Visual Lookup, which uses machine learning to identify objects in photos and provide relevant information about them. It can recognize things like landmarks, plants, pets, and even foods.
To use this feature, open the Photos app and browse your photo library. Look for a photo with a Visual Lookup icon (similar to an info button but with a sparkle effect).
Note : If you see the regular info button, it means that Visual Lookup is not available for that image.

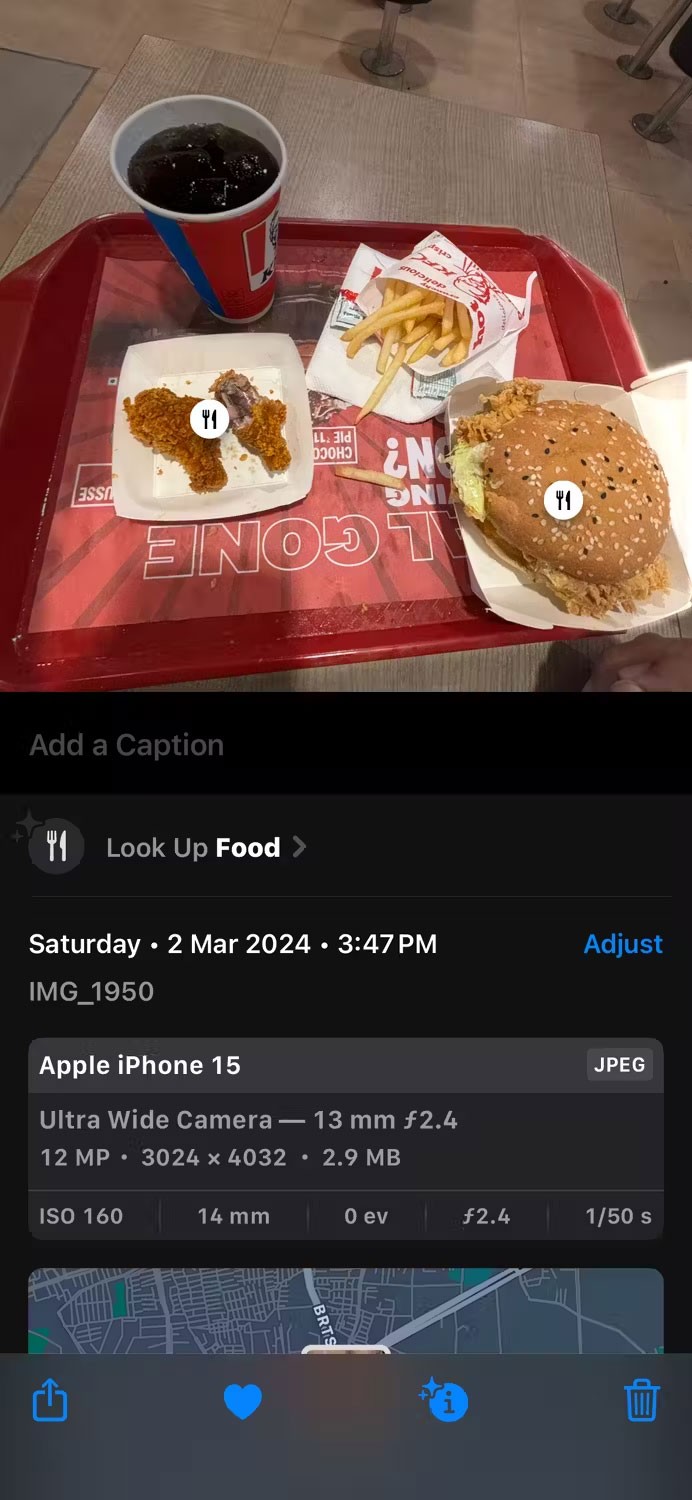

After tapping the Info icon (i), you'll see a Visual Lookup icon over an object in your photo. Tap it to get more information, such as a related image, description, and Wikipedia link. The icon may vary depending on the object - for example, a fork icon for food or a leaf icon for plants.
5. Annotate images using the markup tool
The built-in Markup feature contains a variety of annotation tools that you can use to draw or add text to images to give them a personal touch. Here's how to access it:

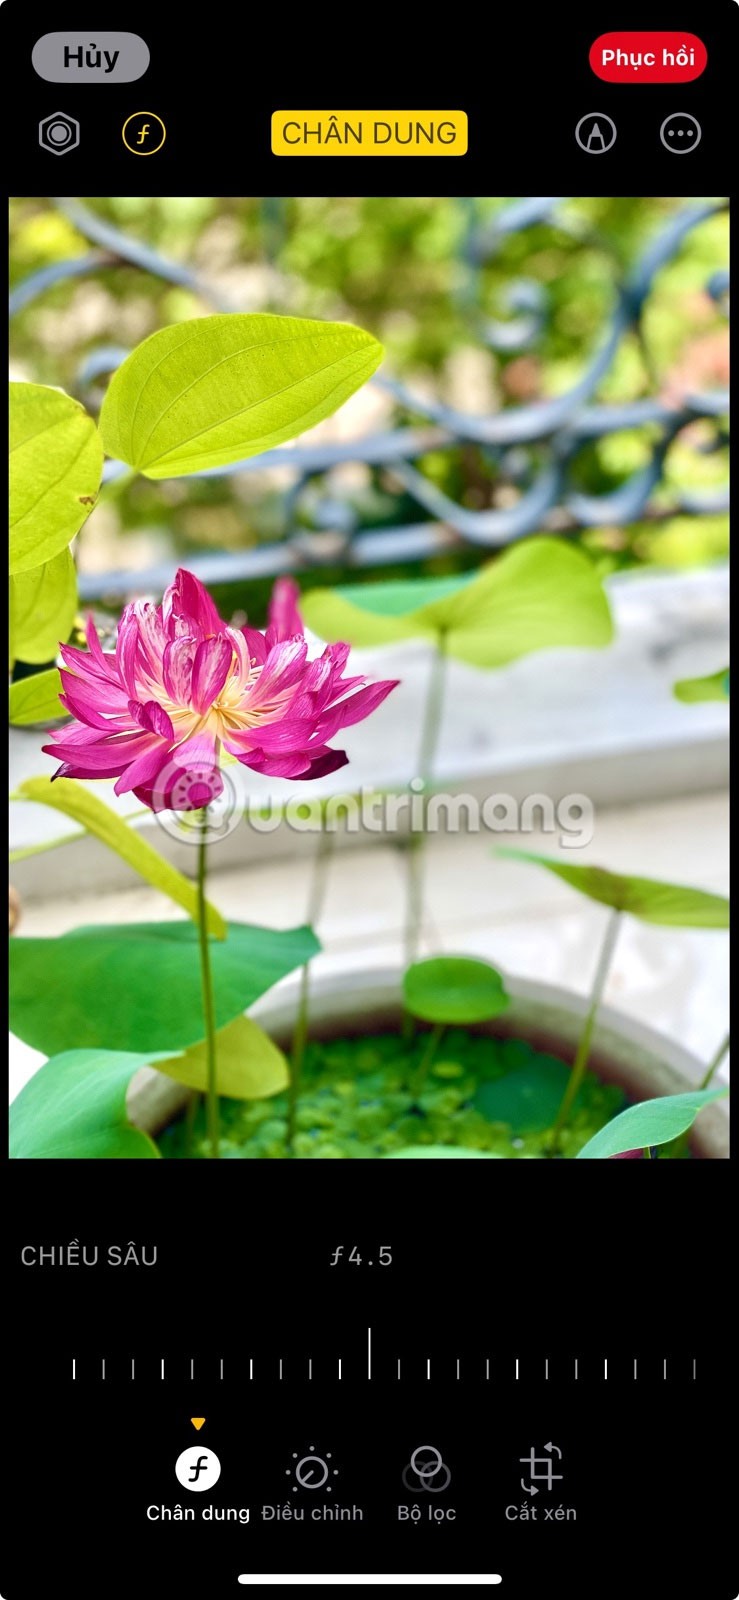
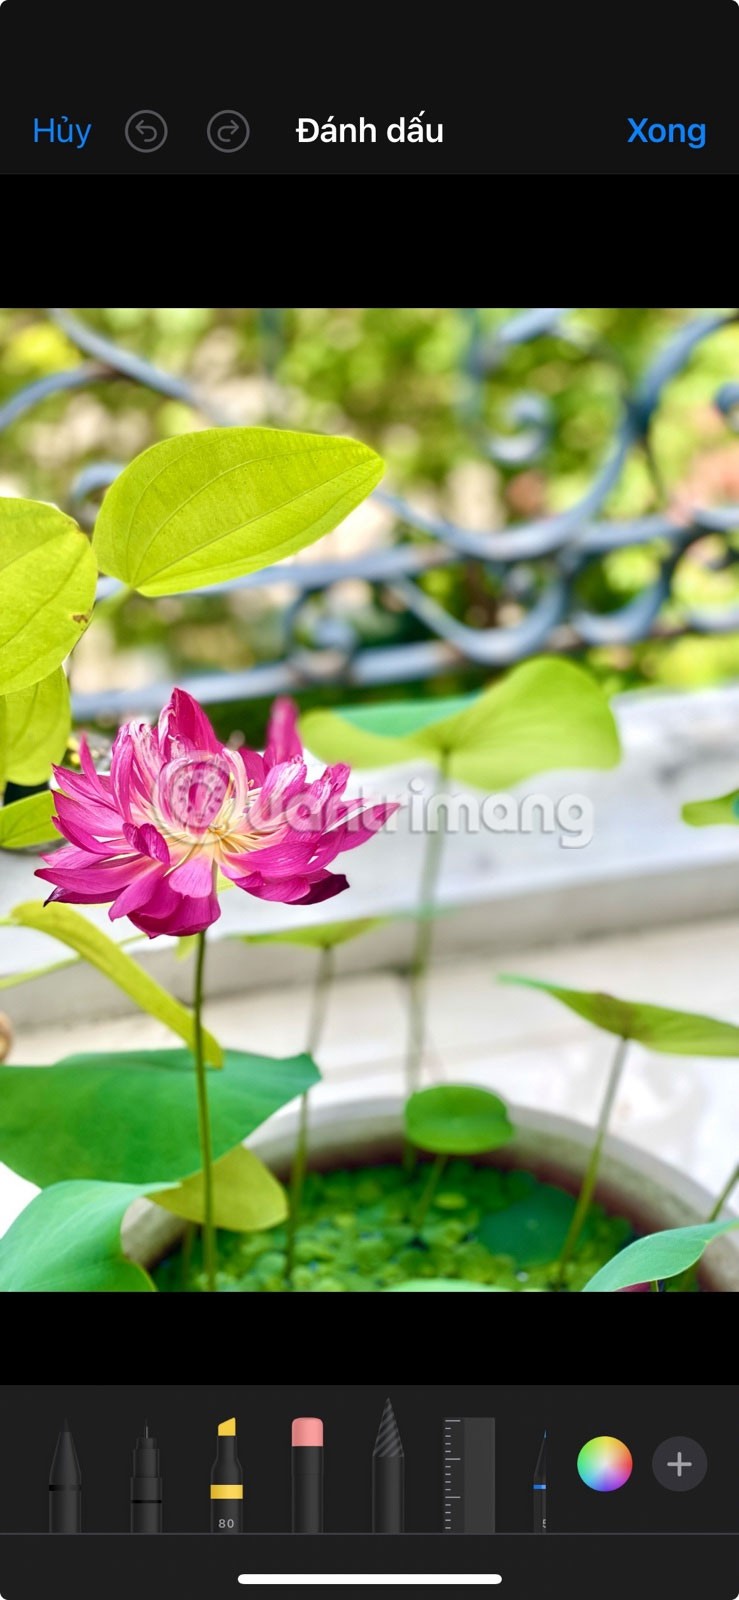
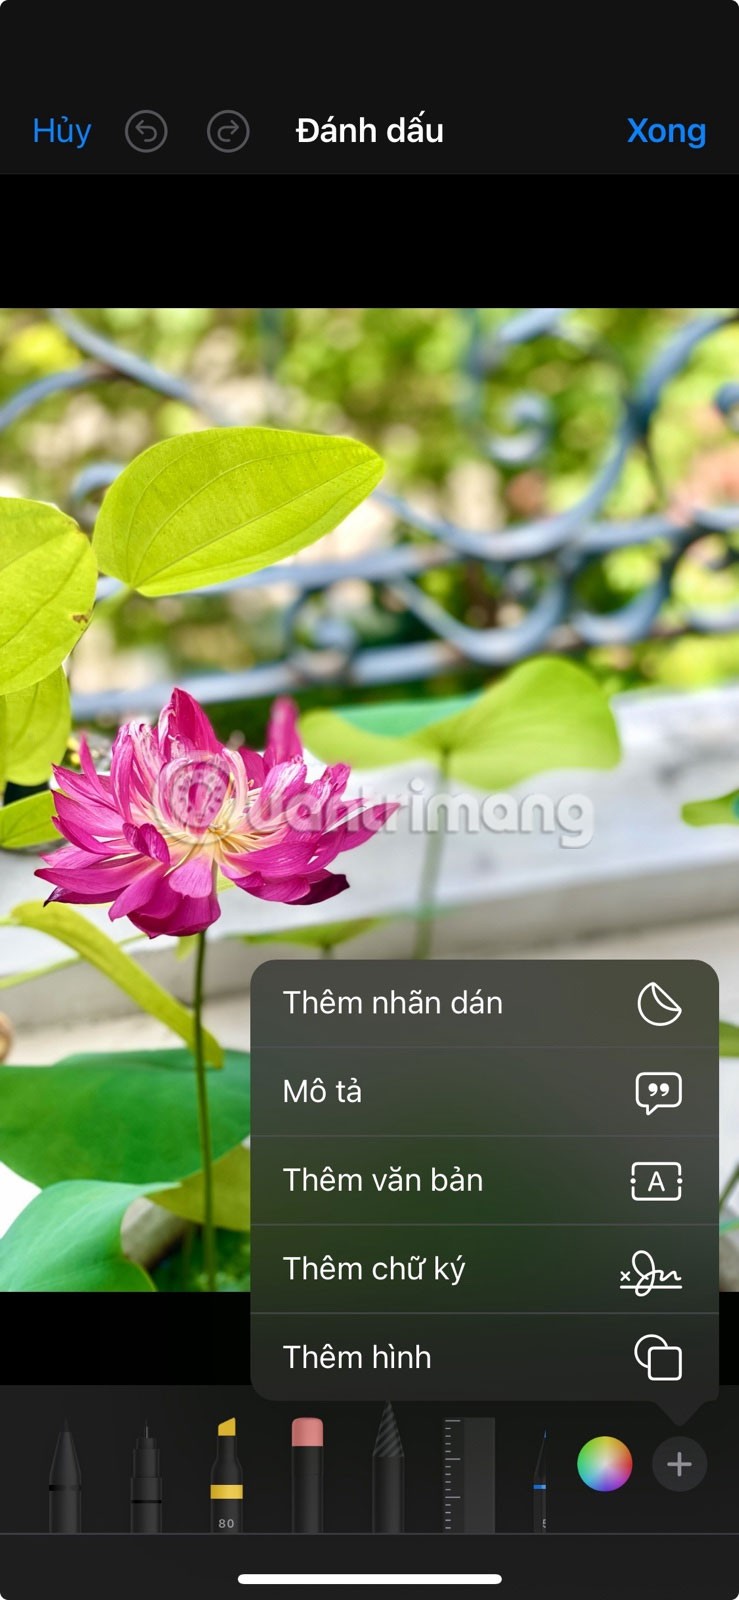
To remove the caption, reopen the photo and tap Edit > Revert > Revert to Original .
6. Recover accidentally deleted photos
When you delete a photo or video, it goes to the Recently Deleted album and stays there for 30 days before being permanently deleted from your device. So, as long as you act quickly, you can recover accidentally deleted photos on your iPhone by following these steps:
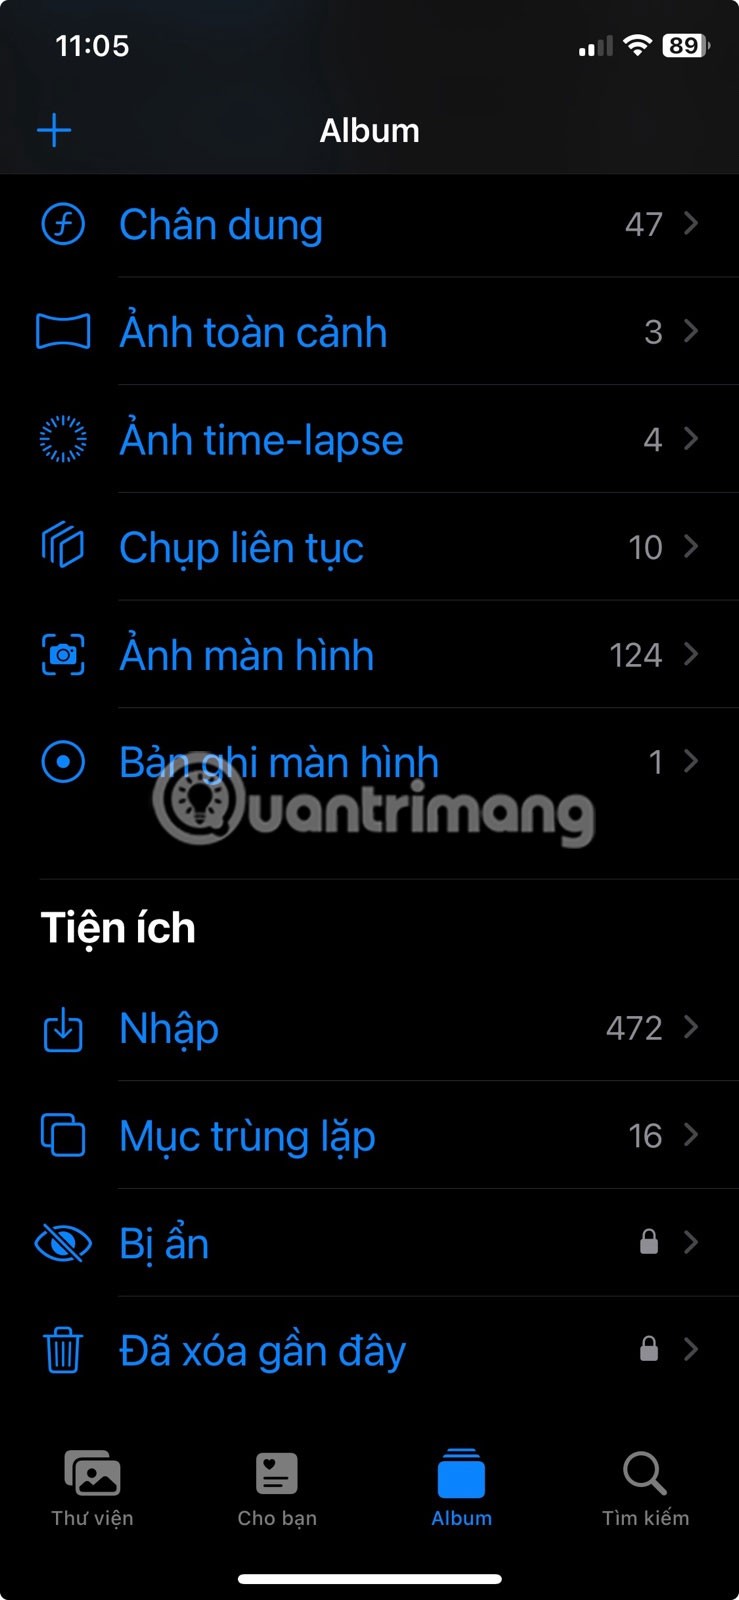
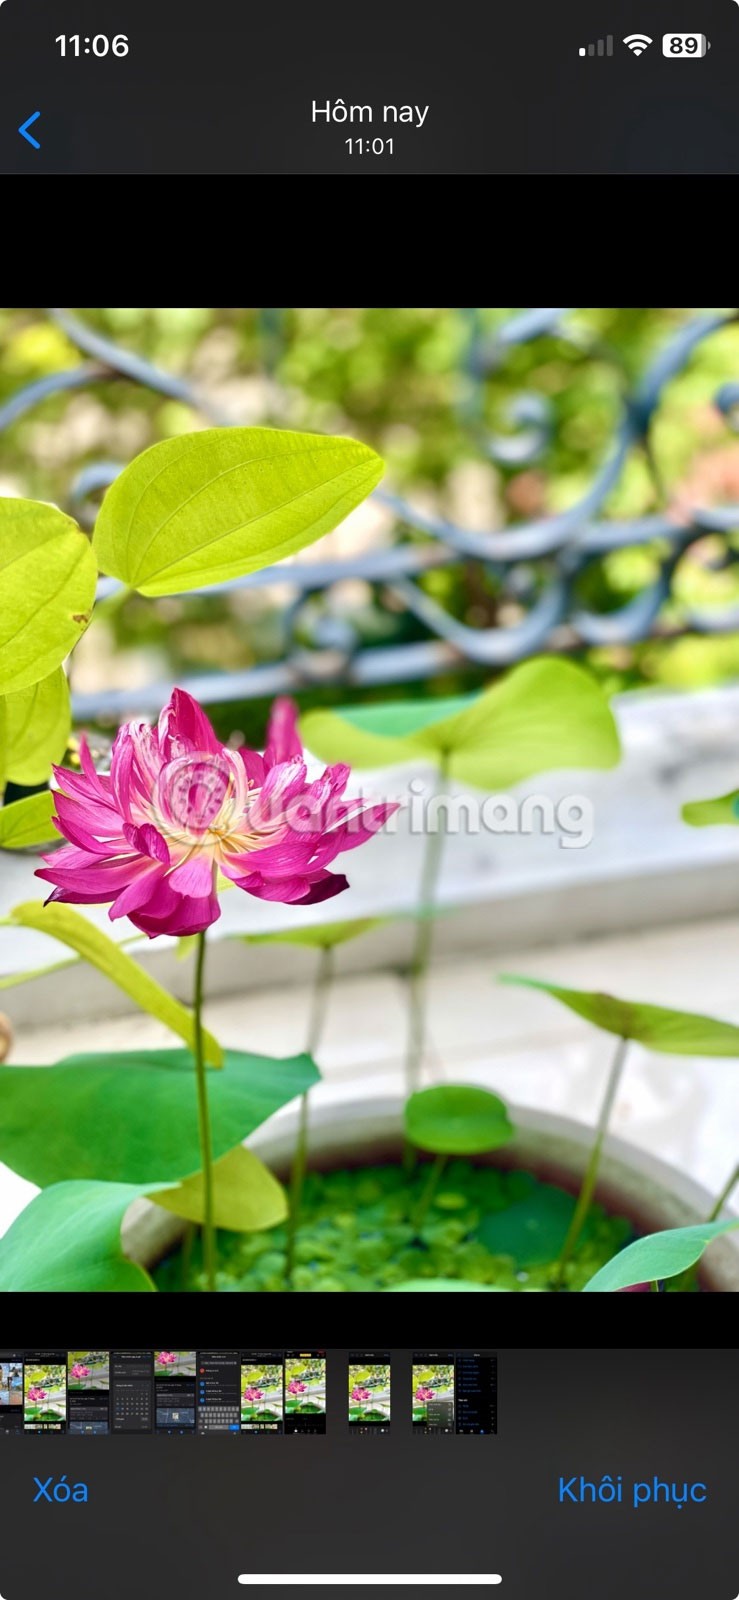
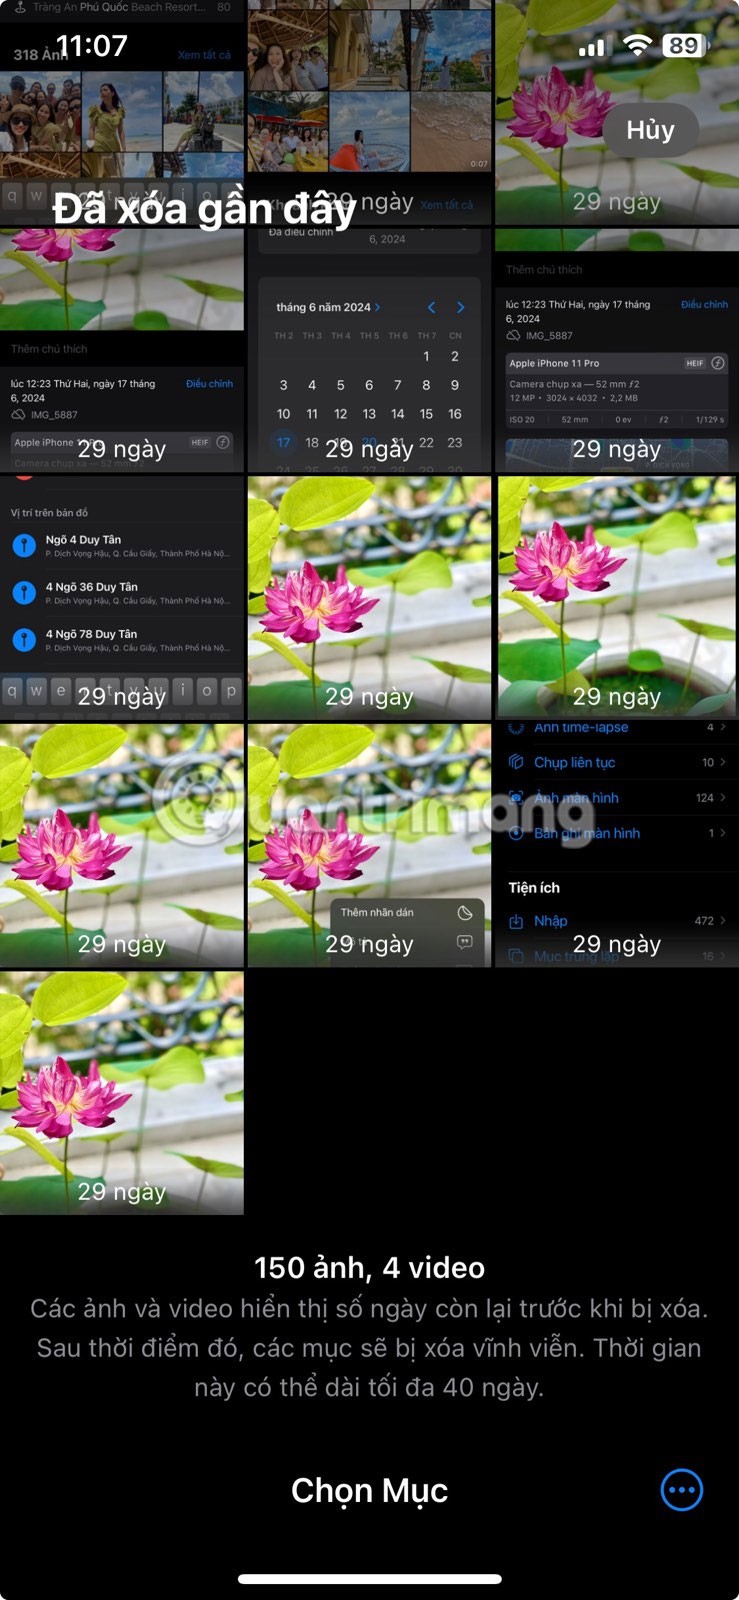
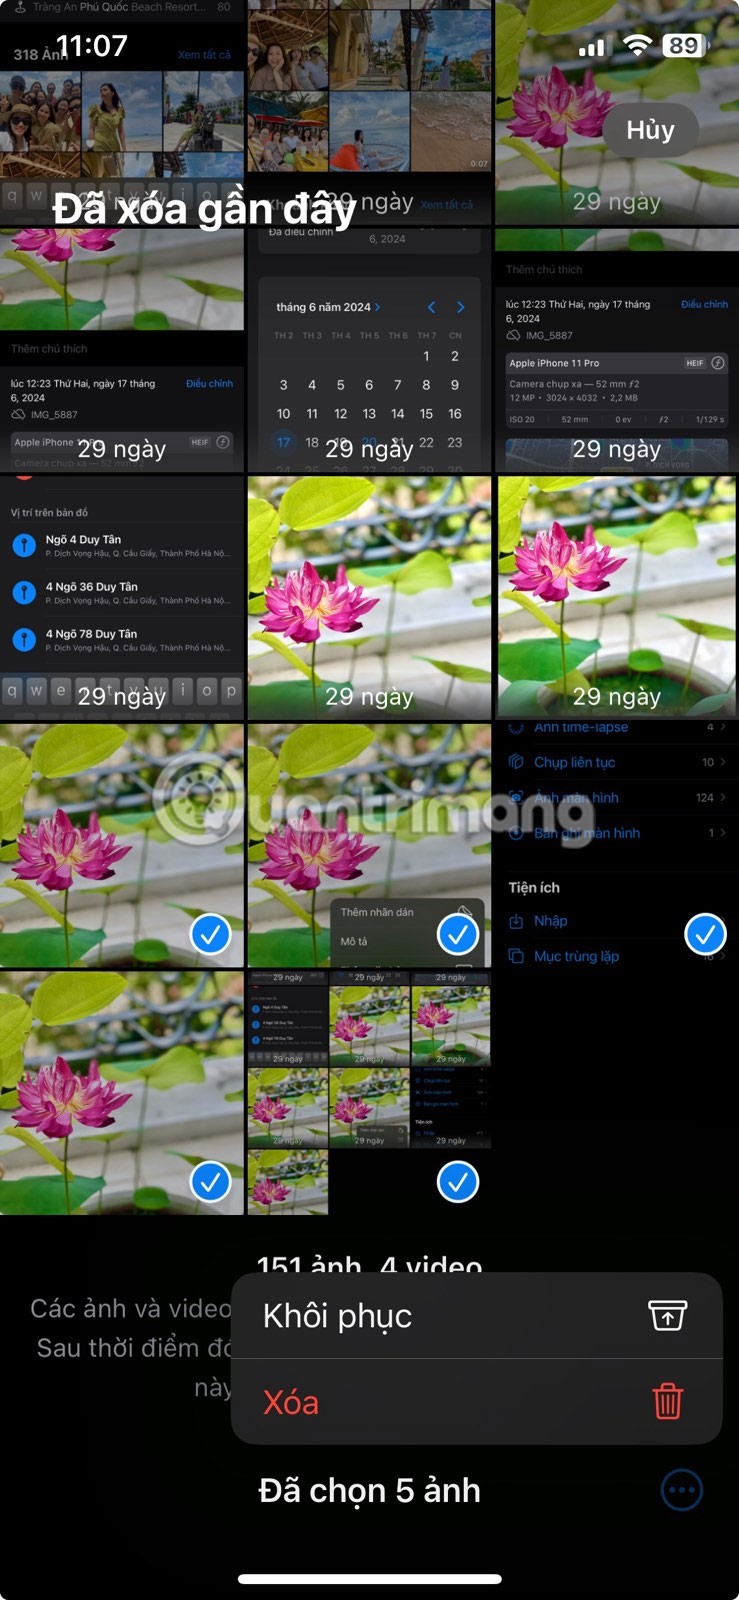
Restored photos will be returned to their original album.
7. Lock hidden and recently deleted albums
When you hide photos or videos on your iPhone, they move to the Hidden album. However, both the Hidden and Recently Deleted albums remain visible and accessible to anyone with access to your device. To prevent this, you can lock these albums with Face ID or Touch ID .
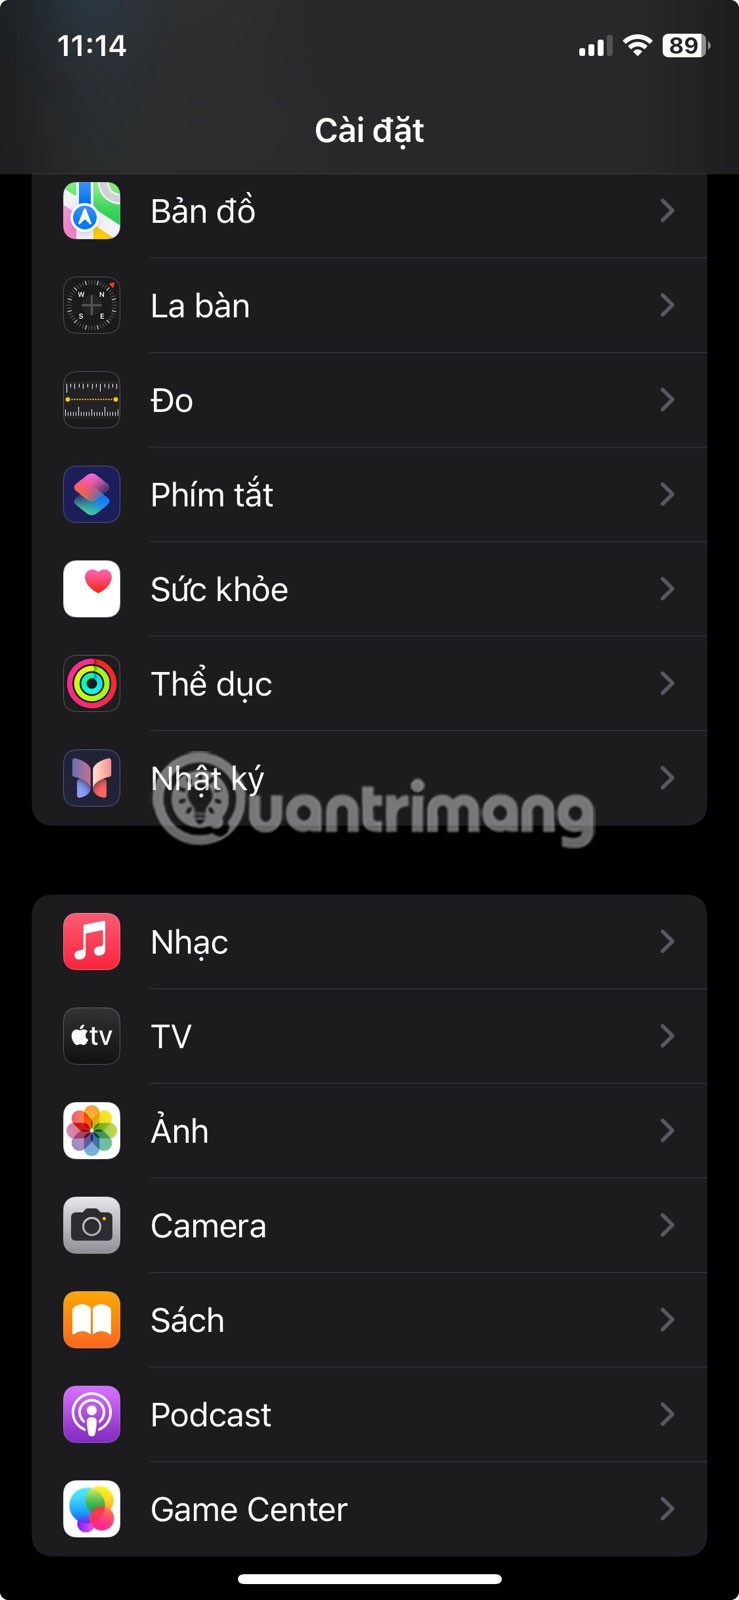
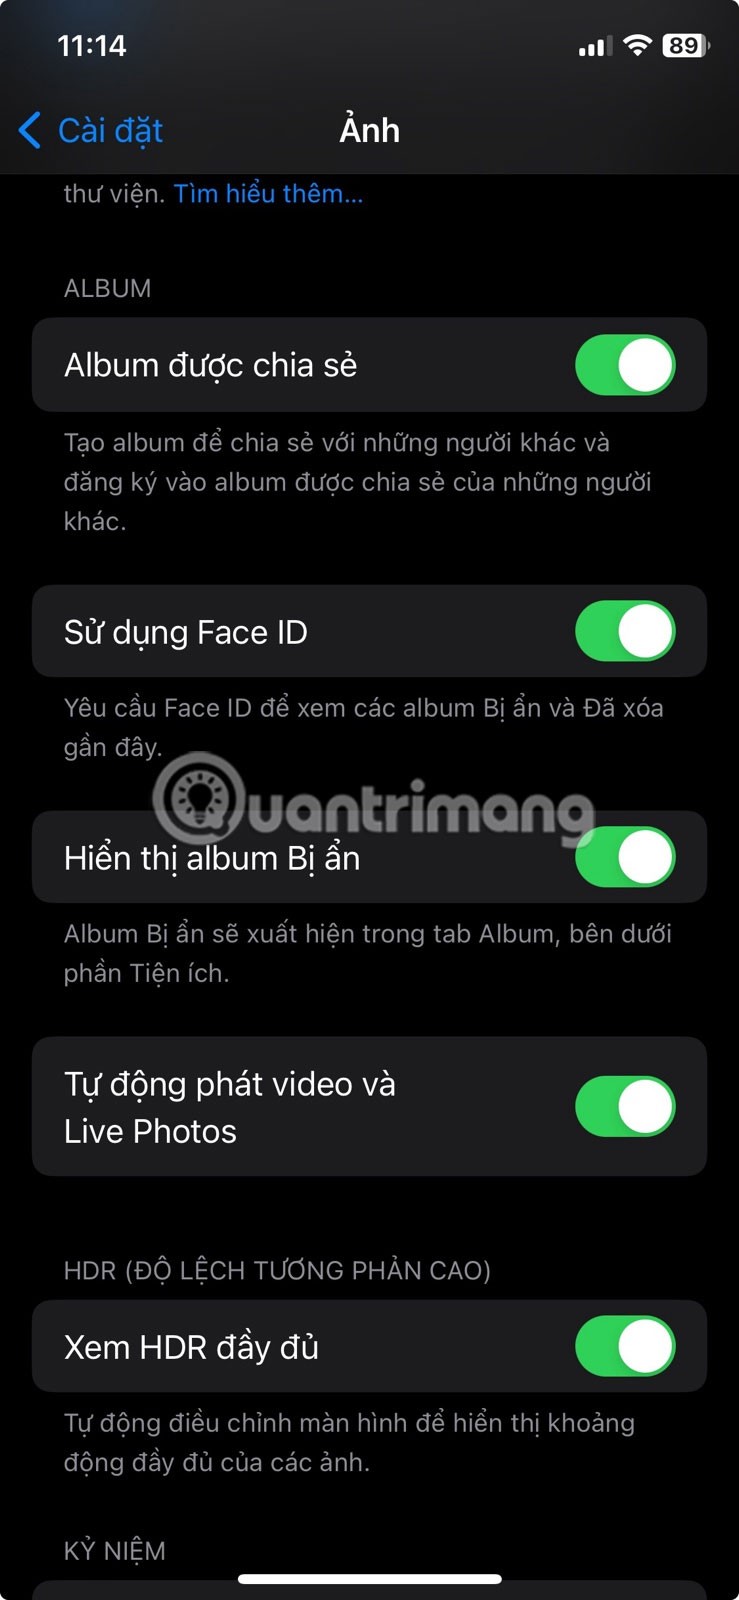
The next time you open the Hidden or Recently Deleted album, it will require Face ID or Touch ID authentication to access the content. This adds an extra layer of security and ensures that private photos are truly hidden. You can even lock the Photos app on your iPhone using the built-in Shortcuts app if needed.
8. Hide Hidden Photo Album
Once you lock the Hidden album, you can hide it from your Photos app. To hide the Hidden album on iOS, follow these steps:

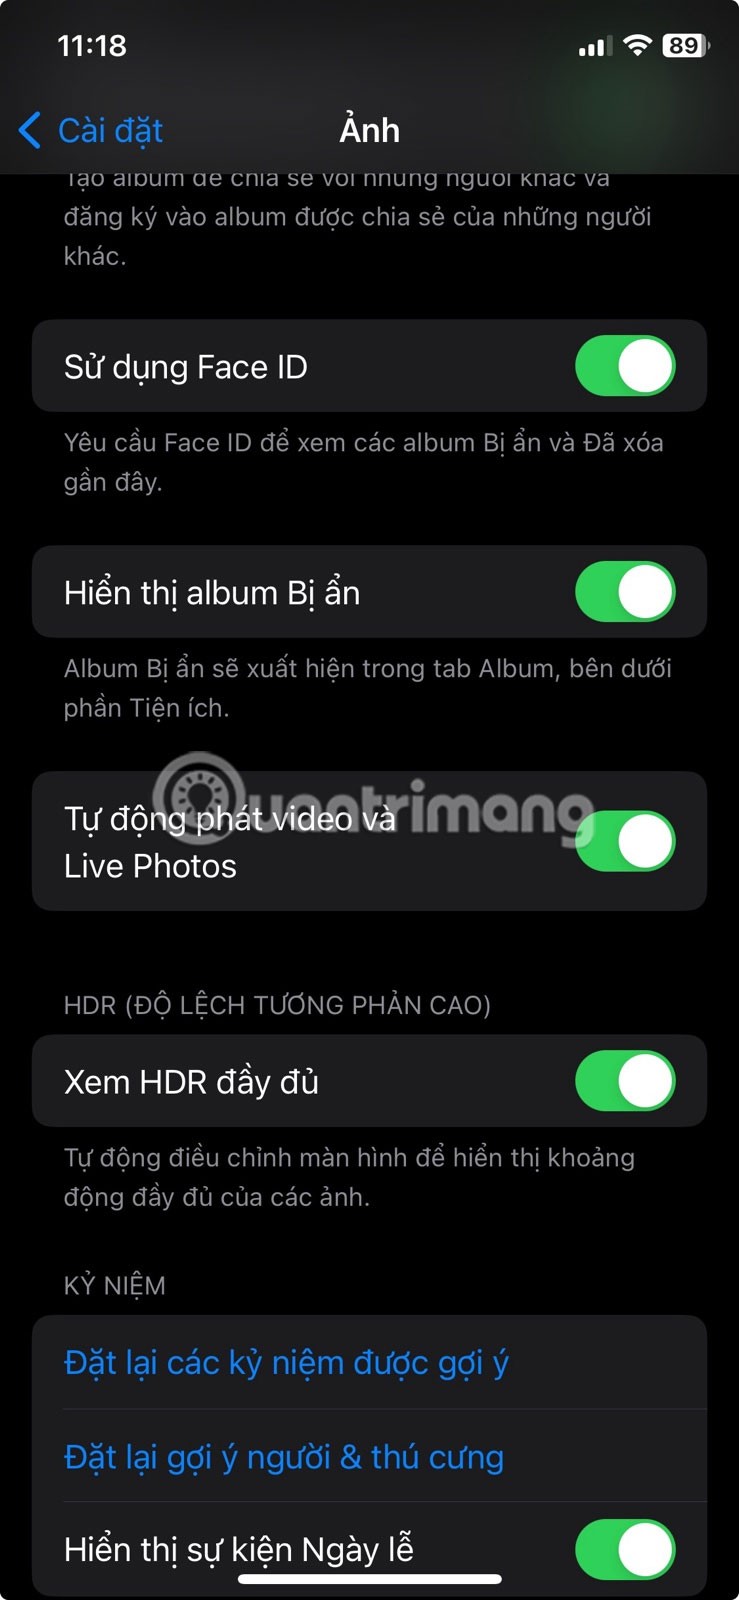
The hidden album will now disappear from the Photos app. If you want to access it again, you'll need to go to Settings > Photos and turn on Show Hidden Album .
These tips and tricks are sure to help you master the Photos app on your iPhone in no time. Whether you want to organize your photos efficiently, make them more private, or recover deleted photos, this list has you covered.
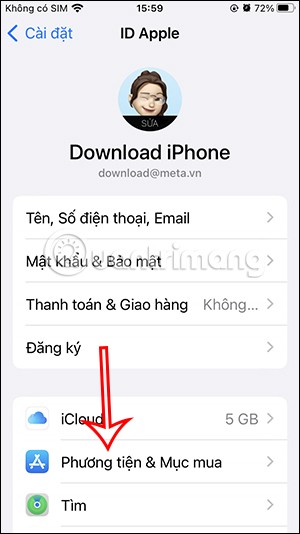
Through your purchase history on the App Store, you will know when you downloaded that app or game, and how much you paid for the paid app.
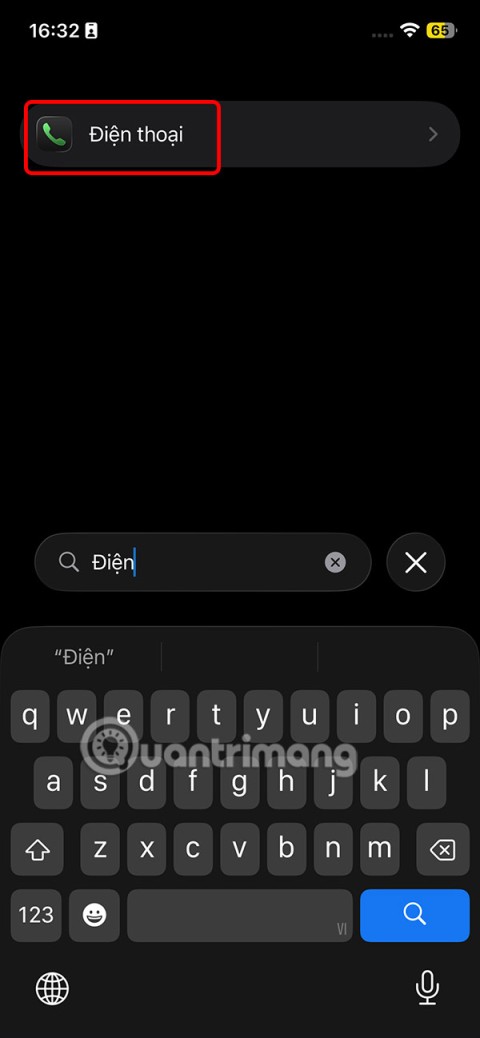
iPhone mutes iPhone from unknown callers and on iOS 26, iPhone automatically receives incoming calls from an unknown number and asks for the reason for the call. If you want to receive unknown calls on iPhone, follow the instructions below.
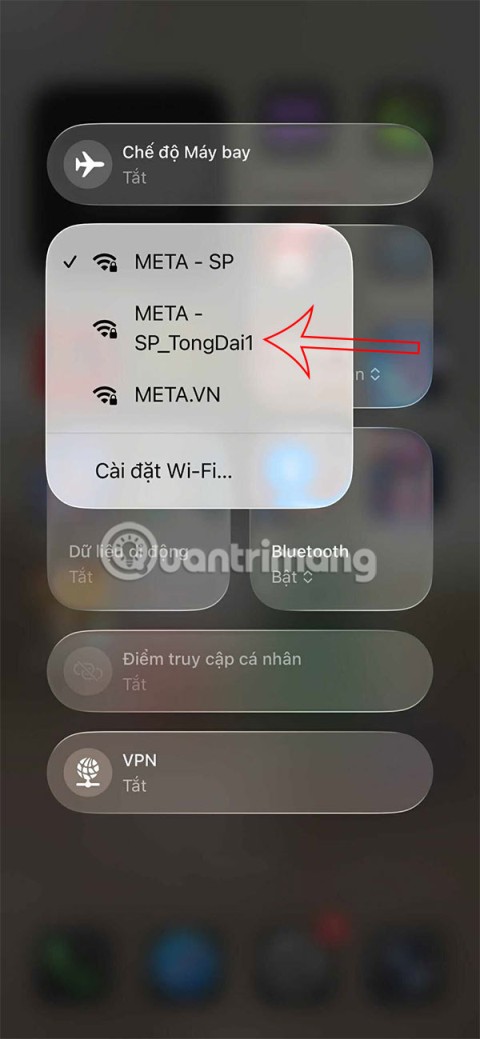
Apple makes it easy to find out if a WiFi network is safe before you connect. You don't need any software or other tools to help, just use the built-in settings on your iPhone.
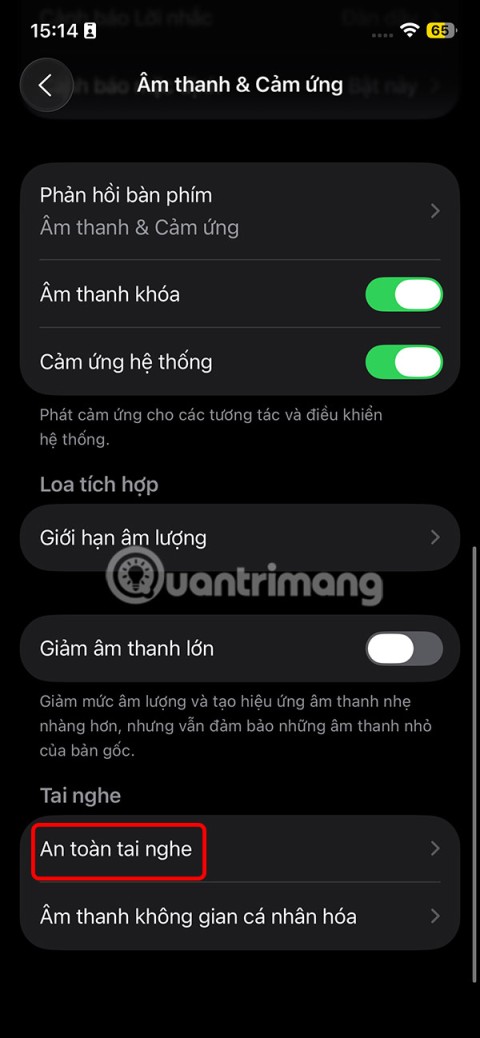
iPhone has a speaker volume limit setting to control the sound. However, in some situations you need to increase the volume on your iPhone to be able to hear the content.
ADB is a powerful set of tools that give you more control over your Android device. Although ADB is intended for Android developers, you don't need any programming knowledge to uninstall Android apps with it.
You might think you know how to get the most out of your phone time, but chances are you don't know how big a difference this common setting makes.
The Android System Key Verifier app comes pre-installed as a system app on Android devices running version 8.0 or later.
Despite Apple's tight ecosystem, some people have turned their Android phones into reliable remote controls for their Apple TV.
There are many reasons why your Android phone cannot connect to mobile data, such as incorrect configuration errors causing the problem. Here is a guide to fix mobile data connection errors on Android.
For years, Android gamers have dreamed of running PS3 titles on their phones – now it's a reality. aPS3e, the first PS3 emulator for Android, is now available on the Google Play Store.
The iPhone iMessage group chat feature helps us text and chat more easily with many people, instead of sending individual messages.
For ebook lovers, having a library of books at your fingertips is a great thing. And if you store your ebooks on your phone, you can enjoy them anytime, anywhere. Check out the best ebook reading apps for iPhone below.
You can use Picture in Picture (PiP) to watch YouTube videos off-screen on iOS 14, but YouTube has locked this feature on the app so you cannot use PiP directly, you have to add a few more small steps that we will guide in detail below.
On iPhone/iPad, there is a Files application to manage all files on the device, including files that users download. The article below will guide readers on how to find downloaded files on iPhone/iPad.
If you really want to protect your phone, it's time you started locking your phone to prevent theft as well as protect it from hacks and scams.
