Set Up a Windows-Style XFCE Panel on Pardus Linux
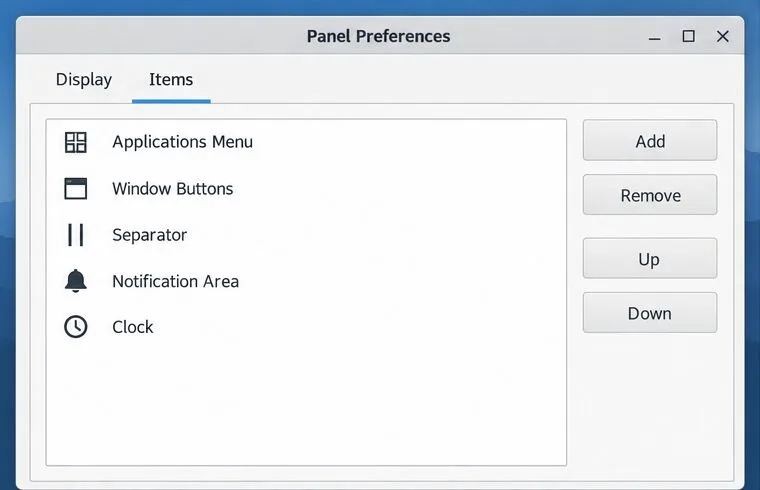
Arrange Pardus XFCE as a familiar bottom taskbar with an app menu, pinned launchers, open-window buttons, and a system tray.
Currently, the photos with the dispersion effect are being shared by many people on social networks . If before, to create photos with this effect, we need to use a lot of professional photo editing tools on the computer, but now with the PicsArt application , I can feel comfortable. Create photos with vanish effect.
PicsArt is a photo editing application used by many young people today, with this app, we can freely make our photos become more beautiful and unique. Today we will introduce the tutorial on creating photos with the dissolution effect with PicsArt on your phone , invite you to follow.
Download PicsArt on Android Download PicsArt on iOS
Step 1: Open the PicsArt application on the phone, this is the first thing to do before creating a vanish effect for the image.
Step 2: At the home page of the application, click on the bottom of the phone screen. plus symbol
Step 3: Click on the photo you want to create the effect.



Step 4: In the main interface of Photo editing feature , click on Tools at the bottom of the screen.
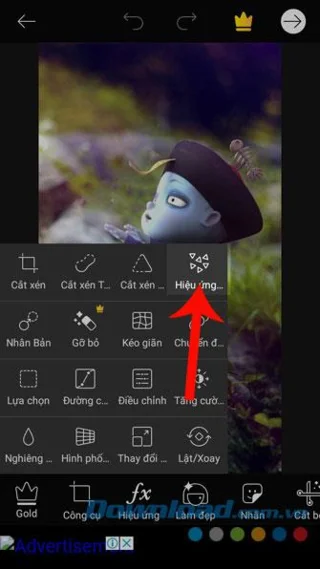
Step 5: At this time, there will appear a list of tools for editing photos, click on the Vanish effect .
Step 6: Highlight the areas where you want to create a vanish effect and the selected area on the image will be highlighted in red .
Step 7: Next, move the size bar below to adjust the size of the zoned line , then click the arrow icon in the upper right corner of the screen.


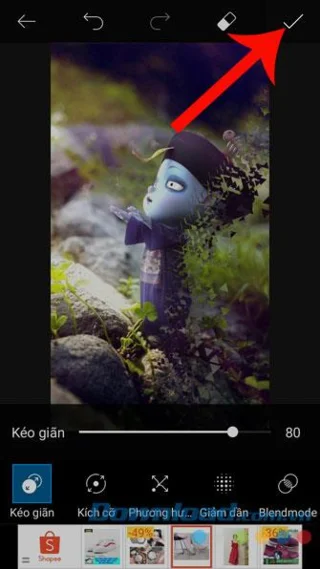
Step 8: Now the fade effect is applied to the photo. At the bottom of the screen there are a number of tools to customize the effect such as Stretch, Size, Orientation, Descending, Blendmode . There is a adjustment bar at each tool , so move this bar to correct the dissolution effect on the image.
Step 9: To apply the fade effect to the image, click the tick mark at the top of the screen.
Step 10: Click the arrow icon in the upper right corner of the screen.


Step 11: In the Share section, click the Save button to save the image to your phone.
Step 12: Select the Save item .
Step 13: Then select Gallery to save the image to your device.



Step 14: Now there will be a message Saved to the library , click Done to finish the process of creating images with the disappearance effect.
Step 15: Finally, open Photo Library on your phone to review the newly edited picture.


Above is a guide to creating photos by dissolving effect with PicsArt on the phone, we hope that after completing these steps, you can turn your photos to look better with this effect. .
In addition, you can also refer to some other articles such as:
I wish you successful implementation!
Arrange Pardus XFCE as a familiar bottom taskbar with an app menu, pinned launchers, open-window buttons, and a system tray.
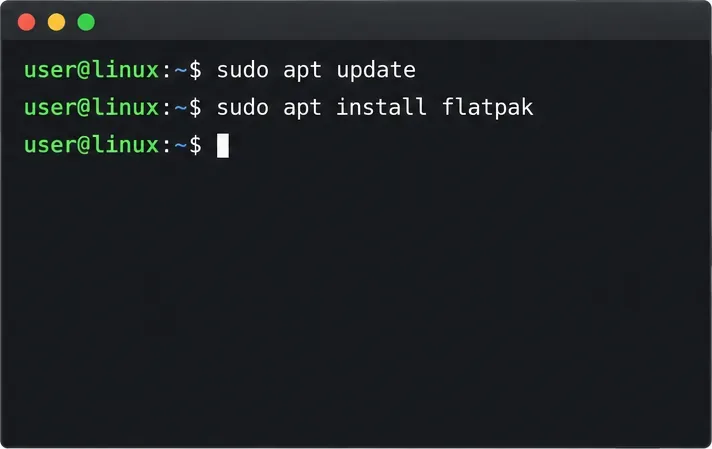
Check your Gooroom release and administrator rules, then follow the official Debian-based setup path for Flatpak or Snap without bypassing system controls.
Learn what Pardus Image Writer can do, how to prepare installation USB safely, and which tools fit custom live images or repeatable fleet deployments.
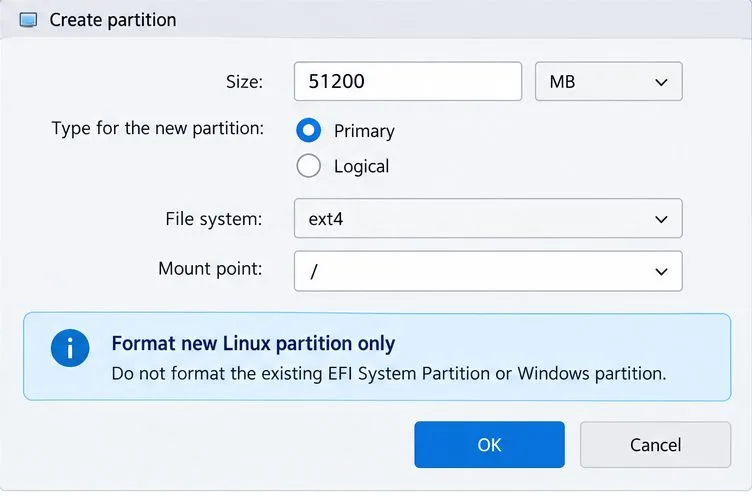
Install Pardus alongside Windows 11 by shrinking the Windows volume, using unallocated space, and preserving the existing EFI System Partition.
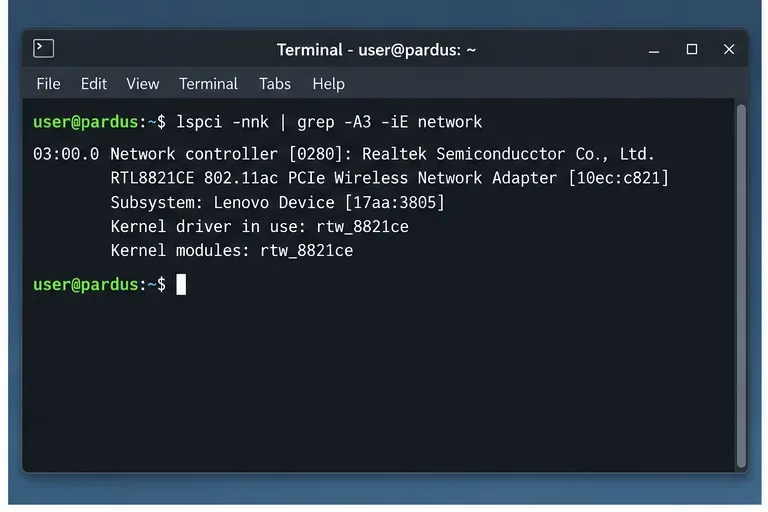
Identify the RTL8821CE, install Pardus-supported Realtek firmware, and verify the driver, Wi-Fi scan, and next troubleshooting step.
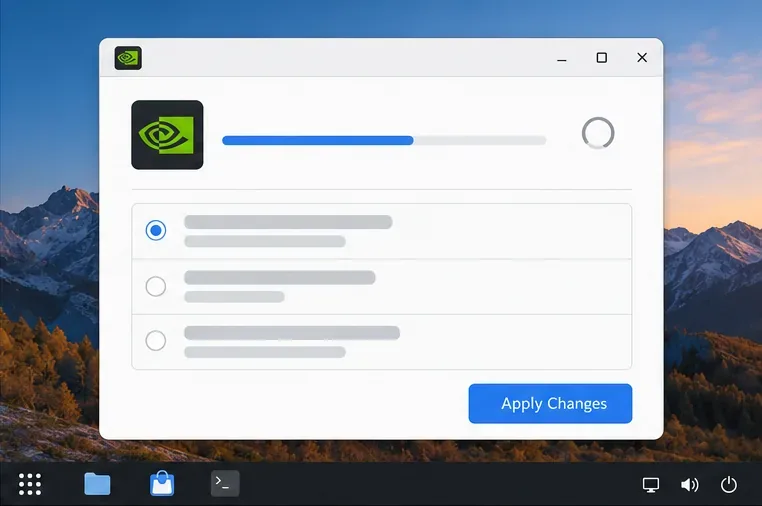
Use Pardus’s hardware-aware installer to enable the right NVIDIA driver, reboot safely, and verify the active kernel module.
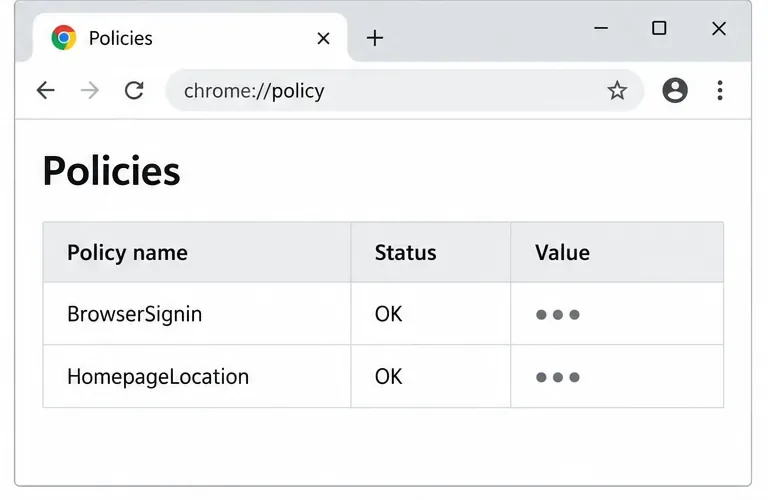
Install the official Chrome package safely on Gooroom OS, check compatibility, preserve device controls, and verify browser policies before use.
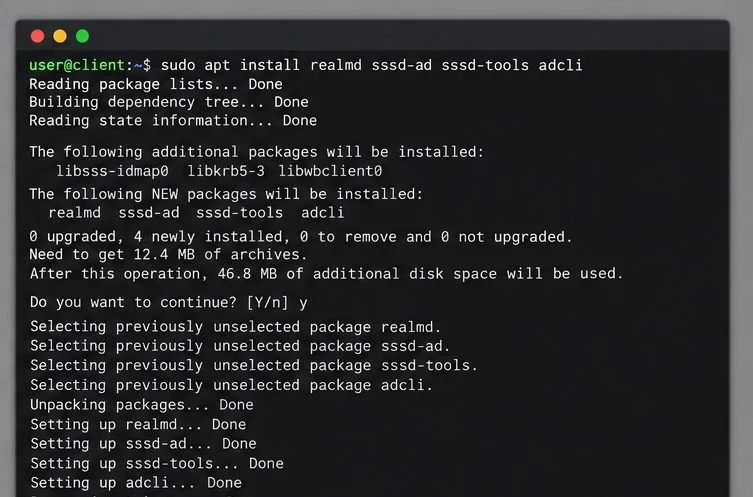
Prepare DNS and time, enroll Pardus with realmd and SSSD, and verify domain membership and user lookup before relying on AD sign-in.
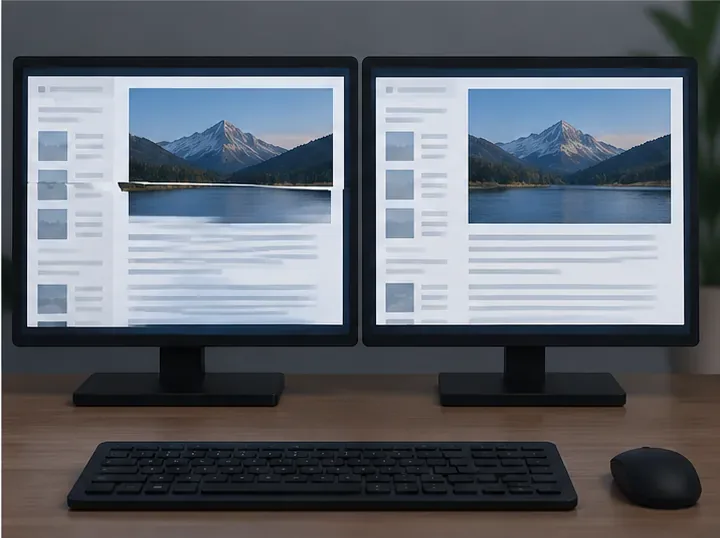
Reduce horizontal tearing in Pardus XFCE by checking your display session, enabling compositor synchronization, and applying Intel’s Xorg TearFree option only when the active driver supports it.
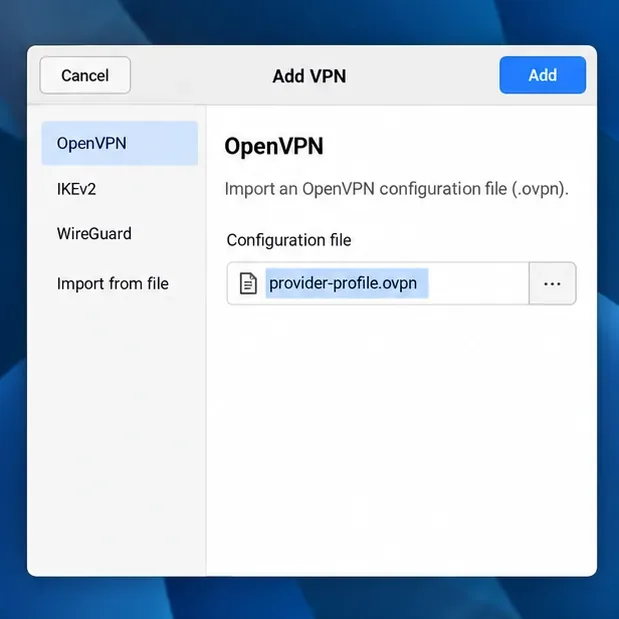
Add an OpenVPN profile to NetworkManager on Pardus, install the right plugin, protect credentials, and verify the VPN is active.