Keep ONLYOFFICE Spell Check on the Language You Choose
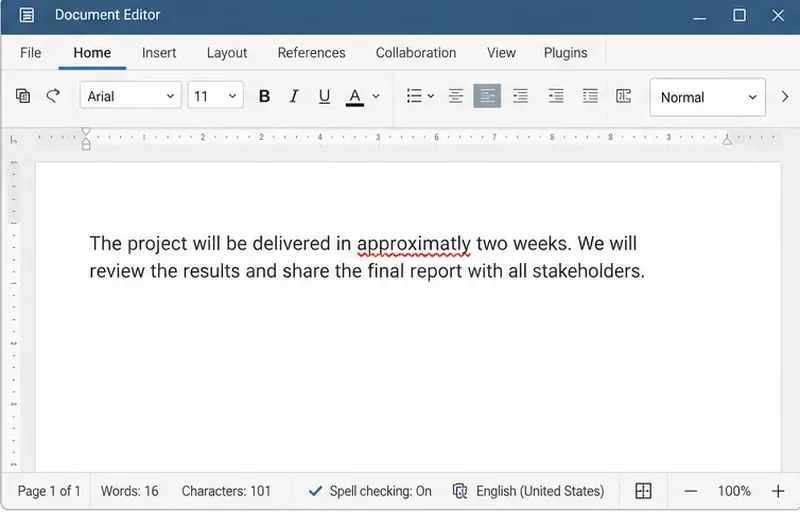
Set the proofing language for the whole document or selected text, confirm spell checking is active, and identify when a server dictionary is missing.
Can't find the font you want to use for your document in Microsoft Word ? Don't worry, you can install new fonts for Word by following the steps below.

How to add new fonts to Microsoft Word
If you share a document using a new font with someone, the recipient needs to install that font on their computer. If the required font is missing, the text in the shared Word document will be corrupted.
Therefore, when sharing documents in Microsoft Word, you should include the new font installation file.
For those who don't know, Word uses built-in fonts on the computer. It does not have its own font and depends on the system font. So, if you download and add a new font on your computer, you can use it with Word.
If you already have your favorite font, you can install and use it right away. On the contrary, if you don't have it yet, you need to download it first.
Follow these steps to learn how to download and install fonts on your Windows computer :
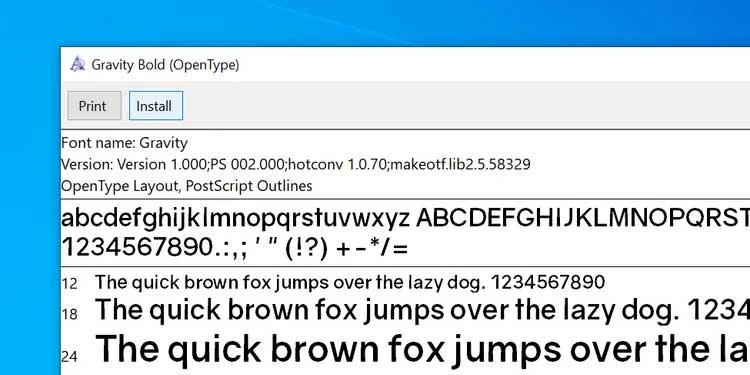
After installing the font on your computer, you can start using it right away in Word documents. As mentioned from the beginning, PC download fonts are always integrated into this famous text editing software and how to use it is as follows:
1. Open the document in Microsoft Word.
2. Click the Home tab at the top.
3. Click the arrow icon next to the current font to see the list of available fonts.
4. You need to find the newly installed font in the list. If you don't see it, enter the font name in the box and Word will narrow the list for you.
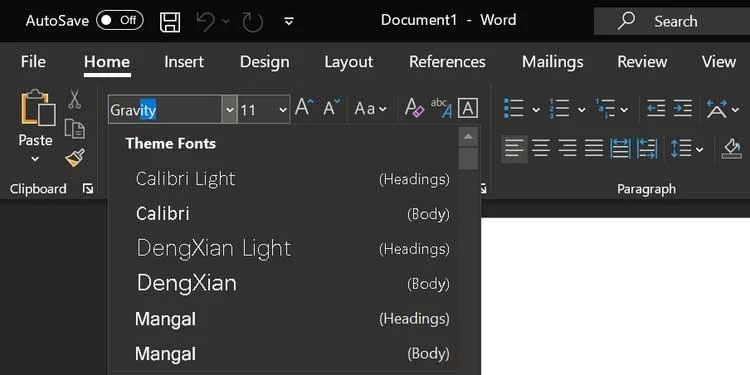
5. After choosing the font, you can start typing in this font style in the document.
6. If you want to use a new font for existing text, simply select that text with the mouse, then select the newly added font from the Fonts menu at the top. It's done.
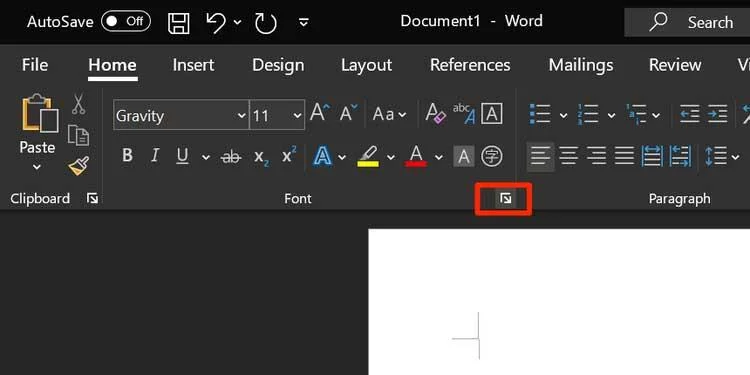
1. When in Word's editing screen, click the arrow icon in the Font section to see more options for the installed font.
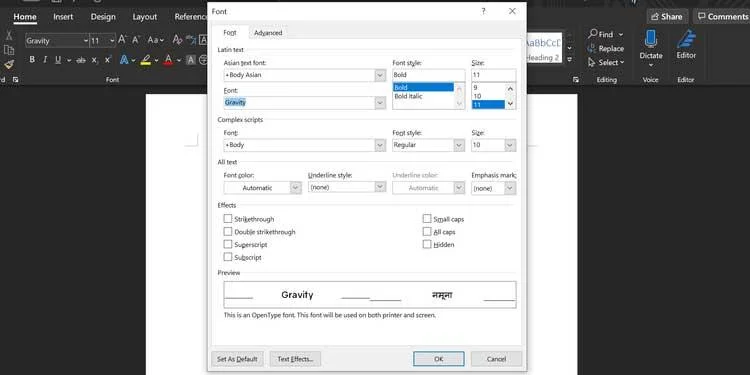
2. A box will open, containing all the fonts listed inside. Select the new font from the drop-down menu - Font, click an option from Font style , set the size - Size for the font and click Set As Default below.
3. Word will ask if you want to make that font the default choice for the current document or the entire document. Click the second option: All documents based on the Normal.dotm template and click OK .
Here, whenever you create a new document in Word, the software will use the downloaded font as the default font for the document file.
Remember that deleting a font from Word means it will be removed from your computer. You can't keep using it on every app.
1. Press the Win key and click the configuration icon to open Settings .
2. Find and click on the Personalization option .
3. Select Fonts from the options on the left sidebar.
4. All installed fonts will appear in the right panel. Click the font you want to delete in this list.

5. A new screen showing font information will appear. Here, click the Uninstall button to delete the selected font from your computer.
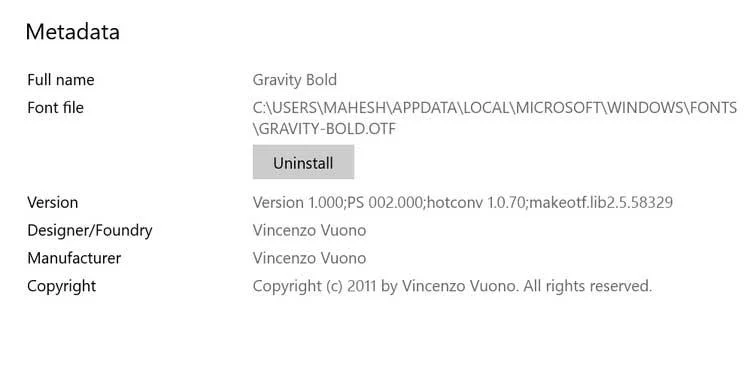
6. Click Uninstall again to delete that font from the system.
It's done.
Note: You cannot add new fonts to Word online.
Set the proofing language for the whole document or selected text, confirm spell checking is active, and identify when a server dictionary is missing.
Enable persistent Track Changes for everyone in one ONLYOFFICE document, verify edits are recorded, and understand the limits of this setting.
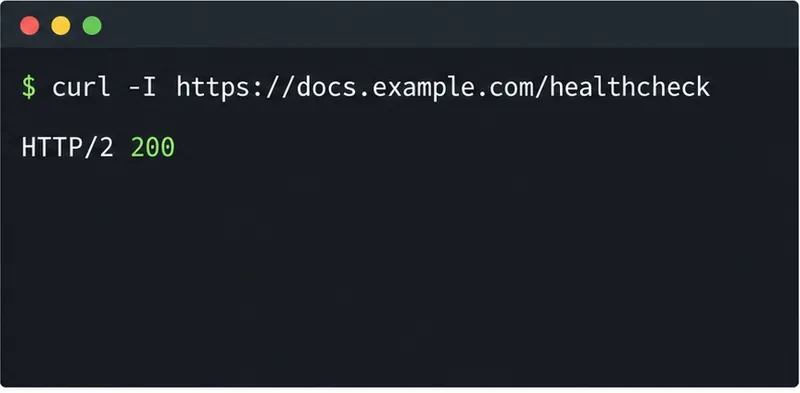
Find whether Nginx, Docker networking, or an internal ONLYOFFICE service is returning 502, then verify the corrected upstream and health check.
Diagnose failed ONLYOFFICE saves by checking the Nextcloud callback route, proxy redirects, and storage logs, then verify the edited file persists.
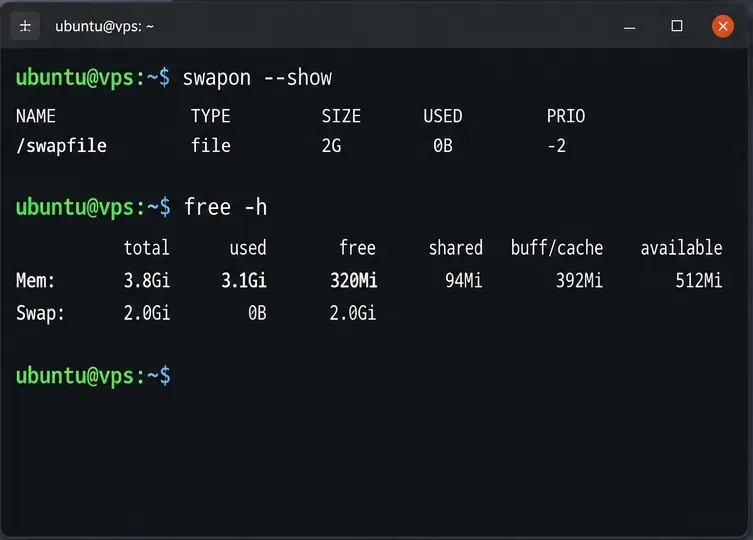
Find the cause of ONLYOFFICE memory crashes, check Docker limits, size VPS RAM correctly, add swap safely, and verify that documents open and save.
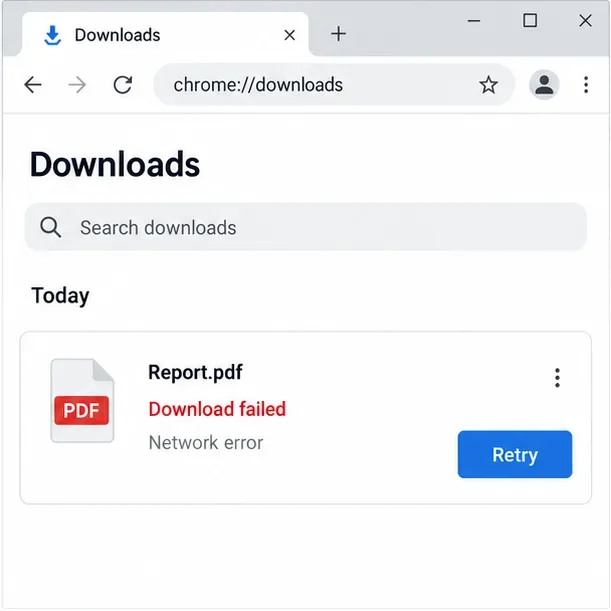
Separate browser download problems from server-side conversion errors and use the right log or access check to get your PDF export working.
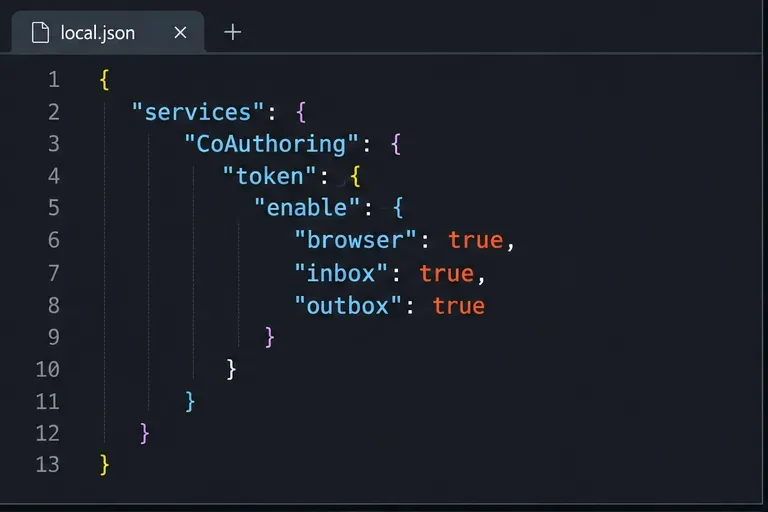
Match the JWT secret used by ONLYOFFICE Docs and Nextcloud, apply it safely for Docker or Linux installs, and verify the connection without weakening authentication.
Install ONLYOFFICE Workspace Community on Ubuntu 24.04 with the official Docker script, check server requirements, skip Mail if needed, and verify the portal safely.
Configure matching JWT secrets for ONLYOFFICE Docs and its connector, with safe steps for Linux packages, Docker deployments, and verification.
Configure HAProxy HTTPS, forwarding headers, WebSocket timeouts, and health checks for ONLYOFFICE Docs, then verify editing and saves.