Are you tired of leftover browsing history, cookies, and cached files cluttering your Microsoft Edge sessions? Imagine a browser that wipes everything clean every time you close it—boosting your privacy without extra effort. In this guide, we'll show you exactly how to clear Microsoft Edge data automatically on exit. Perfect for privacy enthusiasts and everyday users alike, these steps work on the latest Edge versions for Windows, macOS, and more. Let's dive in and reclaim your digital space! 🚀
Why You Should Clear Microsoft Edge Data Automatically on Exit
Clearing data manually is a hassle, but automating it in Microsoft Edge ensures no traces linger. Here's why it's a game-changer:
- Enhanced Privacy: Cookies and history from shopping or banking sessions vanish instantly, reducing tracking risks.
- Faster Performance: Less cached junk means quicker startups and smoother browsing.
- Shared Devices: Ideal for family PCs—your activity stays private from others.
- Compliance: Meets strict privacy needs without constant reminders.
Ready to set it up? Follow these precise steps for seamless automation. 👍
How to Clear Microsoft Edge Data Automatically on Exit: Step-by-Step
Setting up clear Microsoft Edge data automatically on exit takes under 2 minutes. No extensions needed—just native settings. Here's the foolproof method:
- Launch Microsoft Edge: Open your browser and click the three-dot menu (⋮) in the top-right corner. Select Settings. Quick tip: Use the shortcut Alt + F for faster access.
- Navigate to Privacy Settings: In the left sidebar, click Privacy, search, and services. Scroll down to the Clear browsing data section—it's your privacy powerhouse!
- Enable Auto-Clear: Toggle on Clear browsing data when you close the browser. A confirmation prompt appears; click Clear data on exit to proceed. ⭐
- Choose What to Clear: Customize options like Browsing history, Cookies and other site data, Cached images and files, and more. For max privacy, select all—but keep passwords off if needed.
- Test It Out: Browse a site, then close Edge (Alt + F4). Reopen and check edge://settings/clearBrowserData—data should be gone! 🎉
Visual guide above shows the key toggle. If you're on mobile, tap your profile icon > Settings > Privacy and security > Clear browsing data—same auto-exit option awaits.
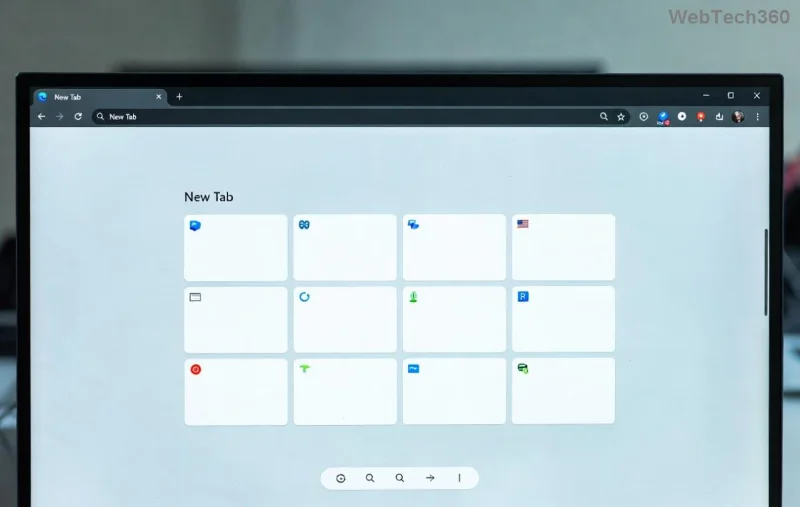
What Data Types Can You Clear Automatically?
Edge lets you pick exactly what to zap. Use this table for a quick overview:
| Data Type |
What It Clears |
Privacy Impact |
| Browsing history |
Visited sites and search queries |
High—stops timeline snooping |
| Cookies & site data |
Login info, trackers |
Very High—blocks ad following |
| Cached files |
Images, scripts for speed |
Medium—frees space |
| Download history |
File download logs |
Medium—keeps list clean |
| Passwords (optional) |
Saved logins |
Caution—avoid if using sync |
![Detailed Microsoft Edge clear browsing data options table]()
Pro screenshot above highlights selections. Tailor to your needs—start broad, refine later.
Troubleshooting: What If It Doesn't Work?
Stuck? Common fixes:
- ❌ Not Clearing? Ensure Edge is fully closed (check Task Manager). Update via edge://settings/help.
- ❌ Synced Data Persists? Pause sync in edge://settings/profiles/sync.
- ❌ Mobile Issues? Android/iOS: Settings > Privacy > Clear on exit (beta feature in latest builds).
For official details, check Microsoft's guide: Clear browsing data.
Pro Tips to Supercharge Your Privacy
Take it further:
- Combine with Tracking Prevention (Strict mode) in Privacy settings—blocks trackers before they stick. 1️⃣
- Use InPrivate mode for sensitive sessions alongside auto-clear.
- Extensions like uBlock Origin pair perfectly for ad-free, trace-free browsing.
- Schedule full resets weekly via Task Scheduler for Windows power users.
These tweaks ensure Microsoft Edge clear data on exit is just the start of ironclad privacy. Feeling empowered? Share your setup in the comments below!
Wrap-Up: Lock in Your Privacy Today
That's it—you now know how to clear Microsoft Edge data automatically on exit like a pro. No more manual wipes, just pure, fresh sessions every time. Your browser, your rules. Dive back in, tweak those settings, and surf worry-free. What's your top privacy must-have? Let's keep the conversation going! 👏