Mount an SMB/CIFS Share in ownCloud Without a Linux Mount
Connect a Windows or Samba network share to ownCloud through External Storage, verify credentials, and troubleshoot inaccessible folders safely.
When you connect a mouse and keyboard to the TV, you can:
- Quick, easy input compared to using the remote to control the virtual keyboard on the TV.
- Quickly perform optional operations, navigate and scroll pages.
+ Connect TV with wired mouse:
To connect the TV using a mouse, keyboard and wired mouse, you plug the USB end of the mouse cord into the USB port on the TV, then the mouse pointer will appear on the screen.

+ Connect TV with wireless mouse:
To connect the TV with a wireless mouse, plug the receiver of the mouse into the USB port of the TV, then the mouse pointer will appear on the screen.
After connecting the mouse to the TV, you can comfortably use the mouse to move, scroll the page, click….
Similar to connecting TV to mouse, you can connect LG Smart TV running WebOS with wired and wireless keyboard.
+ Connect TV with wired keyboard:
To connect the TV to a wired keyboard, plug the USB end of the keyboard cord into the USB port on the TV.
+ Connect TV with wireless keyboard:
To connect the TV to a wireless keyboard, plug the receiver of the keyboard into the TV's USB port.
After connecting the TV to the keyboard, you can use the keyboard for input operations on the TV, instead of wasting time controlling the remote on the virtual keyboard.
Note:
- LG TVs tend to prioritize using virtual keyboards for input, so when you connect the TV to the wireless keyboard, there may be a situation where you can only enter numbers but not words. The solution now is that you can use the virtual keyboard, or use a wired keyboard.
- All LG Smart TVs WebOS operating system today allows connection with mouse and keyboard. However, not all mice and keyboards are 100% compatible TV. LG WebOS Smart TV is best compatible with Logitech keyboards and mice.
See more:
Smart TV and accessories included
Above are the steps to connect mouse and keyboard to LG Smart TV WebOS operating system, wish you success.
Connect a Windows or Samba network share to ownCloud through External Storage, verify credentials, and troubleshoot inaccessible folders safely.
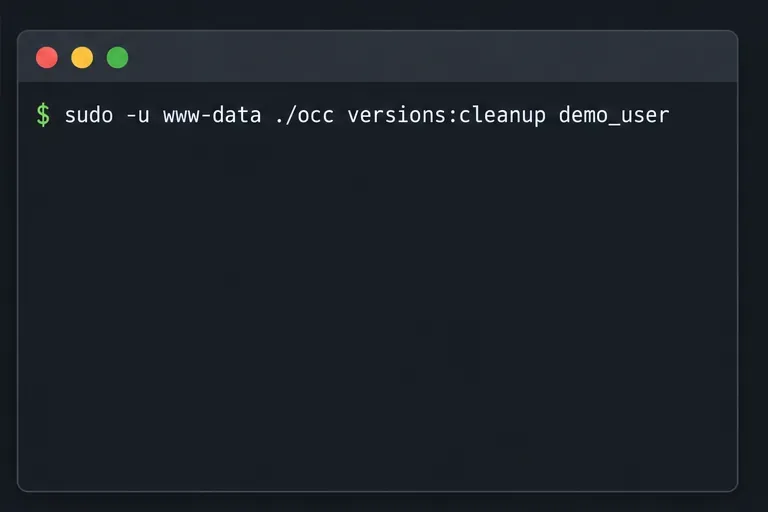
Remove every stored ownCloud Server Classic file version for one account or all users, and distinguish a full purge from retention-based expiry.
Trace an ownCloud mobile connection refusal by checking the server URL, phone network, HTTPS endpoint, and server logs in the right order.
Replace on-demand job runs with a systemd timer that runs ownCloud’s supported occ system:cron command every 15 minutes.
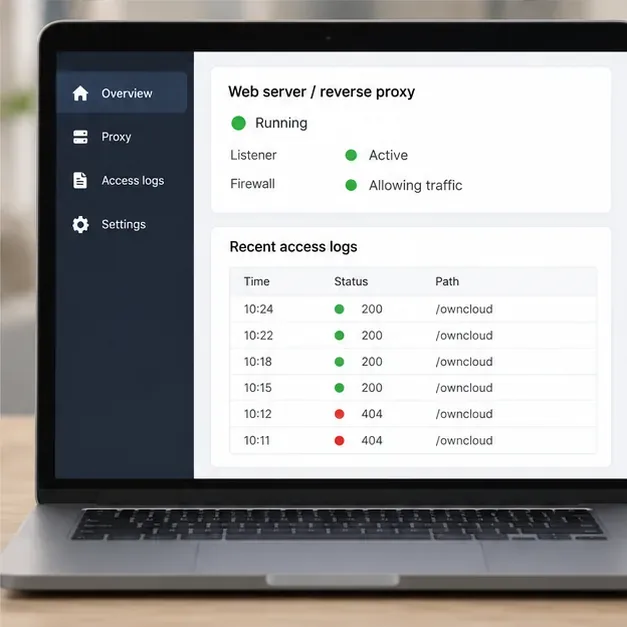
Trace the WebDAV request through Apache, Nginx, or a reverse proxy, then confirm ownCloud sync works with an authenticated PROPFIND test.
Fix Nextcloud’s missing outgoing address warning by setting its canonical URL and checking DNS, HTTPS, and reverse-proxy routing from the server itself.
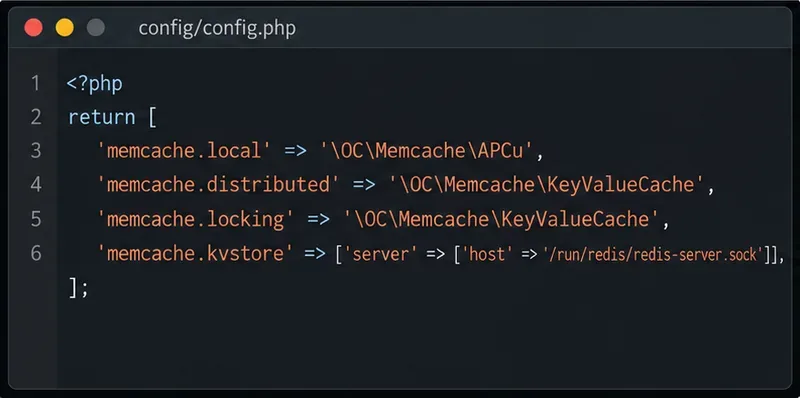
Configure APCu and Redis over a local Unix socket for Nextcloud caching and file locking, with steps for current and older Nextcloud releases.
Check Nextcloud’s cron mode, repair its systemd service and timer, and verify that background jobs run after startup and every five minutes.
Enable reliable Nextcloud file locking, choose the right Redis or Valkey backend, and verify the warning clears without risking concurrent file changes.
Fix common Nextcloud scan findings with current updates, HTTPS and HSTS, precise reverse-proxy trust, and checks against the public server.