
Build a Debian 12 RAID 1 Mirror with mdadm
Create and verify a two-disk Debian 12 RAID 1 data array, format it safely, and configure it to assemble and mount after reboot.
Safe Mode is a built-in Windows troubleshooting feature that disables unnecessary drivers and programs during startup. It allows you to isolate problems and fix them without messing with unnecessary applications. Let's take a quick look at how to boot into Safe Mode with Windows 10 and what to do if you can't boot into Safe Mode!
Table of Contents
To open the System Configuration screen, type msconfig in the Start menu search bar and select the best match. Open the Boot tab and note the Boot Options . Selecting the Safe Boot option will force your system to boot into Safe Mode after the next reboot.
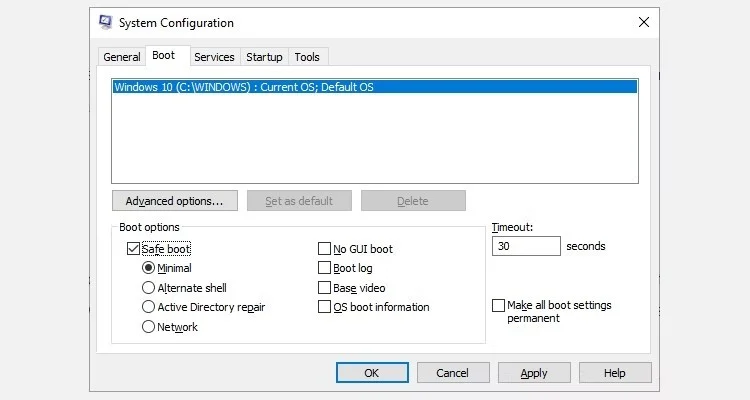
You can choose from additional options. Here's what they do:
Select Minimal > Apply > OK . System Configuration will now ask if you want to restart your system. Selecting Restart will immediately begin the reboot process, so be sure to save any active documents or projects.
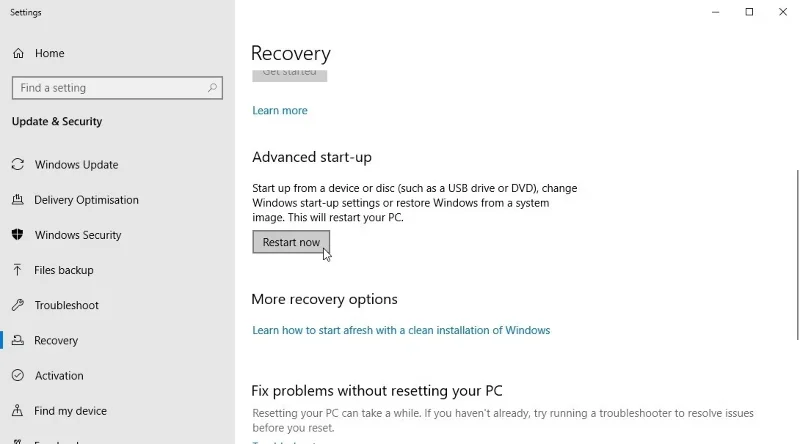
Your next option is Windows 10 Advanced Startup. Type advanced startup into the Start menu search bar and select the best match.
You can skip this somewhat lengthy clicking process by holding down the Shift key and clicking Restart under Power, found in the Windows 10 Start menu. This reboot will take you straight to the Recovery options , where you can select Troubleshoot > Advanced Options > Startup Settings .
Until the release of Windows 8, the most common method of entering Safe Mode was to press F8 on the keyboard during startup. Pressing F8 will bring up the Safe Mode options screen, which lists the options found in method 1 (above) and some alternatives.
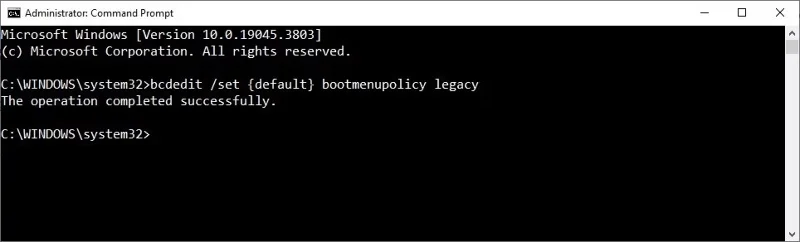
To improve boot times, Windows 10 (and Windows 11) disables F8 Safe Mode access by default. However, you can sacrifice a few seconds of boot time by enabling the F8 menu using Command Prompt:
bcdedit /set {default} bootmenupolicy legacybcdedit /set {default} bootmenupolicy standardThe reverse command returns the boot process to its original state. So to access Safe Mode, you will have to use one of the alternative options discussed.
Note : The above steps also work on Windows 11!
Some computers that cannot boot get stuck on the Windows startup screen.
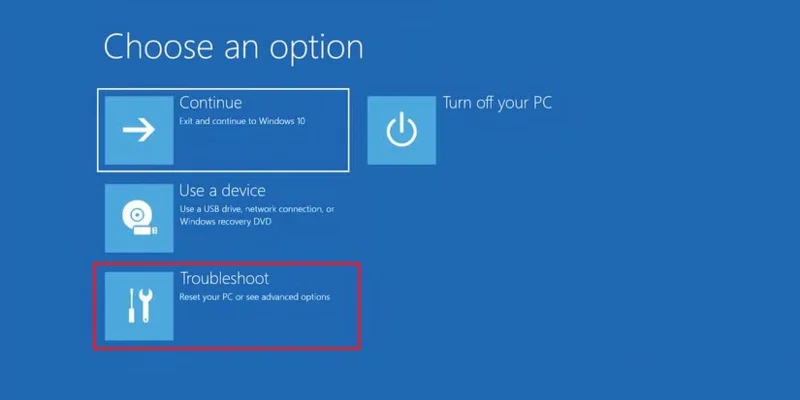
However, you can force your computer into Safe Mode by interrupting the boot process three times in a row by holding down the power button, which automatically launches Windows Recovery. When the Windows Recovery menu appears, do the following:
From the Choose an option recovery window , select Troubleshoot, Advanced options and Startup Settings .
From Startup Settings , you can restart your computer into Safe Mode, with the Internet enabled or disabled. Both options should work.
If you can't get into Safe Mode, you'll need to create a Windows 10 USB recovery drive. The recovery drive contains the Windows 10 recovery environment - previously accessible by pressing F8 while booting. Unfortunately, Microsoft has decided to remove this feature.
To create a recovery drive, you'll need another Windows 10 or 11 computer and a USB drive with at least 1GB of storage. If you want to create a system backup (you'll see the option to back up your system files to the recovery drive), you'll need at least 16GB of storage.
Launch Control Panel > Create a recovery drive .
Then follow the instructions.
After you create a recovery drive, you can only boot from it if you have enabled the USB drive to boot from the POST environment, also known as UEFI or BIOS. After enabling the USB drive to boot, insert it into your computer and restart (you may need to press the reset button or hold the power button for a few seconds).
It's also worth mentioning that a full installable copy of Windows 11 or 10 created using the Windows Media Creation Tool offers the same features as a recovery drive.
After troubleshooting Windows 10, you can leave Safe Mode. But how do you leave Safe Mode once you're in it?
There are two options, depending on how you boot into Safe Mode:
Don't forget to check the System Configuration menu if something goes wrong.
Now you know the 3 easiest methods to access Safe Mode on Windows 10. Make sure to note the last part about System Image Recovery and System Repair Discs. Remember that the former only works if you have set the restore location before you plunged into the BSOD-induced nightmare.
Good luck!
You can refer to some articles below:
Create and verify a two-disk Debian 12 RAID 1 data array, format it safely, and configure it to assemble and mount after reboot.
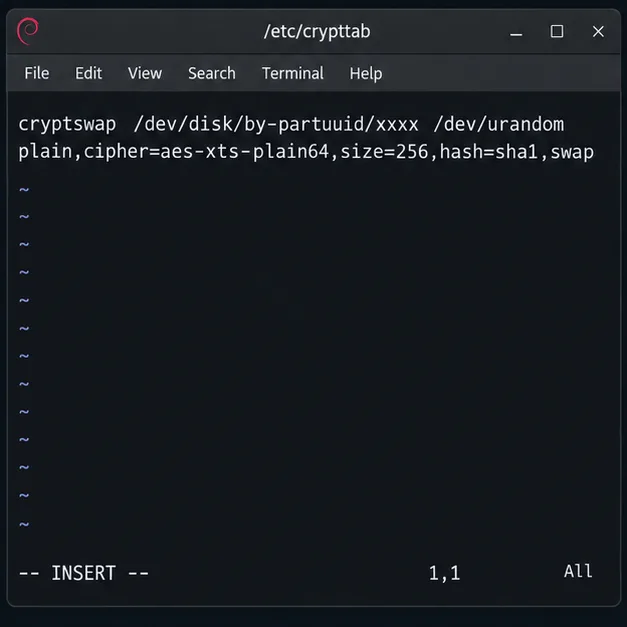
Set up random-key encryption for an existing Debian 12 swap partition, verify the active dm-crypt mapping, and understand the hibernation trade-off.
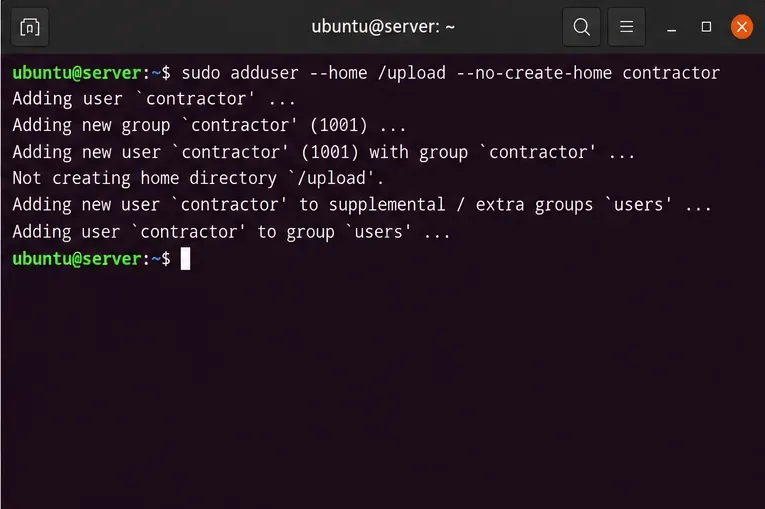
Restrict Ubuntu 24.04 SSH accounts to designated SFTP folders with chroot, proper permissions, Match rules, and safe tests—without granting shell access.
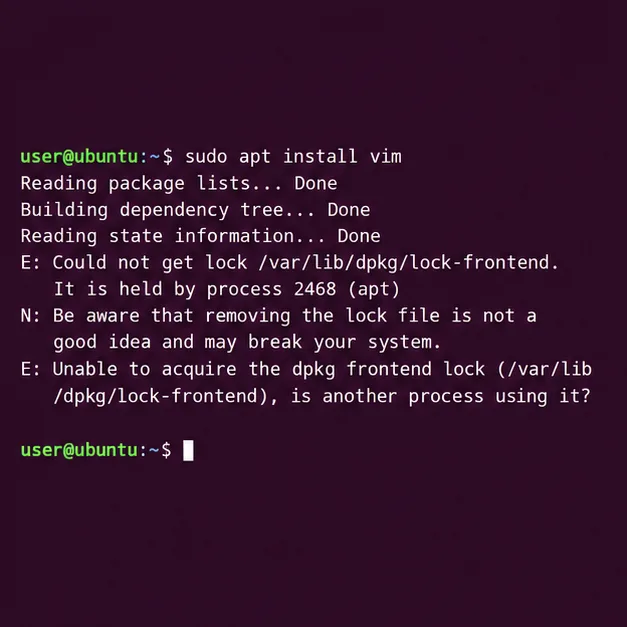
Find which process owns Ubuntu’s dpkg frontend lock, let package work finish, and repair interrupted installations without deleting lock files.
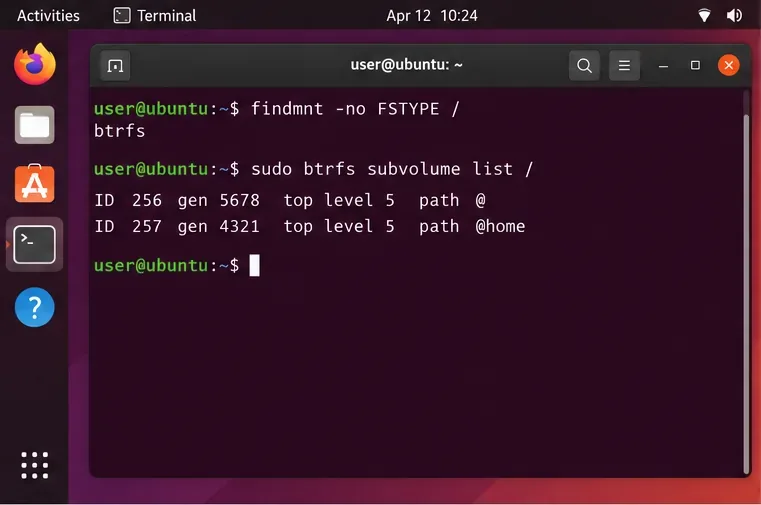
Set up scheduled Btrfs system snapshots on Ubuntu Desktop with Timeshift, verify the Ubuntu subvolume layout, choose retention, and understand what snapshots cannot protect.
Plan a safer Debian 12 to Testing migration: upgrade through Stable, back up, clean APT sources, simulate dependency changes, and verify what changed.
Diagnose Ubuntu Server emergency mode safely. Read boot logs, check root and fstab mounts, repair a failed unit, handle filesystem errors, and verify a clean reboot.
Set up a Debian 12 WireGuard VPN server for one remote client. Configure keys, IPv4 forwarding, nftables NAT, firewall access, and connection checks.
Harden a Debian 12 workstation with a careful CIS Benchmark workflow: select the right profile, patch safely, review services and access, configure nftables, and document evidence.
Diagnose MySQL OOM kills on Debian 12, check VPS memory limits, configure swap, and tune database memory and concurrency without promising a universal fix.