Keep Writer Revisions Visible When Exporting to DOCX
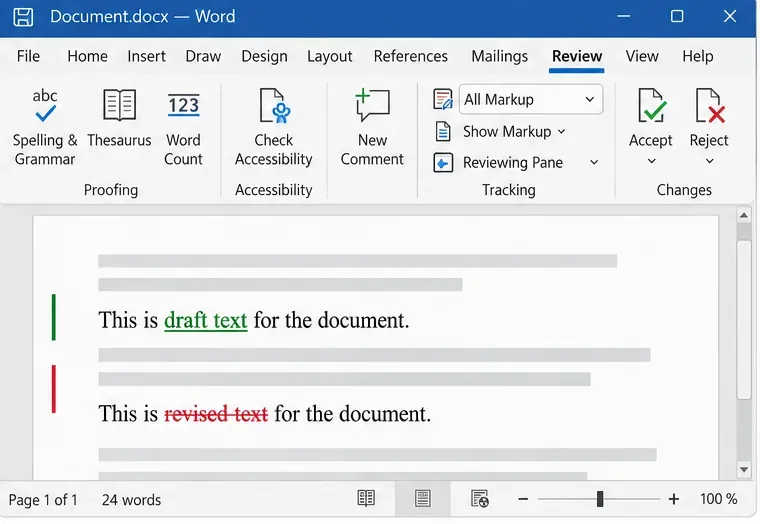
Track edits in Writer, preserve an editable ODT source, and check the exported DOCX in Word before sharing it.
Iconfinder is a website that stores an enormous amount of icons on the Internet . Users can easily access and download the icons on the system almost for free. Download.vn will guide you how to download icons for free on Iconfinder website through the following article.

Firstly, you access the Iconfinder website .
In the homepage of the web, enter the keyword of the icon you want to search and then press the search button for the magnifying glass to the right, or press Enter.
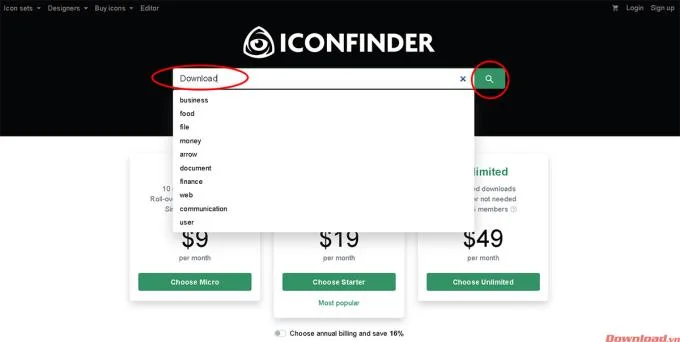
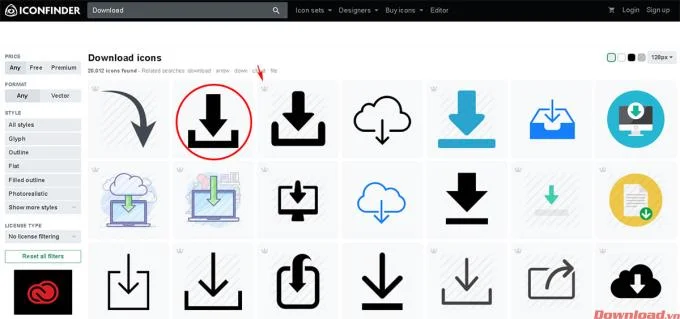
In the icon panel that appears, click the one you want to use. Note that for icons with a crown in the upper corner, you have to pay a small fee if you want to use it. If you still want to use these paid icons, please refer to the end of the article.
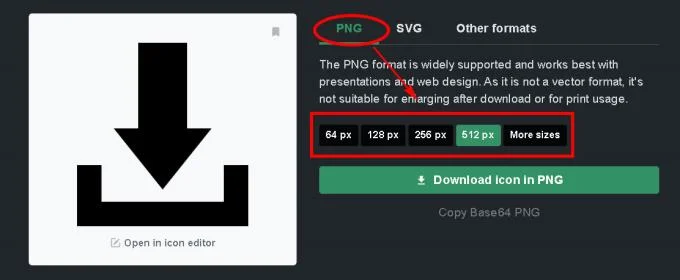
The options panel will appear, we can customize some parameters such as format, icon size. To download the icon as a .PNG, select the PNG tab, then choose the size you want to use as 64px, 128px, 256px .... then press the Download icon in PNG button to proceed with the download. You can click the More size section to choose more available icon sizes.
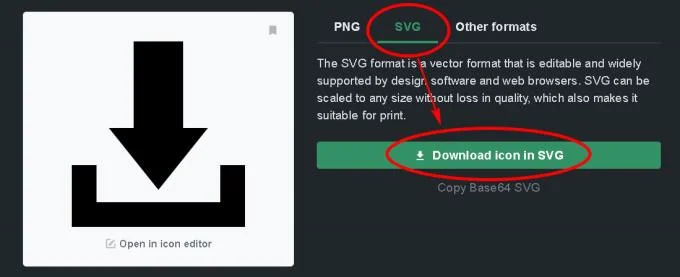
To download the icon as .SVG, click the SVG tab next to it and click Download icon in SVG . In this format, you will not be able to choose the icon size.
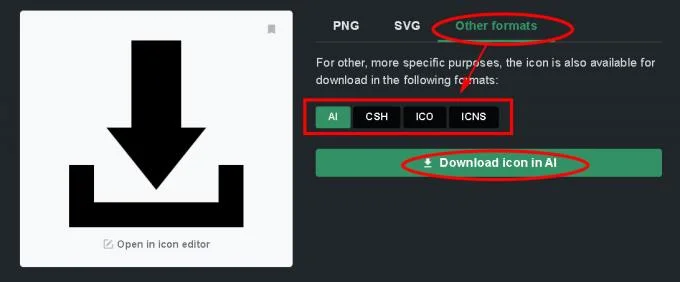
In case you want to use the icon in other formats, click the Other formats tab and select the desired format like .AI, .ICO, ... Click on the download button below to download the icon to your computer.
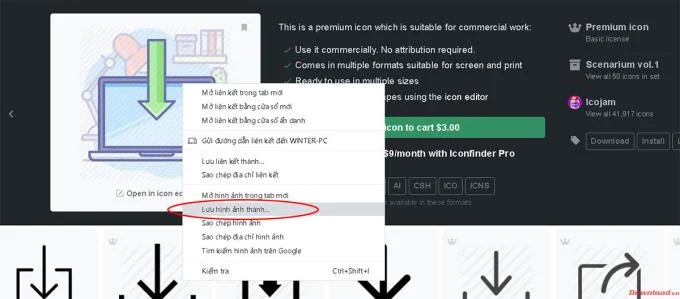
For icons that need a paid account to download , you can click that icon. In the download options panel, right-click and select Save image as ... or Save image as ... to download the icon to your computer. However, the quality of this icon will not be as good as the original one.
I wish you successful implementation!
Track edits in Writer, preserve an editable ODT source, and check the exported DOCX in Word before sharing it.
Follow SUSE’s SP7 procedure to enable FIPS mode, reboot safely, verify the active policy, and check whether your compliance requirement calls for validated modules.
Compare YaST and cryptsetup for a new encrypted SLES data volume, choose LUKS1 or LUKS2, and verify unlock and mount behavior safely.
Create, refine, and verify a least-privilege AppArmor profile on SLES 15 SP7, with a clear note on SLES 16’s SELinux default.
Set up RMT on SLES 15, mirror entitled repositories, and verify HTTPS registration and package access from a test client.
Connect SLES 15 to AD with YaST’s SSSD-based logon management, then verify directory lookup, domain login, and Kerberos tickets.
Set up the right Live Patching path for SLES 16.0 or 15 SP7, apply eligible kernel fixes, and confirm what is active without confusing it with a reboot-required kernel update.
Load a custom SLES 15 kernel module without disabling Secure Boot. Match the running kernel, sign the .ko file, enroll a MOK key, and verify loading.
SLES 15 SP5 can migrate online to SP6, but each node must reboot. Use a tested rolling upgrade or blue-green cutover to keep workloads reachable.
Use SUSE’s supported STIG profile to scan SLES 15, test remediation, review remaining findings, and retain assessment evidence.








