Currently, taking a selfie is a job loved by many people. Therefore, to be able to easily take and edit your photos to look really nice, we need to install the selfie app on the phone.
SODA is one of the photographic and photo editing applications that are loved by many young people today. This application will give us a lot of extremely useful features, so that I can easily take and edit photos to become more beautiful. Today, we will introduce the steps to install and take photos using SODA , please follow the following article.
1. Instructions to download SODA on the phone
This article will guide us to install this application on Android , in addition you can follow the same steps for iOS , or click the download button below.
Download SODA on Android Download SODA on iOS
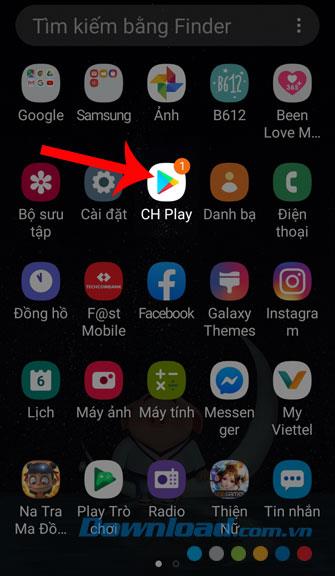
Step 1: First, click the icon of CH Play ( App Store with iOS) on the main screen of the phone.
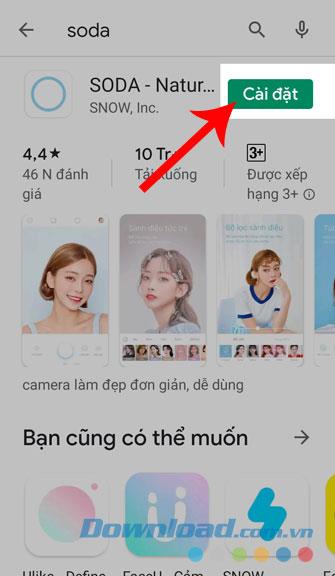
Step 2: Enter the keyword SODA and press Search button .
Step 3: Click the Install button , to start downloading the application to your phone.
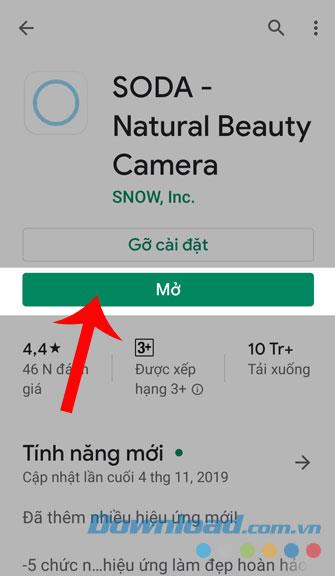
Step 4: You will have to wait a while for the installation process to be completed, then press the Open button to be able to begin to experience this application.
2. Guide to taking photos with SODA
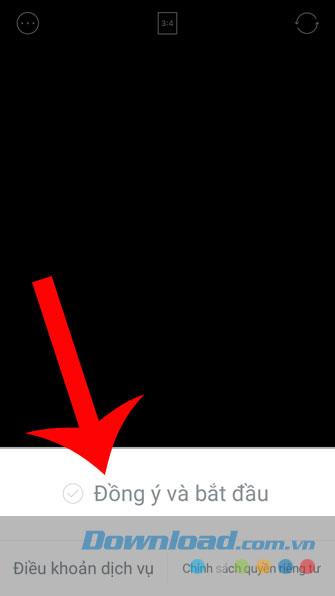
Step 1: After successfully installing and opening this application, click on the agree and start .
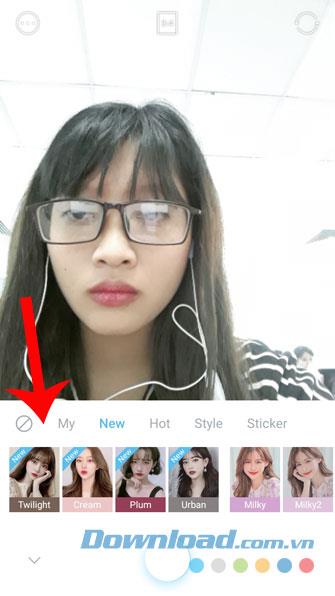
Step 2: Click the Style section , to select the effects for the photo you are about to take.
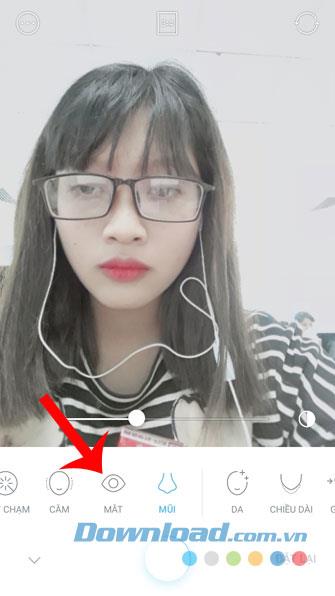
Step 3: Click on Beauty and edit the facial details such as: Skin, Go Cheek, Eyes, Nose, ... to become more beautiful.
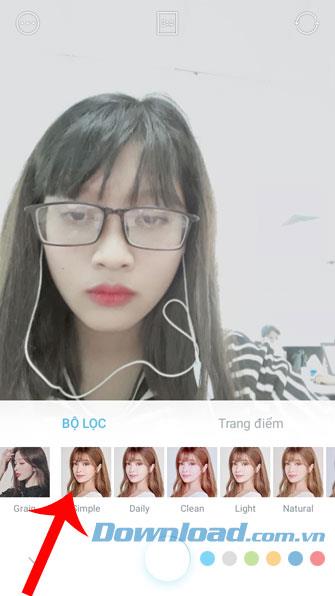
Step 4: Touch the Filter section , then select the appropriate color effects for the picture.
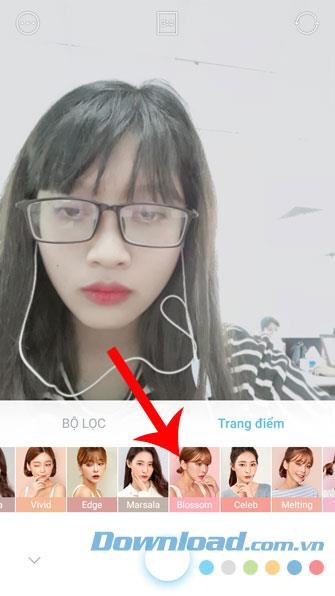
Step 5: Click on the Make up section and choose the makeup form for his face.
Step 6: Alternatively, click on the 3: 4 icon to adjust the size of the photo.
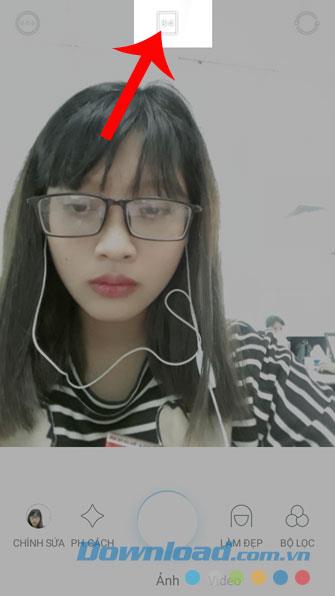
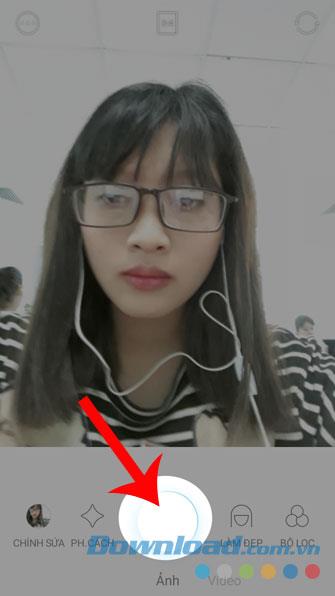
Step 7: After setting the features of the application, touch the circle at the bottom of the screen to take a photo.
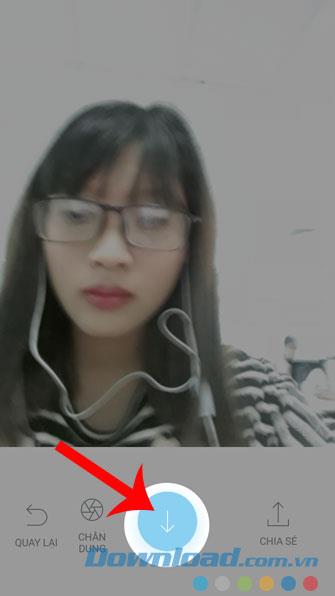
Step 8: Click the arrow icon to go down inside to save the image.
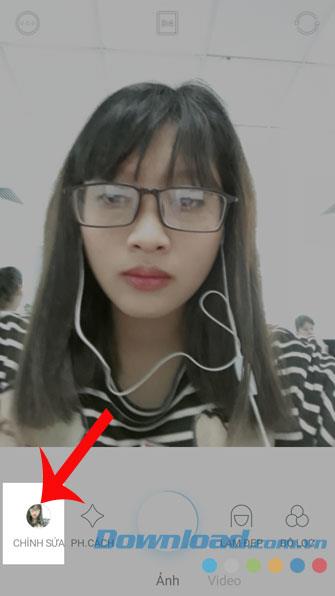
Step 9: To view the photo you just took, click the circle in the lower left corner of the screen.
Step 10: Click the picture you have just taken to view.

Hopefully, after following the tutorial on how to set up and take photos with SODA, you will be able to easily take yourself very nice pictures with this application and post them on social networks.
In addition, you can also refer to some articles to know how to take pictures with other applications such as:
I wish you successful implementation!
