Apply the SLES 15 STIG Safely with OpenSCAP

Use SUSE’s supported STIG profile to scan SLES 15, test remediation, review remaining findings, and retain assessment evidence.
Chrome automatically blocks risky downloads, protecting your device and account from malware and viruses. In the Google Chrome browser, you can use the Download Restrictions feature to limit downloads, increasing browser security. Then your computer will limit some of the risks when you download files from the network. Below are instructions for enabling safe file downloads on Google Chrome.
How to enable safe file downloads on Google Chrome
Step 1:
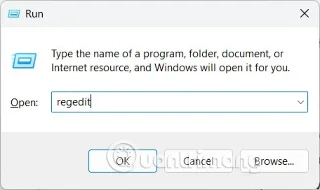
First, enter the keyword regedit in the Run dialog box to access.
Step 2:
In the Windows Registry interface, users access the path below.
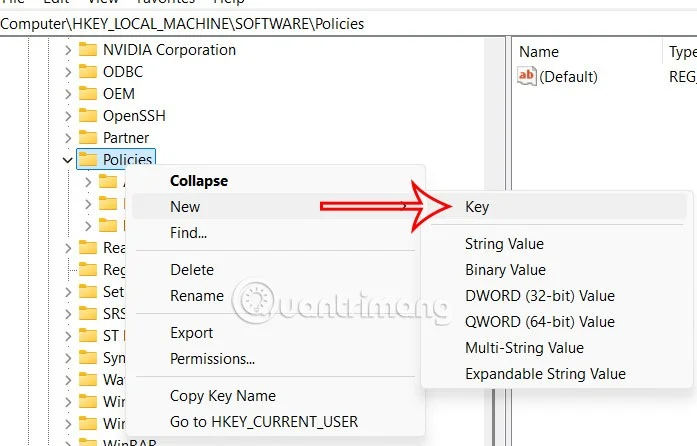
Computer\HKEY_LOCAL_MACHINE\SOFTWARE\Policies\Google\ChromeIf there is no Google key , right-click on Policies and name the new key Google .
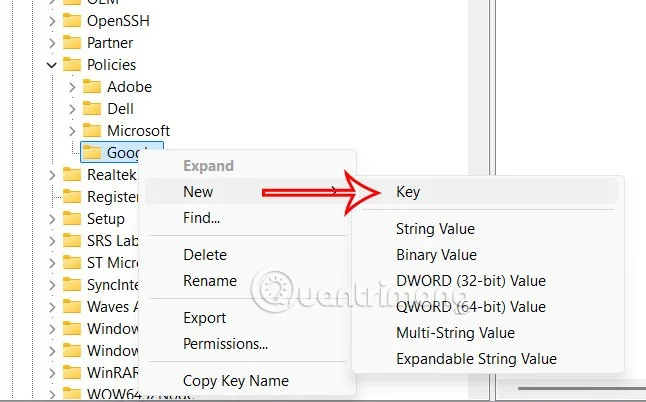
From Google keyword, you add a new key Chrome to adjust.
Step 3:
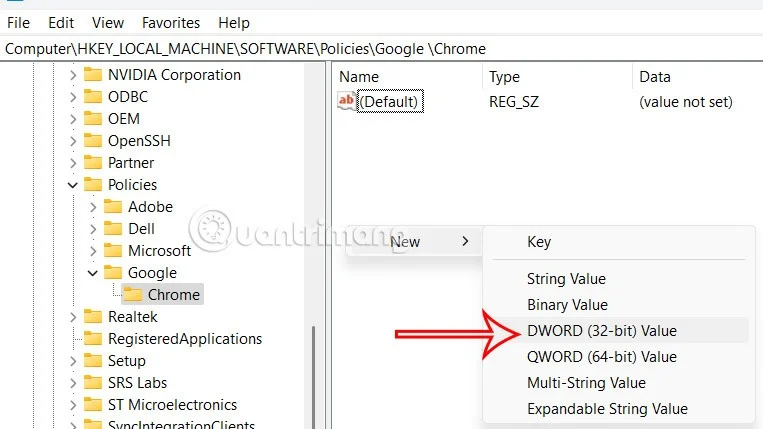
Click on the Chrome key and look at the content next to it, right-click on the white area and select New > DWORD (32-bit) Value .
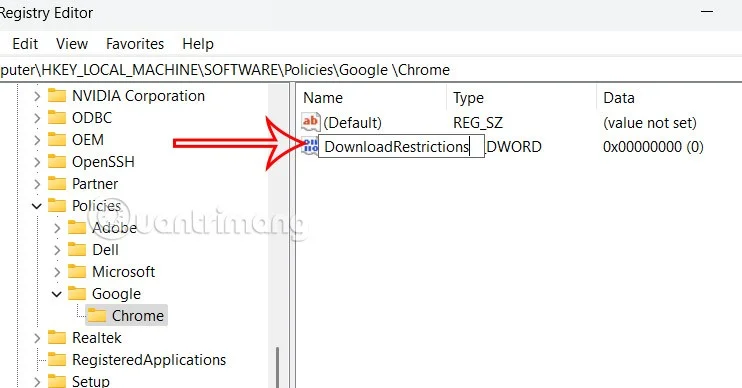
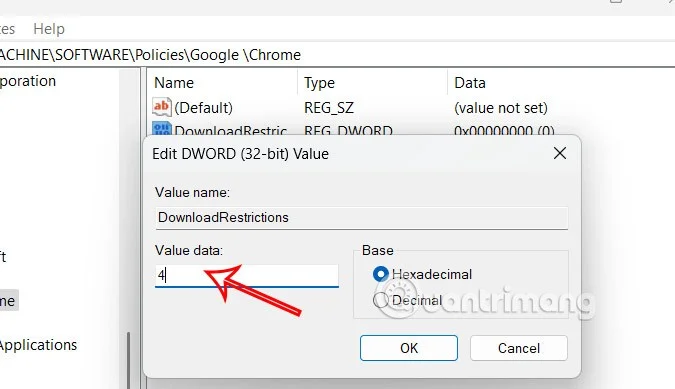
Now you name the new value DownloadRestrictions .
Step 4:
Double click on the DownloadRestrictions value to change it again. Here you change the value with:
We will enter 4 in the value box and then click Apply to save the changes.
To return to default settings, simply delete the DownloadRestrictions value.
Use SUSE’s supported STIG profile to scan SLES 15, test remediation, review remaining findings, and retain assessment evidence.
Trace a failed Cockpit connection through DNS, port 9090, the systemd socket, firewalld, TLS, and login settings using current SUSE guidance.
Create a redundant Ethernet connection on SLES 15 with YaST and Wicked, configure active-backup bonding, and verify both ports and failover.
Turn an existing SLES 15 system into a reviewed AutoYaST profile, validate it, and use it to deploy a test server with fewer manual steps.
Install the SLES 15 KVM and libvirt tools, enable the right host service, and configure selected virtual machines to start after a reboot.
Use systemd jobs and the previous boot journal to locate a slow service, mount, or storage dependency, then correct it without masking the cause.
Use firewall-cmd to inspect the active zone, allow HTTP safely, preserve SSH access, and verify that the rule survives a reload on SLES 15.
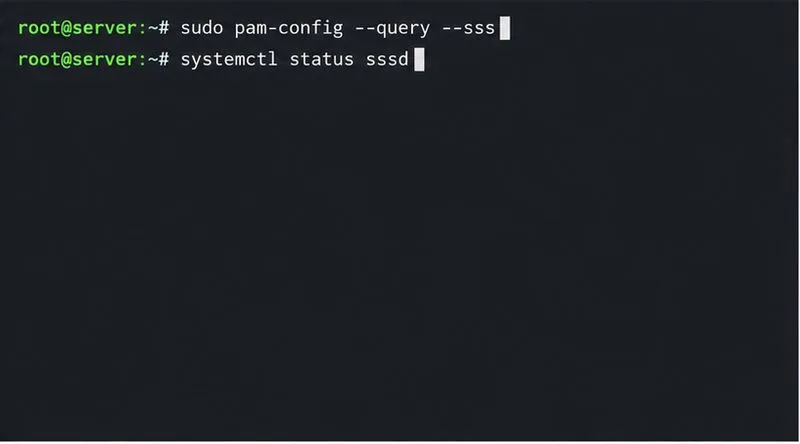
Trace a PAM failure to its service, account policy, or identity provider, then repair the right SLES configuration while preserving a working admin session.
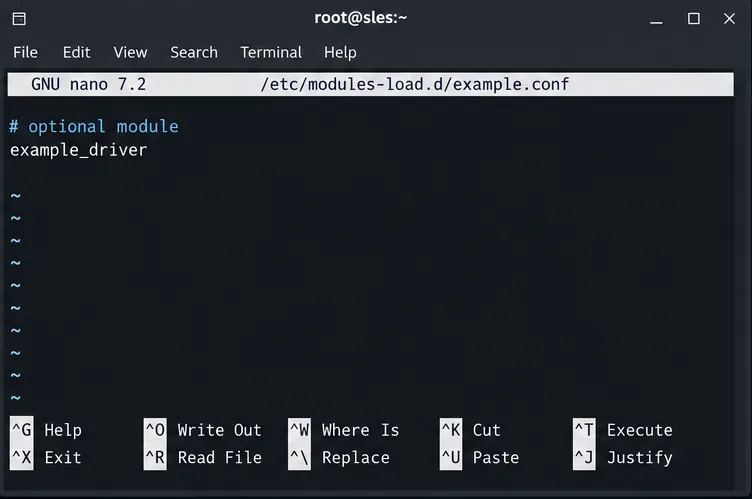
Trace a failed kernel module at SLES startup, correct an obsolete boot entry or repair the required driver, and verify the next boot.
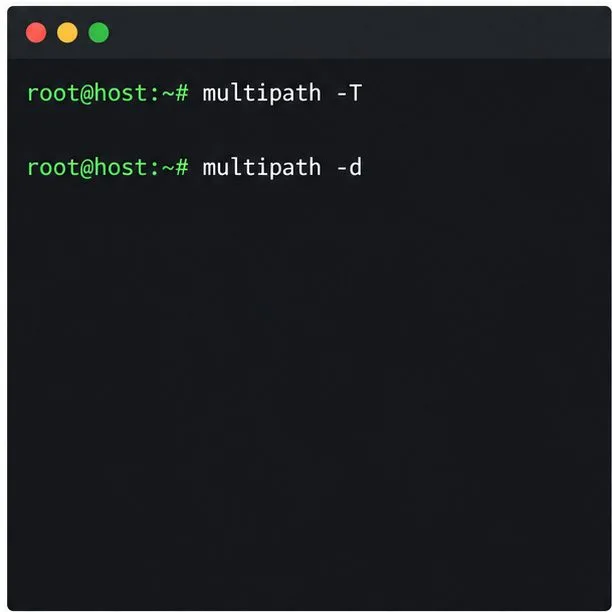
Prepare SCSI SAN paths, enable multipathd, inspect SUSE’s hardware defaults, and verify stable device maps without guessing array settings.