Build a Reusable AutoYaST Profile for SLES 15 Installs

Turn an existing SLES 15 system into a reviewed AutoYaST profile, validate it, and use it to deploy a test server with fewer manual steps.
Searching on Windows 11 helps you quickly find apps, files, etc. But when you want to locate a file on your computer through the Start menu, Bing results from the web may be displayed instead. This happens because Windows 11 tries to find the file on your computer but cannot locate it, so it does it on the web and the web results will be displayed. If you do not want the website to appear in the Start menu when searching for files, you can adjust it according to the instructions below.
Turn off web search in Windows 11 Start menu via Settings
Step 1:
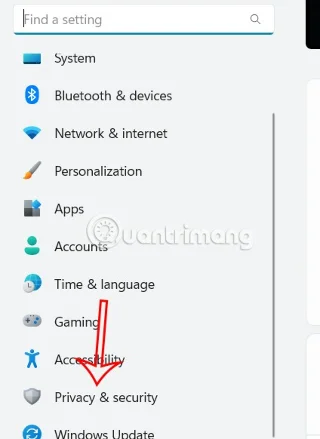
Press Windows + I to access Settings, then select Privacy & Security in the list on the left of the interface.
Step 2:
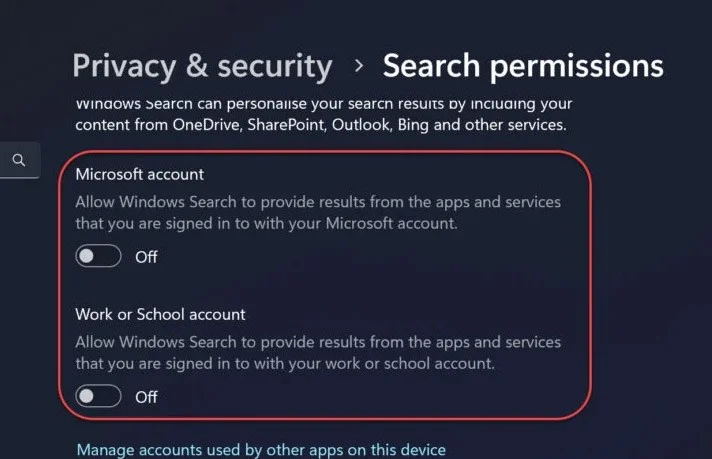
Look to the right and click on Search Permissions to adjust search permissions on Windows 11.
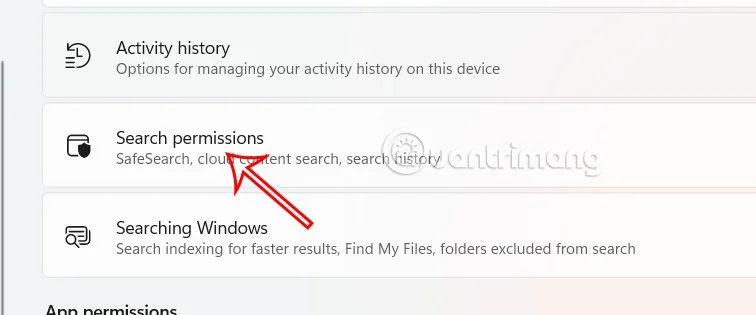
Now turn off the search options for Microsoft account and Work or School account .
Disable web search in Start menu via Registry
Step 1:
You enter the keyword regedit into the Run interface to access Registry Editor. Then you access the path below.
HKEY_CURRENT_USER\Software\Microsoft\Windows\CurrentVersion\Search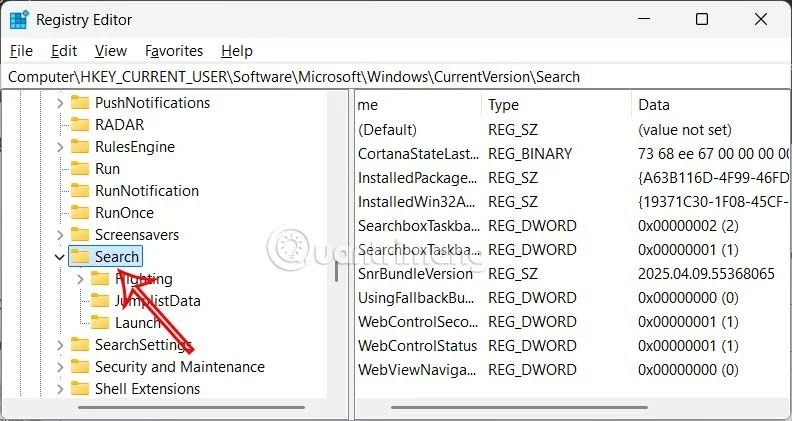
Step 2:
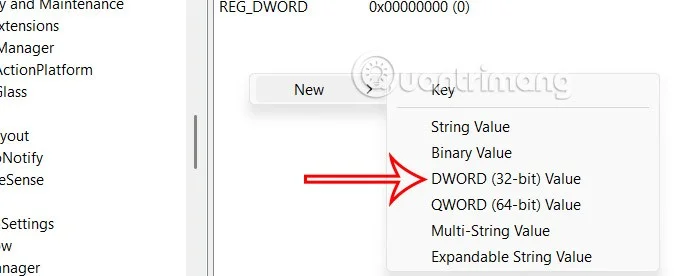
In this new interface, users right-click anywhere in the right pane and select New > DWORD (32-bit) Value .
Step 3:
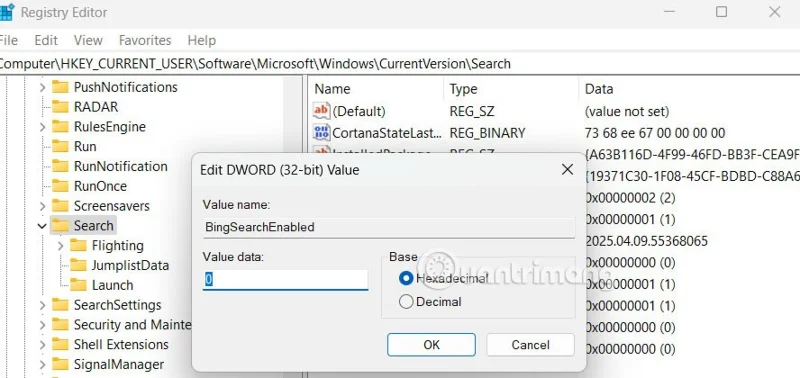
We name this new value BingSearchEnabled .
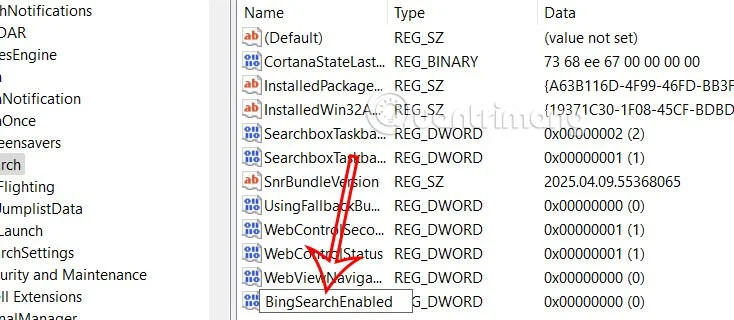
Then the user double-clicks on the value and sets it to 0 to hide Bing web search results in the Windows 11 Start menu.
Turn an existing SLES 15 system into a reviewed AutoYaST profile, validate it, and use it to deploy a test server with fewer manual steps.
Install the SLES 15 KVM and libvirt tools, enable the right host service, and configure selected virtual machines to start after a reboot.
Use systemd jobs and the previous boot journal to locate a slow service, mount, or storage dependency, then correct it without masking the cause.
Use firewall-cmd to inspect the active zone, allow HTTP safely, preserve SSH access, and verify that the rule survives a reload on SLES 15.
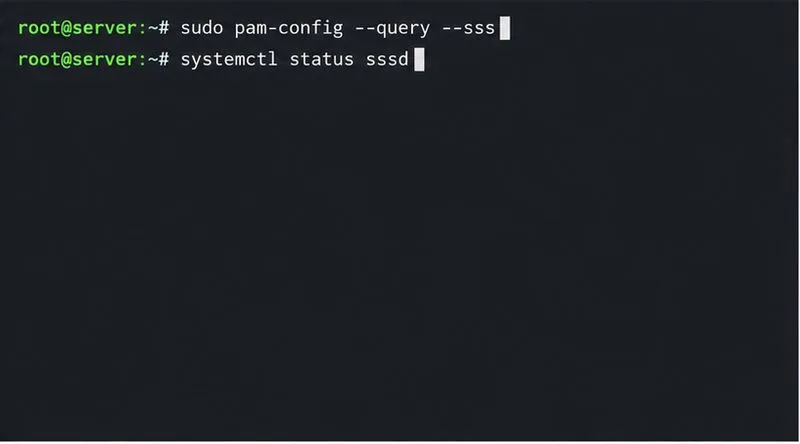
Trace a PAM failure to its service, account policy, or identity provider, then repair the right SLES configuration while preserving a working admin session.
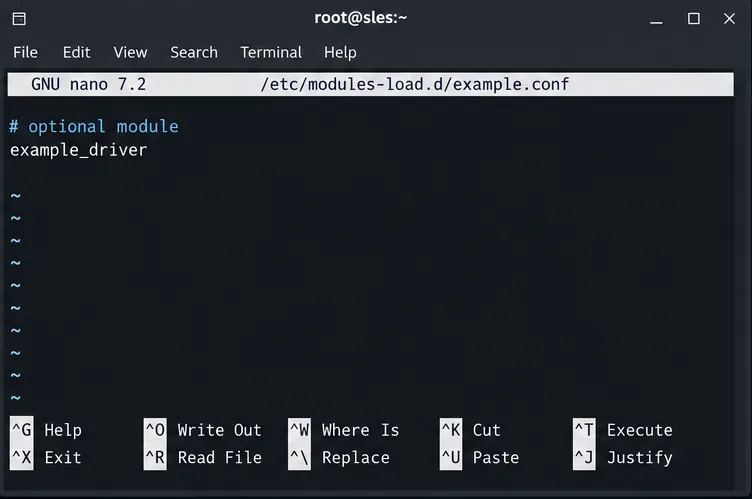
Trace a failed kernel module at SLES startup, correct an obsolete boot entry or repair the required driver, and verify the next boot.
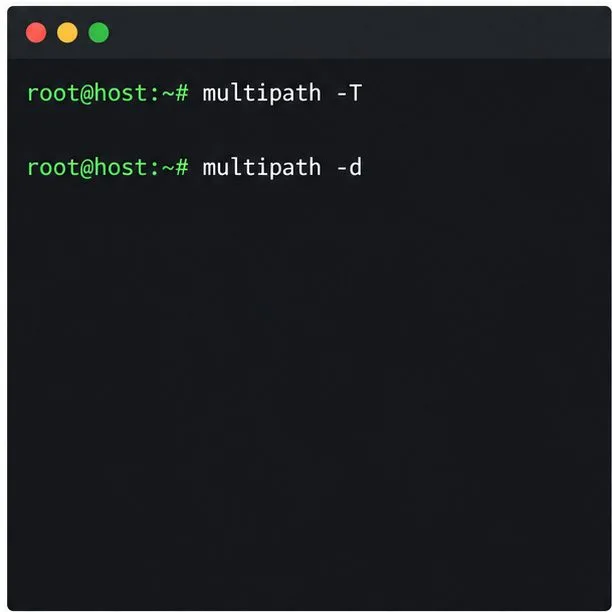
Prepare SCSI SAN paths, enable multipathd, inspect SUSE’s hardware defaults, and verify stable device maps without guessing array settings.
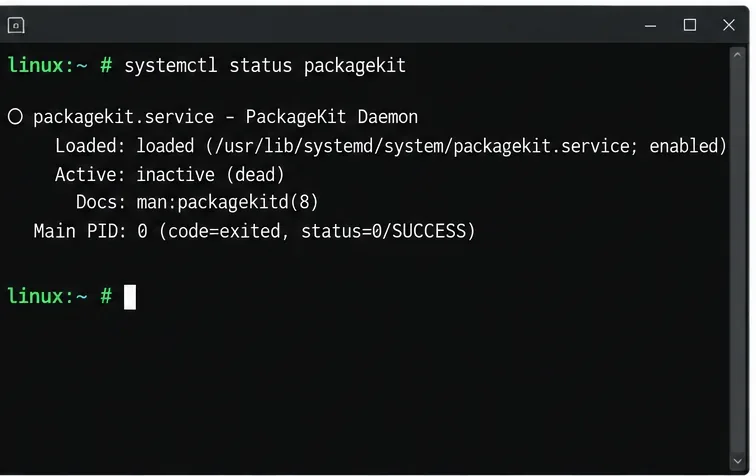
Find the process holding Zypper’s package lock, distinguish process conflicts from package locks, and retry updates without deleting lock files blindly.
Register SLE HA, bootstrap SLES 15 nodes, then add fencing, quorum, and tested service resources before relying on failover.
Trace a Zypper refresh error to SUSE, RMT, or a third-party endpoint, then apply the right server-side or cache fix without disabling essential updates.