Home
» How to
»
Move Nextcloud Data to an External Drive Without Breaking Storage
Move Nextcloud Data to an External Drive Without Breaking Storage
For a conventional Linux install, mount the external drive persistently, copy the complete data directory while Nextcloud is offline, then symlink the original path to the new location. Do not simply change datadirectory in config.php: Nextcloud tracks local storage by absolute path, so a direct path change can orphan files and shares.
This example assumes a package or archive install. Docker, Snap, and appliance installs map paths differently; adapt the mount to that deployment instead of copying these host paths blindly.
What is confirmed, and what depends on your server
Point
What to do
Verified: Nextcloud uses the absolute path to identify local storage. A careless move can orphan files or shares.
Keep the configured path stable with a symlink; preserve all contents, including .ncdata.
Setup-dependent: data path, HTTP user, filesystem, and service names vary.
Check your effective config and confirm the disk preserves required Linux ownership and permissions.
Disk-dependent: reliable boot mounting and power cannot be assumed.
Mount it by UUID, test the mount after reboot, and prevent Nextcloud from starting when the data disk is absent.
The Files app’s external-storage mount adds a secondary location; it does not move the primary data directory. Use it for an extra folder or share, and migrate the data directory when the server’s own files and metadata must live on the drive.
1. Back up Nextcloud and identify the source path
Back up the database, config/, data directory, custom apps, and themes. Confirm the database backup is restorable; copying files alone is not a complete rollback.
Find the data path in config/config.php or with occ config:system:get datadirectory, then identify the HTTP user. Examples use www-data and /var/www/nextcloud/data; substitute your actual values. Do not format a drive containing files you need.
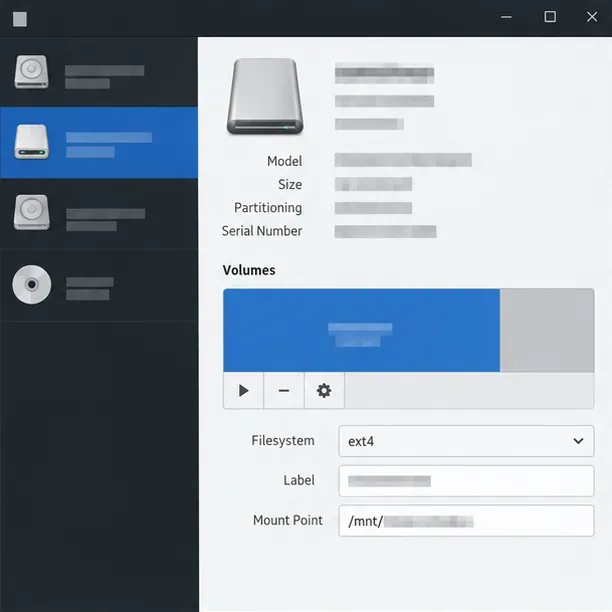
Illustration: a disk utility view shows the external drive and filesystem details to confirm before mounting it for Nextcloud.
2. Mount the drive at a stable path
Run lsblk -f and note the partition’s filesystem UUID. Names such as /dev/sdb1 can change, so use the UUID in the mount configuration.
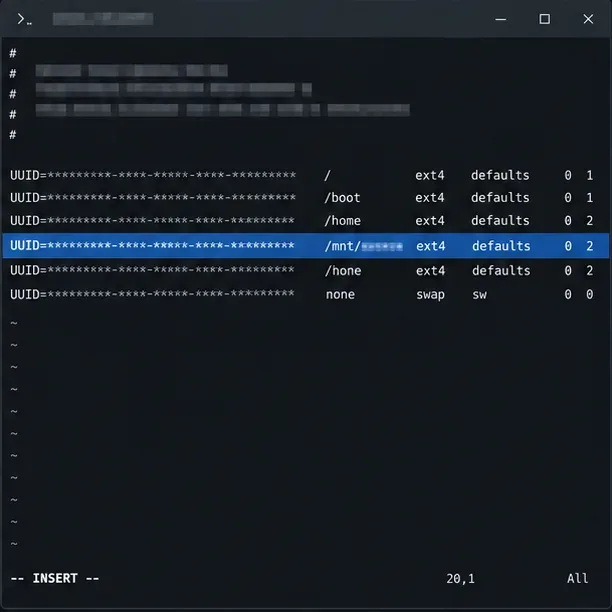
For a Linux server using ext4, create a mount point and add a line like this to /etc/fstab, replacing the sample UUID with the actual one:
Use the type already on the partition; this line does not format it. Verify that the filesystem preserves ownership and permissions Nextcloud needs.
Mount and verify it before placing any data on it:
sudo mkdir -p /srv/nextcloud-disk
sudo mount /srv/nextcloud-disk
findmnt /srv/nextcloud-disk
Confirm the output identifies the external partition. If using nofail, also gate web/PHP services on the mount; otherwise a missing disk may leave an empty mount-point directory that receives writes. A systemd drop-in can use RequiresMountsFor=/srv/nextcloud-disk. Keep the drive connected while Nextcloud runs.
Illustration: a UUID entry in the filesystem table represents a persistent mount configuration rather than a device-name shortcut.
3. Put Nextcloud in maintenance mode and copy the data
Maintenance mode blocks logins but does not stop every scheduled job. Pause Nextcloud cron or its systemd timer, stop sync clients, and stop web/PHP services before copying so no requests change files mid-move.
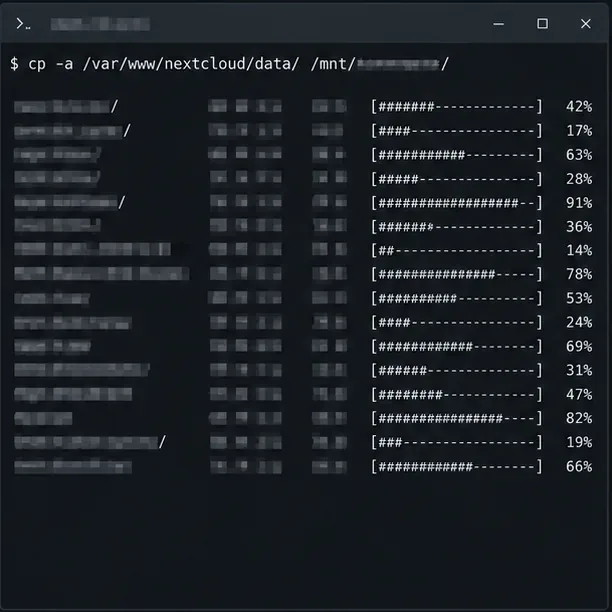
The trailing slash copies directory contents. Keep the old copy; check rsync for errors and confirm .ncdata is present at the new directory’s top level.
Illustration: a terminal copy view represents transferring the complete data directory while Nextcloud is stopped.
4. Preserve the old path with a symlink
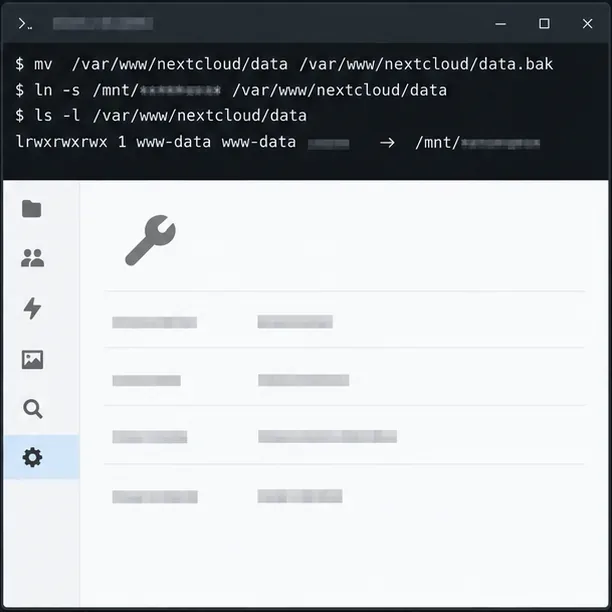
Nextcloud’s troubleshooting manual recommends linking the original path to the new directory. After verifying the copy, rename the old directory for rollback and create the link:
Confirm the path resolves to /srv/nextcloud-disk/data. The web user must traverse parent directories and read .ncdata and write to the target:
sudo -u www-data test -r /var/www/nextcloud/data/.ncdata
sudo -u www-data test -w /var/www/nextcloud/data
If a check fails, correct ownership or parent permissions for your web user; do not make the directory world-writable. Some web servers must allow symlinks. If that is not possible, do not edit oc_storages manually: Nextcloud calls that method unsupported and warns it can break the database.
Illustration: the terminal view shows the original data path being linked to the external-drive directory.
5. Restart and verify before removing the rollback copy
Start web/PHP and re-enable the scheduler. Confirm the mount and symlink, then turn off maintenance mode:
Sign in, open existing files and shares, and upload/download a small file. Check Nextcloud and web-server logs, then reboot in a maintenance window to confirm the disk mounts before Nextcloud starts.
Keep data.pre-move and the database backup until reboot and normal sync succeed. If the move fails, enable maintenance mode, stop the app, and restore the original directory and service state. A broad files:scan cannot fix a wrong mount.
Verification
Verify the disk mounts at boot, the original path resolves to it, the web user can read and write, and existing files plus a small upload work. If Nextcloud reports missing files after reboot, stop the app and check the mount before allowing writes.