Element Session Identity Warning: Verify Your Login Safely
Clear Element's unverified-session warning using a trusted device or recovery key, with checks that protect your encrypted chat history.
eGPU is becoming an effective support solution chosen by many people to overcome the limitations of space, temperature, battery life, ... of laptops. So what exactly is an eGPU? What are the advantages and disadvantages? What types are included? Connect to the laptop via which protocol port? How to connect the stars?
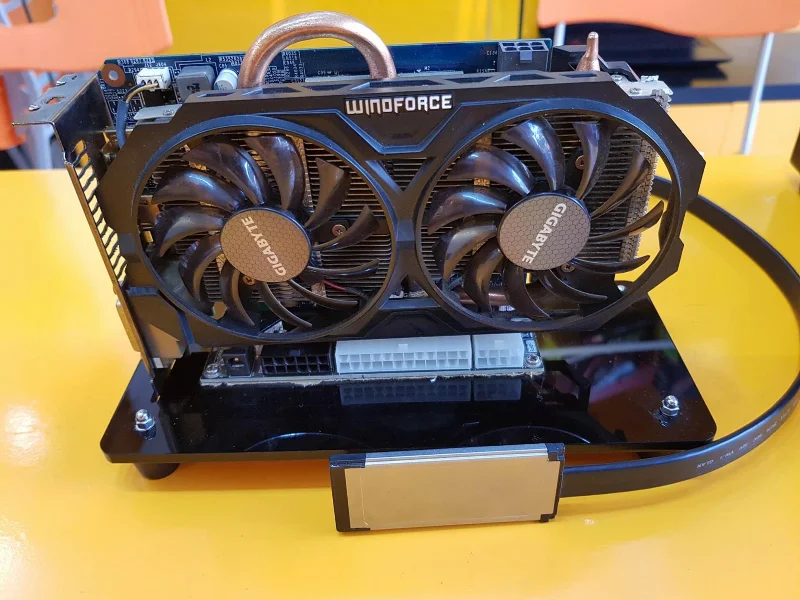
What is eGPU?
eGPU is an acronym for External Graphics Processing Unit, which means discrete graphics card. As the name suggests, the eGPU is not located inside the computer like the iGPU or dGPU but is located outside, connected to the machine through the connection ports.
The placement of GPUs in laptops has certain limitations such as reduced space, performance not reaching the maximum level, poor heat dissipation. Therefore, Intel has been brainstorming ideas for many years and come up with the eGPU. They make a big step forward, helping to upgrade the performance of the laptop without overheating the machine, draining the battery.
The eGPU is made up of one or more VGA graphics cards combined with a board, cables, power cord, and heatsink. There are also some other spare parts. After plugging in the eGPU, installing the driver, restarting the machine will automatically transfer all the default graphics processing tasks on the machine to the graphics card in the eGPU. Since then, the laptop's processing performance is increased many times without causing the device to heat up and consume the battery.
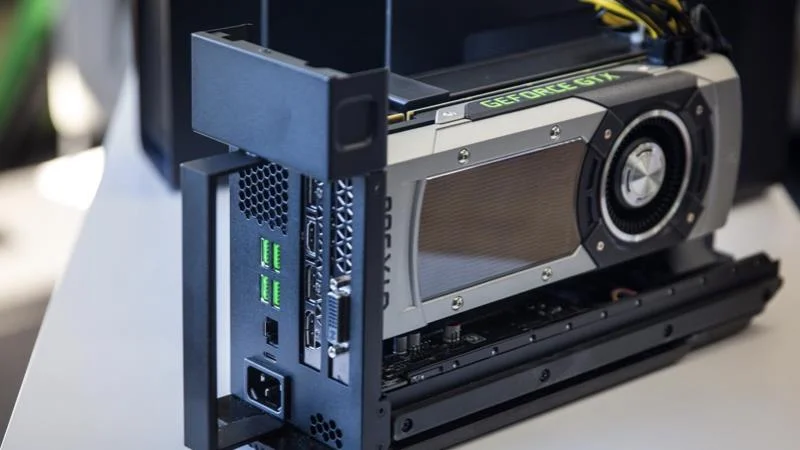
Advantages and disadvantages of eGPU
Every product has its own pros and cons, and so does the eGPU.
- Simple connection protocol, diverse number of connection ports.
- Compatible with many different smart devices.
- Easy to move, more flexible than a PC case while still ensuring powerful graphics capabilities.
- Potentially high risk of damage due to force impacts during movement.
- Some laptops must use a separate screen because the screen does not meet the resolution, scanning frequency, ...
- The number of laptops supporting eGPU is not much.
- The cost of eGPU is still high.
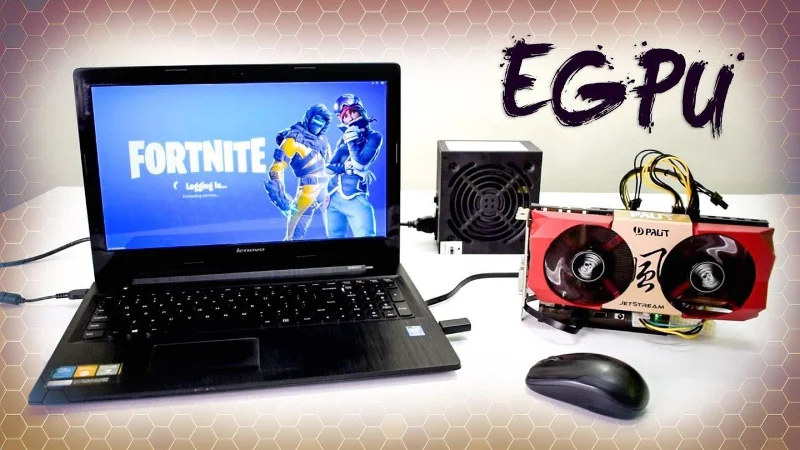
eGPU connection ports
Currently the eGPU can connect to the laptop via the following protocol ports:
This is a common connection port between eGPU and laptop. However, it is also the most inconvenient way to connect because you have to remove the laptop cover, remove the wifi card to be able to plug in the eGPU connection cable. Not only that, some computer lines have whitelists, wifi ports only accept genuine cards.
Connecting the eGPU to a computer via Express Card ports 34 and 35 is the most convenient way. Because just plugging the eGPU directly into that port on the laptop body is done, no need to remove the case.
The NGFF (M.2) connection port is commonly found on CPU core i5 computers and above, the bandwidth is larger than the mPCie port. The way to connect the eGPU through this port is similar to the mPCie port, it is necessary to remove the device.
Because the Thunderbolt port has a large bandwidth, it becomes the best way to connect an eGPU to a laptop. However, the number of laptops with Thunderbolt ports is still not popular, and the price is high.
How to connect the eGPU to the laptop is not too difficult, if you are not familiar, you can ask the seller for advice. For devices that do not need to remove the case, you just need to use the connection cord that comes with the eGPU to plug directly into the machine. But with devices that need to remove the case, the operation is a bit more complicated. Specifically, the steps are as follows:
Step 1: First, you need to uninstall the old graphics driver on your computer.
Step 2: Next, you turn off the power, unplug the power source from the machine.
Step 3: Next, use a screwdriver to remove the rear laptop cover.
Step 4: Then, you put the eGPU in the compatible slot.
Step 5: Finally, you reassemble the case, boot and run the new graphics driver.
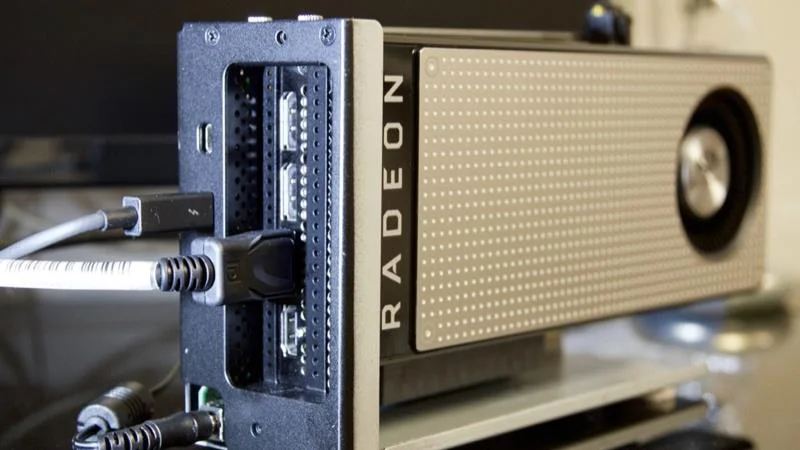
Popular types of eGPU today
In Vietnam, the eGPU market is still in its infancy. However, we can take a look at some popular brands that are popular with users around the world such as:
EXP GDC Beast: EXP GDC Beast is made in China. They support connection to the machine via mPCle, EC 34, EC 35, NGFF ports. Thanks to the low price, the eGPUs from EXP GDC Beast are popular and used by many people.
PE4C: eGPU PE4C connects to laptop via mPCIe, EC, NGFF protocol. This is a product originating from Taiwan, with the same features as EXP GDC Beast.
Akitio Node: eGPU Akitio Node is a high-end product line, connected via Thunderbolt port. However, due to their high price, they are not widely used in Vietnam.
Alienware Graphics Amplifier: The eGPU series connects via PCIe. They are designed specifically for Dell's Alienware computers, not for regular laptops.
Above is the basic information compiled by WebTech360 , users need to know about eGPU. Hopefully, through that, readers will have more useful knowledge, make buying decisions, and find the best eGPU products for their needs.
Clear Element's unverified-session warning using a trusted device or recovery key, with checks that protect your encrypted chat history.
Distinguish database lock contention from expired WebDAV locks, then choose and configure the right ownCloud 10 fix.
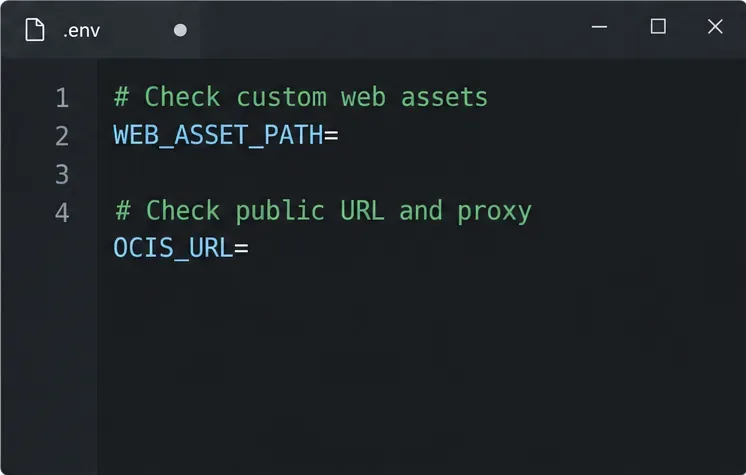
Trace a blank ownCloud Web screen to browser cache, missing web assets, service errors, or reverse-proxy URL settings with targeted checks.
Set ownCloud’s web PHP memory limit, restart the matching service, and verify the active value without confusing it with CLI settings or upload limits.
Find out whether MySQL, PHP, socket settings, or database permissions are blocking ownCloud 10, then verify a safe fix.
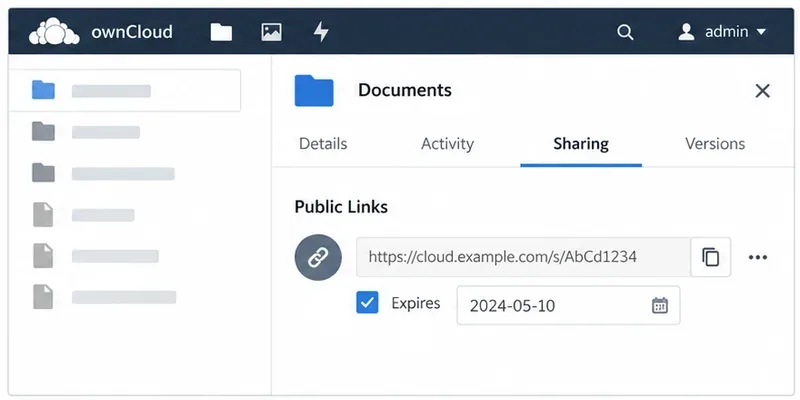
Make public link expiration mandatory in ownCloud Classic, set a maximum lifetime, and check existing shares that may need separate cleanup.
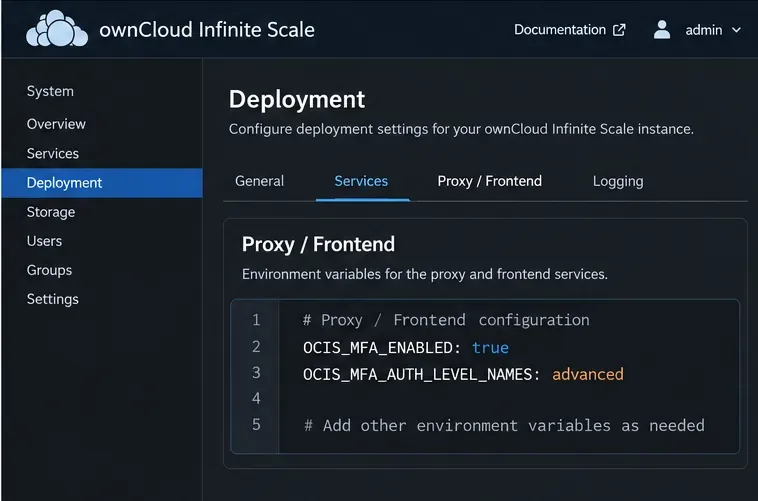
Enable TOTP through Keycloak, enroll users safely, and understand when Infinite Scale’s route-level MFA settings apply.
Check whether the issue is an OC10 and 7.x compatibility break or a damaged CSync journal, then apply the right fix without deleting synced files.
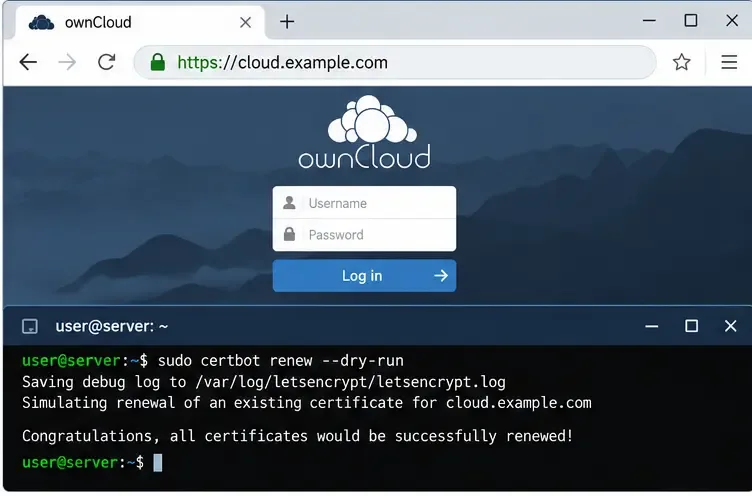
Choose HTTP-01 or DNS-01, configure an ownCloud reverse proxy, and verify Certbot renews HTTPS certificates automatically.
Configure oCIS LDAP sign-in, align user and group lookups, and verify TLS and schema settings before rollout.