Do you want to scan documents and insert text into Word? WebTech360 will introduce you how to import documents using a smartphone camera in Microsoft Word very easily.

How to enter text into Microsoft Word using smartphone camera
You may have to spend hours typing long documents, depending on your typing speed and the complexity of the document. However, a tip for using Microsoft Word below can help you complete them extremely quickly, even in just a few minutes. That is using a smartphone camera. Now let's learn with WebTech360 how to add text to Microsoft Word documents using your phone's camera!
How to enter text into Word using smartphone camera
Before you begin, note that you can only add content to Word using your phone camera on its mobile app version. Therefore, make sure to install Microsoft Word for Android or iOS. Then, follow the steps below:
1. Open the Microsoft Word app on your phone and touch the mark +in the upper right corner of the screen.
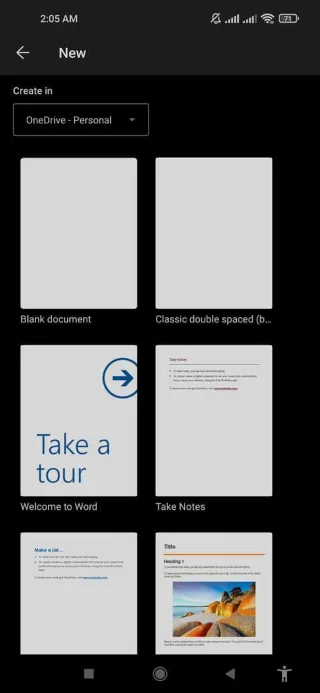
2. Tap Blank document to open a new blank document or choose another template.
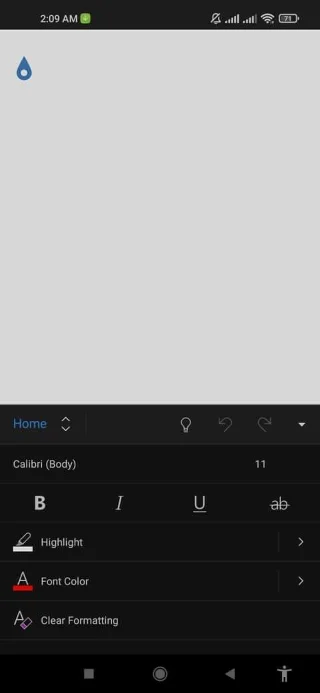
3. Tap the Menu button ( A icon with a pen) to the left of the search button.
4. At the far left of the toolbar, tap Home , then tap Insert from the menu options and tap Scan Document .


5. Grant permission to Microsoft to take photos and record videos.
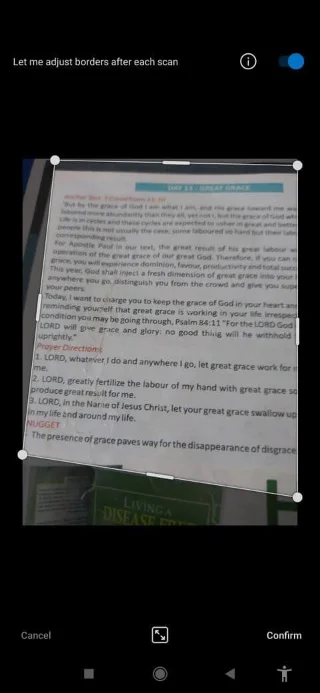
6. Place the document on a flat surface and capture the desired sections in the document. You can use the crop tool to resize the photo, then tap Confirm .


Additionally, you can select one or more photos from the camera library that contain the text you want to import into Word, then tap Done or the blue caret button.
Above is how to enter text and documents into Word using a smartphone camera . As you can see, it's not too difficult but very fast, right? Hope the article is useful to you.