The quality of the camera on smartphones helps users to take more and more beautiful photos without much effort. However, for some reason the photo you take is blurry, especially this is an important photo, so what to do?
In this article, we will learn how to fix (partially) blurry photos on Android phones.
Use Android's native alignment functions
Most Android smartphones today come with built-in, AI-based editing features, such as filters to somewhat fix blurry photos.
There will be differences in these alignment features depending on each manufacturer. However, the usage as well as the basic features supported are quite similar. You just need to access the photo library, select the blurry photo you want to fix, then click edit. An interface containing the photo alignment features will appear. Here, you can choose to sharpen the photo, align the contrast, brightness, as well as apply color filters to make the image feel sharper.
Besides the default photo editing tools, you can also use third-party applications to fix blurry photos more effectively.
Third-party apps to fix blurry photos
Remini App
Remini is one of the best photo alignment apps on the Play Store.
To use this app, you first need to create an account using email or Facebook/Google. You can easily create additional accounts to continue trying the free version, which allows you to fix up to 10 images. The Pro version will support more advanced features.
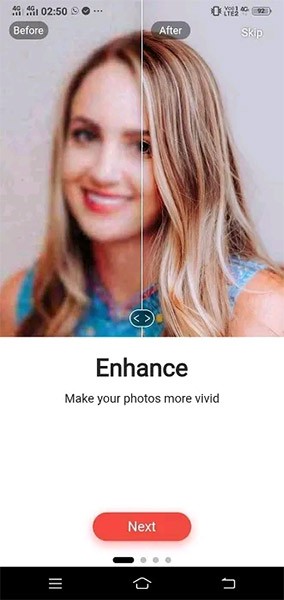
Navigate to the “Enhance” menu on the app’s home screen.
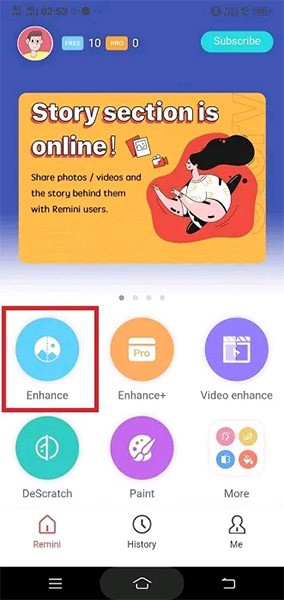
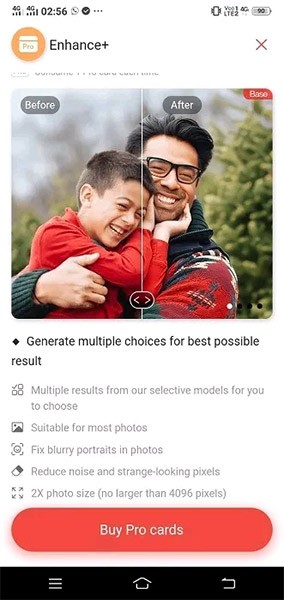
Enhance optimizes your photos to improve details, facial features, and sharpen backgrounds. It can help reduce noise, remove extraneous pixels, and works well on low-resolution, blurry photos. Click “use it” to continue the process of fixing blurry photos.
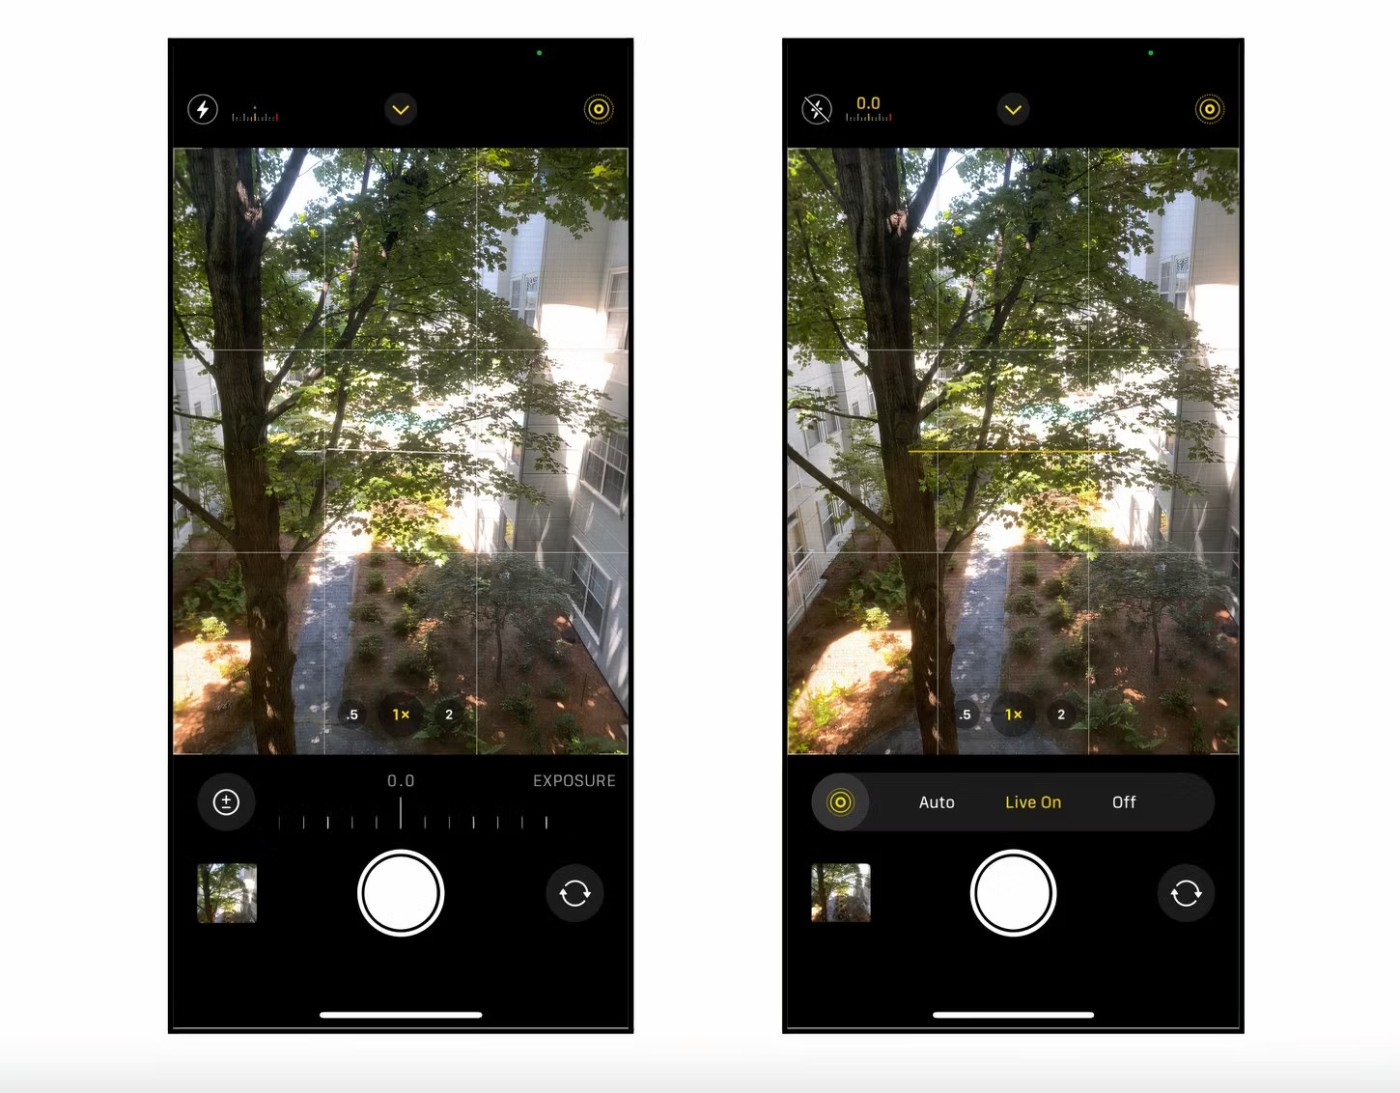
Once you have selected the image you want to edit, click the red button at the bottom to “create task”. An ad will appear while the task is being processed. Of course, you can remove these ads in the Pro version.
The final results are displayed in the comparison screen as two panes: “before” and “after”, separated by a vertical slider. Move the slider to check the before and after improvements.
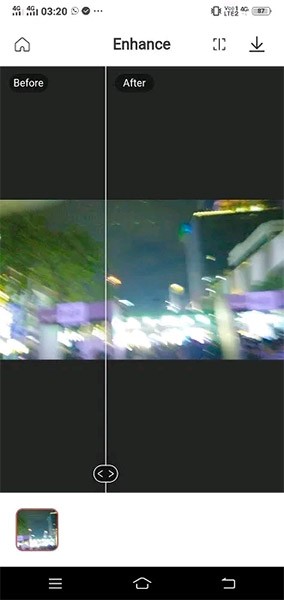
If you are satisfied, you can save the image after it has been de-blurred.
Of course, to get the best results, you should still use the advanced (paid) features.
Dehaze Image (Hexel) Application
There is another app that is in beta but is also quite effective in fixing blurry photos that you can try and that is Dehaze Image .

Once you are on the main screen, click on “Enhance Image”.
Here you will have two options. The first is the automatic tool to remove blur. The second is the manual blur removal tool. Select the automatic option and click on “remove blur”.
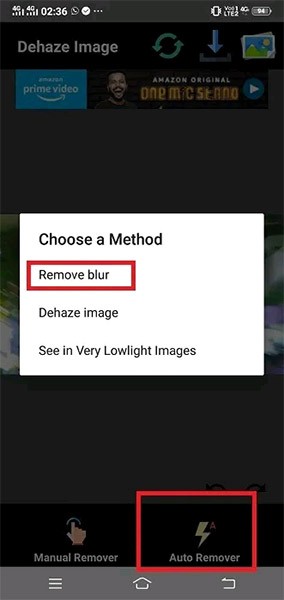
The image you select is automatically processed immediately. It won't take long.
If you are not satisfied with the automatic option, you can go to the manual option and click "sharp".
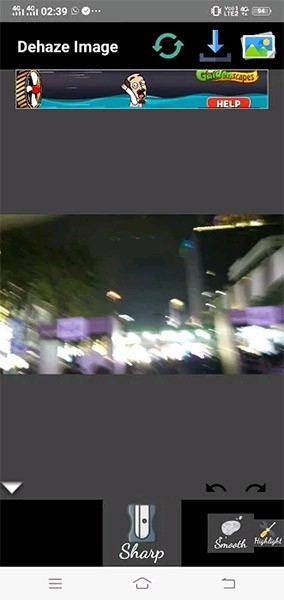
Once done, press save image to replace the old image.


