Create a Pardus 23 Live USB on Windows with Rufus
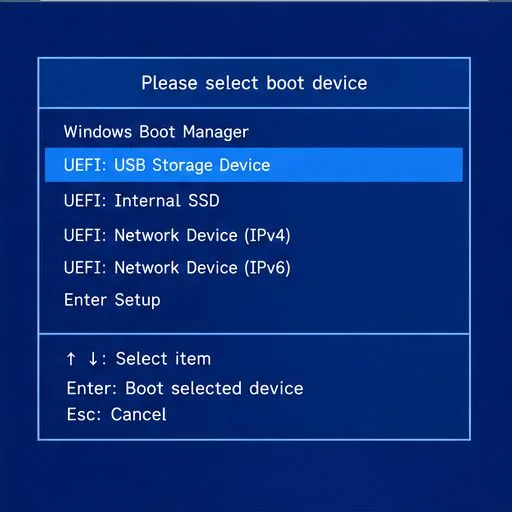
Download the official Pardus 23 desktop ISO, write it safely with Rufus, and boot a Windows PC into a temporary Live session.
No Internet Secured is a common error on Windows 10. Below are simple but effective ways to fix No Internet Secured error .

How to fix No Internet Secured error on Windows 10
Wireless network problems in Windows 10 are usually easy to fix. However, occasionally, you may encounter the "No Internet, secured" message appearing in the system tray. It reflects a problem with the wireless network connection or configuration.
No Internet, secured is more common on Microsoft Surface devices. And you can easily fix "No Internet, secured" in the following ways.
How to fix the No Internet, secured problem depends on your computer settings and network adapter. Therefore, not all of the methods below will work on your computer. However, these are the most effective ways to fix Windows 10 network errors.
You have connected your PC to the local Wi-Fi network but why do you get the No Internet, secured error? Don't worry, if you're using a VPN, the built-in features may cause this problem. Specifically, it is designed to prevent you from connecting to the Internet when the VPN server is down.
To check if VPN is the cause, disable it or even exit it completely. Then, wait a while to reconnect to the Internet and access the website again.
If everything reconnects normally, it's clear that the VPN caused the network problem. Update the VPN client if possible, then connect to a new server. If all is well, you have fixed the No Internet, secured error on Windows 10 .
If turning off VPN doesn't fix the No Internet, secured error, try using some of the following commands:
Right-click Start , select Windows PowerShell . Here, enter the following commands one by one:
ipconfig /release
ipconfig /renew
This action will force the computer to request a new IP address from the internal router. This method has solved No Internet, secured in many cases.
Another command solution to fix the No Internet, secured error is to reset Winsock.
Winsock is the Windows Sockets API. This is a specification that allows PCs to communicate with network services, especially the widely used TCP/IP.
To reset Winsock, use the command:
netsh winsock reset catalogWait a minute. If the network doesn't automatically reconnect, do it manually.
Check your PC's network adapter as follows:
Open the settings screen by clicking the Wi-Fi connection icon on the system tray, then go to Network & Internet Settings > click Change adapter options > right-click on the connection of interest > click Properties . Confirm the following options are checked:
Click OK to confirm, then restart Windows when prompted.
IPv6 is a network protocol designed to replace IPv4 after running out of IP addresses. However, even though it runs on most hardware, IPv6 often fails.
You can disable IPv6 by repeating the steps above. Just uncheck Internet Protocol Version 6 (TCP/IPv6) > click OK > restart Windows 10 PC when prompted.
Above is how to fix No Internet, Secured error on Windows 10 . Hope the article is useful to you.
Download the official Pardus 23 desktop ISO, write it safely with Rufus, and boot a Windows PC into a temporary Live session.
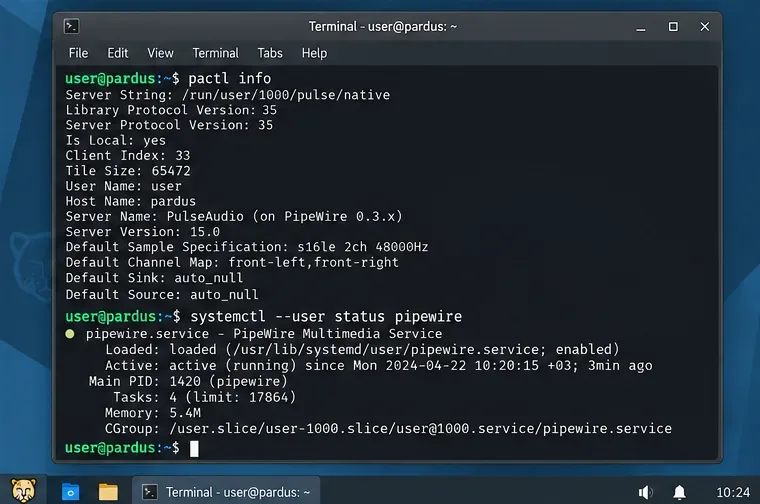
Find out why Pardus 23 cannot detect your sound card, then use targeted ALSA, firmware, and PipeWire or PulseAudio checks to restore playback.
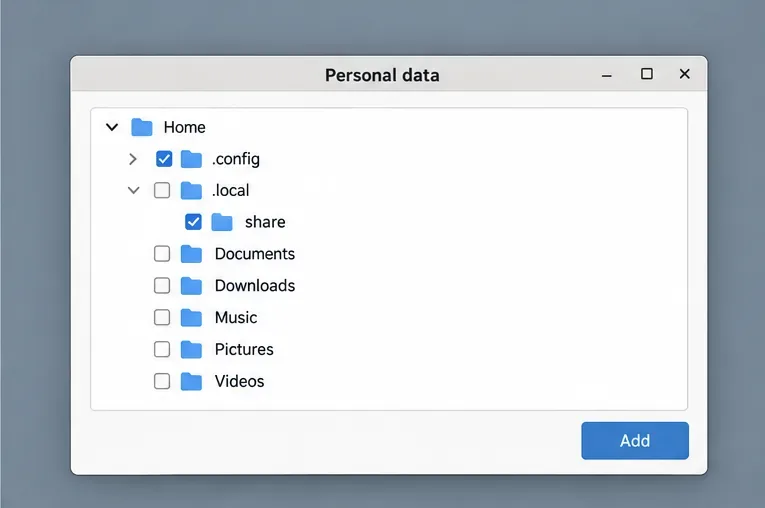
Save HamoniKR preferences to external storage, include hidden home folders, and choose a safe restore mode when moving to a fresh installation.
Install and configure xrdp on Pardus, choose the right Xfce session, restrict network access, and verify that remote login works.
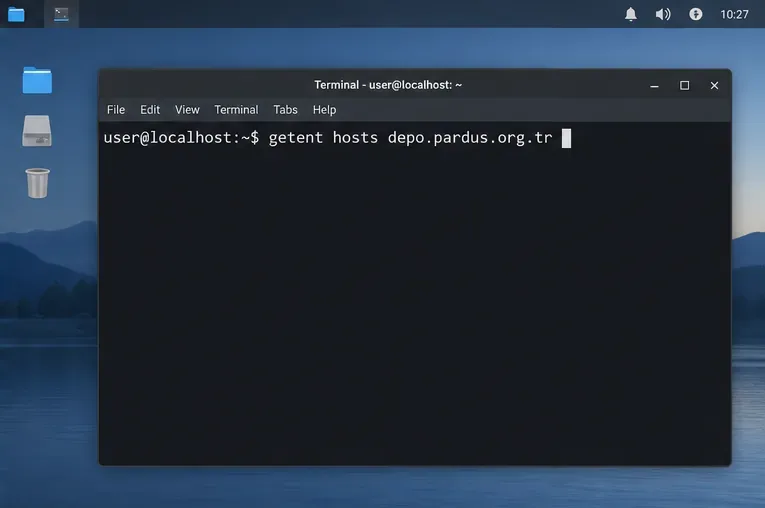
Diagnose Pardus 23 APT connection failures, confirm the official yirmiuc sources, and restore apt update without bypassing package signature checks.
Configure printers on Harmonica OS using CUPS, compare driverless IPP with legacy drivers, and verify USB or network printing with a test page.
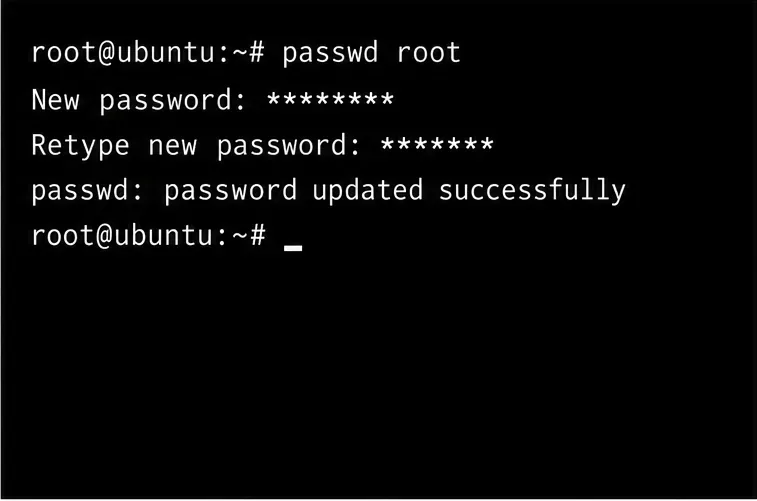
Use a recovery shell to set a new Harmonica OS root password, with checks for encrypted disks, read-only filesystems, and accounts that use sudo.
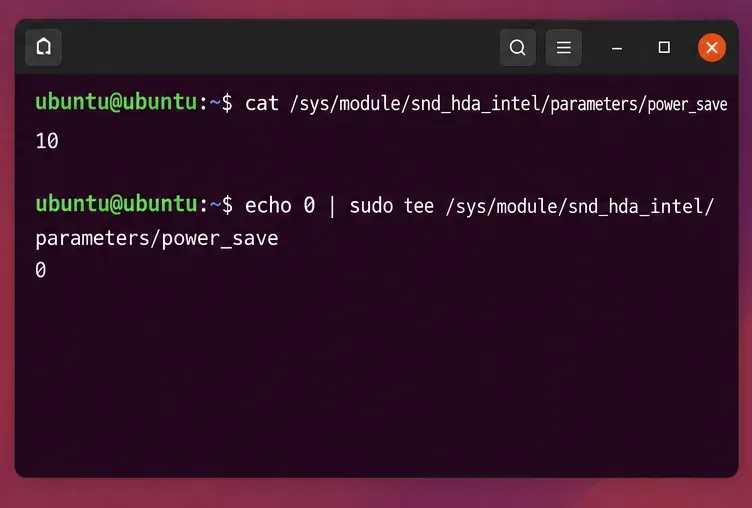
Trace whether clipping, ALSA format conversion, or HDA power saving is causing Ubuntu 24.04 audio distortion, then apply the matching reversible fix.
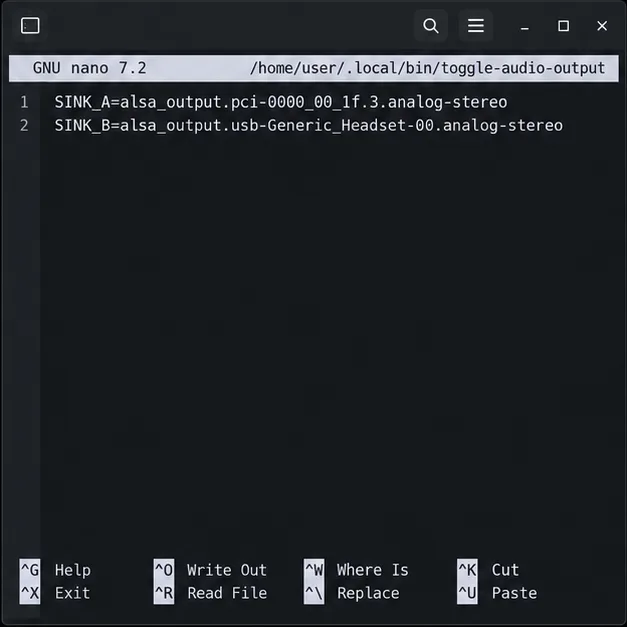
Switch Debian audio between named PipeWire outputs with a pactl script that updates the default sink and reroutes streams already playing.
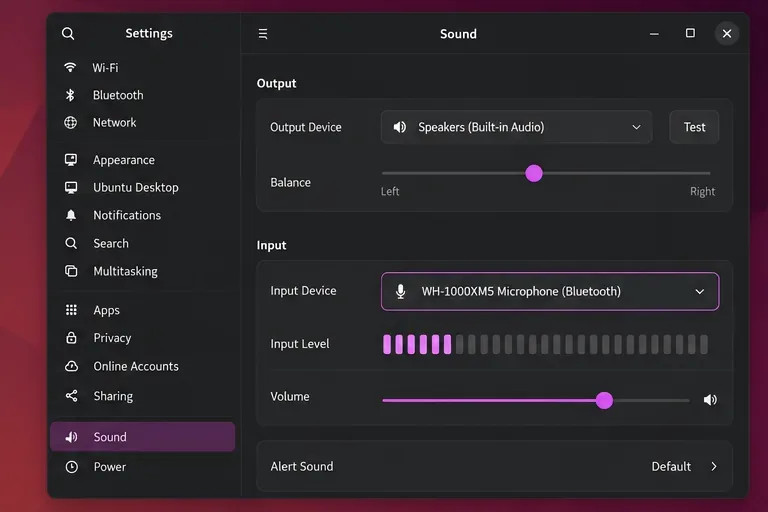
Get your Bluetooth headset mic working by selecting the right input, using a hands-free audio profile, and checking Ubuntu’s PipeWire route.