Build a PipeWire Output Toggle Script That Moves Active Audio
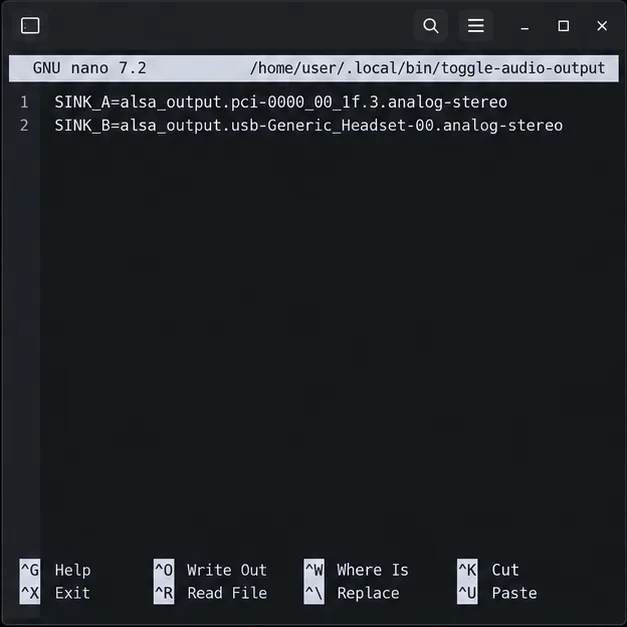
Switch Debian audio between named PipeWire outputs with a pactl script that updates the default sink and reroutes streams already playing.
Encountering Windows 11 Update Error 0x80073712 can be incredibly frustrating, especially when you're eager to install the latest security patches and features. This error often signals issues with missing or corrupted system files during the update process, leaving you stuck with outdated software. But don't worry—there's a clear path forward! In this guide, we'll walk you through targeted troubleshooting steps to resolve Error 0x80073712 efficiently, ensuring your PC runs smoothly again. Whether it's a simple file corruption or a deeper system glitch, these methods are designed to get you back on track with minimal hassle. Let's dive in and reclaim your updating peace of mind! 😊
Understanding the root of Windows 11 Update Error 0x80073712 is the first step to fixing it. This error code typically arises when the Windows Update service can't locate essential files needed for installation. Common culprits include:
Recent Windows 11 builds have refined update mechanisms, but Error 0x80073712 persists in scenarios involving large feature updates. By addressing these causes methodically, you'll avoid trial-and-error frustration. Ready to troubleshoot? Follow these steps in order for the best results.
We'll start with the simplest solutions and progress to more advanced ones. Perform these in a safe environment—back up important data first to stay worry-free. Each method has helped countless users overcome this snag, so persistence pays off!
The built-in Windows Update Troubleshooter is your first line of defense against Error 0x80073712. It's quick, automated, and often resolves minor glitches on the spot.
After completion, restart your PC and check for updates again via Settings > Windows Update. This tool scans for common problems like corrupted caches, making it a no-brainer starting point.
A cluttered update cache can trigger Windows 11 Update Error 0x80073712 by referencing faulty files. Clearing it forces a fresh download.
services.msc, and hit Enter.C:\Windows\SoftwareDistribution.This refresh often clears the path for seamless installations. If you're on a recent Windows 11 version, this method aligns with Microsoft's latest recommendations for cache management.
Corrupted system files are a prime suspect for Error 0x80073712. Use the System File Checker (SFC) and Deployment Image Servicing and Management (DISM) tools to scan and restore them.
DISM /Online /Cleanup-Image /RestoreHealth and wait for it to complete (this may take 10-20 minutes).sfc /scannow to scan and repair files.These commands are powerful for maintaining system integrity, especially after recent updates that might have introduced file discrepancies. Pro tip: Run them in Safe Mode if the error persists for deeper access.
Low disk space can halt updates, mimicking Windows 11 Update Error 0x80073712. Ensure at least 20GB free on your C: drive.
| Step | Action | Expected Outcome |
|---|---|---|
| 1. Free Up Space | Use Storage Sense in Settings > System > Storage to clean temporary files. | Reclaims gigabytes quickly without manual deletion. |
| 2. Run CHKDSK | In Admin Command Prompt, type chkdsk C: /f /r and schedule for next restart. |
Repairs disk errors that could corrupt update files. |
| 3. Verify | After reboot, check space in File Explorer. | Ensures smooth update unpacking. |
Addressing storage issues not only fixes this error but also boosts overall performance. It's a simple yet effective habit for any Windows 11 user.
If basic fixes fall short, resetting all update components can eradicate stubborn Error 0x80073712 instances.
net stop wuauservnet stop cryptSvcnet stop bitsnet stop msiserverren C:\Windows\SoftwareDistribution SoftwareDistribution.oldren C:\Windows\System32\catroot2 Catroot2.oldnet start wuauservnet start cryptSvcnet start bitsnet start msiserverThis comprehensive reset mimics a clean slate for updates, drawing from Microsoft's official guidance for advanced troubleshooting.
Sometimes, external factors exacerbate Windows 11 Update Error 0x80073712. Temporarily disable third-party antivirus (use Windows Defender instead) and update drivers via Device Manager or the manufacturer's site. For graphics or network drivers, this can prevent conflicts during large downloads.
If you're dealing with a feature update, consider using the Windows 11 Installation Assistant from Microsoft's official page as a workaround—it's reliable for bypassing standard update hurdles.
Once you've conquered Error 0x80073712, keep it at bay with proactive habits:
By staying vigilant, you'll enjoy hassle-free updates and a more secure, optimized Windows 11 experience. If these steps don't resolve your issue, consider reaching out to Microsoft Support for personalized help—they're equipped for edge cases.
Resolving Windows 11 Update Error 0x80073712 doesn't have to be a nightmare. With these focused steps, most users see success quickly, unlocking the full potential of their system. Remember, every error is just a bump in the road to a better PC. If one method works for you, share your win in the comments below—what fixed it for you? Stay updated and keep your Windows 11 shining! 👏
Switch Debian audio between named PipeWire outputs with a pactl script that updates the default sink and reroutes streams already playing.
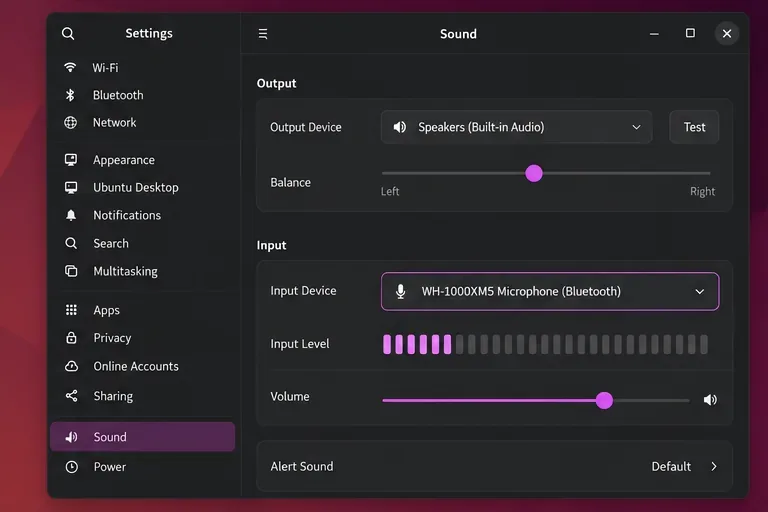
Get your Bluetooth headset mic working by selecting the right input, using a hands-free audio profile, and checking Ubuntu’s PipeWire route.
Learn why Flatpak apps may ignore Ubuntu 24.04 GTK themes and follow safe steps to check theme extensions, refresh Flatpak apps, and diagnose portal issues.
Install Ubuntu 24.04 alongside Windows 11 with BitLocker safely. Compare separate-drive and shared-drive paths, recovery keys, partitioning, and boot checks.
Diagnose NVIDIA driver failures after an Ubuntu kernel update. Check DKMS and Secure Boot, rebuild the matching module, enroll a MOK, and verify the fix.
Fix Ubuntu 24.04 Wi-Fi drops after suspend with checks for NetworkManager, radio blocks, updates, power saving, and drivers—then verify each resume.
Learn why tracker-miner-fs-3 uses high CPU in Ubuntu GNOME and how to check indexing, exclude folders, update Ubuntu, or safely rebuild the search index.
Fix Debian’s UEFI boot error by checking boot mode, the EFI System Partition, GRUB files, and firmware boot order—without reinstalling Debian first.
The Outlook Inbox Repair Tool fixes corrupted PST files quickly so you can recover emails and restore normal Outlook function. Follow these exact steps to run scanpst.exe without data loss.
Get the Adobe PDF Installer Offline to install Acrobat Reader on any PC without needing internet during setup. Follow these exact steps for the full standalone package.