Some Windows 11 users have encountered a loss of sound after updating from Windows 10 or updating Windows 11 upgrades. The loss of sound problem when updating Windows 11 may be related to the software, or from the sound driver on the computer. Below are instructions to fix the loss of sound when updating Windows 11.
Using Windows Troubleshoot
Windows has separate troubleshooting procedures for different components, including fixing no sound errors.
Right -click on the sound icon in the system tray and select Troubleshoot sound problems from the menu that appears. Follow the on-screen instructions to fix the error.

Re-identify audio devices connected to the computer
Your speakers or headphones are connected to the computer but not recognized also causes the sound loss error.
Step 1:
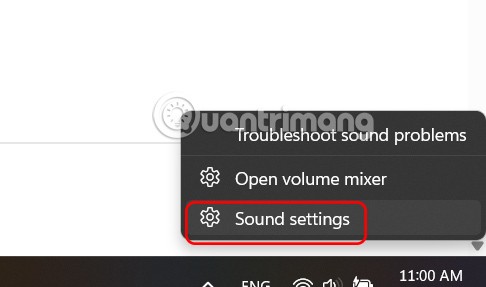
Right-click the sound icon in the system tray and select Sound settings .
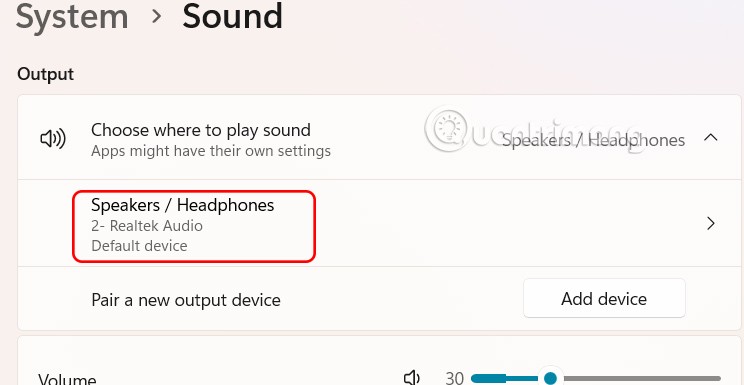
Display the sound settings interface on the computer. Scroll down to the Output section and select the connected sound device .
Step 2:
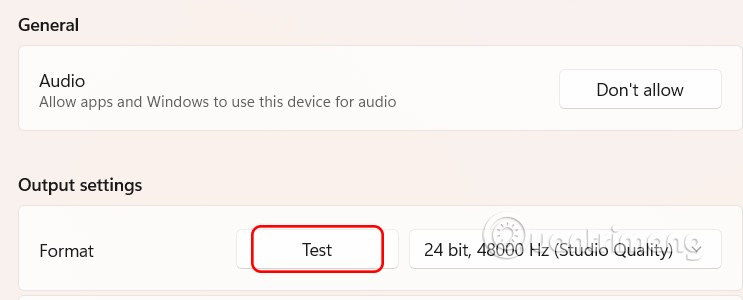
Continue clicking Test to check if the connected device has any errors.
In case you do not see the connected audio device, click Add device to proceed.
Restart Audio Services
When the sound has problems, we can restart Audio Services to fix it.
Step 1:
You enter the keyword services.msc in the Run dialog box to access services on the computer.

Step 2:
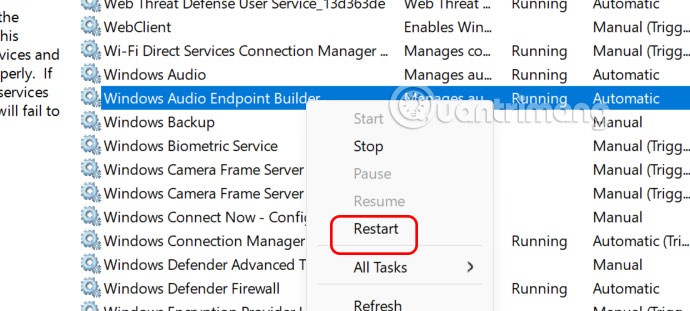
The new interface appears, find the Windows Audio Endpoint Builder sound service , right-click and select Restart . Then Audio Services is restarted.
Turn off Windows 11 audio enhancement
You can try disabling the audio enhancement feature available on Windows 11 to resolve the audio loss issue.
Step 1:
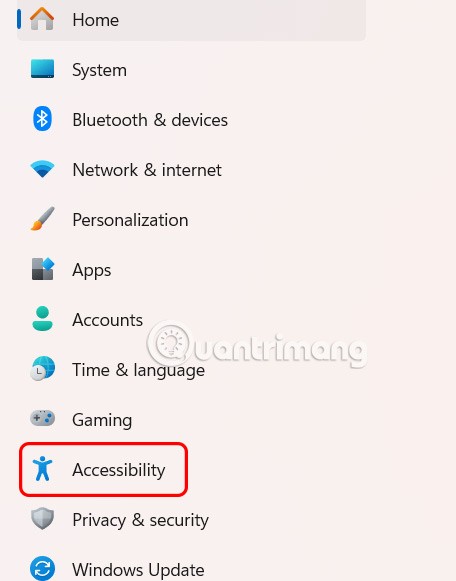
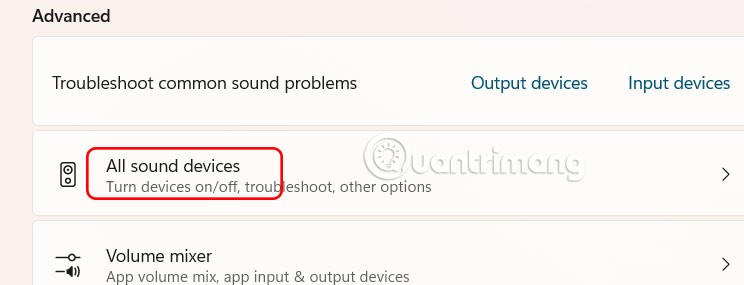
Go to Settings then select System , then look to the right and select Sound . Next, scroll down to Advanced and select All sound devices .
Step 2:
In Output settings, select the output device that is connected to the computer.
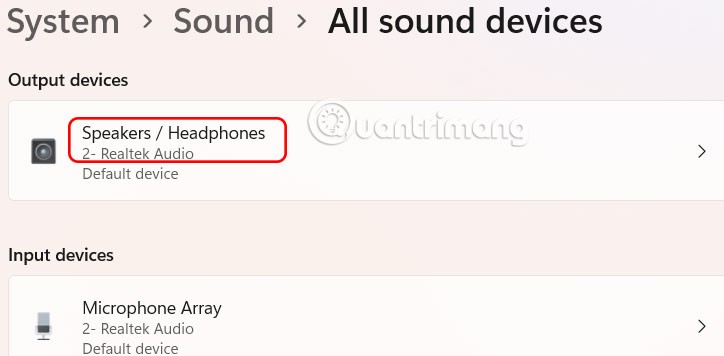
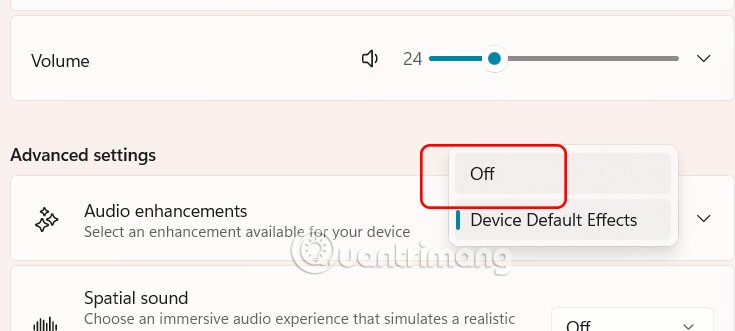
In the interface as shown in the picture at Audio Enhancements, you switch to Off mode to turn off sound enhancement.
