Some notes before putting clothes in the washing machine Tips to wash clothes quickly, effectively and economically
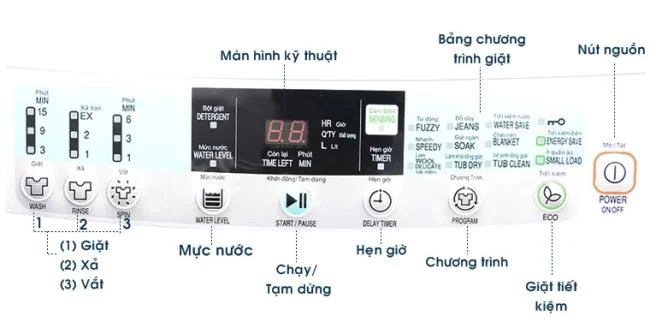
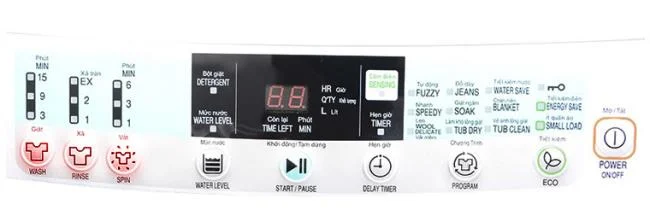
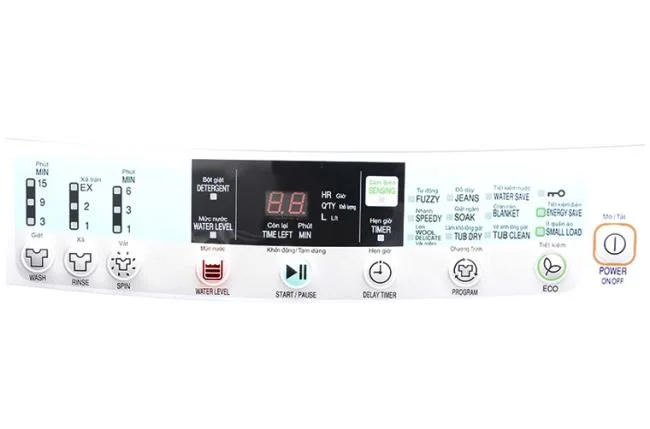
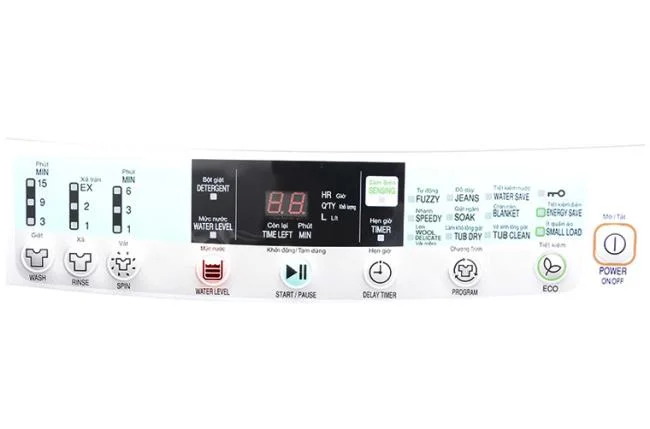
Name and function of display buttons
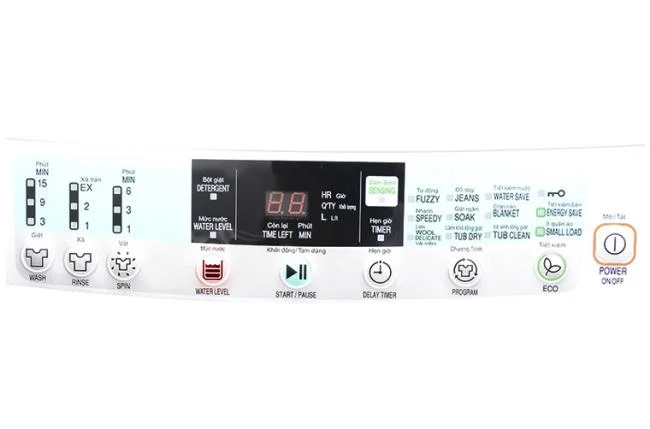
Control panel of washing machine
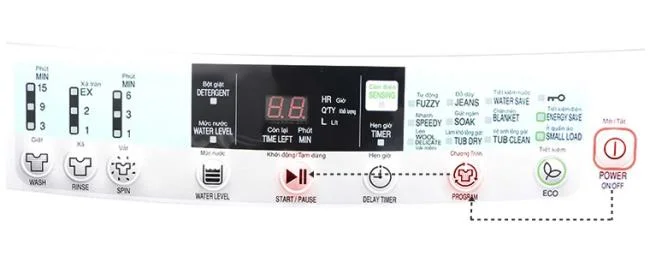
1. Common washing steps
Diagram of common washing steps
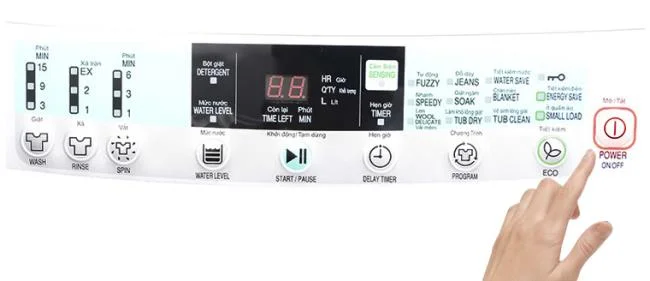
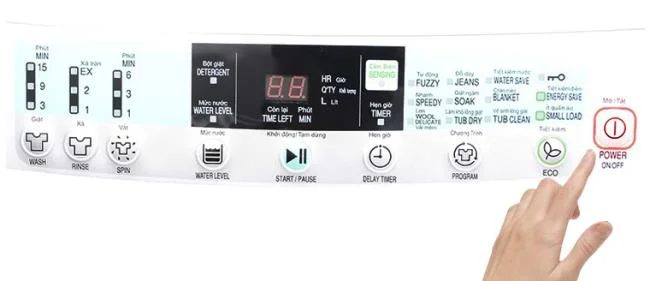
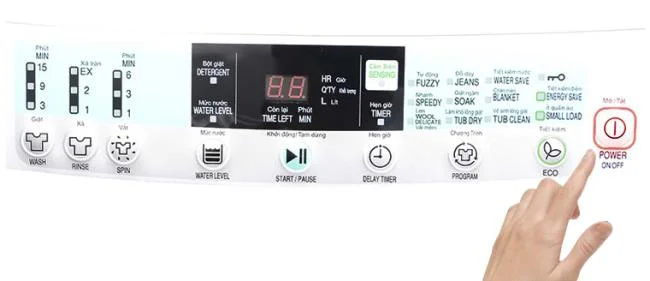
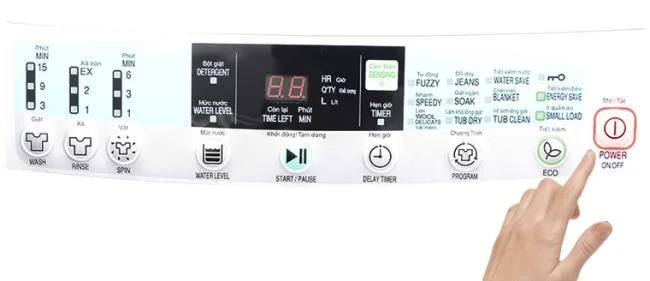
Step 1: Press the Power button ( Power button)
Step 2: Open the door of the washing machine and put the clothes in the drum
Step 3: Close the door of the washing machine and put detergent and softener in a dedicated tray.
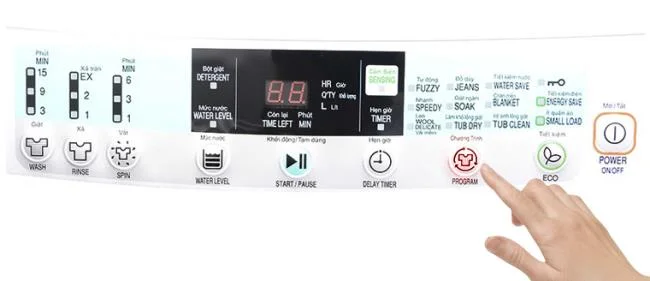
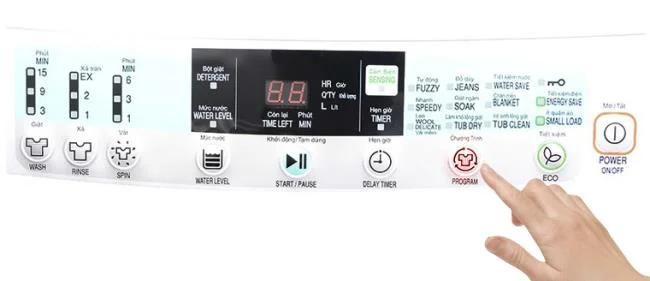
Step 4: Press the buttons in the washing program table. Normally, you should leave the washing program in the Fuzzy (Auto) mode for ease of use for normal family clothes.
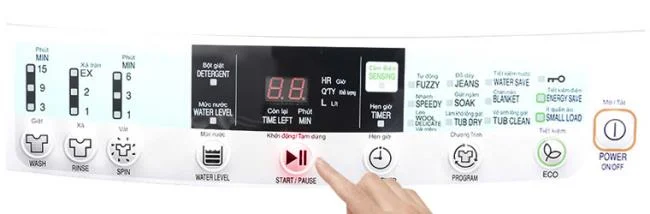
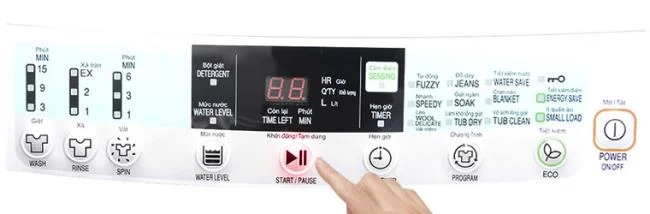
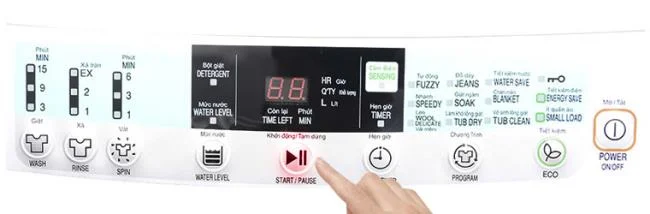
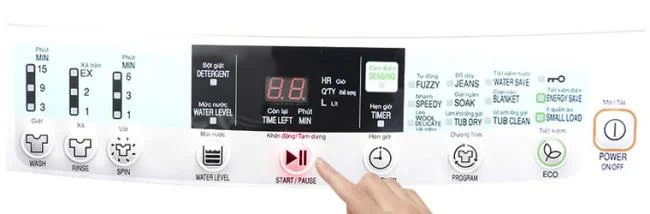
Step 5: Press the Start/Pause button to start the washing process.
2. Manual washing steps
You can use a single wash program to wash lightly soiled clothes. For example, you can activate a one-time wash program for lightly soiled clothes.
Press the Power button to start the device
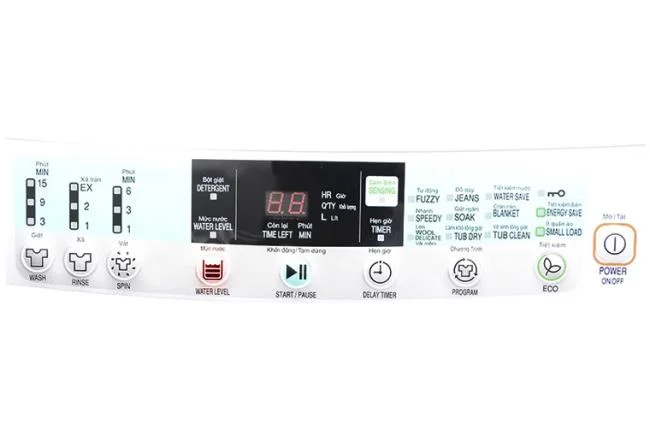
Select the appropriate water level with the Water Level button
Press the Wash/Rins/Spin . buttons
Press the Wash/Rinse/Spin button to activate a separate program according to your needs. If you want to combine washing programs together you can press the program buttons as follows:
+ Wash + Rinse: Rinse after washing
+ Rinse + Spin: Spin after washing
+ Wash + Rinse + Power Spin: Wash rinse then spin in order.
Click Start/Pause to finish the installation
3. Other washing mode buttons of the machine.
These buttons allow you to choose for yourself different washing modes for different fabrics.
Fuzzy (Automatic): Used to wash thick clothes such as jeans, thick khakis.
Speedy: For clothes that are lightly soiled, or you need a quick wash.
Soak: The machine will add an extra soak cycle before washing. Helps clothes to be washed more clean. Suitable for clothes with stubborn stains.
Energy Saving (Power Saving Wash ): Wash save energy
Blanket: Specialized mode for washing blankets
Jean (Dense fabric): Material of jeans, khaki.
Water save: An effective water-saving washing program.
Tub dry
Tub clean: Cleaning the tub is easy without much manipulation.
Wool Dedicate: For delicate clothes such as underwear, delicate fabrics, thin woolen materials.
4. Heavy laundry đồ
For clothes with thick materials, their washing mode is also different from other clothes. It is necessary to select the appropriate mode to achieve the cleaning effect.
Press the Power button to turn on the device
Select Jeans mode from the program dial
Press the Jeans wash mode in the washing program table according to the instructions.
Press the Water Level button
End with Start/Pause button
5. How to clean the washing tub
To make the washing machine work better, the machine life is longer. You should clean the drum at least once every 2 weeks. In order to limit dirt, bacteria growth in the machine, bad influence not only on the health of you and your family but also the "health" of the washing machine . Samsung washing machine supports you to self-clean the washing tub with extremely simple operation.
The first step is to open the Power button
Press the Water Level button to select the water level
Then you press the Water Level button to select the water level, which will usually be the highest water level ( Level 5 ) for a more comprehensive cleaning of the drum.
Press Eco Tubo Clean mode.
After selecting the washing tub cleaning mode. The light will be on, indicating that the function is enabled.
And finally, the end of any process is the familiar Start/Pause button
6. How to save electricity
Saving on electricity costs is essential. This is the machine's energy-saving washing program
The first step is to open the Power button
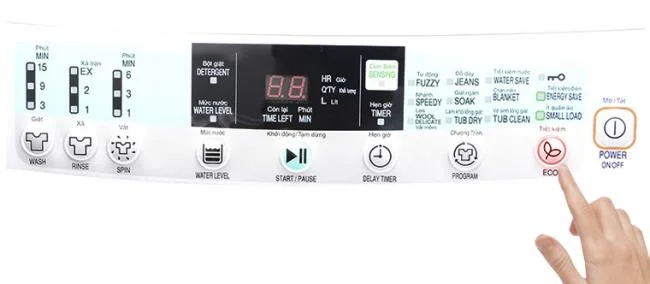
Press the Eco button to select the power saving function
Select the water level using the Water Level button
And finally end with the Start/Pause button
Hopefully with some simple steps that I has just shared, you can control your washing machine, helping to bring the best washing efficiency for your family.