Set Up a Pardus VPN with a Provider-Supplied Profile
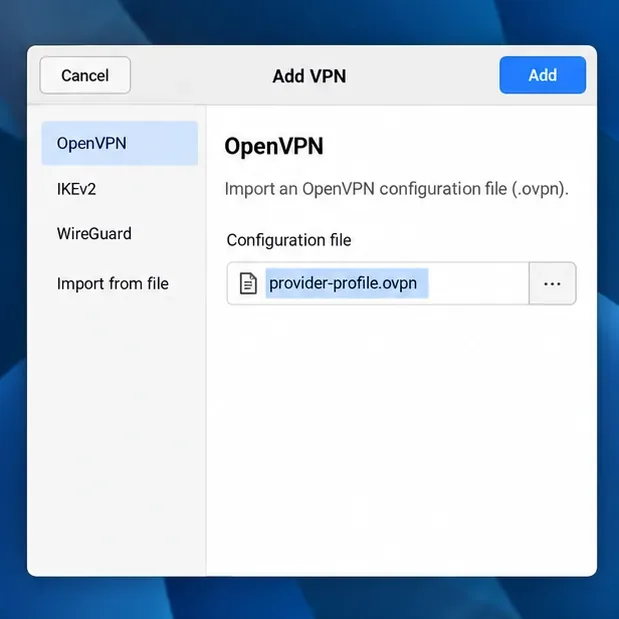
Add an OpenVPN profile to NetworkManager on Pardus, install the right plugin, protect credentials, and verify the VPN is active.
Do you have two separate Zalo accounts for work and family? You want to log in with 2 accounts at the same time but don't know how to do it? Then please refer to the instructions on 2 ways to log 2 accounts Zalo at the same time on the computer, laptop introduced in the article below. Sign Zalo, Login Chat Zalo on computer
To be able to log in at the same time with two Zalo accounts on your computer and laptop, you can use Zalo Web and Zalo software on your computer at the same time (Zalo PC). This can be quickly done using the 2 steps below.
The first step is to open Google Chrome or Coc Coc and access the following link: https://id.zalo.me/account?continue=https%3A%2F%2Fchat.zalo.me%2F%3Fc%3D0948 .733.999% 26convert% 3D1 .

At this time, the Web interface Zalo Chat (Chat.zalo.me) will display. Please fill in the personal information of 1 of 2 your Zalo accounts to be able to login and use Zalo.

So the login 1 account is completed. To login the remaining Zalo account, go to step 2.
To log into your second Zalo account, you need to perform a series of the following actions:

Access the link https://zalo.me/pc to download Zalo software for computers and laptops.

After the application installation is completed, double-click the Zalo PC icon on the screen. When the main interface of the application appears, please fill in your remaining account information to login.
In addition to the above method, you can use the All-in-One Messenger utility - this is one of two ways to log two Zalo accounts at the same time on your computer, laptop so you can use two accounts at the same time. easily.

Since the All-in-One Messenger utility is not available on the device, the first step you need to take is to download and install this utility on your computer or laptop. You can download All-in-One Messenger at the following link: https://chrome.google.com/webstore/detail/all-in-one-messenger/lainlkmlgipednloilifbppmhdocjbda?hl=en

Once the download and installation of the add-on is complete, create a shortcut for it to move the application to the desktop for ease of use. The shortcut is created as follows: right-click All-in-One> Create shortcut> Create
After completing step 1, double-click the application icon on the Desktop. To complete the operation, please perform the following sequence of actions:
At the main interface of All-in-One Messenger, click Zalo

Zalo interface displays, please fill in personal information to login your first Zalo account

To log into your second Zalo account, from the home interface of the first Zalo account that you just logged in, select the cog icon (settings) in the upper left corner of the screen, then choose to add an account and proceed to Log. Print.

Then to switch back and forth between the two accounts, just click the cog icon again and select the Tab containing the corresponding Zalo account you want to use. This operation is quite similar to switching between Search Tabs on Google Chrome.

Above we have just introduced to you 2 ways to log 2 accounts Zalo at the same time on your computer, laptop is very simple. Hope through the above information, you will solve your problem in the most effective way. Readers in the process of performing the operations, if you have any questions, please leave a comment for us to answer as soon as possible. Besides, do not forget to share this article for everyone to know.
Add an OpenVPN profile to NetworkManager on Pardus, install the right plugin, protect credentials, and verify the VPN is active.
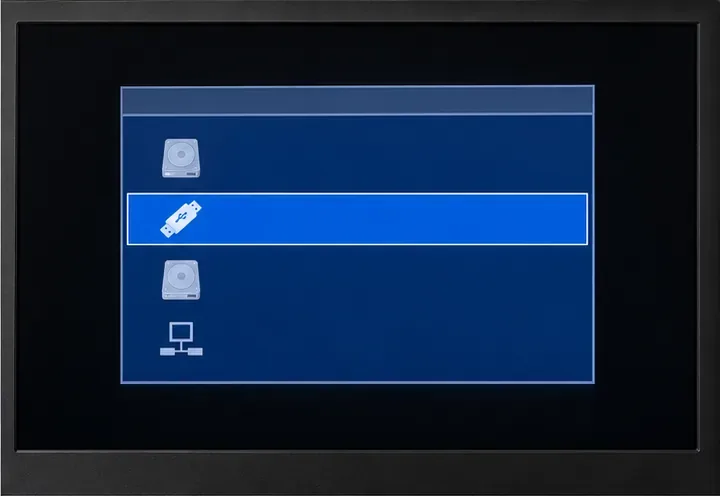
Prepare a bootable USB, check 64-bit hardware compatibility, and install Pardus 23 XFCE while protecting existing files and avoiding common legacy BIOS pitfalls.
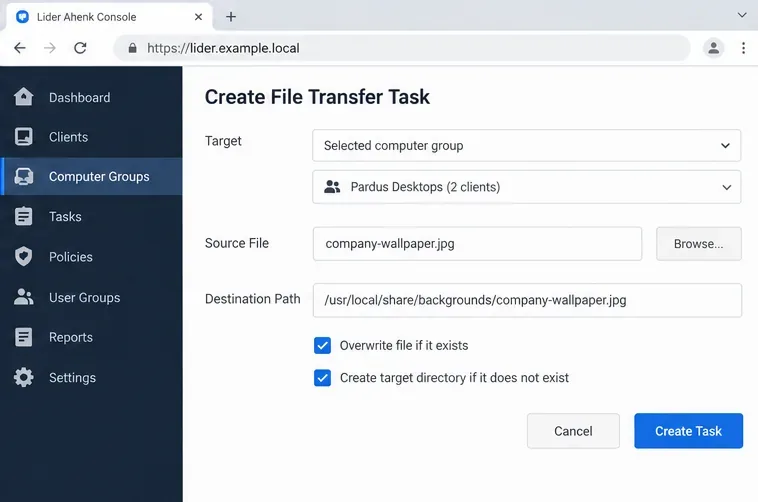
Distribute a custom wallpaper to Pardus clients, configure Xfce or GNOME desktops, and apply Lider Ahenk user policies with safe pilot checks.
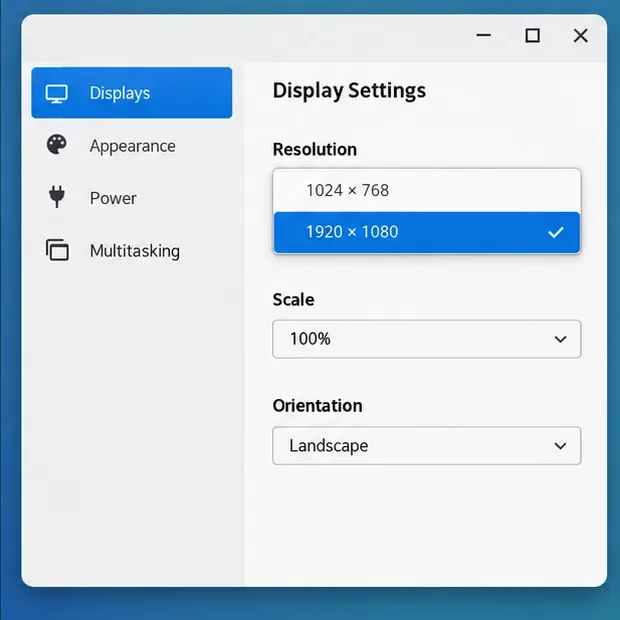
Fix a 1024 × 768 ceiling by checking SPICE, virtual video, the guest channel, and spice-vdagent—with safe checks when Pardus lacks a package candidate.
Set up the Lider server, configure its installer safely, register Ahenk endpoints, and verify a pilot before expanding central management.
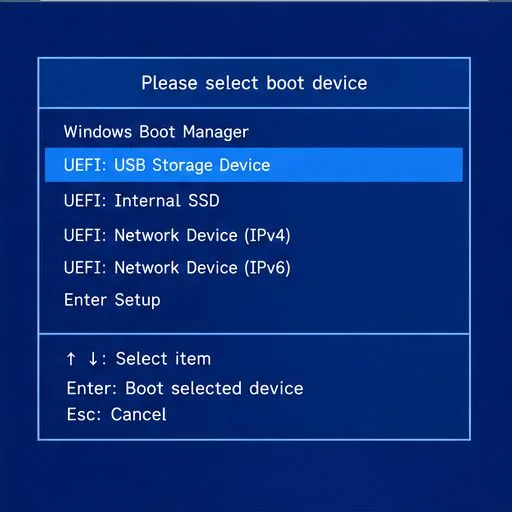
Download the official Pardus 23 desktop ISO, write it safely with Rufus, and boot a Windows PC into a temporary Live session.
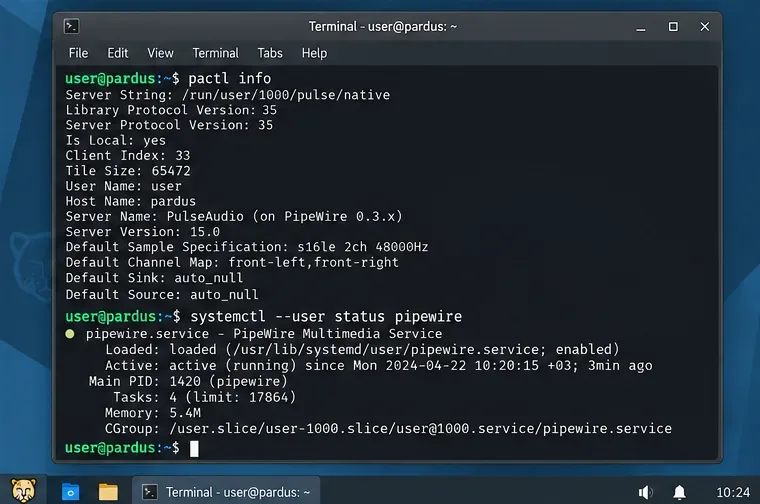
Find out why Pardus 23 cannot detect your sound card, then use targeted ALSA, firmware, and PipeWire or PulseAudio checks to restore playback.
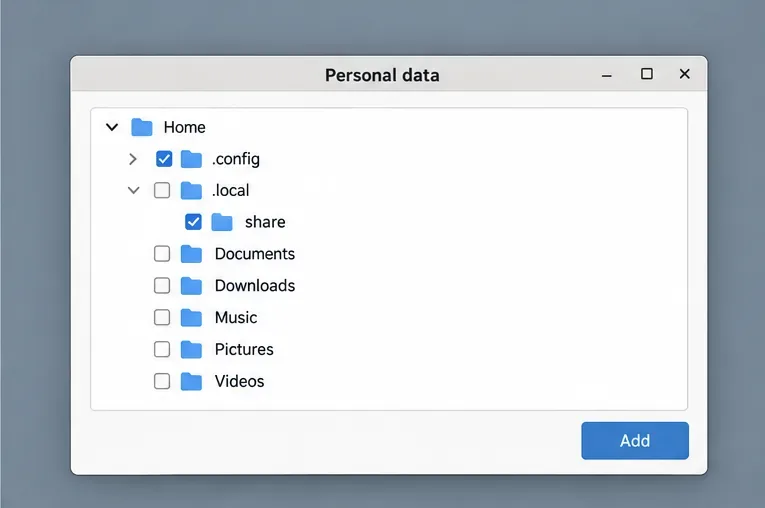
Save HamoniKR preferences to external storage, include hidden home folders, and choose a safe restore mode when moving to a fresh installation.
Install and configure xrdp on Pardus, choose the right Xfce session, restrict network access, and verify that remote login works.
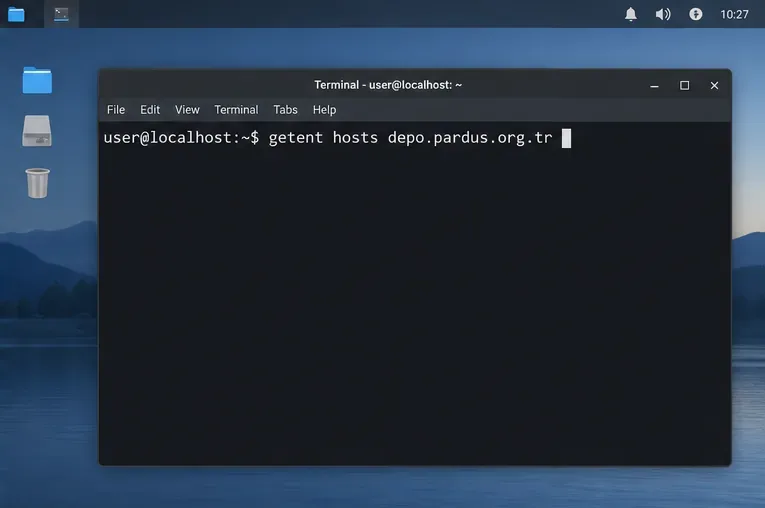
Diagnose Pardus 23 APT connection failures, confirm the official yirmiuc sources, and restore apt update without bypassing package signature checks.