

Build a PipeWire Output Toggle Script That Moves Active Audio
Switch Debian audio between named PipeWire outputs with a pactl script that updates the default sink and reroutes streams already playing.
Few modern Windows apps are as difficult to uninstall as the Adobe Creative Cloud (Adobe CC) suite. However, with the right approach, you can remove Adobe CC and all traces of it in about 10 minutes. Here's how.
Uninstall all Adobe applications
To uninstall Adobe Creative Cloud, you first need to uninstall all Adobe applications, such as Photoshop, Lightroom, InDesign, Premiere Pro, etc., that you installed using Creative Cloud. Otherwise, you may see the error "Couldn't uninstall Creative Cloud for desktop".
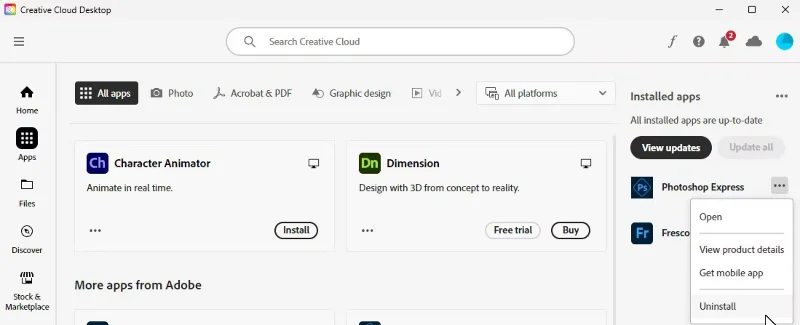
While you can uninstall Adobe apps from the Settings app, it’s best to do it from the Adobe CC desktop app. This way, the desktop app can keep track of all the Adobe apps you’ve removed from your computer and prevent any escalations when you try to remove Creative Cloud.
To uninstall your Adobe applications:
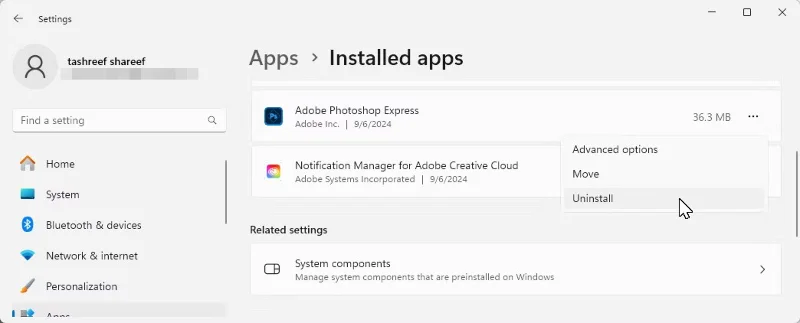
If you can't access your Adobe CC account, try uninstalling Adobe apps from the Settings app. To do this, press Win + I on your keyboard to open Settings , select Apps from the left sidebar, and click Installed Apps on the right.
Locate the Adobe app you want to remove, click the three-dot menu, and select Uninstall . Click Uninstall again to remove the app. If you still can't uninstall the apps, use the Adobe CC Cleaner tool as described in the last section of this guide.
Uninstall Adobe Creative Cloud using its uninstaller
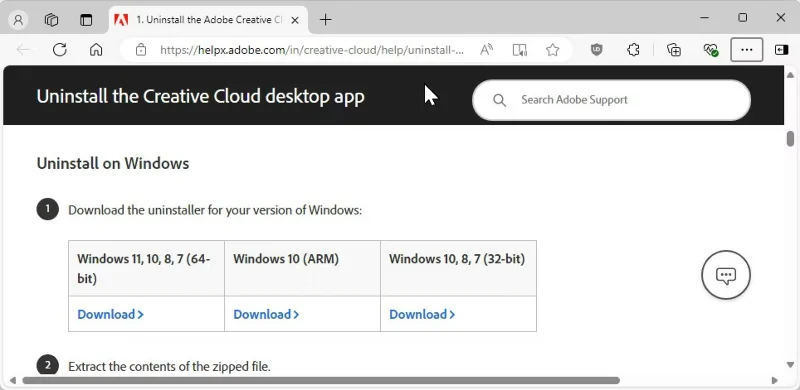
You can easily uninstall any Windows app from the Settings app, except Adobe Creative Cloud for desktop. Any attempt to remove the app ends with the error “Couldn't uninstall Creative Cloud for desktop”. Instead, you can use Adobe CC Uninstaller, a dedicated uninstaller from Adobe, to uninstall desktop apps.
https://helpx.adobe.com/creative-cloud/help/uninstall-creative-cloud-desktop-app.htmlClean up leftover junk software with Adobe CC Cleaner
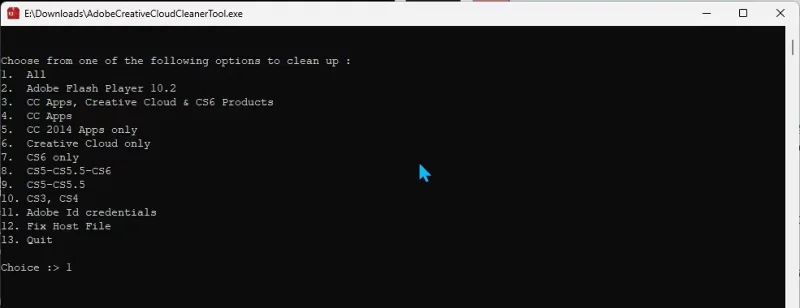
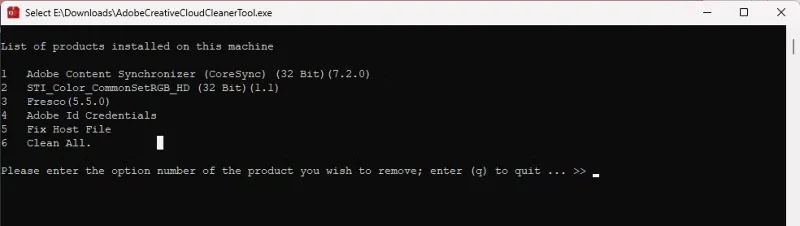
Thanks to Adobe’s deep integration with Windows, you still need to clean up some leftover Creative Cloud junk. To remove junk and leftover files, we’ll use the Adobe Creative Cloud Cleaner tool.
https://helpx.adobe.com/creative-cloud/kb/cc-cleaner-tool-installation-problems.htmlIf it completes successfully, press Enter to exit. If you see any errors, run the tool again to remove any remaining files.
Manually delete Adobe Genuine Service and folders
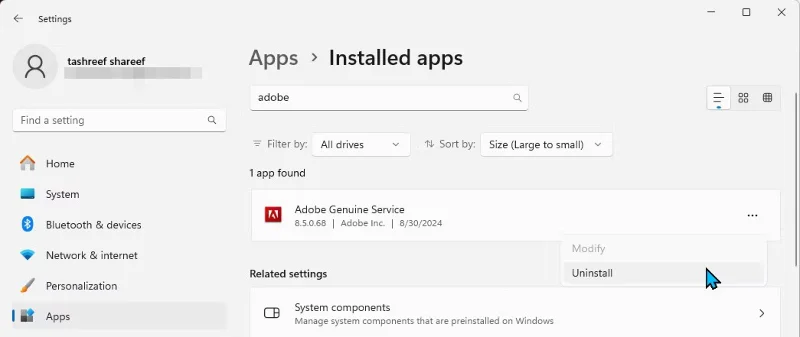
The final piece of this puzzle involves removing the Adobe Genuine Service (also known as Adobe Client), which is designed to detect pirated Adobe tools on your computer.
To remove Adobe Genuine Service:
You can then delete the Adobe folders in the following locations:
C:\Program Files\Adobe
C:\Users\Username\AppData\Roaming\Adobe (replace Username with your computer's username)
C:\Program Files (x86)\Adobe
C:\Program Files (x86)\Common Files\Adobe
C:\Program Files\Common Files\Adobe
Open the Adobe folder, select all the files inside and select Delete . Do this for all the folders above. Also, remember to empty the recycle bin to free up space on your drive.
Adobe makes it unnecessarily difficult to remove the Creative Cloud desktop app. While Adobe provides some tools to clean up your installation, you still need to manually clean up all the files.
Switch Debian audio between named PipeWire outputs with a pactl script that updates the default sink and reroutes streams already playing.
Get your Bluetooth headset mic working by selecting the right input, using a hands-free audio profile, and checking Ubuntu’s PipeWire route.
Learn why Flatpak apps may ignore Ubuntu 24.04 GTK themes and follow safe steps to check theme extensions, refresh Flatpak apps, and diagnose portal issues.
Install Ubuntu 24.04 alongside Windows 11 with BitLocker safely. Compare separate-drive and shared-drive paths, recovery keys, partitioning, and boot checks.
Diagnose NVIDIA driver failures after an Ubuntu kernel update. Check DKMS and Secure Boot, rebuild the matching module, enroll a MOK, and verify the fix.
Fix Ubuntu 24.04 Wi-Fi drops after suspend with checks for NetworkManager, radio blocks, updates, power saving, and drivers—then verify each resume.
Learn why tracker-miner-fs-3 uses high CPU in Ubuntu GNOME and how to check indexing, exclude folders, update Ubuntu, or safely rebuild the search index.
Fix Debian’s UEFI boot error by checking boot mode, the EFI System Partition, GRUB files, and firmware boot order—without reinstalling Debian first.
The Outlook Inbox Repair Tool fixes corrupted PST files quickly so you can recover emails and restore normal Outlook function. Follow these exact steps to run scanpst.exe without data loss.
Get the Adobe PDF Installer Offline to install Acrobat Reader on any PC without needing internet during setup. Follow these exact steps for the full standalone package.