Fix ownCloud Sync Certificate Errors at the TLS Source
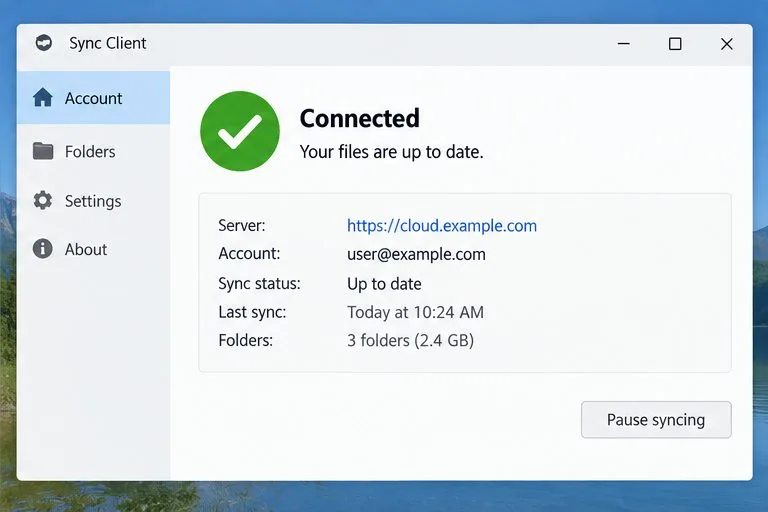
Restore ownCloud desktop syncing by checking the server hostname, certificate chain, private CA trust, and captive portal issues without disabling TLS verification.
The popularity of smartphones actually helps instant messaging gain users' attention. And email is the king of personal communications. While email has been tested against time to be ideal for long text and large files, instant messaging with its portability will shine for direct conversations between friends. That's why email clients and instant messaging are different because they are designed to serve different purposes and perspectives.
It is certain that the distance between them is gradually narrowing, so having two separate applications used for one or more of the same functions seems to be increasingly backward. If you use both Gmail and Telegram and agree with the above opinion, you can try Telegram's Gmail Bot to receive email right in the Telegram client.
One thing that sets Telegram apart from most other messaging apps is the existence of bots. Once a favorite feature among hard core IRC users a few decades ago, bot technology has recently come back and has been available on a number of popular phone apps, including Telegram.
But what are bots, specifically Telegram Bots? According to the bot's official homepage, bots are third-party applications that run in Telegram. Users can interact with bots by sending them messages, commands and inline requests. Bots can be controlled using HTTPS requests to Telegram's bot API.
Along with a range of existing bots, Telegram users can do things that many other instant messaging applications cannot imagine, such as:
You can even create your own bot with the help of BotFather , similar to the method we use to connect a WordPress blog to Telegram.
To connect your Gmail inbox to your Telegram account, you need the help of a Gmail bot. And here are the steps to do that:
Note: The photo below was taken from the Telegram app on your computer. You will have a similar or more similar interface to the mobile version.
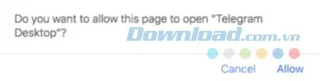
Step 1: Open the Gmail bot in the Telegram app. To get started, you can access the Gmail bot link and allow it to open the Telegram client.
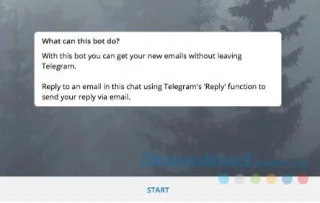
Step 2: You will receive a quick explanation explaining what this bot can do. Click Start to continue.
Step 3: To allow the bot to do its work, you need to authorize it to set up Gmail integration.
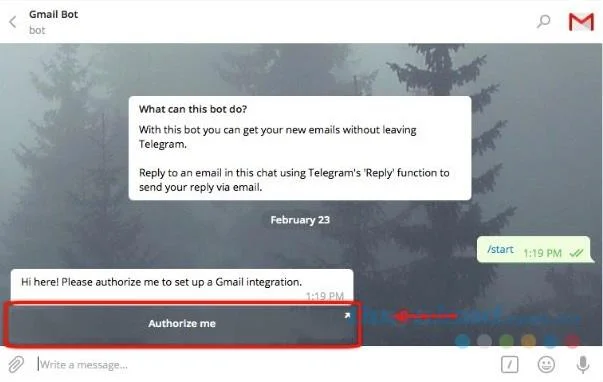
The bot will try to open the integrated Gmail link. Click Open to continue the process.

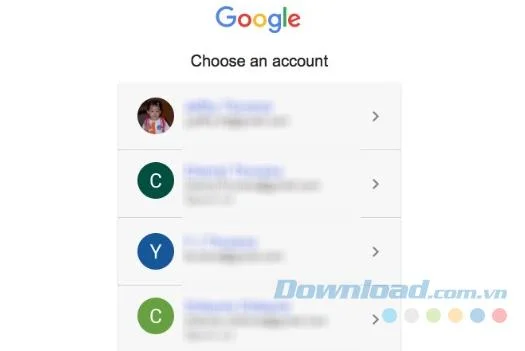
Step 4: Choose one of the Gmail accounts you want to use with Telegram.
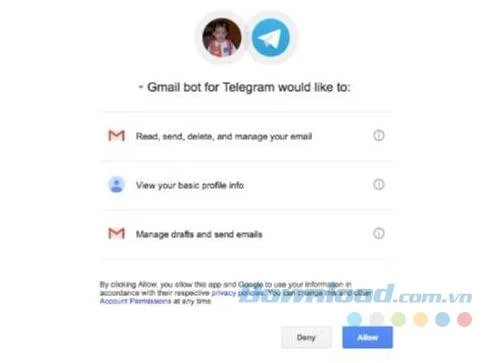
Step 5: You need to allow the Gmail bot for Telegram to manage your Gmail account via Telegram. Select Allow to allow.
Once everything is set up correctly, you will have a dedicated channel for your Gmail and will start receiving emails in your Telegram app.
Now how do you manage emails in Telegram? Although the interface is different from your regular email client, it is quite simple.
When you open the conversation in Gmail, you'll see short snippets of all incoming mail. Below these sections are the available options. You can view the entire message by clicking the Show more button or accessing the Action.
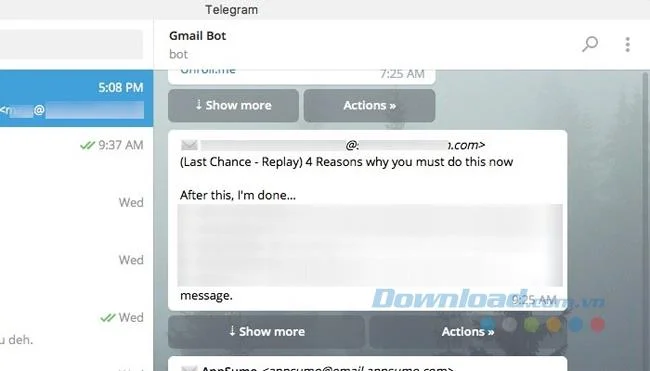
In Action , you can find common email commands like replying, forwarding, archiving, deleting, etc.
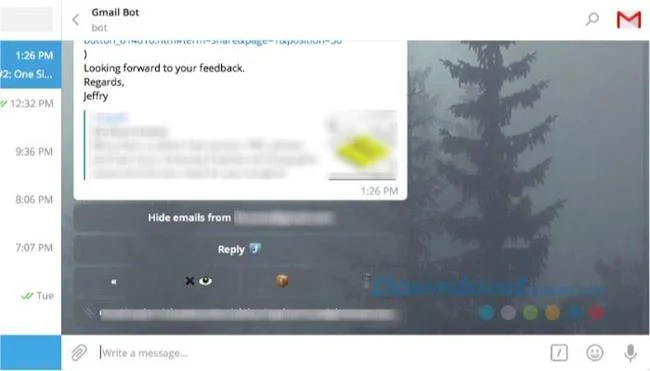
You can access more commands by typing a slash (/) . There are four commands available:
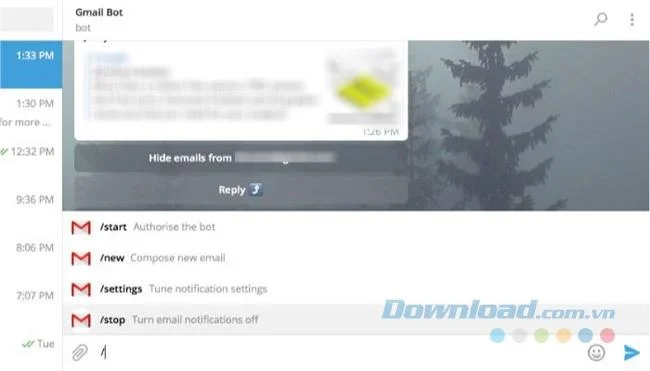
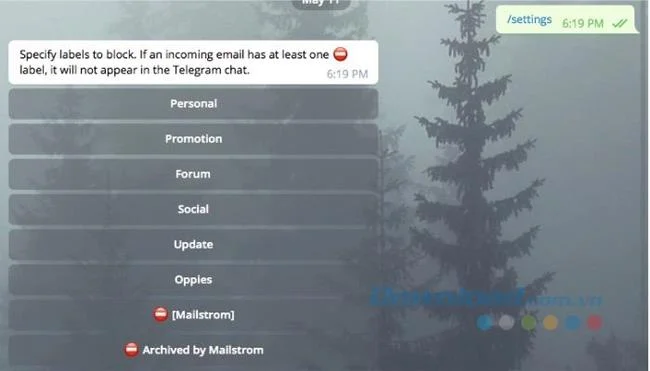
To keep your Telegram from being overwhelmed by notifications, you can choose which emails to receive via / settings> Blacklist.
The Gmail bot makes it easy for Telegram users to manage email without having to exit the app, but it also comes with some drawbacks.
One of the most obvious points is the need to select which emails are received in Telegram and which emails should be ignored. If you receive all the mail then Telegram will become cluttered, unorganized.
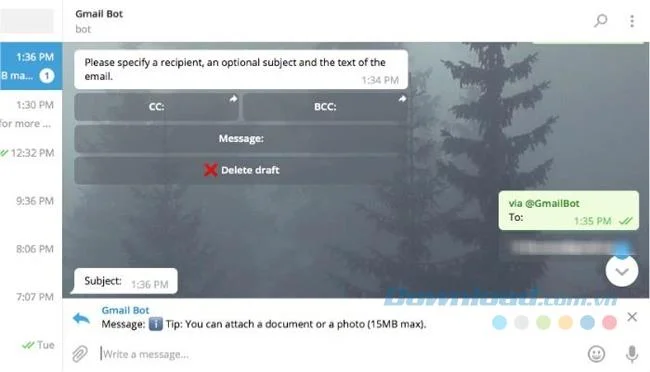
You should not connect too many accounts because there is no way to distinguish which email belongs to which account. In addition, bots are only useful for instant messaging, so the interface is not really user-friendly for lengthy email editing.
Restore ownCloud desktop syncing by checking the server hostname, certificate chain, private CA trust, and captive portal issues without disabling TLS verification.
Use the invalid-file report to identify mismatched core files or app signatures, restore the correct release files, and verify the integrity check safely.
Deploy ownCloud Infinite Scale from its official Compose example, configure domains and persistent storage, then verify TLS, containers, and first login.
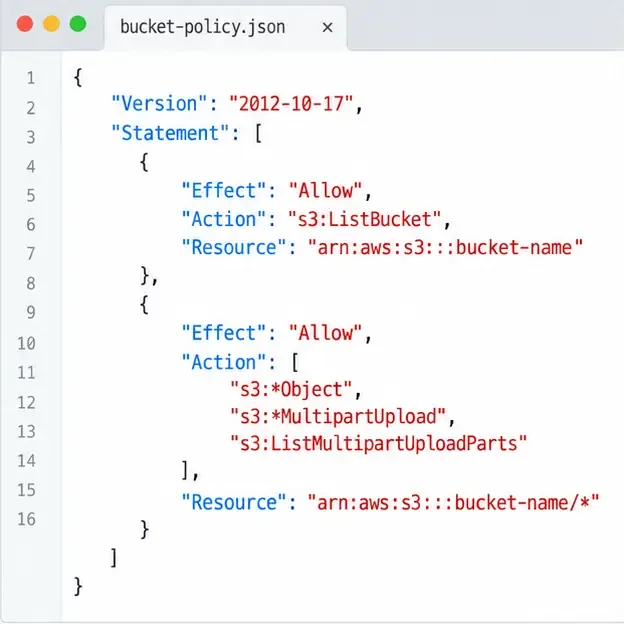
Set up the S3NG driver, bucket permissions, persistent metadata storage, and upload sizing so ownCloud Infinite Scale can store file contents reliably.
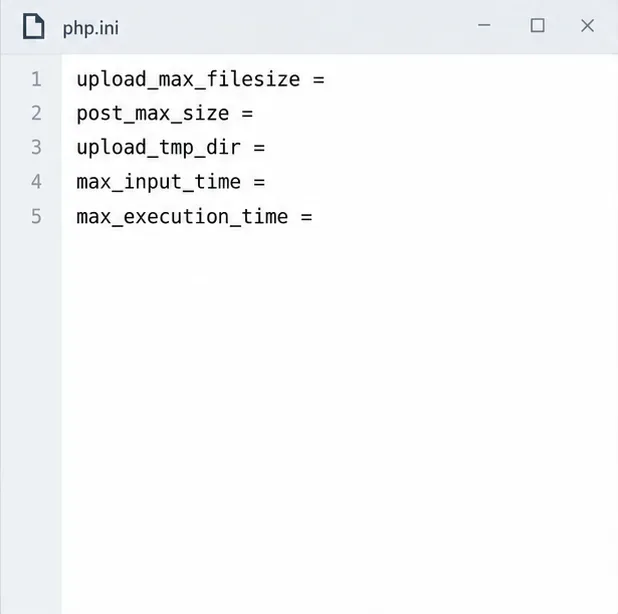
Find why an ownCloud Server upload stops near completion by checking file status, quota, temporary disk space, PHP limits, and proxy timeouts.
Set AllowOverride All only for ownCloud’s web root, validate the active Apache vhost, and reload safely to restore .htaccess rules.
Enable ownCloud’s Enterprise Auditing app, route admin_audit events to a protected log file, and confirm that real user actions are being recorded.
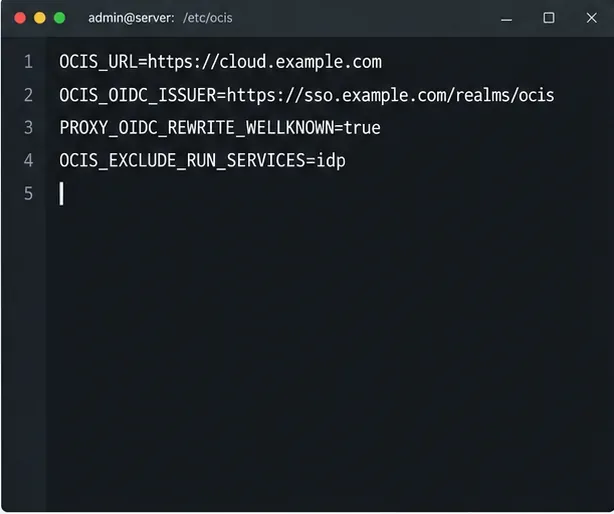
Align Keycloak’s realm issuer, web client, and user claims to let ownCloud Infinite Scale sign users in reliably across the web and mobile clients.
Transfer owned files and outgoing shares with ownCloud’s occ command, understand what stays behind, and verify access before deleting the old account.
Learn when ownCloud 10 database indexes need attention, how to apply supported schema updates safely, and when query tuning or a database change is the better fix.