The Technology Powering Todays Live Blackjack Experience
Walking into a casino has a specific vibe. You hear the chips clacking, see the cards shuffling, and feel the energy of the room.
Minecraft is one of the most popular gaming legends in the world. Minecraft is available on all platforms and the Raspberry Pi is no exception.
The great thing about playing Minecraft on a Raspberry Pi is that every version of it is completely free. This is unprecedented in other platforms. In addition, Minecraft Pi also allows players to create their own world, manually design mods to link the real world and more. The following article will help you install and run Minecraft Pi on Raspberry Pi easily.

Installing Raspbia on Raspberry Pi brings you Minecraft Pi right in the Games section. Minecraft Pi is the core version of the popular survival game , designed to help users understand different programming languages.
Using Pi running Minecraft , you can interact with 3D world in Python. In addition to building structures on a normal interface, Pi also allows users to control the world with scripts to create & edit blocks.
Minecraft Pi is similar to the early versions of Pocket Edition and only has a "Creative" mode. Therefore, it is not as advanced as the versions you play on other platforms.

Start Raspberry Pi, log in, then type the following command:
Startx
This command will run the graphical interface. Click the LXTerminal icon to open the terminal window. Use the following command to download the Minecraft package from the homepage:
wget https://s3.amazonaws.com/assets.minecraft.net/pi/minecraft-pi-0.1.1.tar.gz
Then use the following command to extract the content:
tar -zxvf minecraft-pi-0.1.1.tar.gz
This has created a directory and you should extract some files from it. Open that folder by typing:
cd mcpi
Finally, you can run the application using the command:
./minecraft-pi
The Minecraft Pi window will open and it should look like this:

Click " Start Game " to start and create a world of exploration.

Minecraft runs at a fixed resolution so your screen may vary depending on the settings. You can maximize the window to run in full screen mode. However, this may affect the mouse pointer. Therefore, please use the keyboard as well.

It's annoying to type commands every time you want to play. So why not create a shortcut on your desktop?
First, save the image to your computer as " minecraft.png ", then copy it and move into the mcpi folder .
Right-click on the LXDE desktop, select " Create New " after " Blank File ".
Name the file " minecraft.desktop ". Click OK and the shortcut file will appear on the desktop.
Right-click on the new .desktop file , select " Leafpad ". This file will open in the " Leafpad " text editor .
Copy the following code into " Leafpad ":
[Desktop Entry]
Name = Minecraft Pi Edition
Comment = Launch Minecraft Pi Edition!
Exec = sh -c 'cd ~ / mcpi && lxterminal -l -t Minecraft -e ./minecraft-pi'
Icon = / home / pi / mcpi / minecraft.png
Terminal = false
Type = Application
Categories = Application; Games;
StartupNotify = true
Use the " File " menu to save the file and exit " Leafpad ".
Shortcut now has a nice icon and named " Minecraft Pi Edition ".

Double clicking this icon will open Minecraft.
Here are some shortcuts to help you manipulate quickly when playing Minecraft Pi
ESC Stop / Menu
W Move forward
A Move to the right
S Backwards
D Move right
E Display block storage
1 - 8 Select items in the Quick-bar
Left mouse Destroy blocks
Right mouse click Place the block
Spacebar Jump (increased in fly-mode)
Shift Hide (reduction in fly-mode)
You can use the mouse to change the viewing angle. Scroll the mouse if you want to see the items in turn. Left mouse button to select block. When viewing the repository, you can use the WASD key combination to deselect by pressing Enter to select the block.
Double-clicking Spacebar will enable or disable fly-mode. You can exit Minecraft Pi by clicking the [x] immediately in the right hand corner of the game window.
The Python API allows you to control the Minecraft world. By default, the Python API comes pre-installed on the Raspberry Pi. This is a great way to help you structure and learn Python at the same time.
Hope the article is helpful to you.
Walking into a casino has a specific vibe. You hear the chips clacking, see the cards shuffling, and feel the energy of the room.
There are many games that you can enjoy without Wi-Fi connection or data usage. If you are looking for such offline games then this article is for you.
In Lien Quan Mobile, there are many short terms that help you communicate quickly and effectively when competing. And now, Lien Quan Council will review the most basic terms for Generals to understand.
Blackjack is one of the most thrilling casino games around. You beat the dealer, not other players. However, did you know that the number of decks used can influence your chances of winning?
Thanks to Nintendo Switch Online, exploring hundreds of classic games on the NES, SNES, N64, Game Boy, and Sega Genesis has never been easier.
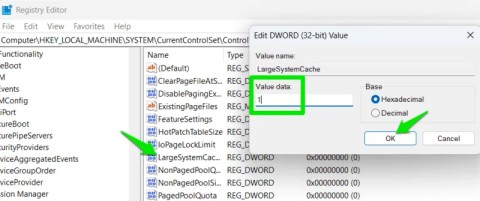
Before upgrading your memory, try the tweaks in this guide to improve game data loading times in Windows.
A good TV for gaming is judged on many factors. The biggest focus is on picture quality, contrast, color, accuracy, and one more factor is input lag.
Everyone loves getting something for free. However, when it comes to free mobile games, we all know that they aren't really free.
Error 500 is a familiar message that many players encounter when using the Epic Games Store.
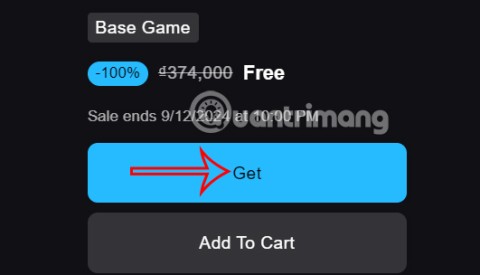
Football Manager 2024 is available for free on the Epic Games Store until September 12 so you can download it to your computer.
Zombies have always been an attractive theme in PC games and horror movies. Game publishers have exploited this theme and achieved much success thanks to the zombie horror genre.
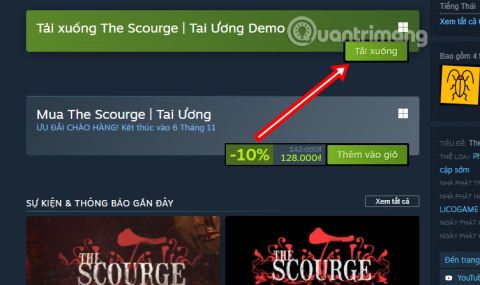
The game Tai Uong has now been officially released and allows players to download it on their computers via the game distribution platform Steam.
To play dinosaur game - T-rex Run on Chrome when offline and when online, you just need to follow these simple instructions. The lovely T-rex dinosaur will appear on the screen for you to start the game.
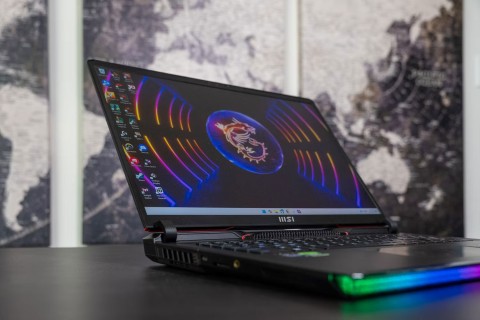
There has long been a debate among gamers about whether to use a laptop, desktop, or console for gaming. While each option offers its own benefits, gaming on a laptop stands out in a unique way.
If you're looking for a new experience, there are a few things to keep in mind before adding a mod to your game.
