Move ownCloud Classic to oCIS with a Supported Migration
Plan an ownCloud 10 to oCIS migration with the supported app, ordered commands, identity checks, and a clear list of data that needs separate handling.
WebTech360 – If you're using Microsoft Teams, you can organize your tasks by adding one or more Planner tabs to a team channel. You can then work on your plan from within Teams or in Micorosft Planner on the web, Teams allows you to scrap or delete your plan and receive notifications within the team when tasks are assigned to them. friends in Planner.
Add a Planner tab to a team channel
1. Select any group -> in your group's channel, select Add tab + .

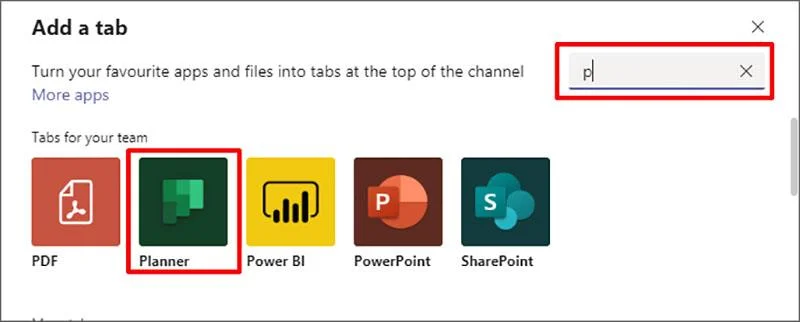
2. In the Add Tabs dialog box , select Planner (you can type planner in the search box for quick)
In the Planner dialog box , you can choose:
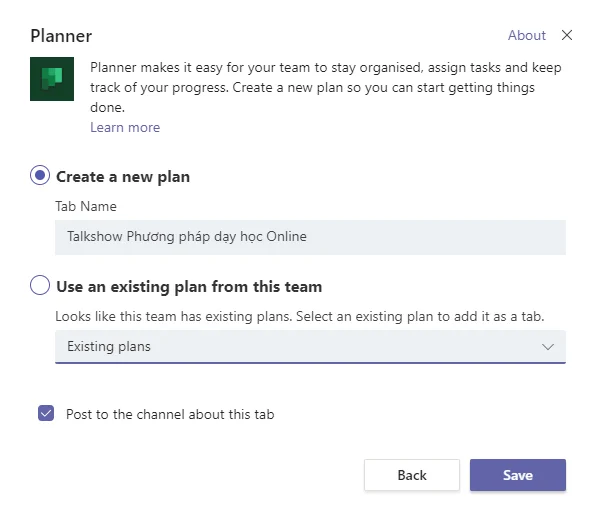
Select Post to the channel about this tab if you want to post to this tab channel, then select Save .
The tab will be added along with your other team channel tabs, and you'll be able to start adding tasks to your board.
Work on Planner in your Teams
Once you've added Planner to a channel in Teams, there are two ways you can get started:
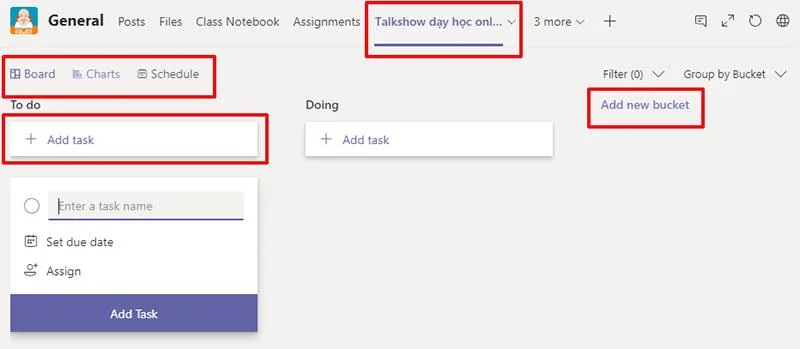
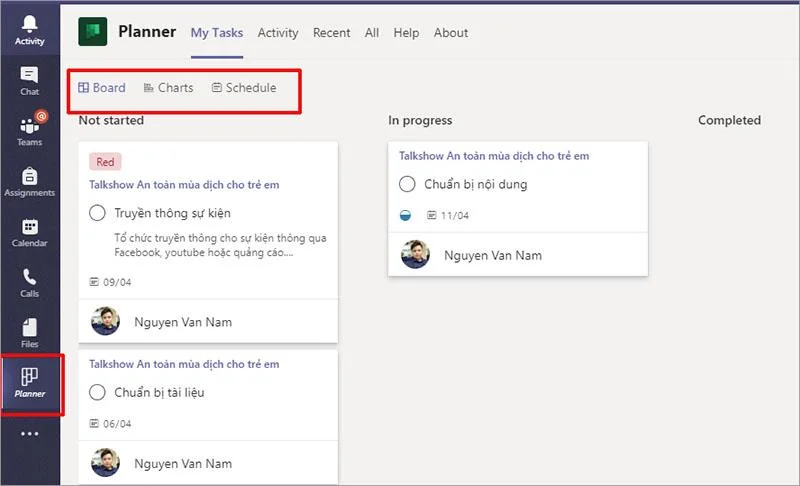
On the My tasks tab , you can see all the tasks assigned to you in Planner. The Recent and All tabs show you the plans you've recently viewed, or all the tasks that are relevant to you.
Now you can completely use Planner to plan a team right in Teams or use Planner on the Web. If you do not know how to use Micorosoft Planner, you can refer to the article Organize group work using Microsoft Planner
Open your plan in the group
Remove the Planner tab or delete a plan
When you're done using the Planner tab in Teams, you can remove it from your team channel, or you can remove it from your channel and permanently delete it.
2. In the Remove . dialog box
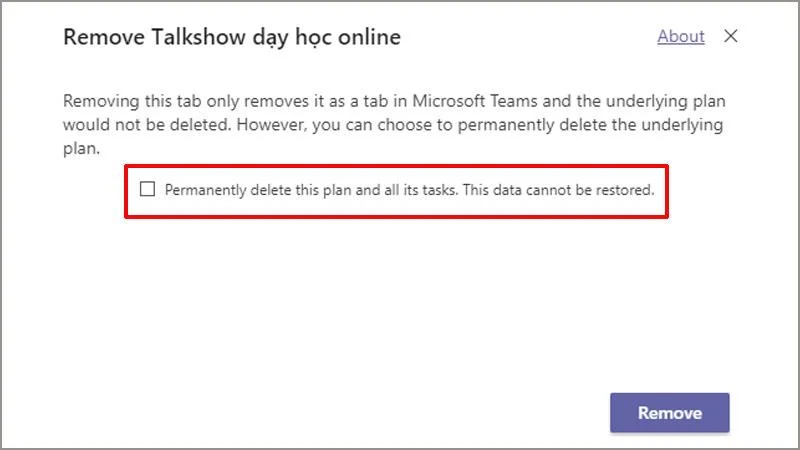
3. Select Remove .
Receive Planner assignment notifications in groups
You can get a notification from Teams when a Planner task is assigned to you by someone else, if your team has Planner installed and your plan is in a team tab.
To enable Planner assignment notifications in Teams:

2. Make sure someone has selected the assign tasks to you checkbox
The Notifications dialog box has 2 options for you.
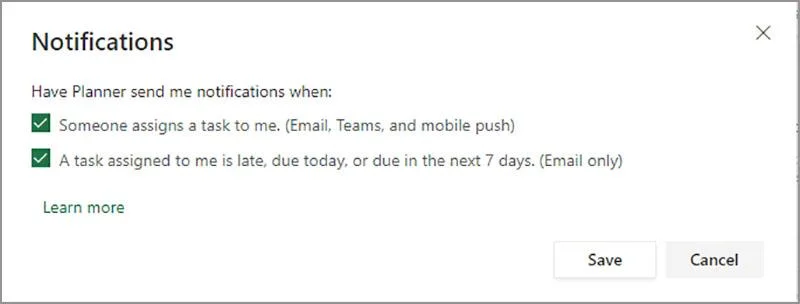
3. Click Save to save the settings
Your Planner notification preferences in Teams will:
Even when assigning tasks is done outside of the Teams app (for example, in Planner for the web or the Planner mobile apps), If your plan has a tab in Teams, team notifications will be sent to you.
If you don't see a message from Teams for a specific plan, please try uninstalling and reinstalling the Planner app for the team associated with that plan to ensure that the Planner bot is added to the team.
Turn off the Planner assignment notification in the group
If you don't want to receive group notifications for task assignments, you can turn off or block the Planner bot to stop group notifications from Planner.
The above are basic instructions in using Microsoft Planner to assign and manage work for teams on Teams. Hope to help you have more optimal options in team management.
Wish you have a great experience with Microsoft Planner on Teams.
See also: Organize work with Microsoft Planner
Plan an ownCloud 10 to oCIS migration with the supported app, ordered commands, identity checks, and a clear list of data that needs separate handling.
Replace ownCloud Classic 10 logos and tune web UI colors with a theme app, while avoiding upgrade and integrity-check pitfalls.
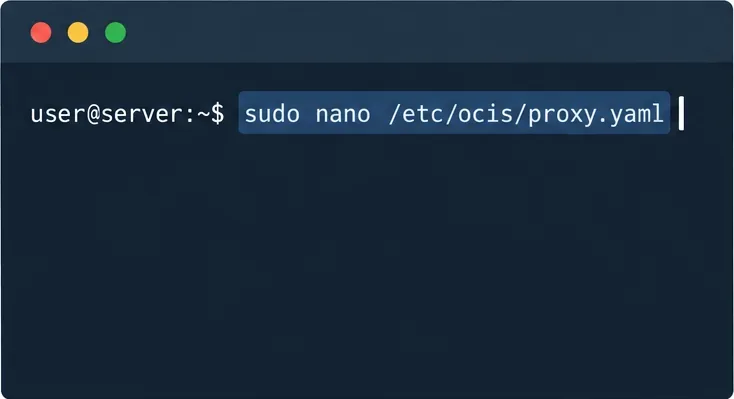
Assign byte-based storage limits to new ownCloud Infinite Scale users by role, with a proxy.yaml example and a safe verification checklist.
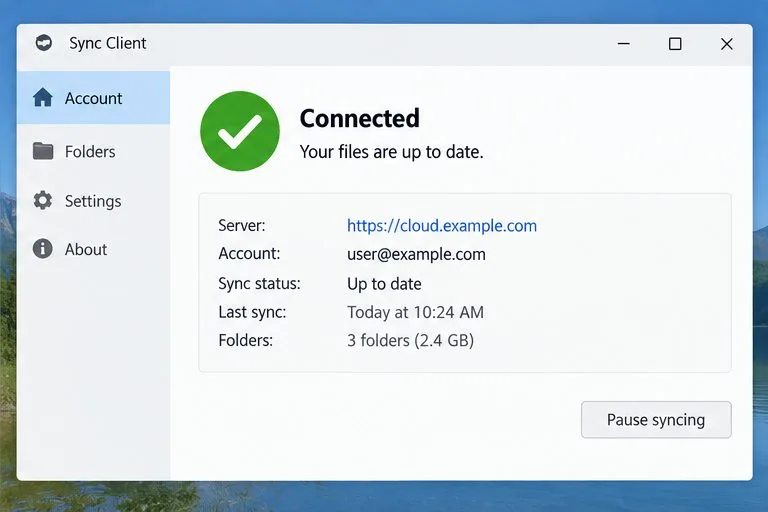
Restore ownCloud desktop syncing by checking the server hostname, certificate chain, private CA trust, and captive portal issues without disabling TLS verification.
Use the invalid-file report to identify mismatched core files or app signatures, restore the correct release files, and verify the integrity check safely.
Deploy ownCloud Infinite Scale from its official Compose example, configure domains and persistent storage, then verify TLS, containers, and first login.
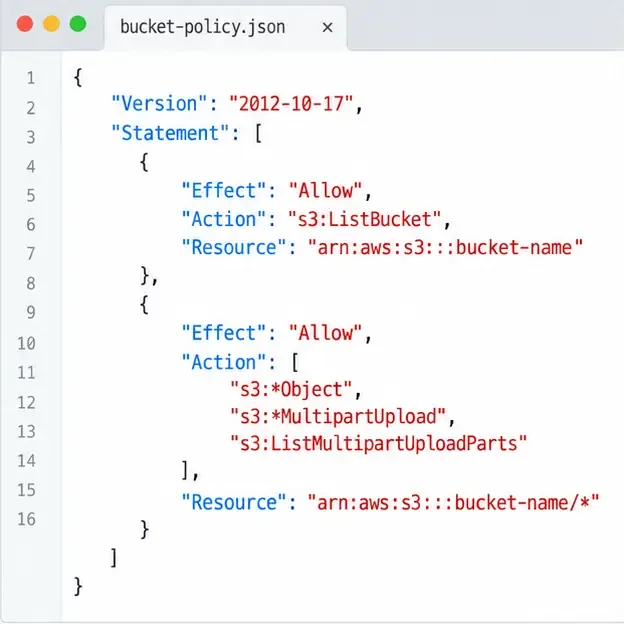
Set up the S3NG driver, bucket permissions, persistent metadata storage, and upload sizing so ownCloud Infinite Scale can store file contents reliably.
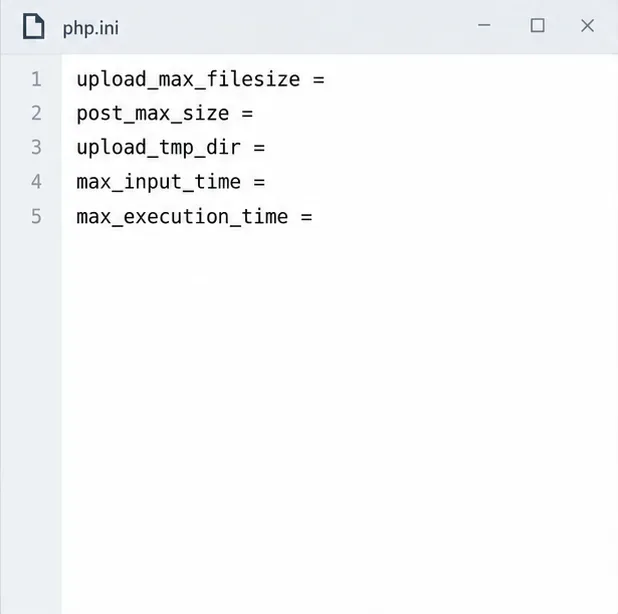
Find why an ownCloud Server upload stops near completion by checking file status, quota, temporary disk space, PHP limits, and proxy timeouts.
Set AllowOverride All only for ownCloud’s web root, validate the active Apache vhost, and reload safely to restore .htaccess rules.
Enable ownCloud’s Enterprise Auditing app, route admin_audit events to a protected log file, and confirm that real user actions are being recorded.