Stop ownCloud File Lock Timeouts with the Right Backend
Distinguish database lock contention from expired WebDAV locks, then choose and configure the right ownCloud 10 fix.
If you spend considerable time on your Windows 10 computer or device, mastering how to adjust screen brightness is essential. This adjustment is particularly important for laptops and tablets in various lighting conditions. Luckily, Windows 10 offers a variety of options to change this setting. Follow this updated tutorial to learn how to increase or decrease your display's brightness:
NOTE: The features presented are available in Windows 10 November 2019 Update or newer. If you're using an older version of Windows 10, you might not have access to all the features. Check your Windows 10 build and, if necessary, get the latest Windows 10 update available for you.
Most Windows 10 laptops feature dedicated keys for adjusting screen brightness:
| Device | Brightness Increase Shortcut | Brightness Decrease Shortcut |
|---|---|---|
| HP Spectre 13t | F3 | F2 |
| Surface Pro | Fn + DEL | Fn + Backspace |
| Lenovo Legion Y520 | Fn + F12 | Fn + F11 |
Look for sunlight icons on your keyboard.

Some monitors come with dedicated buttons to control brightness settings, while others require you to navigate through menus. Consult your monitor's manual for precise steps.

You can also adjust brightness through the Action Center. Press Windows + A to open it and find the brightness slider at the bottom.

Open Settings using Windows + I, and navigate to System. Under the Display section, adjust the brightness slider as required.

To modify brightness through Windows Mobility Center, search for mobility in the taskbar, then adjust the brightness using the appropriate slider.

Using PowerShell is another effective method. Launch it with powershell in the search field, then type the command:
(Get-WmiObject -Namespace root/WMI -Class WmiMonitorBrightnessMethods).WmiSetBrightness(1,brightnesslevel)
Replace brightnesslevel with a value between 0 and 100.

Lowering the screen brightness can save energy. Access Battery settings by clicking the power icon in your system tray and adjusting the settings to enable this feature.

Being able to adjust brightness effectively enhances comfort and productivity. A screen that's too bright or dim can cause eye strain. What method do you prefer for changing your display's brightness? Share your thoughts in the comments below!
Distinguish database lock contention from expired WebDAV locks, then choose and configure the right ownCloud 10 fix.
Trace a blank ownCloud Web screen to browser cache, missing web assets, service errors, or reverse-proxy URL settings with targeted checks.
Set ownCloud’s web PHP memory limit, restart the matching service, and verify the active value without confusing it with CLI settings or upload limits.
Find out whether MySQL, PHP, socket settings, or database permissions are blocking ownCloud 10, then verify a safe fix.
Make public link expiration mandatory in ownCloud Classic, set a maximum lifetime, and check existing shares that may need separate cleanup.
Enable TOTP through Keycloak, enroll users safely, and understand when Infinite Scale’s route-level MFA settings apply.
Check whether the issue is an OC10 and 7.x compatibility break or a damaged CSync journal, then apply the right fix without deleting synced files.
Choose HTTP-01 or DNS-01, configure an ownCloud reverse proxy, and verify Certbot renews HTTPS certificates automatically.
Configure oCIS LDAP sign-in, align user and group lookups, and verify TLS and schema settings before rollout.
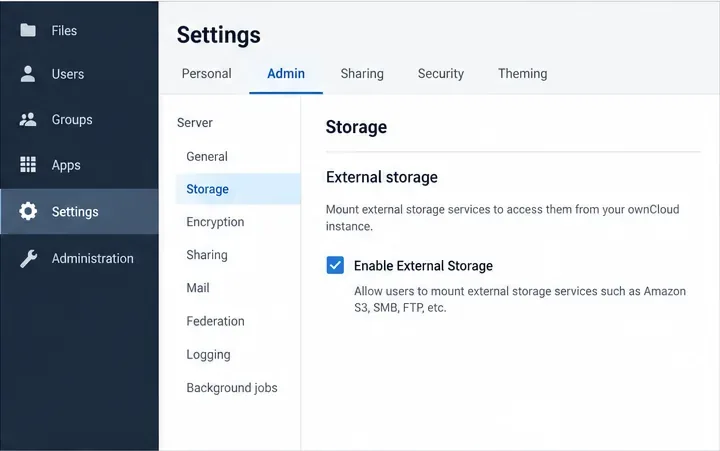
Add an Amazon S3 bucket to ownCloud 10, prepare compatible credentials and endpoints, and check access without confusing a mount with primary storage.
Hanh Nguyen -
Could you explain more about how to sync the brightness across multiple monitors? I have two screens!
Sandy -
Wow, I’m glad I found this post. It’s so convenient to know these different methods
Craig -
Amazing! I never thought I could change brightness so many different ways. Much appreciated!
Justine -
The night light feature is such a game changer for my eyes when working late. Highly recommend
Thùy Linh -
This is really useful! Adjusting the brightness actually helps reduce eye strain. Thanks for sharing
Jay -
I’d love to see more articles like this on improving productivity settings on Windows
Little Miu -
Haha, I thought my screen was just too bright for no reason! Thanks for explaining how to adjust it
Cathy 123 -
I’ve been struggling with screen brightness for ages. Now I finally found a solution! Thank you so much!
Rita T. -
This is a lifesaver for my online classes. Adjusting brightness helps with focus
Lisa K. -
Great advice! I didn’t realize how crucial it was until I started working remotely.
Sarah P. -
I agree, it’s important to adjust brightness according to environment. Keeps your eyes healthy
Đức 456 -
I’ve used the built-in settings, but I didn’t know about the power options. Thanks for the extra tip!
Chris Martin -
Awesome article! The info about using Windows Mobility Center is super useful for travelers
Hương Đà Nẵng -
I love your tips! They’ve become a part of my daily routine now
Tommy -
Great tips! It’s like a lifesaver since I work late at night and my screen brightness was always too high
Alex the Techie -
I appreciate the detail in this post. It’s crucial for eye health to manage screen brightness properly
Mimi -
I’m always adjusting brightness when I switch between rooms. These methods will help a lot
Mèo con -
OMG! I always used to go to settings, but the keyboard shortcuts are so much easier. Thanks a ton
Victor -
Thanks for clarifying these features! I used to get lost navigating through settings
Duy Sinh 6789 -
This guide is really comprehensive. I’m bookmarking it for future reference. Thanks
Johnnie -
Can’t believe I was doing it the hard way for so long. Thanks for the enlightening article!
Emily -
This article is super helpful! I never knew about the keyboard shortcuts for adjusting brightness. Thanks for sharing
Nguyễn Minh -
I tried the settings option, and it worked perfectly! The article is truly insightful
Quang IT -
Very informative! Also, if you have a laptop, you can adjust brightness quickly using function keys. Just a tip!
Huyền Lizzie -
This is great! I usually struggle adjusting my brightness when using my laptop in different lighting conditions