How to Check Purchase History on Apple App Store
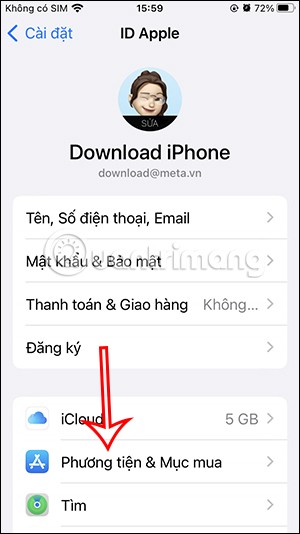
Through your purchase history on the App Store, you will know when you downloaded that app or game, and how much you paid for the paid app.
Apple does a better job than most companies when it comes to privacy. But not all of the default settings on the iPhone are in the user’s best interest. Some prioritize convenience over security, while others assume you might be sharing more information than you’d like.
9. Prevent Apple from collecting diagnostic data
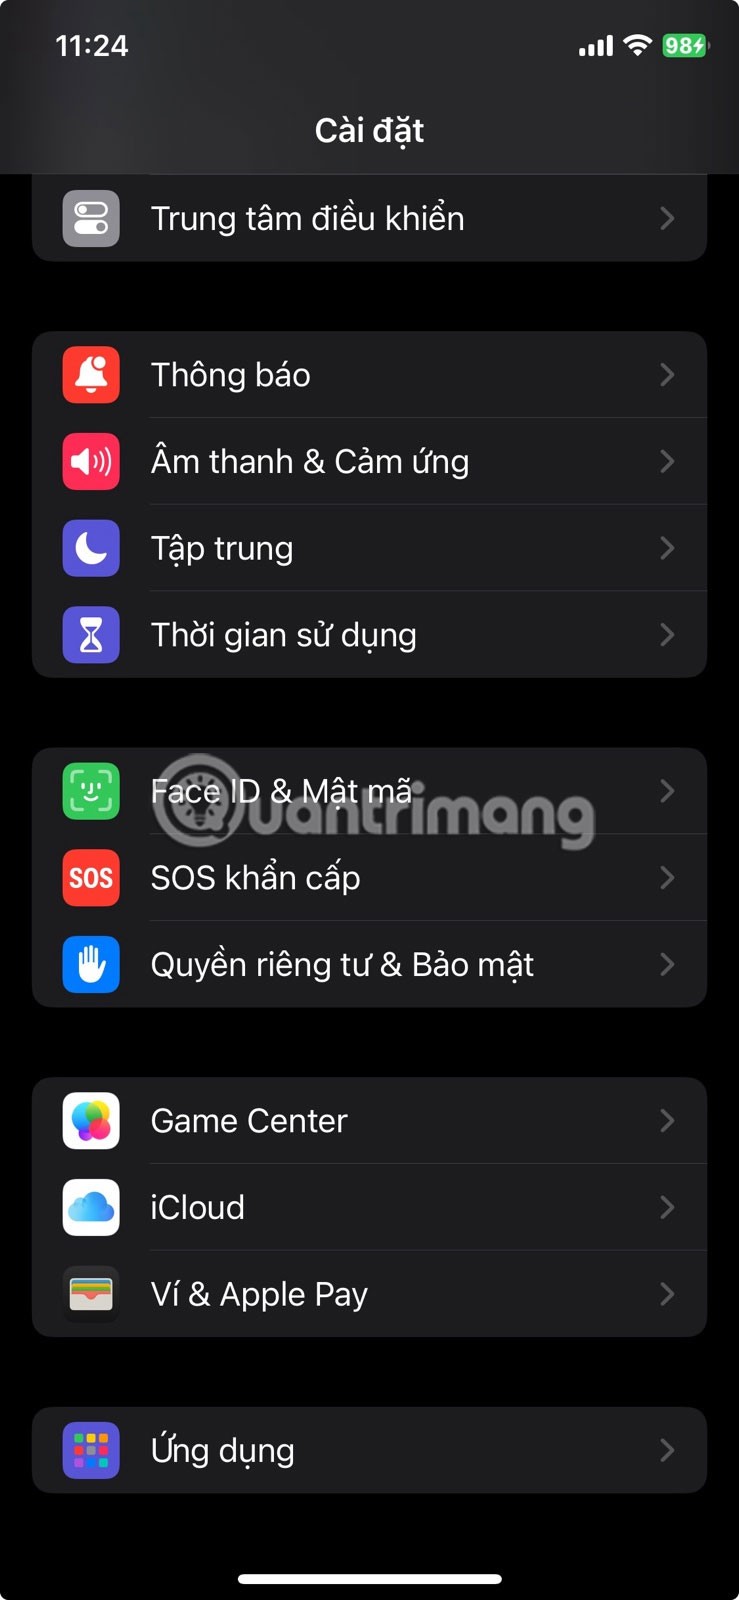
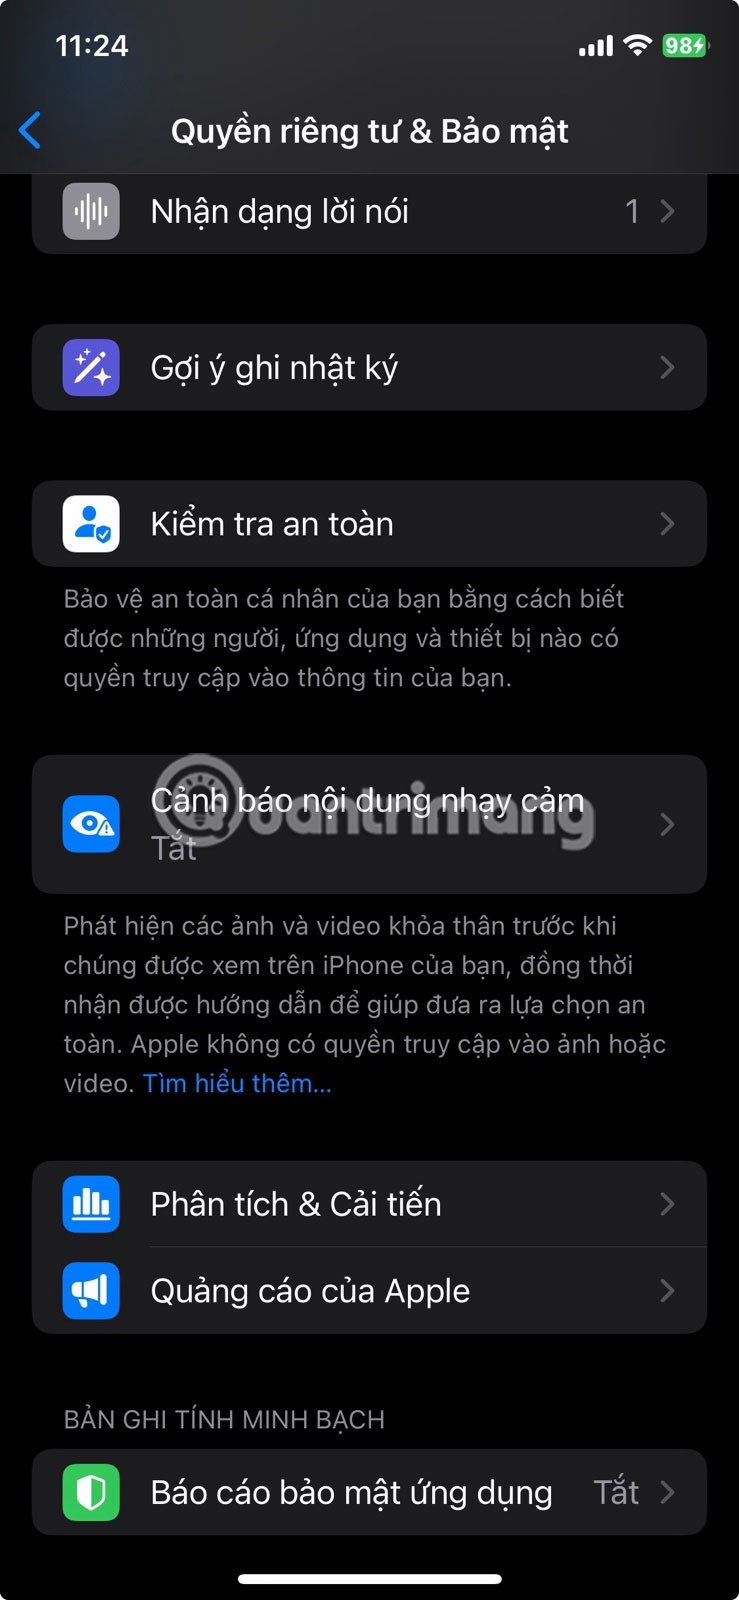
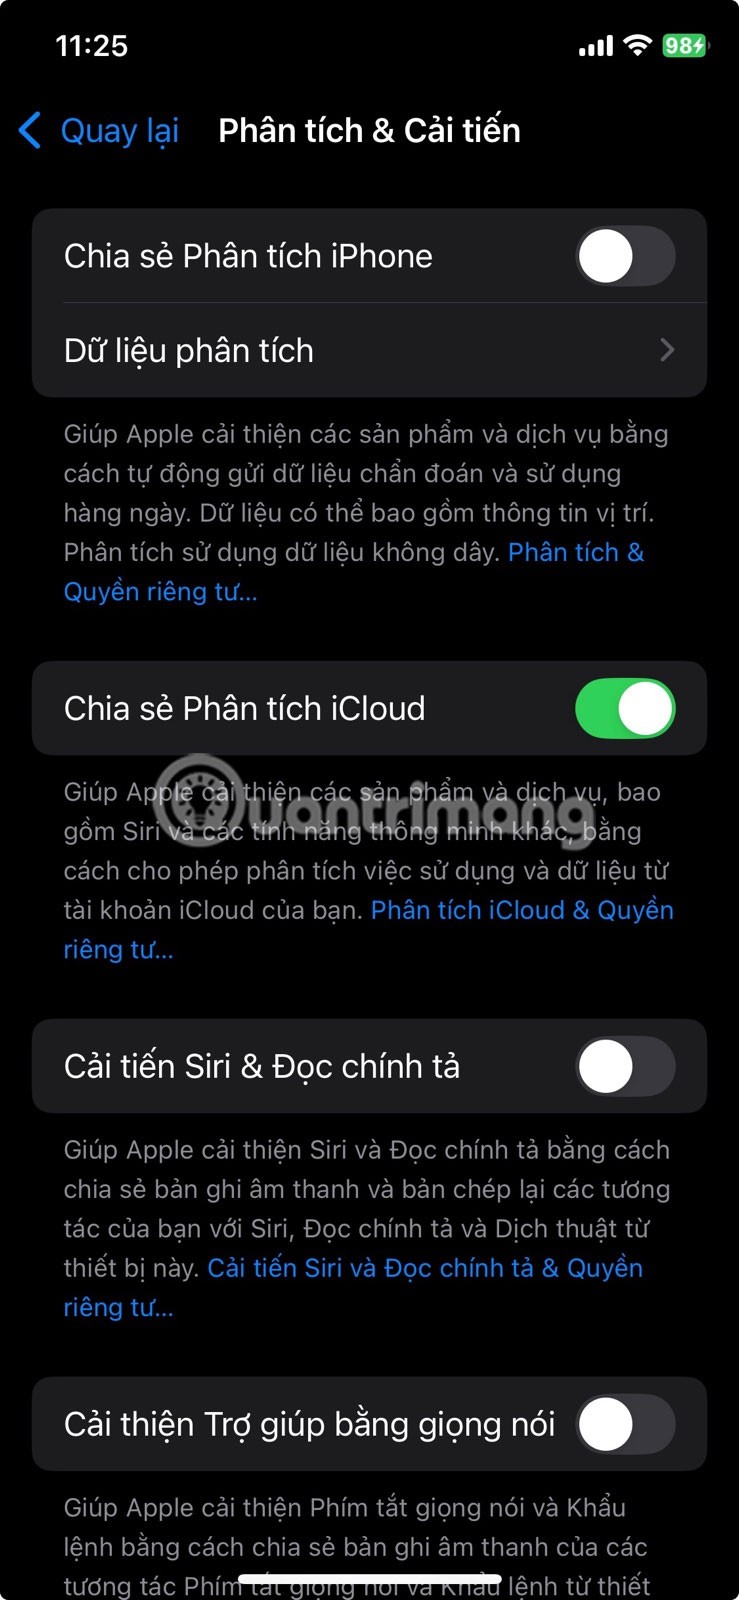
Like most hardware companies, Apple collects diagnostic and usage data from your phone. This data can include crash reports, the performance of certain features, and general patterns about how you use your device. The idea is to help Apple improve iOS over time. But if you’re uncomfortable with your phone silently sending this information back, you can easily turn it off.
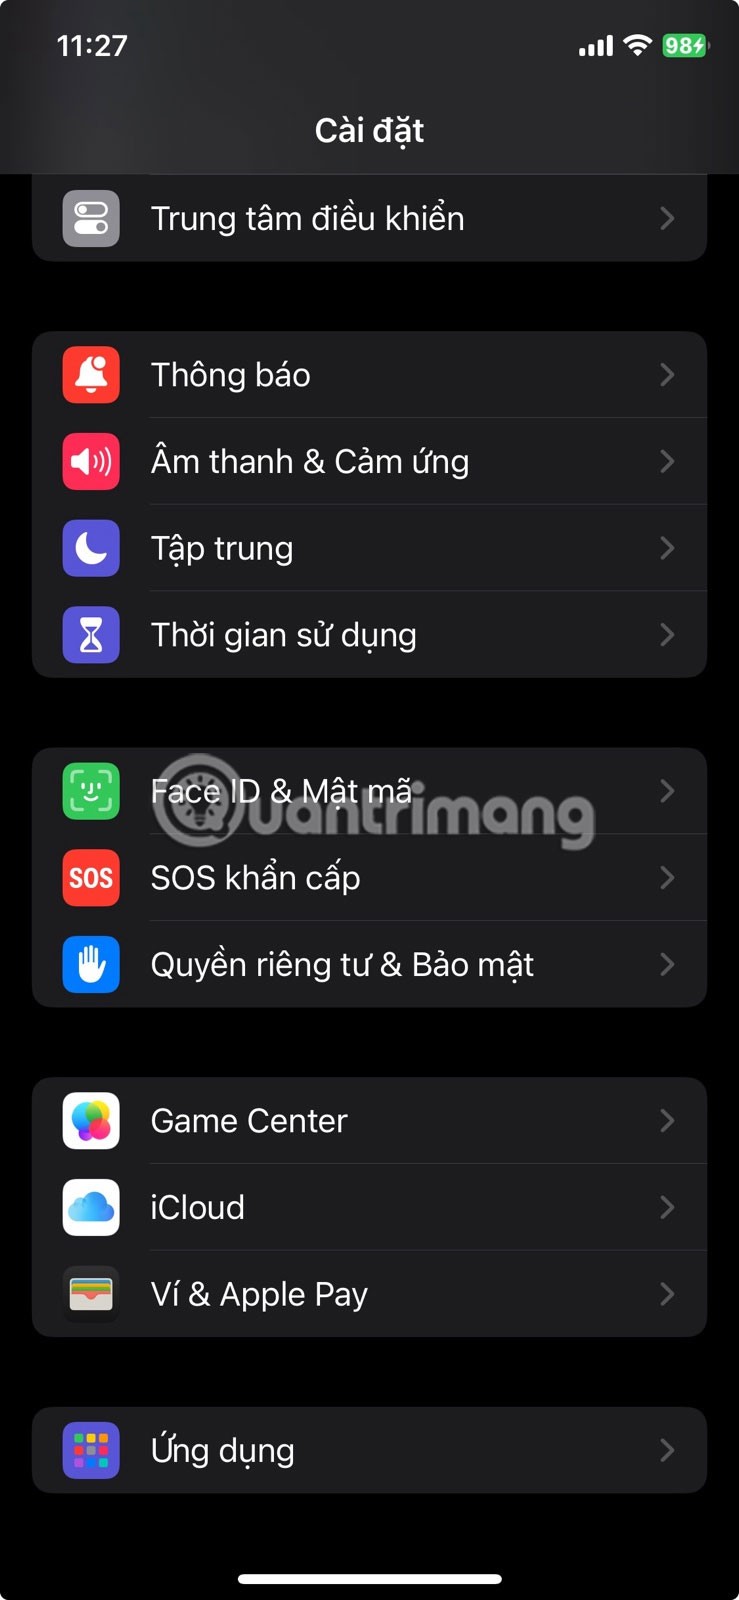
Go to Settings > Privacy & Security > Analytics & Improvements . Once there, you'll see a few toggles. Turn off Share iPhone Analytics to prevent your device from sending data to Apple.
By the way, you may also want to turn off Improve Siri & Dictation to prevent Apple from keeping records of your voice interactions. And finally, turn off iCloud Analytics Sharing to keep your iCloud activity a little more private. These changes won’t affect how your iPhone works, so there’s really no downside.
8. Turn on Mail privacy protection
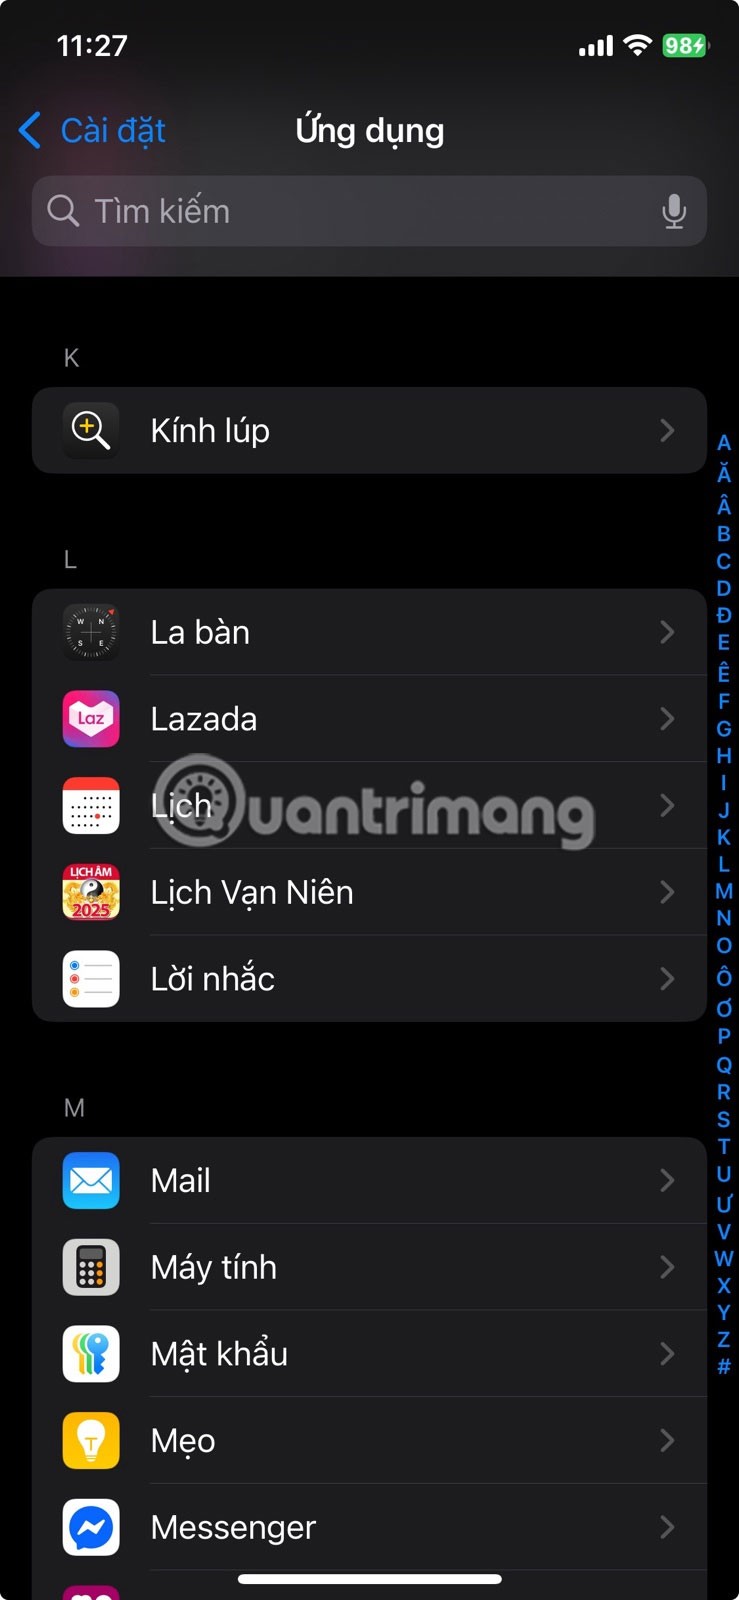
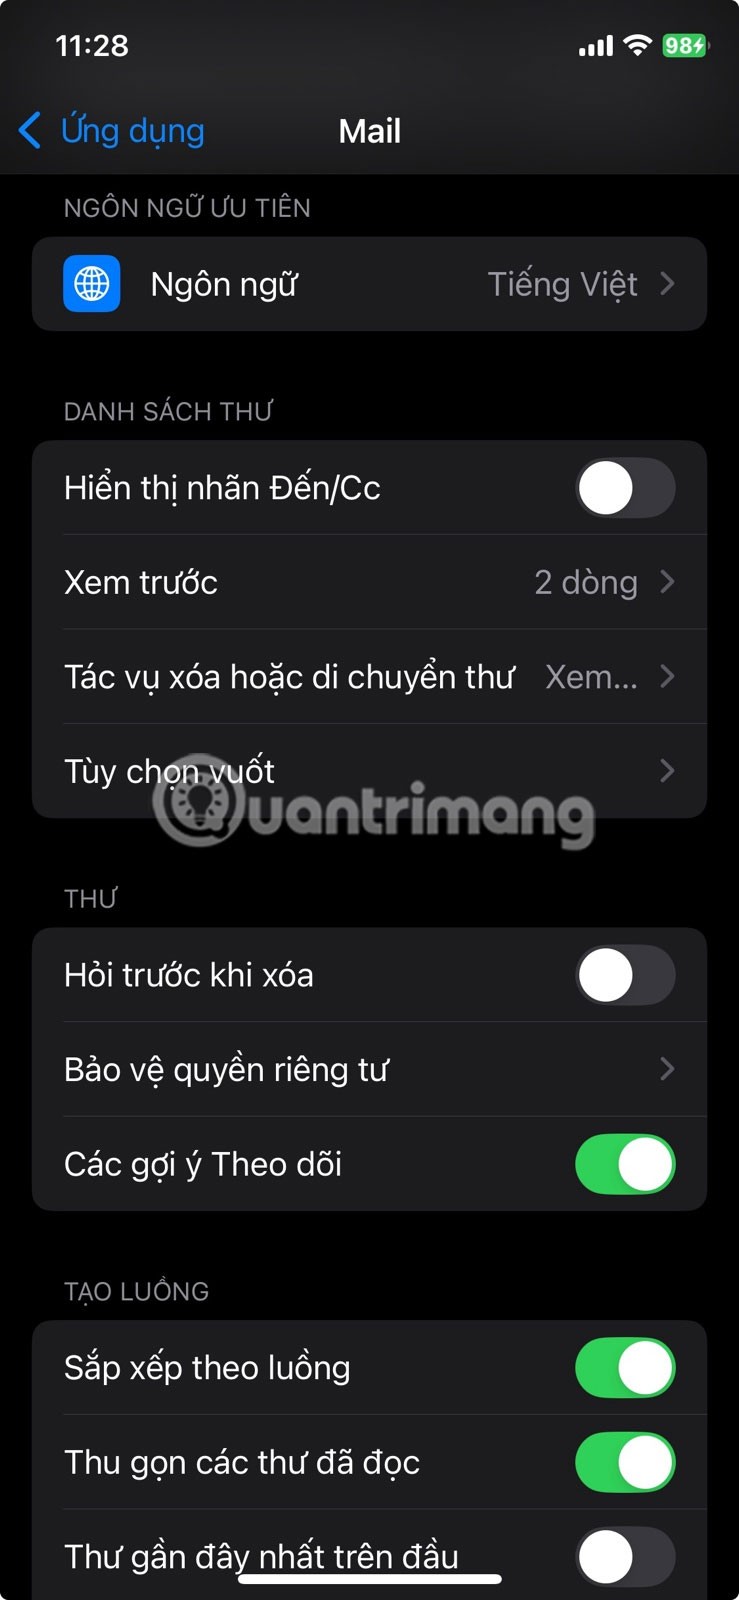

You probably don’t think twice before opening an email. But what you may not realize is that many of those messages have tracking pixels that silently tell the sender when and where you opened the email. This is a tactic used by both marketers and spammers.
Fortunately, Apple offers a privacy feature to block tracking pixels called Mail Privacy Protection. When enabled, it hides your IP address and prevents senders from knowing whether you’ve opened their email. It does this by loading email content remotely through Apple’s servers, rather than directly on your device.
To enable Mail's privacy protection, open Settings > Apps > Mail > Privacy Protection and turn on the Mail Activity Protection toggle . Note that this feature won't stop tracking if you tap a link inside an email, so if something looks suspicious, trust your instincts and don't touch it.
7. Hide notification previews on lock screen
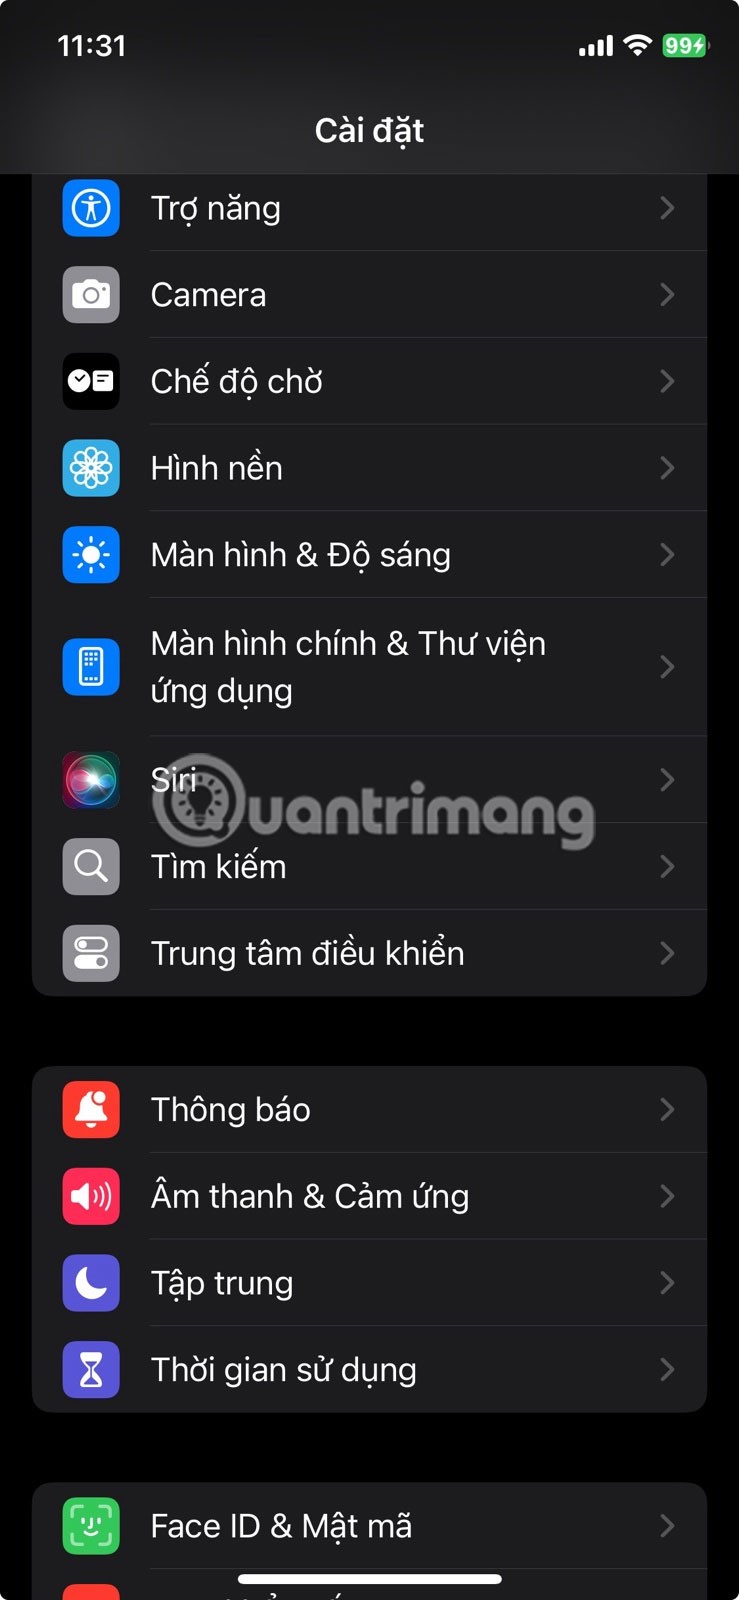
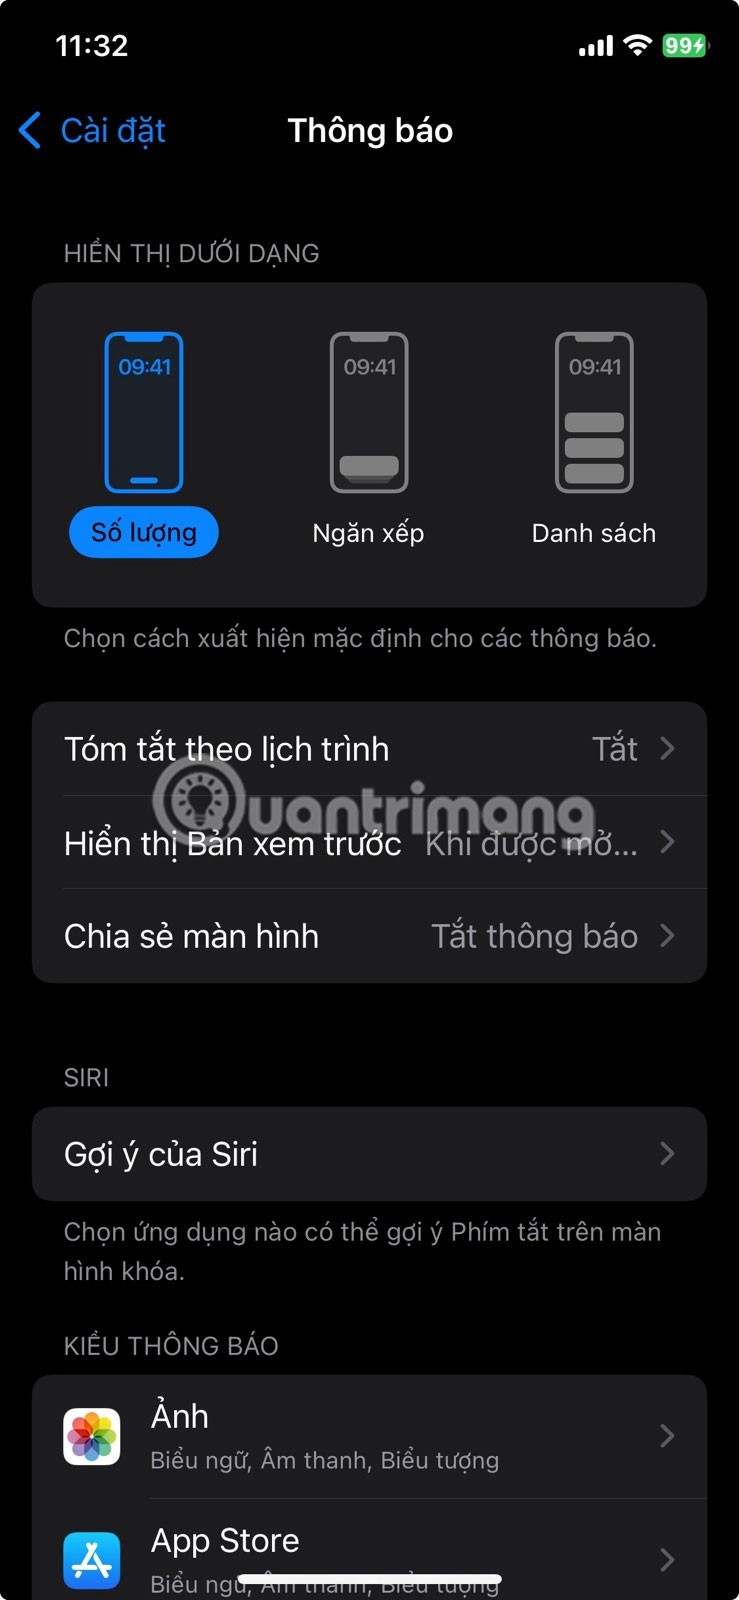

Even when your iPhone is locked, it can still reveal more information than you expect. By default, it displays messages, emails, and all other alerts right on the Lock Screen. Plus, your screen lights up with every new notification, which can catch the attention of anyone nearby.
To keep that information private, go to Settings > Notifications > Show Previews and choose When Unlocked or Never . That way, the content will only show up when your phone is actually in your hands. If you don't want to do this for all apps, you can also adjust your iPhone's notification settings for specific apps like WhatsApp or Messages.
6. Turn on automatic app and software updates
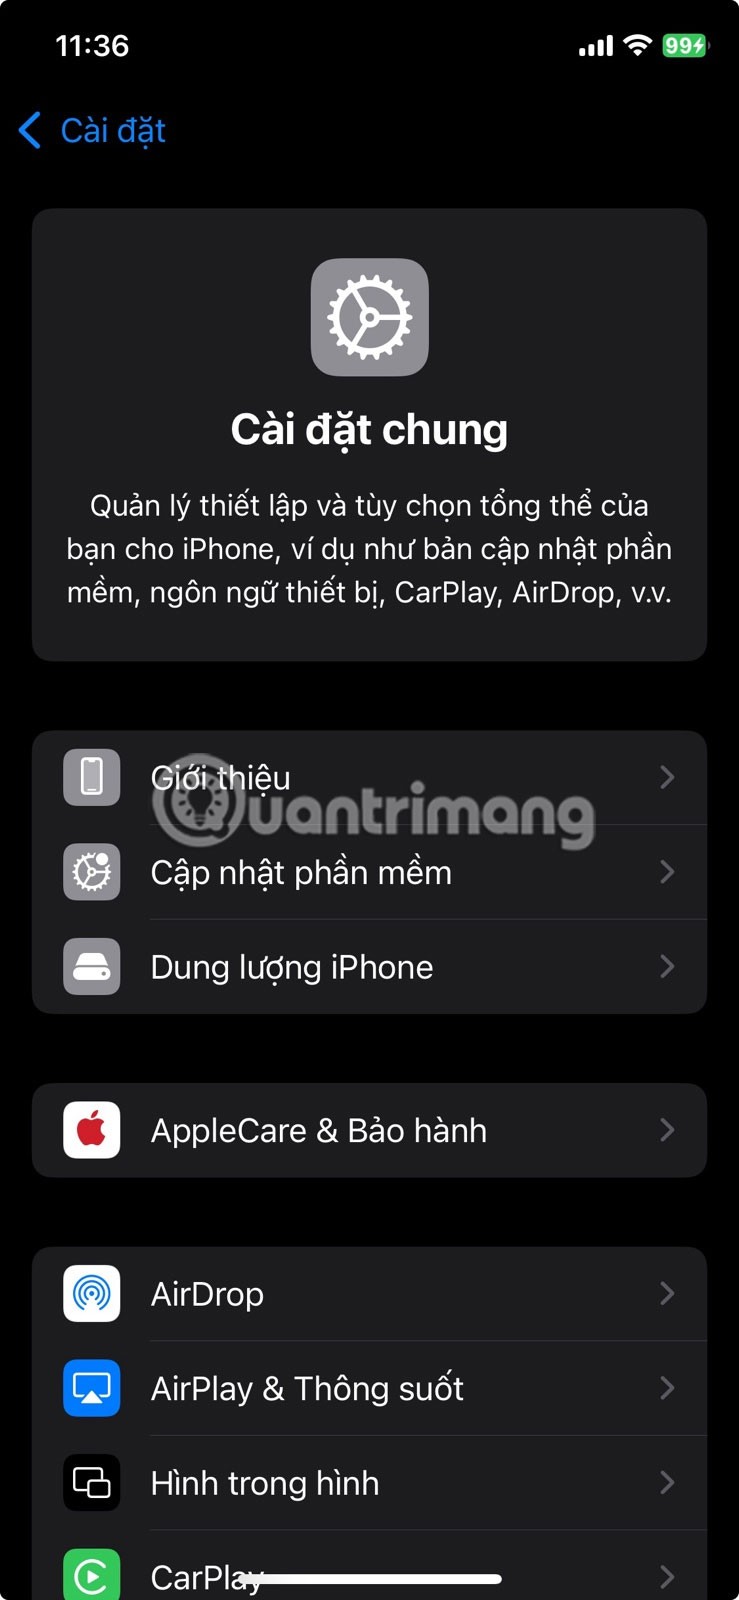
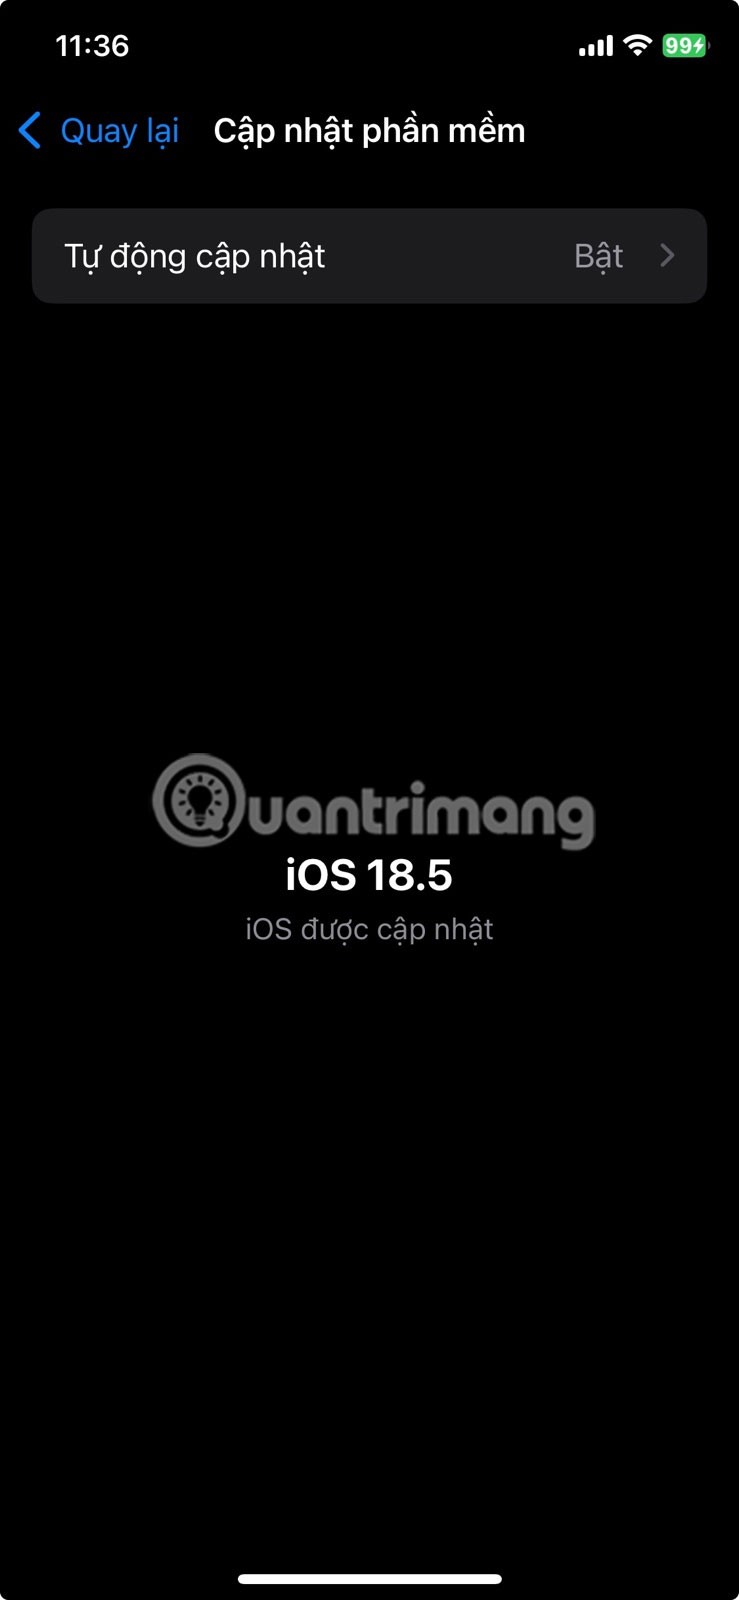
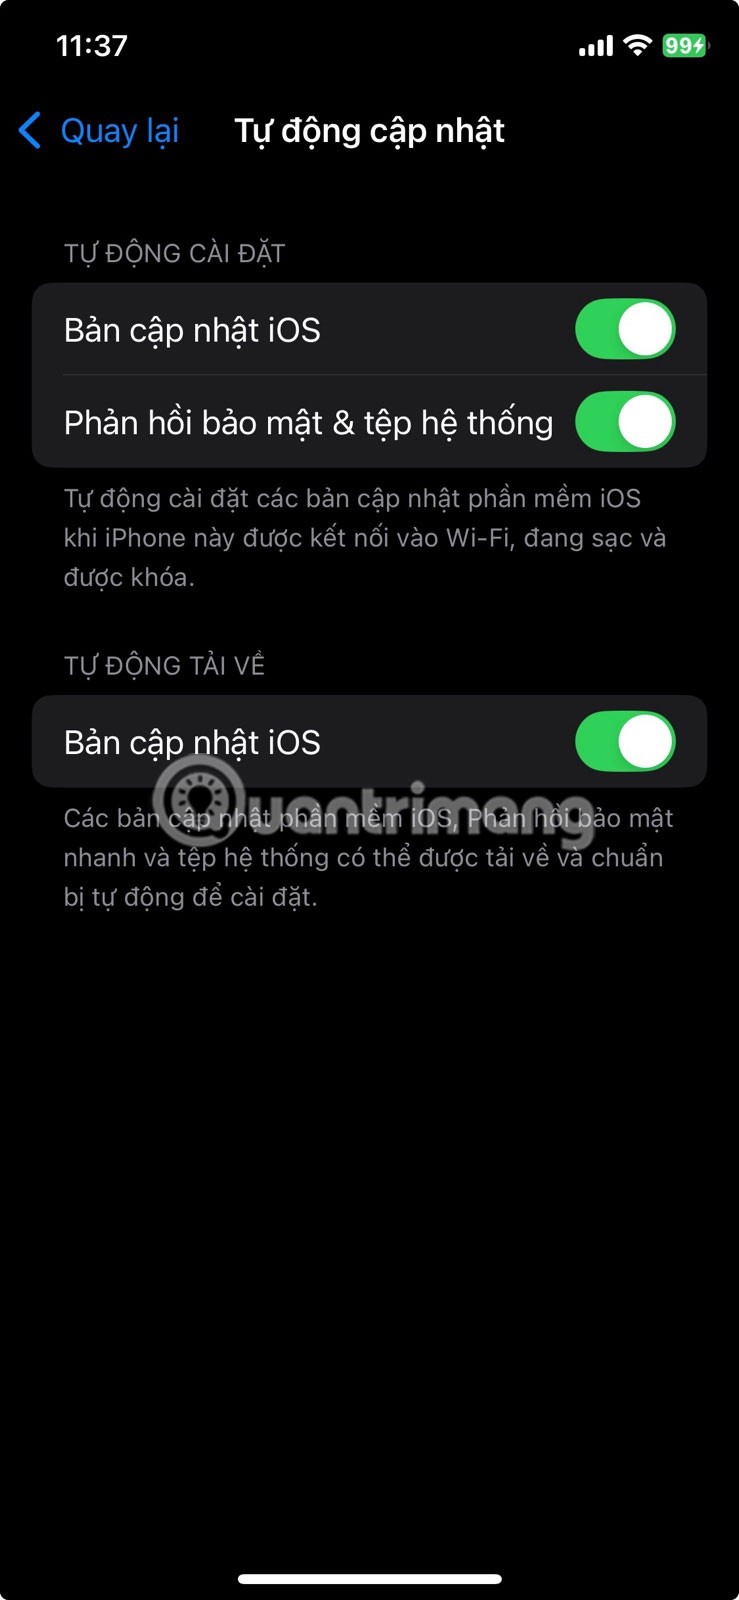
Apple regularly releases updates that fix security issues, address bugs, and sometimes introduce new security features without much fanfare. The same goes for apps—many updates include behind-the-scenes improvements that help protect your data. If you don’t have automatic updates turned on, you could miss out on important security and privacy improvements for days or even weeks.
To turn it on, go to Settings > General > Software Update > Automatic Updates . Then, go back to the main Settings screen, go to App Store > App Updates and select Turn On . It only takes a minute, and you'll have the peace of mind that your iPhone is running the most secure and private version of everything you use.
5. Turn off ad tracking
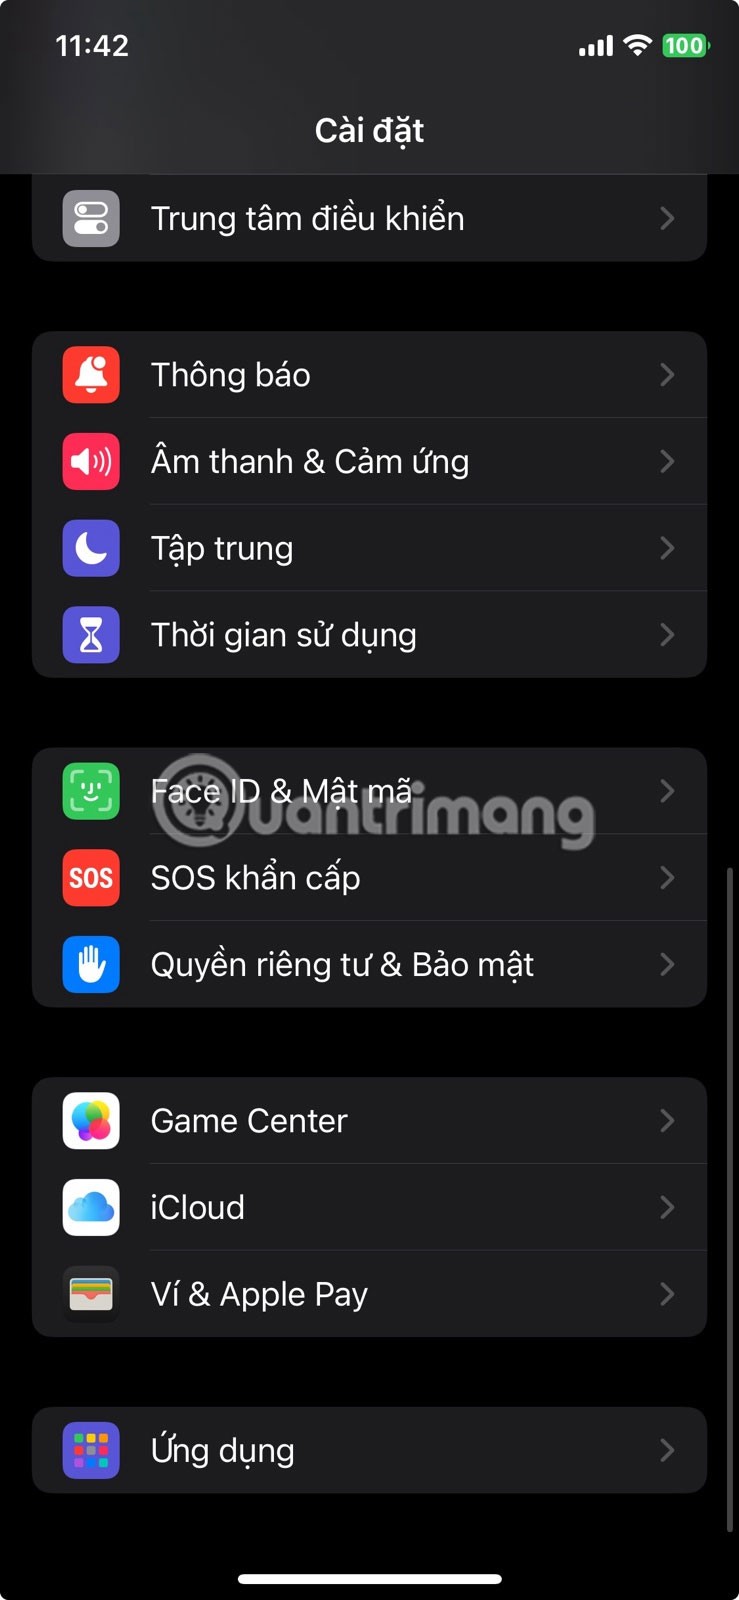
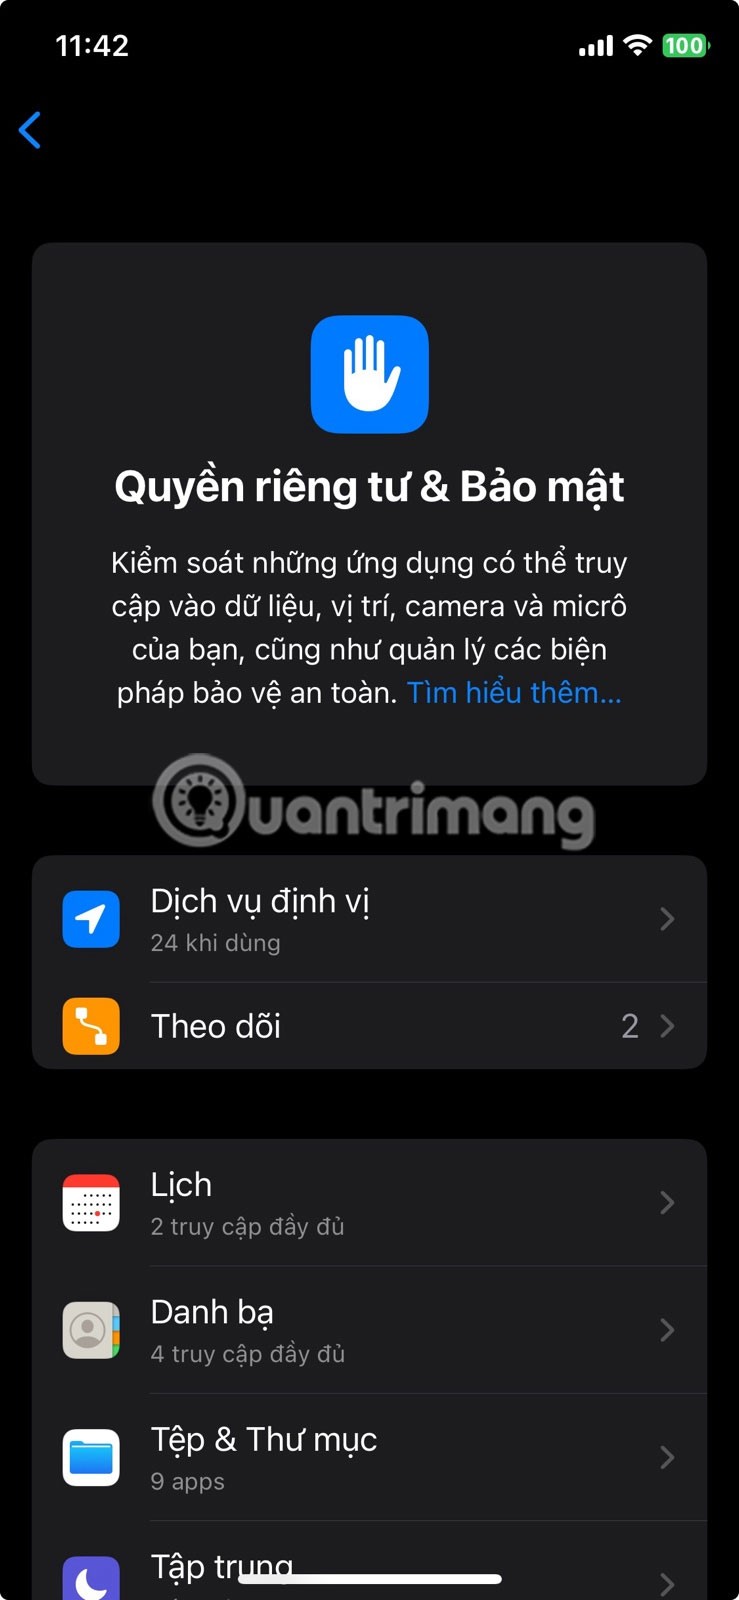
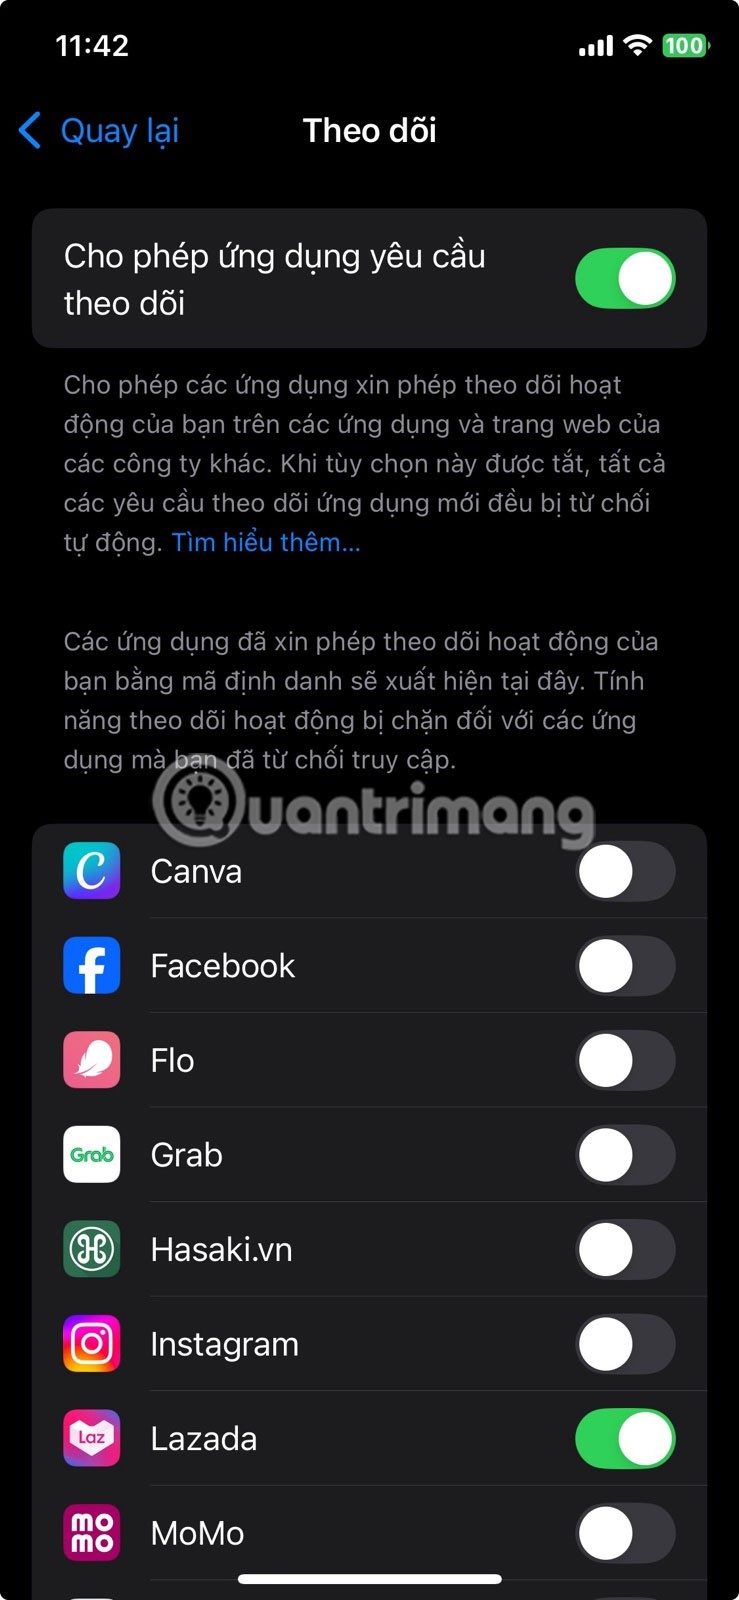
If you’ve ever felt like your phone is a little too good at guessing what you’re thinking, ad tracking might be the reason. Many apps track your activity to create detailed profiles and show you ads that seem a little too specific. The good news is that your iPhone lets you turn that feature off.
Start by going to Settings > Privacy & Security > Tracking. Here, you'll see an option called Allow Apps to Request to Track . If this option is enabled, apps can ask for permission to track your activity on other companies' apps and websites. If you don't want this, just turn the switch off and all such requests will be denied.
4. Protect iCloud data with advanced data encryption
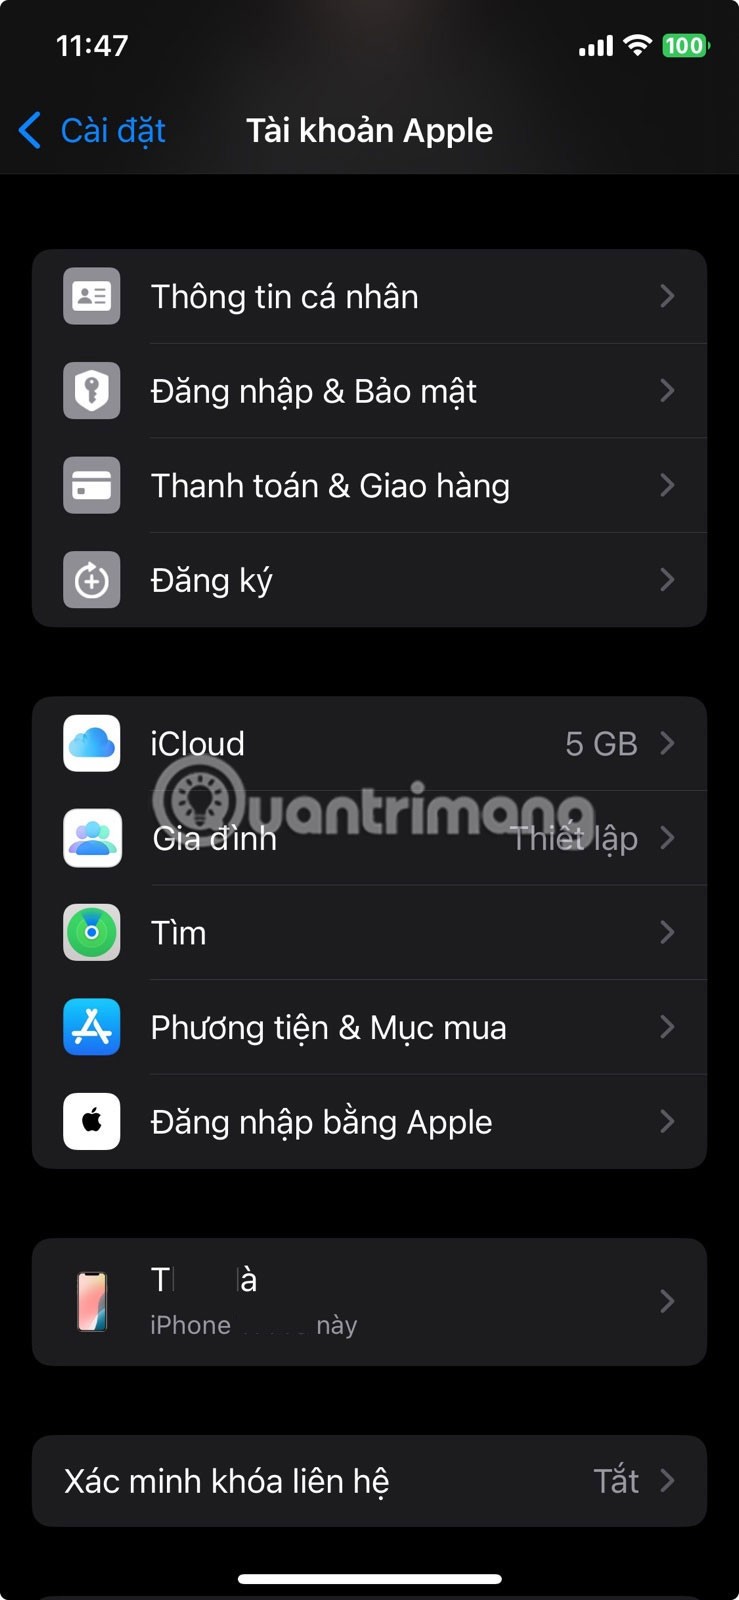
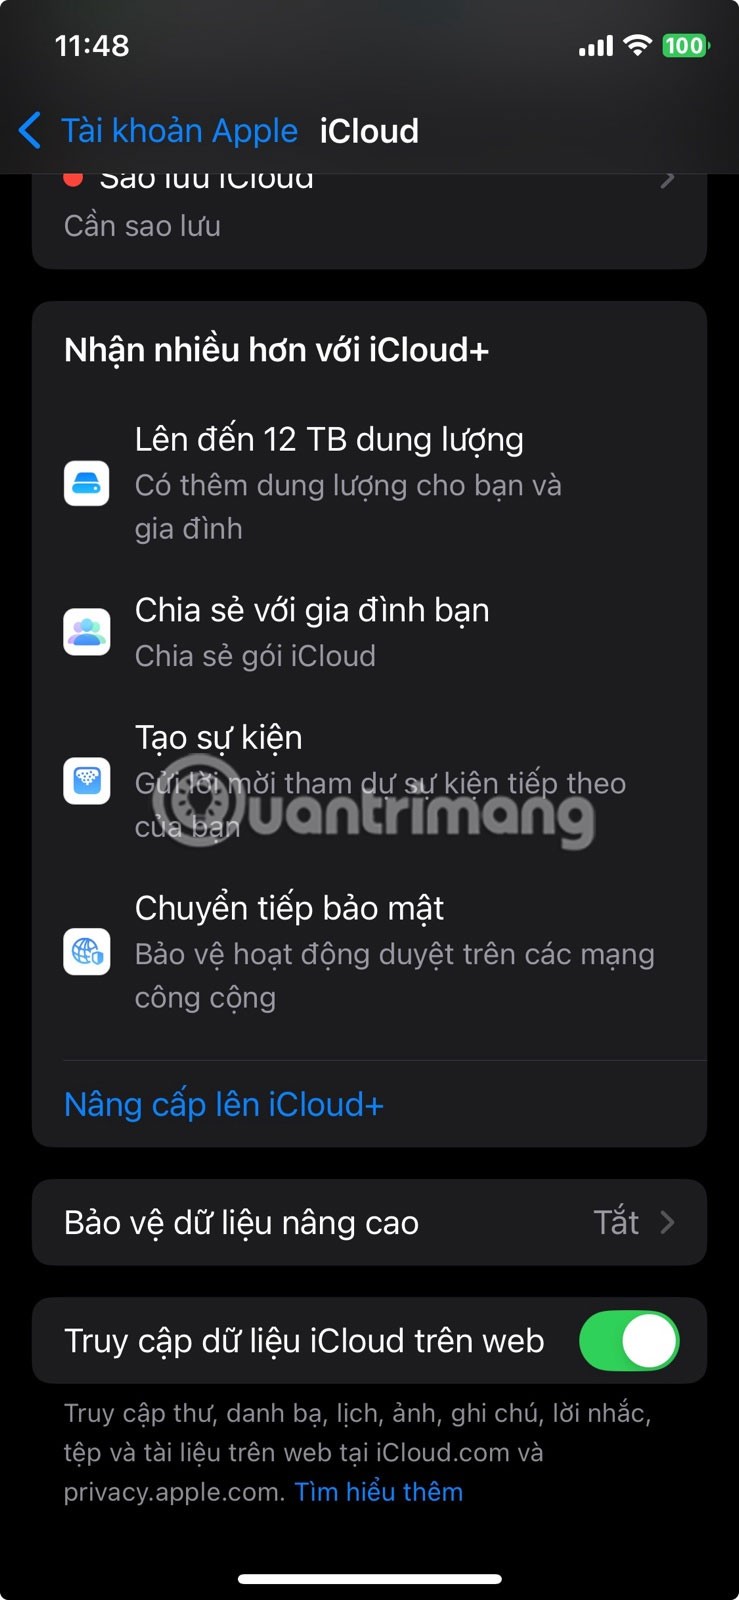
Apple’s Advanced Data Protection feature adds end-to-end encryption to the data stored in your iCloud account. In simple terms, this means that only your trusted devices can decrypt and access that data. Even Apple doesn’t have the key, so the company couldn’t see what’s in your account even if it wanted to.
However, this feature isn't turned on by default. To turn it on, go to Settings , tap your name at the top, then go to iCloud > Advanced Data Protection . You'll be prompted to set up a recovery method, such as a recovery key or trusted contacts, so you won't be locked out if you forget your password.
3. Enable 2FA for your Apple account


Two-factor authentication is mandatory for all accounts, and your Apple account is no exception.
When two-factor authentication (2FA) is turned on, your account remains protected even if someone gets your password. They won't be able to log in without entering a six-digit code sent to one of your trusted devices. To check if 2FA is turned on, go to Settings > [your name] > Sign-in & Security > Two-Factor Authentication . If it's off, take an extra minute to set it up.
2. Use private search engines and enhance Safari's privacy settings
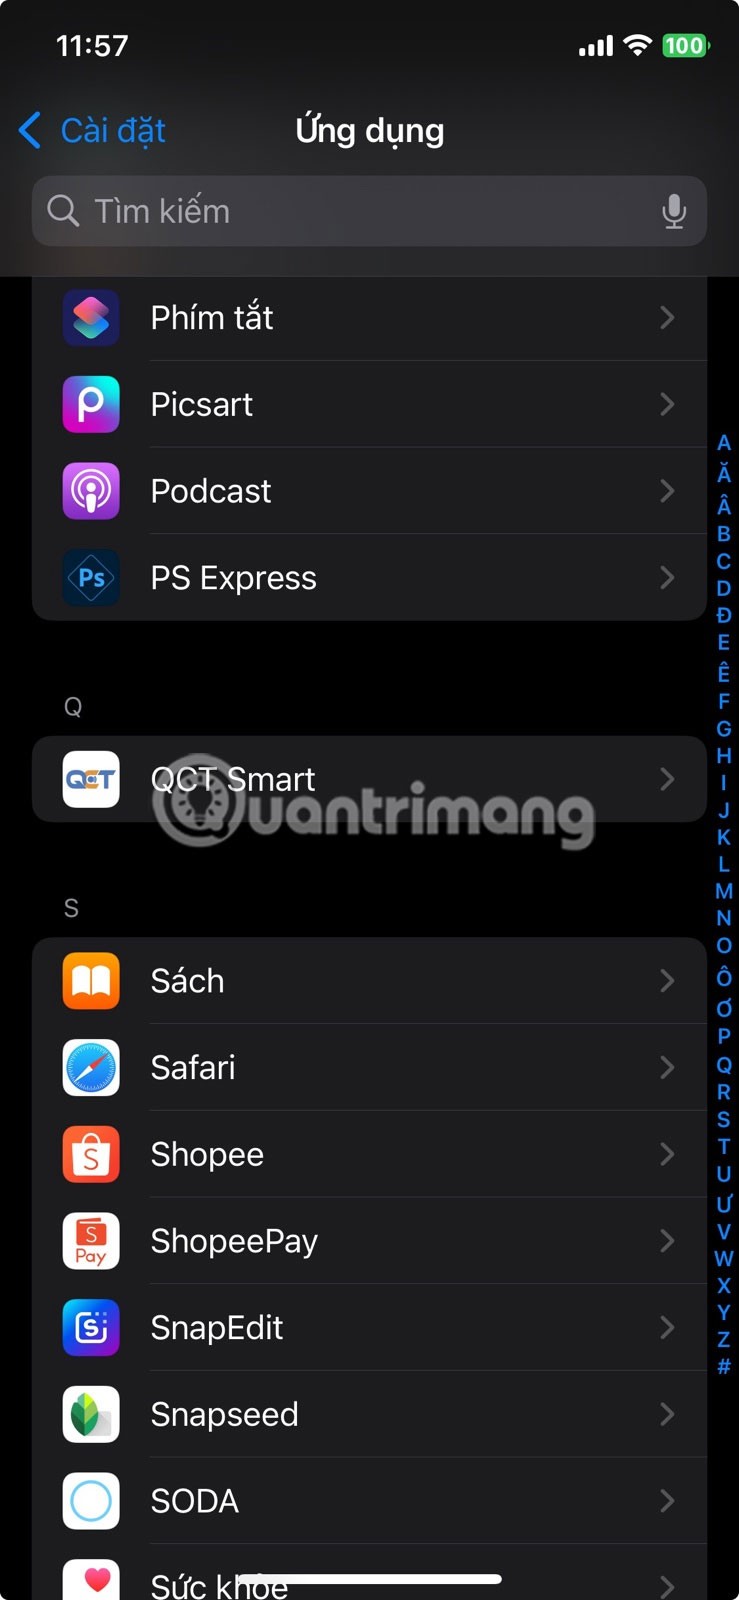
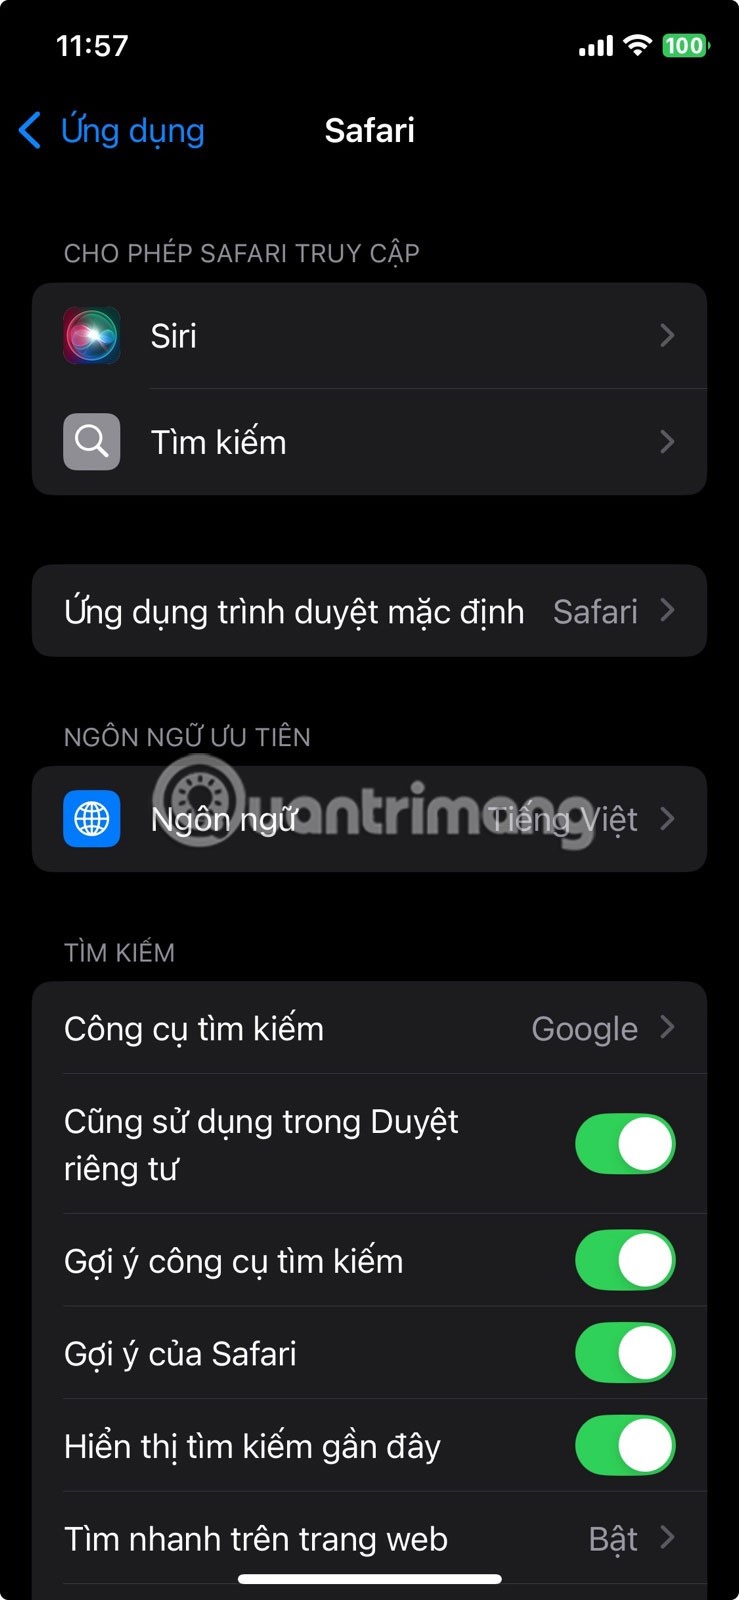
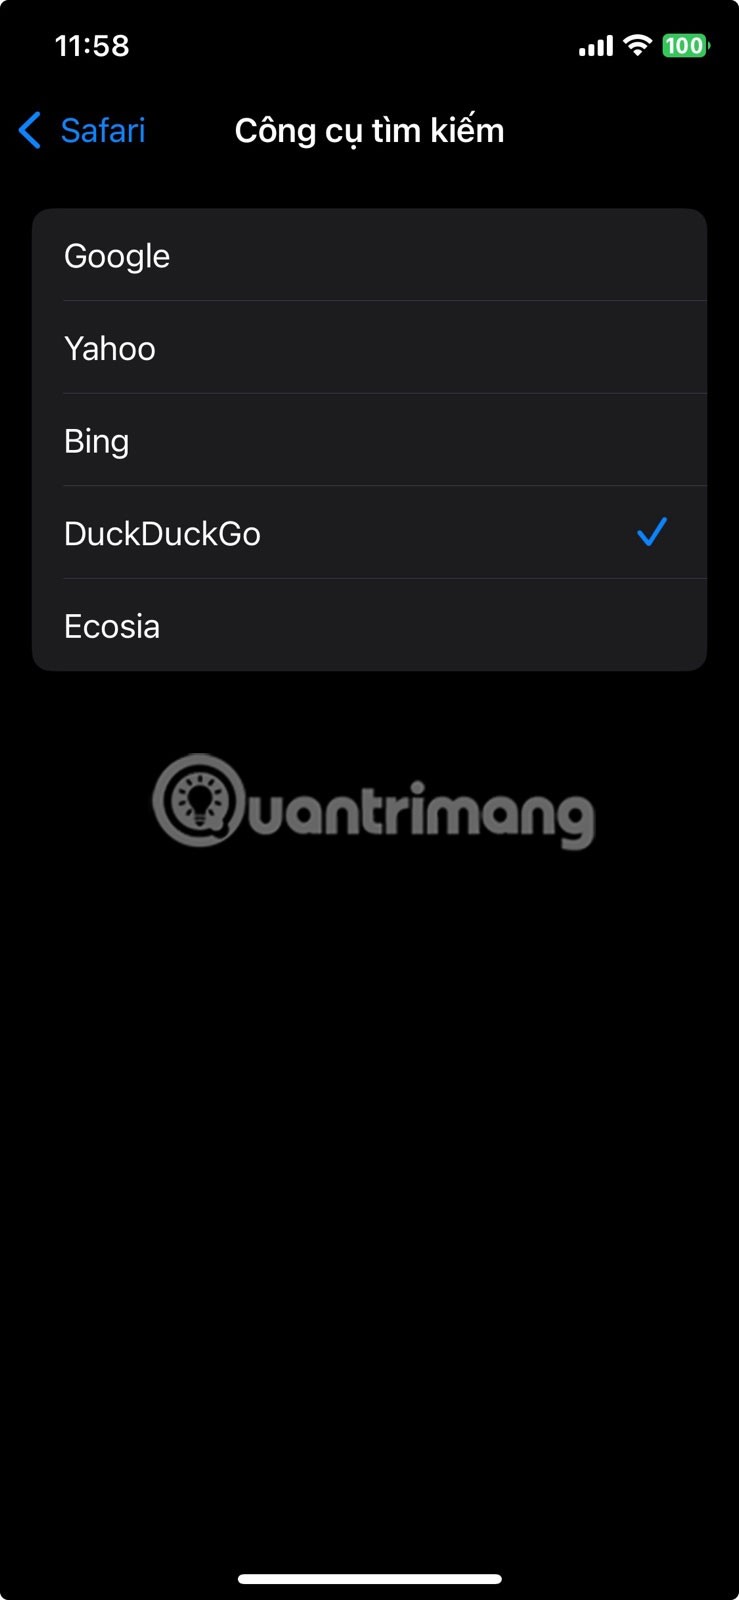
Google pays Apple billions of dollars a year to remain the default search engine on users' iPhones. But if you don't want every search tracked and turned into targeted ads, you can easily switch to a more privacy-focused search engine.
Go to Settings > Safari > Search Engine . From there, select DuckDuckGo . This is a search engine that doesn't track your queries or build a profile about you.
1. Review app permissions


Apps on your iPhone need your permission to use data like your location, photos, microphone, camera, and contacts. While some of this access is necessary, many apps ask for permissions that aren't necessary for them to function properly.
To see which apps have access to which items, go to Settings > Privacy & Security . From there, tap each category, like Location Services, Microphone, or Photos. You'll see a list of apps that have requested access, along with each app's current permission status.
Through your purchase history on the App Store, you will know when you downloaded that app or game, and how much you paid for the paid app.
iPhone mutes iPhone from unknown callers and on iOS 26, iPhone automatically receives incoming calls from an unknown number and asks for the reason for the call. If you want to receive unknown calls on iPhone, follow the instructions below.
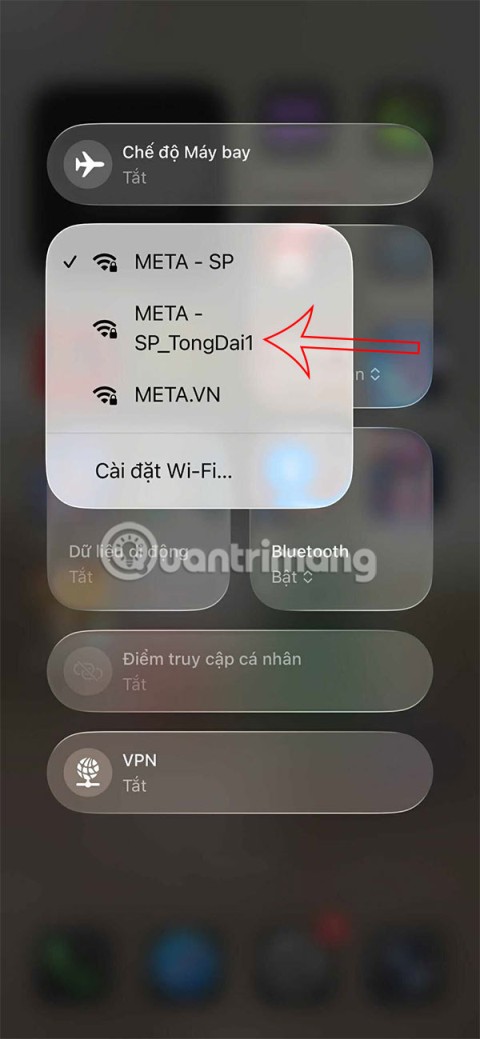
Apple makes it easy to find out if a WiFi network is safe before you connect. You don't need any software or other tools to help, just use the built-in settings on your iPhone.
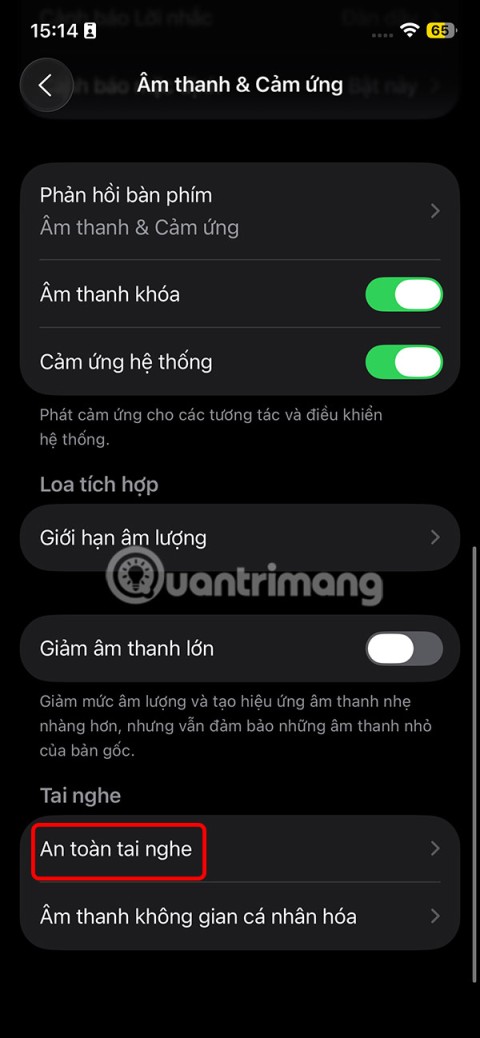
iPhone has a speaker volume limit setting to control the sound. However, in some situations you need to increase the volume on your iPhone to be able to hear the content.
The iPhone iMessage group chat feature helps us text and chat more easily with many people, instead of sending individual messages.
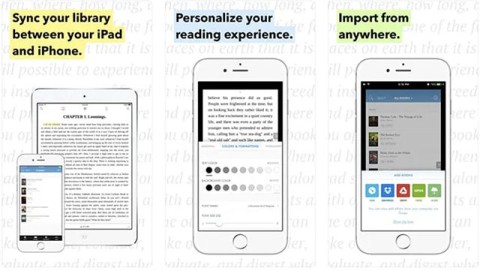
For ebook lovers, having a library of books at your fingertips is a great thing. And if you store your ebooks on your phone, you can enjoy them anytime, anywhere. Check out the best ebook reading apps for iPhone below.
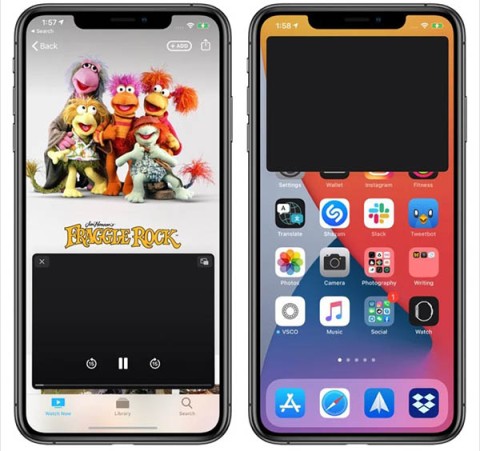
You can use Picture in Picture (PiP) to watch YouTube videos off-screen on iOS 14, but YouTube has locked this feature on the app so you cannot use PiP directly, you have to add a few more small steps that we will guide in detail below.
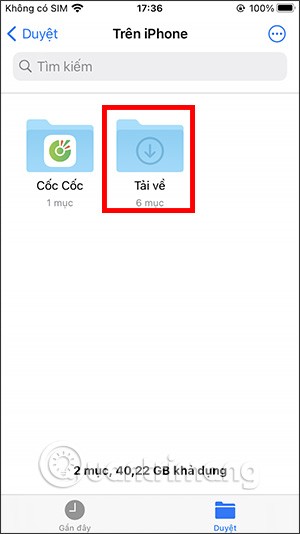
On iPhone/iPad, there is a Files application to manage all files on the device, including files that users download. The article below will guide readers on how to find downloaded files on iPhone/iPad.
Near Field Communication is a wireless technology that allows devices to exchange data when they are in close proximity to each other, typically within a few centimeters.
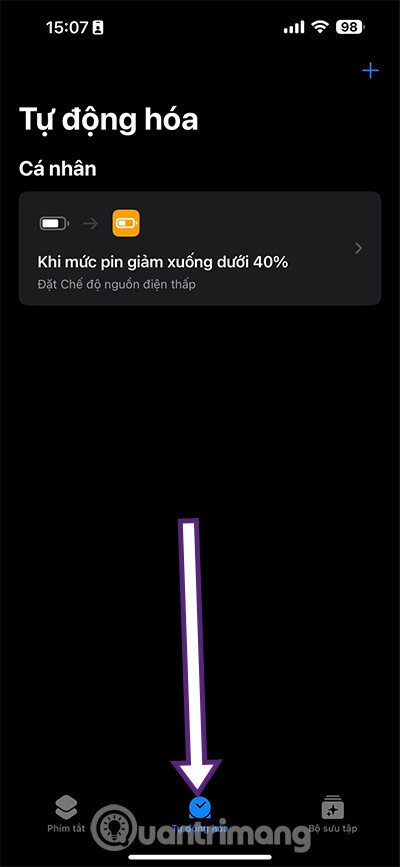
Apple introduced Adaptive Power, which works alongside Low Power Mode. Both extend iPhone battery life, but they work in very different ways.
If you frequently need to contact someone, you can set up speed calling on your iPhone, with a few simple steps.
Rotating the screen horizontally on iPhone helps you watch movies or Netflix, view PDFs, play games,... more conveniently and have a better experience.
Reverse image search on iPhone is very simple when you can use the browser on the device, or use some 3rd party applications for more search options.
Today's technological developments can allow you to directly extract text from images captured with a smartphone camera.
As soon as you update your iPhone to the official iOS 16 version, you will be able to set an iPhone wallpaper without covering your face when adjusting the wallpaper according to the depth effect.
Through your purchase history on the App Store, you will know when you downloaded that app or game, and how much you paid for the paid app.
iPhone mutes iPhone from unknown callers and on iOS 26, iPhone automatically receives incoming calls from an unknown number and asks for the reason for the call. If you want to receive unknown calls on iPhone, follow the instructions below.
Apple makes it easy to find out if a WiFi network is safe before you connect. You don't need any software or other tools to help, just use the built-in settings on your iPhone.
iPhone has a speaker volume limit setting to control the sound. However, in some situations you need to increase the volume on your iPhone to be able to hear the content.
ADB is a powerful set of tools that give you more control over your Android device. Although ADB is intended for Android developers, you don't need any programming knowledge to uninstall Android apps with it.
You might think you know how to get the most out of your phone time, but chances are you don't know how big a difference this common setting makes.
The Android System Key Verifier app comes pre-installed as a system app on Android devices running version 8.0 or later.
Despite Apple's tight ecosystem, some people have turned their Android phones into reliable remote controls for their Apple TV.
There are many reasons why your Android phone cannot connect to mobile data, such as incorrect configuration errors causing the problem. Here is a guide to fix mobile data connection errors on Android.
For years, Android gamers have dreamed of running PS3 titles on their phones – now it's a reality. aPS3e, the first PS3 emulator for Android, is now available on the Google Play Store.
The iPhone iMessage group chat feature helps us text and chat more easily with many people, instead of sending individual messages.
For ebook lovers, having a library of books at your fingertips is a great thing. And if you store your ebooks on your phone, you can enjoy them anytime, anywhere. Check out the best ebook reading apps for iPhone below.
You can use Picture in Picture (PiP) to watch YouTube videos off-screen on iOS 14, but YouTube has locked this feature on the app so you cannot use PiP directly, you have to add a few more small steps that we will guide in detail below.
On iPhone/iPad, there is a Files application to manage all files on the device, including files that users download. The article below will guide readers on how to find downloaded files on iPhone/iPad.
If you really want to protect your phone, it's time you started locking your phone to prevent theft as well as protect it from hacks and scams.
