Add Elasticsearch Full-Text Search to Nextcloud
Connect Nextcloud’s file search to Elasticsearch, index document contents, and choose a setup that fits your server and security needs.
To search inside file contents in Nextcloud, install the Full text search framework, its Elasticsearch platform app, and the Files provider; then connect the apps to a compatible Elasticsearch 8 server and build the index. This adds searchable document text, but it also adds a separate service to secure, monitor, and maintain. The current connector README identifies Elasticsearch 8 as its supported major version, so verify compatibility for your installed app release before selecting a specific Elasticsearch version.
Elasticsearch helps users find words inside documents, beyond filenames and basic metadata. The tradeoff is another service to secure and maintain, plus memory, disk, and CPU use during indexing. A small cloud may not justify that overhead; a document-heavy team may find content search worth the cost.
Three apps form the integration: Full text search coordinates the provider and platform, Elasticsearch connects the framework to the engine, and Files supplies file content. Only one platform app can be selected at a time. See the framework README and Files provider README.
These Linux examples use Debian or Ubuntu paths and the www-data account. Adjust paths and service users for containers or other distributions.
Check your Nextcloud and app versions before installing Elasticsearch. The connector README says that, starting with app version 26.0.0, it supports Elasticsearch 8. Do not assume Elasticsearch 9 is compatible because it is newer; check the connector README and installation wiki for your release.
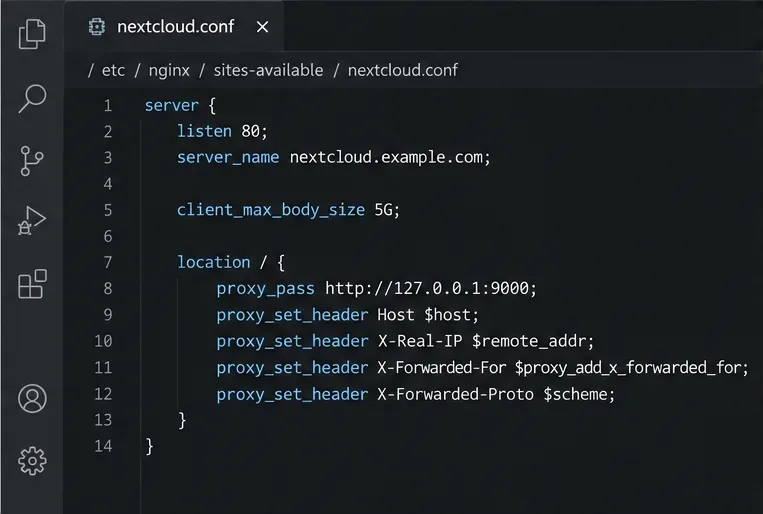
Install Elasticsearch using Elastic’s instructions for your operating system and the compatible major version. Elastic’s Debian package includes a bundled OpenJDK, so a separate Java installation is not normally needed for that package. See Elastic’s Debian package installation documentation. Keep Elasticsearch reachable only from the Nextcloud host or private application network unless your architecture requires otherwise. Elasticsearch 8 enables security features during package setup; retain authentication and TLS for networked deployments, and never expose an unauthenticated search endpoint to the public internet.
Once the service starts, test its endpoint locally using the scheme and credentials established during installation. For a local secured instance, a request may look like curl --cacert /path/to/http_ca.crt -u elastic https://localhost:9200; enter the password when prompted rather than placing it in shell history. Use the CA certificate generated for your installation, not the placeholder path. A successful response should identify the Elasticsearch node and version. If this check fails, fix the service, certificate trust, or credentials before configuring Nextcloud.
Use Nextcloud’s Apps page to install and enable Full text search, Full text search - Elasticsearch Platform, and Full text search - Files. You can also use occ, Nextcloud’s command-line administration tool, from the Nextcloud installation directory. On a Debian or Ubuntu installation, the pattern is:
cd /var/www/nextcloud
sudo -E -u www-data php occ app:install fulltextsearch
sudo -E -u www-data php occ app:install fulltextsearch_elasticsearch
sudo -E -u www-data php occ app:install files_fulltextsearch
Use your distribution’s HTTP account and follow Nextcloud’s occ guidance. If an app is installed but disabled, use occ app:enable APP_ID. Keep all three apps compatible with your Nextcloud release.
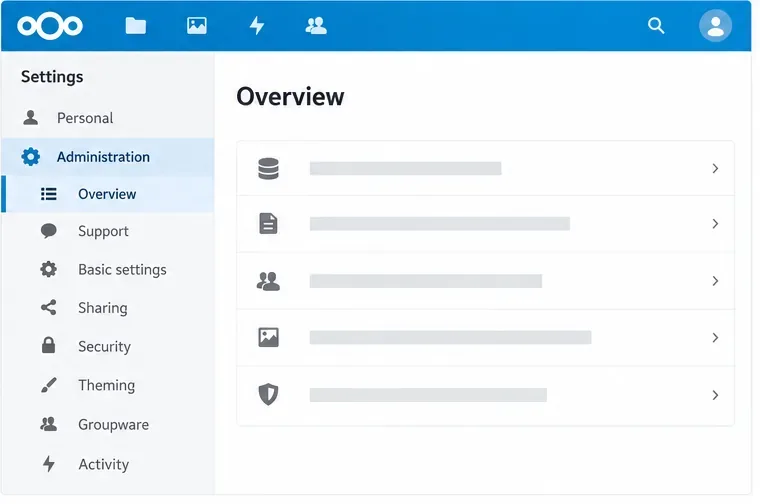
Open the administrator settings and select the Full text search section. Choose Elasticsearch as the search platform, then enter the Elasticsearch servlet address, an index name, and any required connection credentials or certificate settings exposed by your installed connector release. The address must be reachable from the Nextcloud server process. If both services run in the same container network, localhost usually points to the Nextcloud container itself, not the Elasticsearch container; use the Elasticsearch service name or internal hostname instead.
Use a lowercase index name such as nextcloud; give each cloud a separate index if they share a service. Separate names aid administration but do not replace access controls. Keep credentials out of screenshots, tickets, and shell history.
In the Files provider settings, enable indexing for the file types and size range your users need. Searchable content depends on the provider and extraction support; indexing filenames alone will not make text inside a PDF searchable. Elasticsearch’s attachment processor extracts text from common file formats such as PDF and Office documents, but extraction limits and supported formats apply. In Elasticsearch 8, ingest attachment functionality is included in the distribution; see Elastic’s attachment processor reference. For scans or images, ordinary document text extraction is not OCR: add an OCR provider only if you need that capability and have checked its requirements. Keep file-size limits conservative on a resource-constrained server.
Run a health check before indexing. From the Nextcloud directory, use:
sudo -E -u www-data php occ fulltextsearch:checkResolve reported connection, platform, or provider errors first. Then start the initial index:
sudo -E -u www-data php occ fulltextsearch:indexThe first run walks the selected users’ files and can take a long time. Keep the SSH session stable or run the command in a terminal multiplexer such as tmux, and monitor CPU, memory, and disk space. Indexing copies extracted text and file metadata into Elasticsearch; it is not a substitute for Nextcloud backups. Plan to protect the search index and its credentials, and remember that deleting or rebuilding the index can require another full indexing pass.
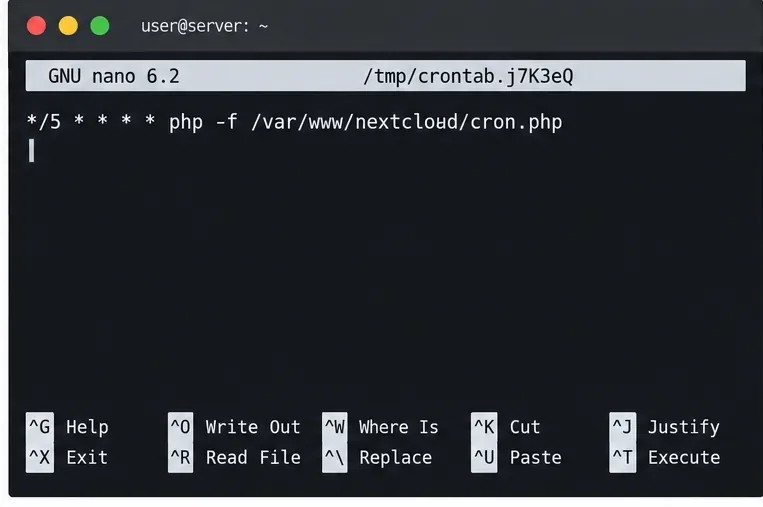
For ongoing updates, make sure Nextcloud background jobs run reliably. The project also documents a fulltextsearch:live worker for near-immediate indexing; it can reduce update delay but adds a service to supervise. Start with scheduled jobs, and add the worker only if the delay matters. Adapt the upstream service example to your paths, account, and database startup order.
After indexing completes, search for a distinctive phrase that appears inside a small test document but not in its filename. Confirm that Nextcloud returns the expected file for a user who has permission to read it. Then upload or edit a second test document, allow the configured background job or live worker to run, and repeat the search. A successful status check alone does not prove that file contents were indexed.
If only filenames appear, verify the Files provider, file-type and size settings, extraction support, and index logs. For connection failures, check the endpoint from Nextcloud’s network, TLS trust, and credentials.
Choose Elasticsearch when content search is valuable enough to justify maintaining another stateful service. If filename search is sufficient, skip that added resource and security overhead. Before production upgrades, verify the exact Nextcloud, app, and Elasticsearch combination; this setup does not establish support for every deployment method.
Connect Nextcloud’s file search to Elasticsearch, index document contents, and choose a setup that fits your server and security needs.
Configure Nextcloud to remove deleted files after a defined retention period, schedule background jobs reliably, and avoid commands that purge every user’s trash.
Run Nextcloud’s OCC repair safely, preview the database changes, and check why the warning might remain.
Allow larger Nextcloud browser uploads by aligning PHP, Nginx or Apache, temporary storage, and timeout settings—and verify which limit is blocking the file.
Set the PHP memory limit Nextcloud actually uses, restart the right service, and confirm the 512 MB setting in Admin Overview.
Mount a compatible object-storage bucket in Nextcloud using its S3 backend, with the right endpoint, credentials, access scope, and verification steps.
Safely move a Linux Nextcloud data directory to an external drive using a persistent UUID mount, maintenance mode, a verified copy, and the original-path symlink.
Restore Nextcloud access after an update by diagnosing SQL errors, checking database connectivity, and safely completing interrupted migrations.
Use Nextcloud’s OCC command to reset an administrator password from the server shell, with guidance for usernames, permissions, and external login providers.
Clear Nextcloud’s HSTS warning by setting the header at Apache, NGINX, or your TLS proxy, then verify the public HTTPS response safely.