Keep Track Changes On When a Document Reopens

Enable persistent Track Changes for everyone in one ONLYOFFICE document, verify edits are recorded, and understand the limits of this setting.
There are many ways to store data, including hard drives, flash drives, memory cards, etc. But these storage devices are bound to fail, so your important files may be deleted or lost. In the case of data loss, individuals typically consider two main recovery options: seeking professional data recovery services or using data recovery software.

Choosing a data recovery service is a professional but expensive and time-consuming way. On the other hand, utilizing data recovery software offers a more affordable and DIY method to rescue your valuable information.
Efficient data recovery software option specially designed for Windows users is capable of recovering lost or deleted files, even files permanently deleted using "Shift+Del" or lost due to disk corruption or formatting. Let’s dive into the free data recovery software in Windows.
To recover lost or deleted files on Windows 10 easily and quickly, Windows recovery software MyRecover is your best choice. Using this tool, you will be impressed by its efficient functionality. It is an efficient and simple tool with an intuitive graphical user interface that helps you recover lost files on Windows 10.
MyRecover can recover 200 types of files, such as images, videos, compressed files, etc. You can recover Word, Excel, PPT, JPG, PNG, MP3, MP4, WMV, etc.
MyRecover can quickly recover lost or deleted data, with a high recovery success rate.
Advanced scanning methods of quick scan and deep scan ensure data recovery without missing a beat.
Support recovering deleted or lost files from various storage devices (including HDD, SSD, SD card, USB flash drive, and so on).
Now, please follow the simple steps to recover deleted/lost files on Windows 10 via MyRecover.
Step 1. Download and run MyRecover; select the drive or partition where your file is lost or deleted, and click Start Scan to initiate the scanning process.
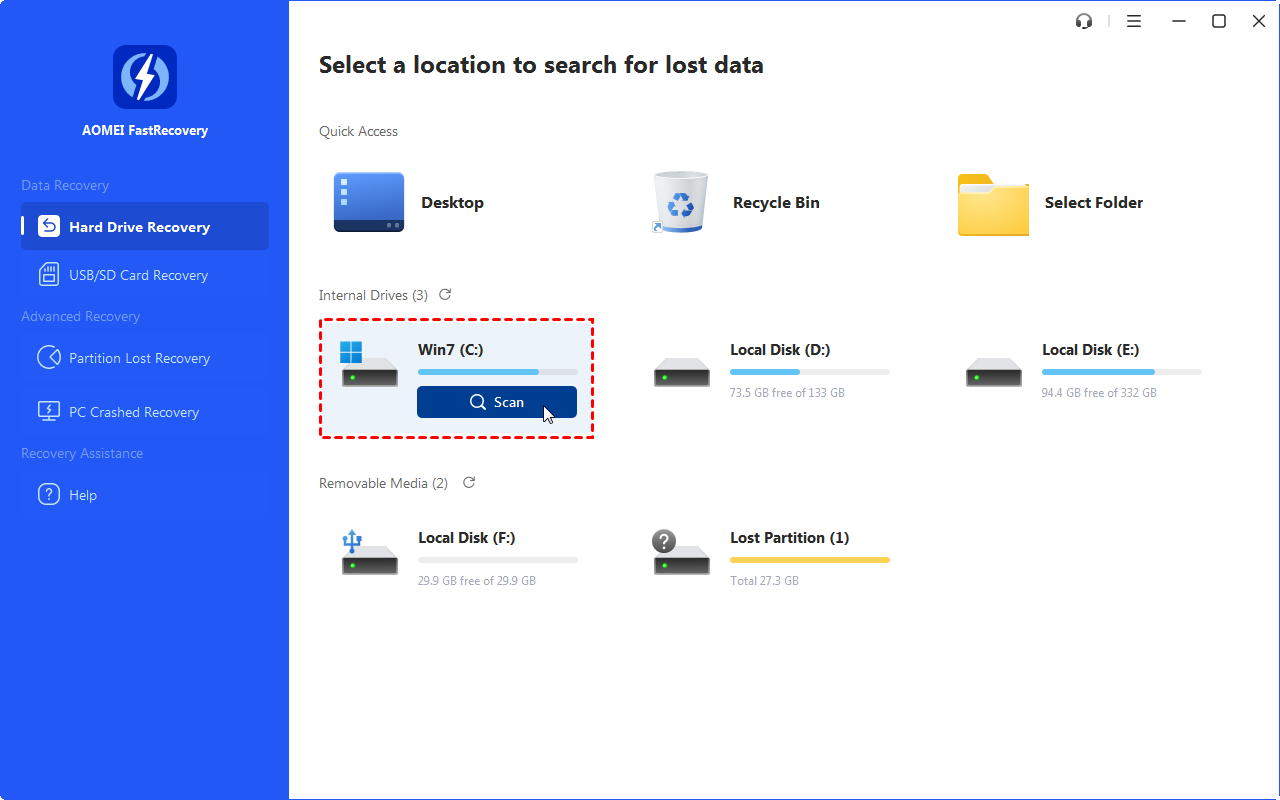
Step 2. Quick Scan & Deep Scan will automatically scan all deleted/missing files on your selected hard drive. Use Search Box or Filter Feature to locate them quickly.

Tip: Preview or filter your files based on Files Type, Date, Size, etc.
Type: Select the file types (Documents, Images, Videos, Audios, Webpages, Compressed files, and more.)
Date modified: Set the date (today, yesterday, last 7/30 days, and more.)
Size: set the size (<128KB, 128KB~1MB, 1MB~ 512MB, 512MB above, and more.)
Step 3. Choose the files you want to recover and click Recover x files. This tool will display the number of files to be recovered and their total size.

Step 4. Select a new location to store the recovered files to prevent files on the storage device from being overwritten.
To avoid data loss in the future, you can try these 4 tips to protect your valuable data:
Make regular backups. If the manual backup is time-consuming, you can use this free backup software such as AOMEI Backup Standard to help you improve efficiency. It is good at backing up and cloning data/systems to various storage devices such as SD cards, external hard drives, USB flash drives, etc.
Manage files carefully. Please check carefully before starting deletion and avoid using Shift + Delete or formatting disks containing important files.
Utilize antivirus tools. Use system security with an antivirus tool like Windows Defender to remove viruses.
Scan storage devices regularly. Please scan for potential threats regularly to avoid data loss due to viruses or malware.
All in all, MyRecover becomes your first choice for easily recovering deleted/lost files on Windows 10. It is the best free data recovery software with a high success rate and fast recovery speed. You can have a try.
In order to proactively prevent future data loss, it's crucial to get into the habit of regular backups. AOMEI Backupper Standard is a best-in-class free Windows backup software that simplifies the backup process and provides a safe and effective way to protect valuable information.
Enable persistent Track Changes for everyone in one ONLYOFFICE document, verify edits are recorded, and understand the limits of this setting.
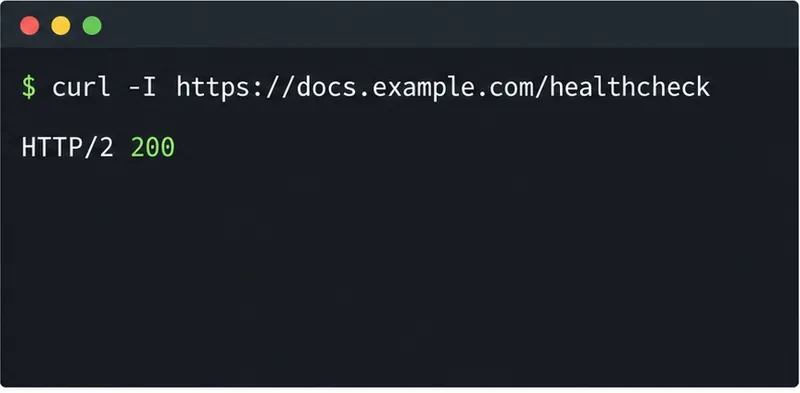
Find whether Nginx, Docker networking, or an internal ONLYOFFICE service is returning 502, then verify the corrected upstream and health check.
Diagnose failed ONLYOFFICE saves by checking the Nextcloud callback route, proxy redirects, and storage logs, then verify the edited file persists.
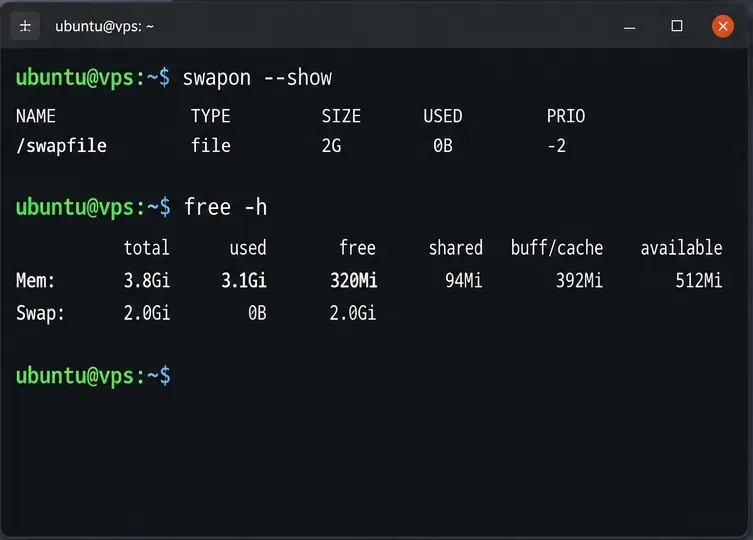
Find the cause of ONLYOFFICE memory crashes, check Docker limits, size VPS RAM correctly, add swap safely, and verify that documents open and save.
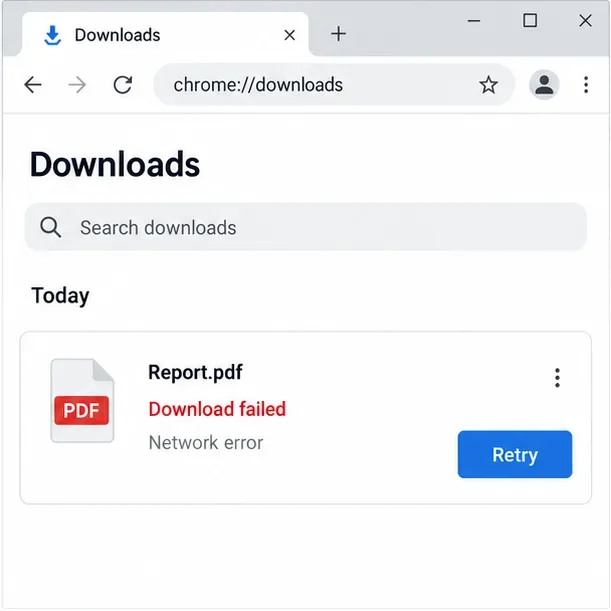
Separate browser download problems from server-side conversion errors and use the right log or access check to get your PDF export working.
Match the JWT secret used by ONLYOFFICE Docs and Nextcloud, apply it safely for Docker or Linux installs, and verify the connection without weakening authentication.
Install ONLYOFFICE Workspace Community on Ubuntu 24.04 with the official Docker script, check server requirements, skip Mail if needed, and verify the portal safely.
Configure matching JWT secrets for ONLYOFFICE Docs and its connector, with safe steps for Linux packages, Docker deployments, and verification.
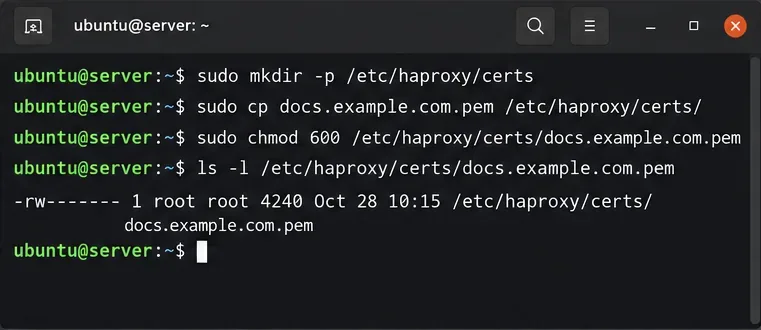
Configure HAProxy HTTPS, forwarding headers, WebSocket timeouts, and health checks for ONLYOFFICE Docs, then verify editing and saves.
Give an embedded ONLYOFFICE Docs editor your company logo and interface colors with a custom theme file and editor configuration. See edition limits and deployment checks.