The most commonly deficient nutrients in the diet

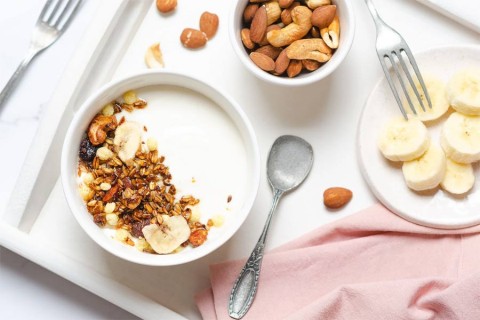
Diet is important to our health. Yet most of our meals are lacking in these six important nutrients.
Nothing adds beauty to a winter photo like falling snow. While capturing falling snow in camera can be difficult, adding snow later in Photoshop is easy.
This tutorial will show you step by step how to create a falling snow effect in Photoshop and avoid performance issues with Photoshop when adding snow to larger images.
Step 1: Add a new layer for the snow
In the Layers panel , the photo is on the Background layer. Add a new blank layer above the photo by clicking the Add New Layer icon .
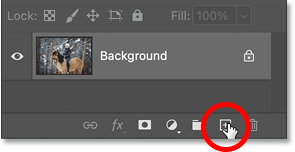
Then, double-click the new layer name and rename it Snow . Press Enter on a Windows PC or Return on a Mac.
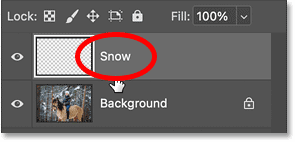
Step 2: Fill the layer with black color
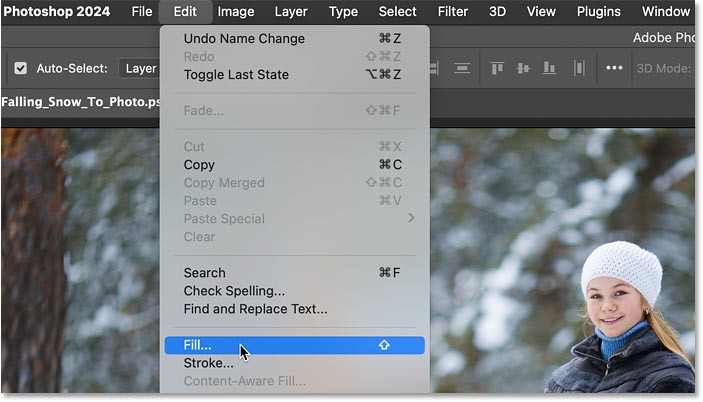
We need to fill the new layer with black. So go to the Edit menu in the Menu Bar and select Fill.
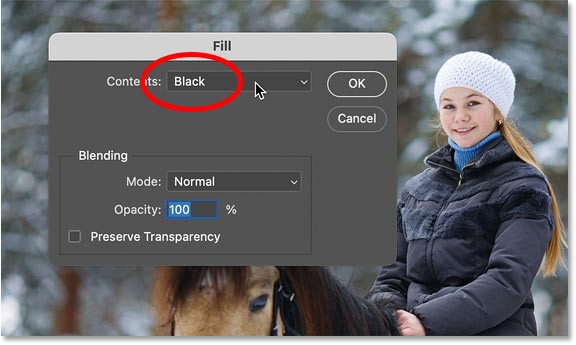
In the Fill dialog box, set Contents to Black and click OK.
The image is temporarily hidden from view.
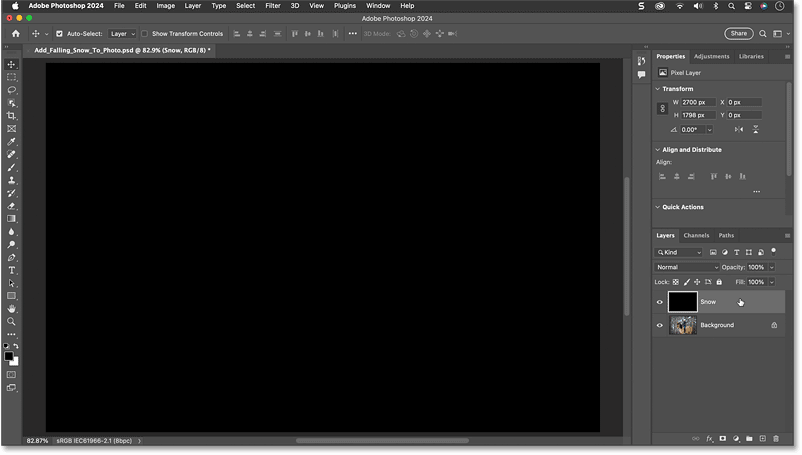
Step 3: Add noise effect to layer
To create snow, first add some noise effects to the layer.
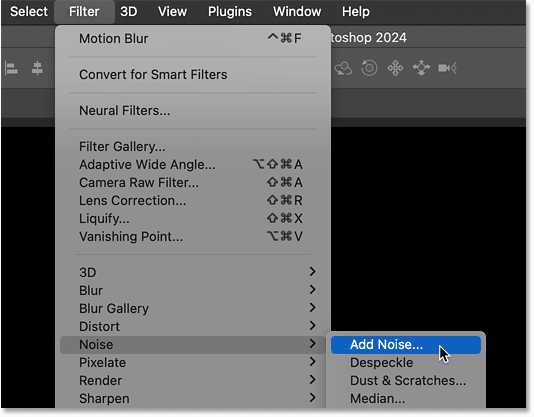
Go to the Filter menu , select Noise then Add Noise.
In the dialog box, select Gaussian and Monochromatic at the bottom.
Then set the Amount of noise to around 25% and click OK .
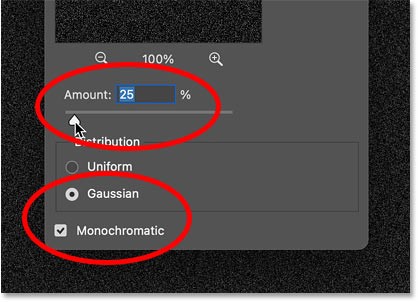
Photoshop will add noise effects to the layer.
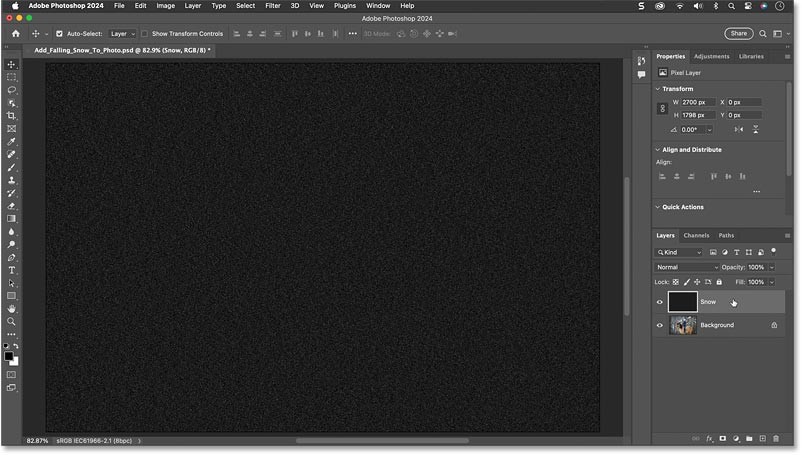
Step 4: Adjust the noise ratio
The noise effect will eventually become our snow effect, but the problem is that it's too small. So let's adjust the noise scale by going to the Edit menu , selecting Transform , then Scale .

In the Options Bar , make sure the link icon between the Width and Height fields is selected.

Then change the Width to 400%. The Height will also change to 400%.

Click the check mark on the Options Bar to accept.
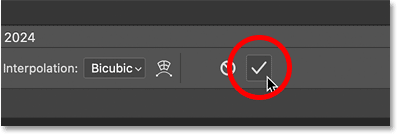
The noise effect starts to look more like snow.
Step 5: Trim excess space
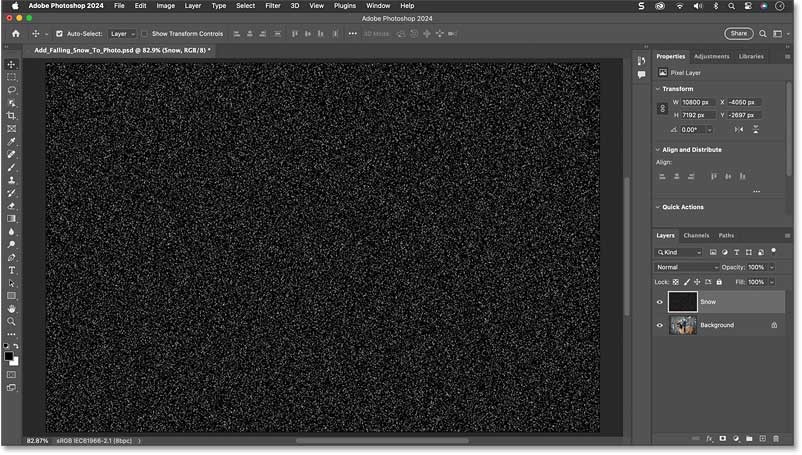
But this is something that can cause performance issues with Photoshop if you’re working with larger images. Since the example has shrunk the width and height of the noise layer by 400%, the document size is now much larger.
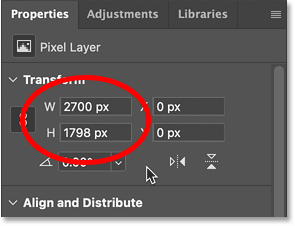
Notice in the Properties panel that the document width is now 10800 pixels and the height is almost 7200 pixels. This can cause problems when you start applying the noise filter because Photoshop can run out of memory.
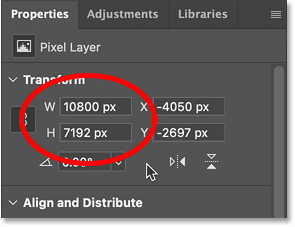
The good news is that we don't need all that extra space so we can trim it.
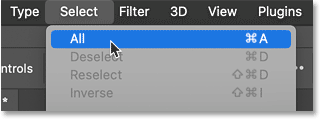
To do that, go to the Select menu and choose All .
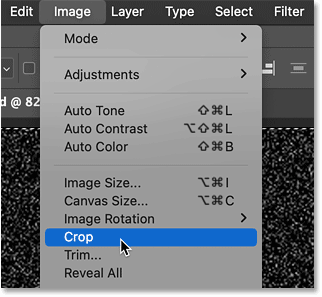
Then go to the Image menu and select Crop .
Go back to the Select menu and choose Deselect .
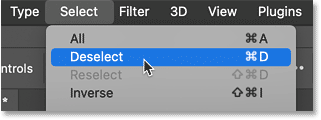
The document is back to its original size and we can start adding some filters.
Step 6: Convert the snow layer into a smart object
But before we add any filters, let's first convert the snow layer to a smart object. That way, the filters will be applied as smart filters, meaning we can go back and change their settings if needed.
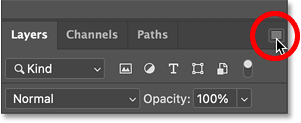
With the snow layer selected, click the Layers panel menu icon.
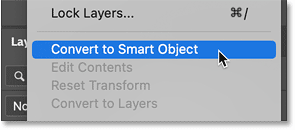
Then select Convert to Smart Object .
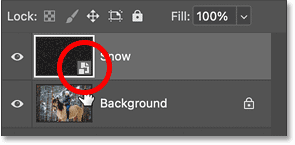
A smart object icon appears in the lower right corner of the thumbnail.
Step 7: Blend the noise effect with the photo
Still in the Layers panel, blend the noise effect with the photo by changing the Blend Mode of the smart object from Normal to Screen .
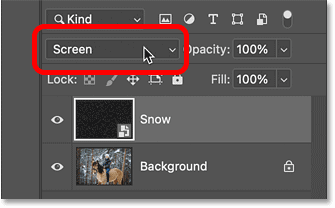
Blend Mode Screen hides the black areas on the layer and leaves only white noise.
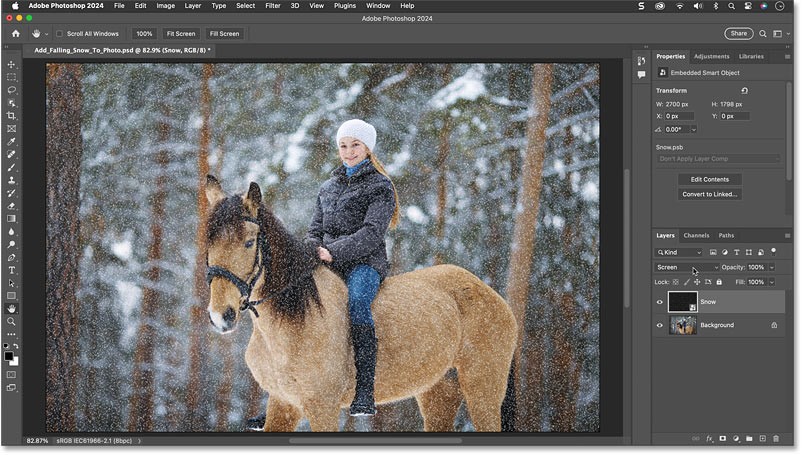
Step 8: Add motion to the snow
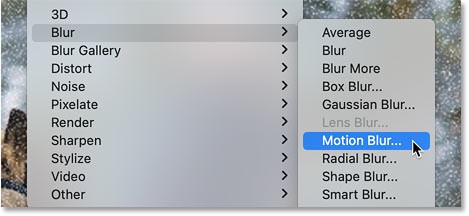
To make the snow look like it's falling, go to the Filter menu , select Blur , then Motion Blur.
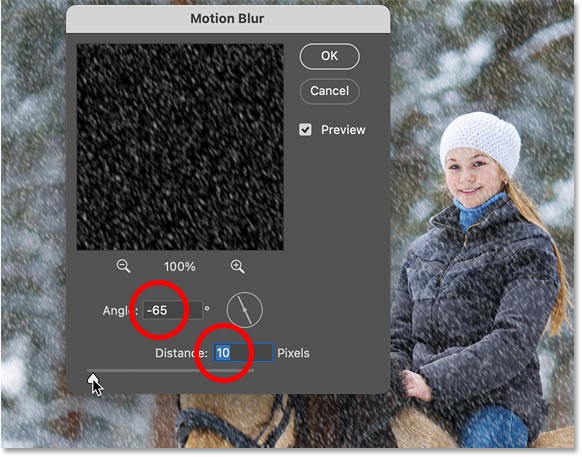
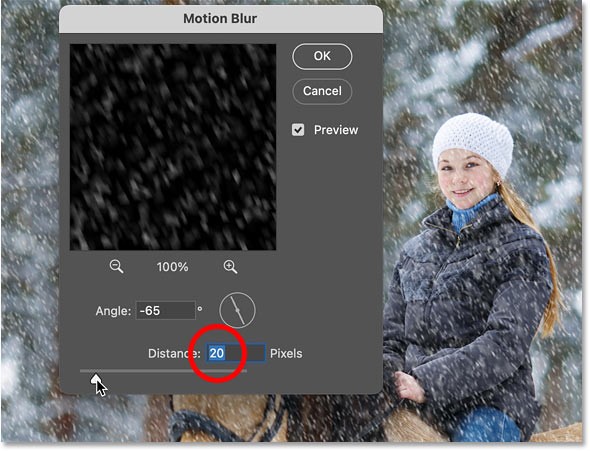
In the dialog box, set the Angle to the direction you want the snow to fall. I set my angle to -65 degrees so the snow falls from the top left corner.
Then adjust the amount of movement using the Distance slider . Don't set it too high or the snow will look more like rain. Lower values will work better, so for example we'll set the angle to 10 pixels.
Click OK to close the dialog box.
The Layers panel shows that the Motion Blur filter has been applied as a smart filter.
You can double-click the filter name to reopen the dialog if you want to try different settings.
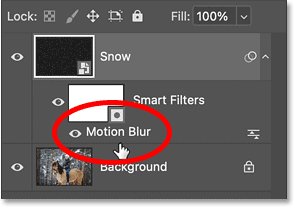
Also, in the Layers panel we have a new filter mask (white thumbnail) that takes up a lot of space.
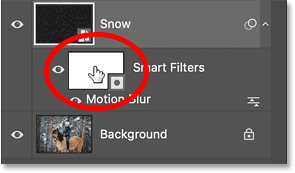
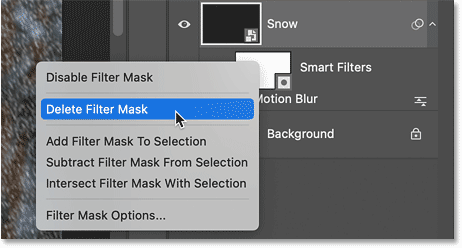
We don't need the filter mask for this effect. So let's delete it by right-clicking and selecting Delete Filter Mask .
Step 9: Reduce and lighten the snow
Next, we'll reduce the amount and lighten the snow at the same time.
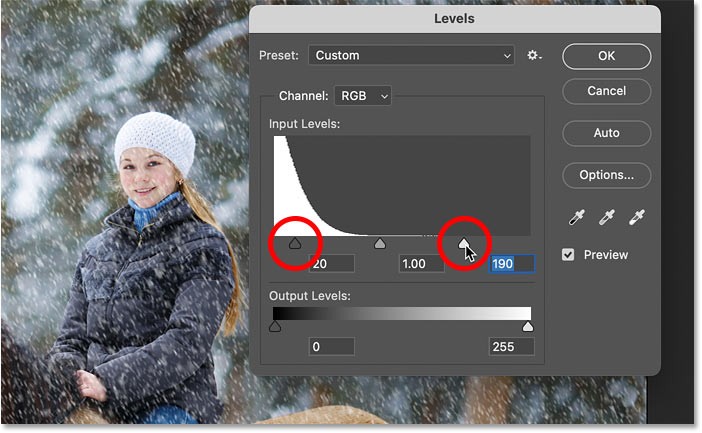
Go to the Image menu , select Adjustments and then select Levels.
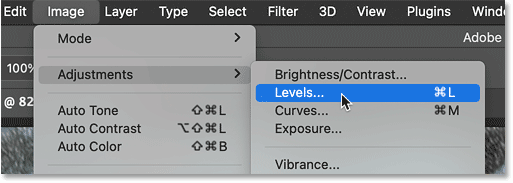
To reduce the number of snowflakes, click on the black point slider at the bottom left of the graph and start dragging to the right.
As you drag, you will see the darker snowflakes start to disappear, leaving only the lighter snowflakes.
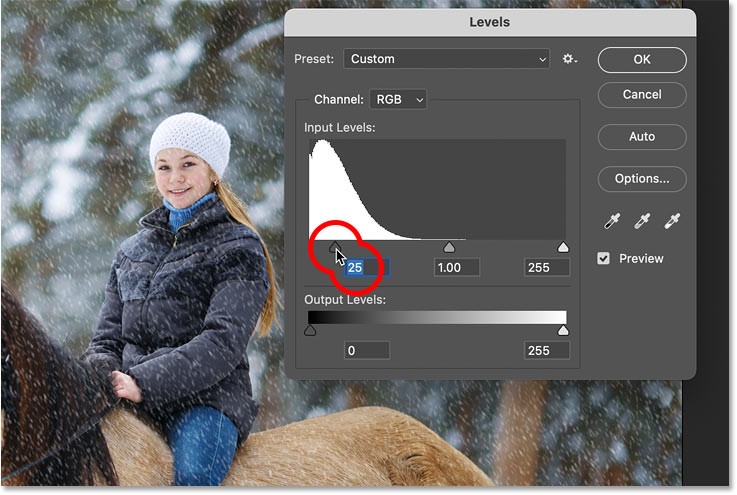
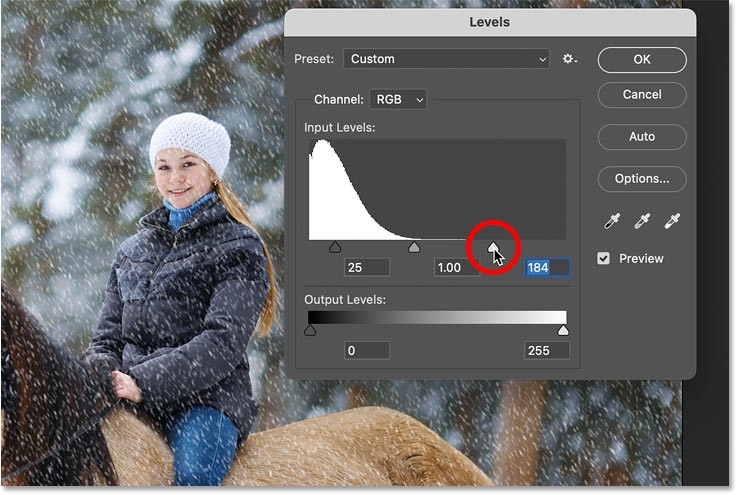
Then, to brighten the remaining snowflakes, click on the white point slider at the bottom right of the histogram and drag it to the left.
When finished, click OK to close the dialog box.
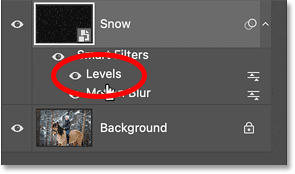
Back in the Layers panel , note that even though Levels is an image adjustment rather than a filter, Photoshop still applies it as a smart filter, meaning you can double-click its name to reopen the dialog box and change the settings if needed.
Step 10: Duplicate the snow layer
At this point, the initial snow effect is complete. But let's add a little more depth to it by adding a second layer of snow, this time with larger snowflakes so they look like they're closer to the camera.
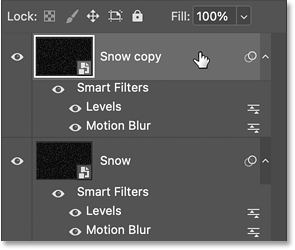
In the Layers panel , create a copy of the Snow smart object by dragging it down onto the Add New Layer icon .
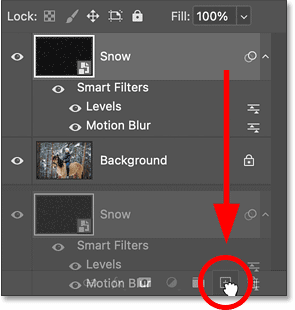
The copy appears above the original, along with copies of the smart filters so there's no need to reapply them.
Step 11: Rotate the second snow layer
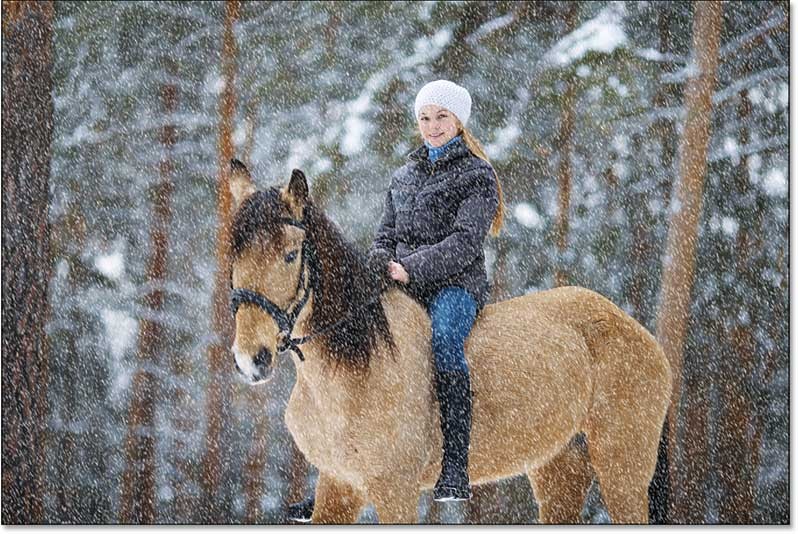
Rotate the copy so that the new snowflakes don't just sit on top of the original snowflakes.
Go to the Edit menu , go down to Transform and select Rotate 180 degrees .

Rotating the copy will double the amount of snow falling.
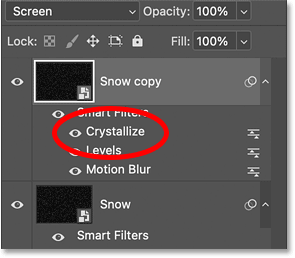
Step 12: Make the snowflakes bigger with Crystallize
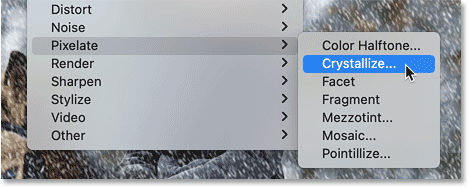
To make these snowflakes larger than the original, go to the Filter menu , down to Pixelate and select Crystallize.
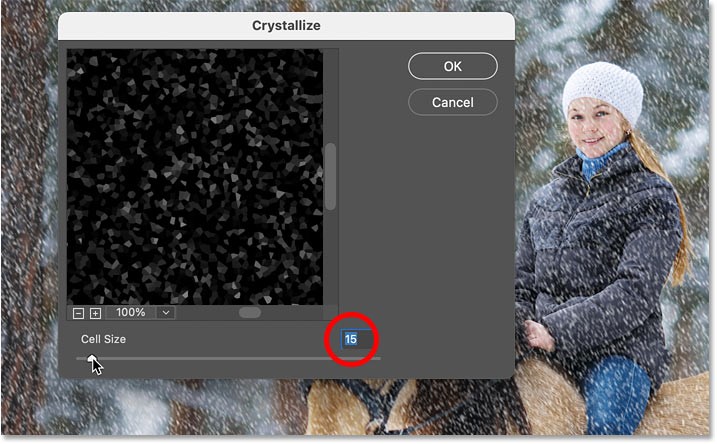
Increase the Cell Size at the bottom to somewhere between 10 and 20. For example, I'll choose 15.
Then click OK to close the dialog box.
If the snowflakes look too big or not big enough, just double click the Crystallize smart filter in the Layers panel and try different settings.
Step 13: Add motion to the snowflakes
The only problem with larger snowflakes is that they don't have any applied movement.
So go back to the Filter menu , go back to Blur and again select Motion Blur .
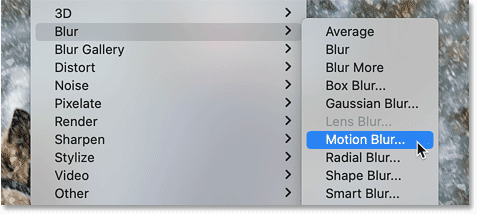
Keep the Angle the same so the snow falls in the same direction. But since these snowflakes are larger, increase the Distance to about 20 pixels. Then click OK.
Step 14: Reduce and lighten the large snowflakes
Finally, reduce and brighten the larger snowflakes by adding another Levels adjustment.
Go back to the Image menu , go back to Adjustments and select Levels.
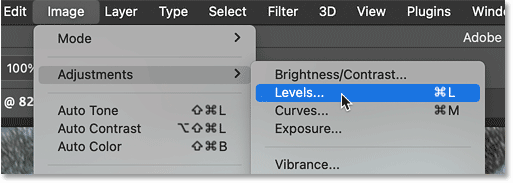
Then, just like we did before, drag the black point slider to the right to reduce the number of snowflakes and drag the white point slider to the left to brighten the remaining snowflakes.
Then click OK to close the dialog box.
We have the complete snow effect.
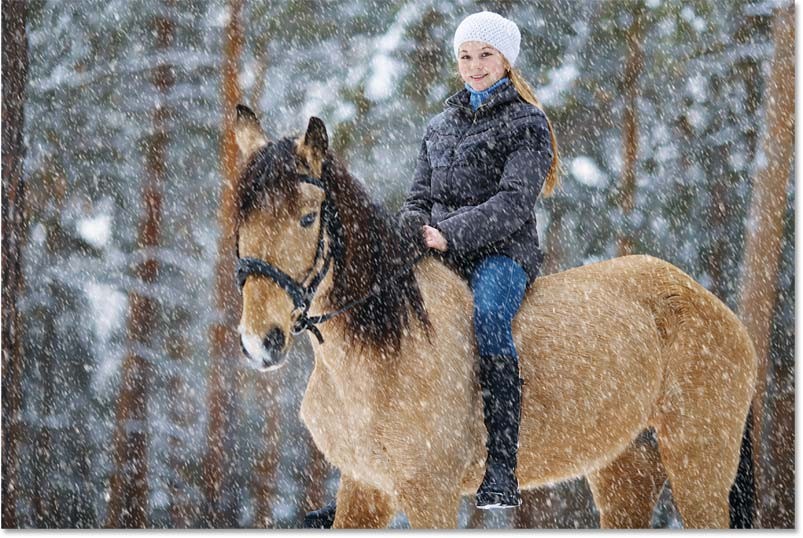
That's how to add falling snow to your winter photos using Photoshop.
Diet is important to our health. Yet most of our meals are lacking in these six important nutrients.
At first glance, AirPods look just like any other true wireless earbuds. But that all changed when a few little-known features were discovered.
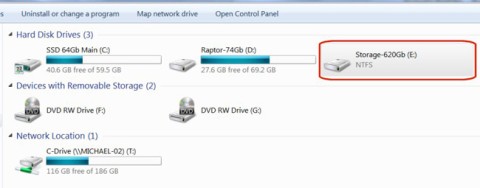
In this article, we will guide you how to regain access to your hard drive when it fails. Let's follow along!
Dental floss is a common tool for cleaning teeth, however, not everyone knows how to use it properly. Below are instructions on how to use dental floss to clean teeth effectively.
Building muscle takes time and the right training, but its something anyone can do. Heres how to build muscle, according to experts.
In addition to regular exercise and not smoking, diet is one of the best ways to protect your heart. Here are the best diets for heart health.
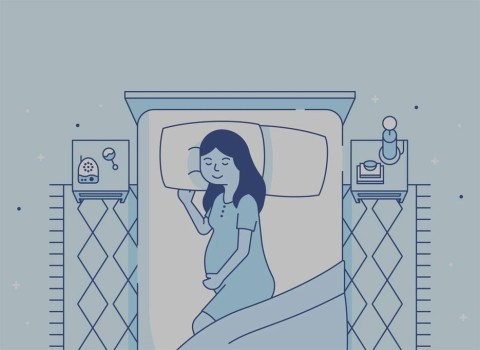
The third trimester is often the most difficult time to sleep during pregnancy. Here are some ways to treat insomnia in the third trimester.
There are many ways to lose weight without changing anything in your diet. Here are some scientifically proven automatic weight loss or calorie-burning methods that anyone can use.
Apple has introduced iOS 26 – a major update with a brand new frosted glass design, smarter experiences, and improvements to familiar apps.
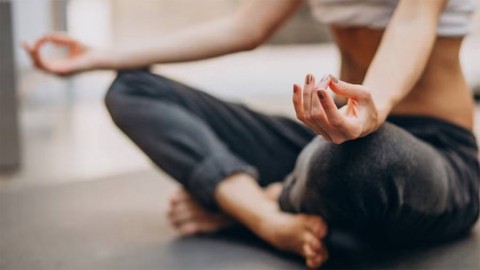
Yoga can provide many health benefits, including better sleep. Because yoga can be relaxing and restorative, its a great way to beat insomnia after a busy day.
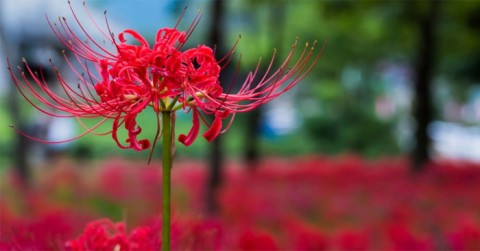
The flower of the other shore is a unique flower, carrying many unique meanings. So what is the flower of the other shore, is the flower of the other shore real, what is the meaning and legend of the flower of the other shore?
Craving for snacks but afraid of gaining weight? Dont worry, lets explore together many types of weight loss snacks that are high in fiber, low in calories without making you try to starve yourself.
Prioritizing a consistent sleep schedule and evening routine can help improve the quality of your sleep. Heres what you need to know to stop tossing and turning at night.
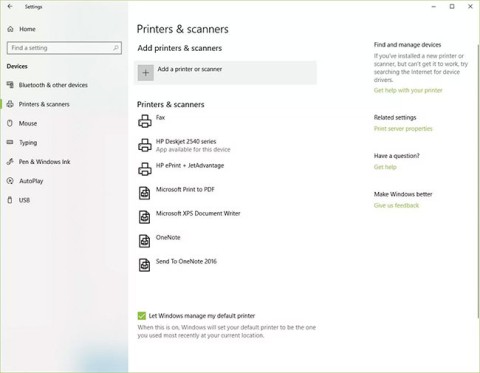
Adding a printer to Windows 10 is simple, although the process for wired devices will be different than for wireless devices.
You want to have a beautiful, shiny, healthy nail quickly. The simple tips for beautiful nails below will be useful for you.

