Clear Stuck Nextcloud Maintenance Mode Safely With OCC
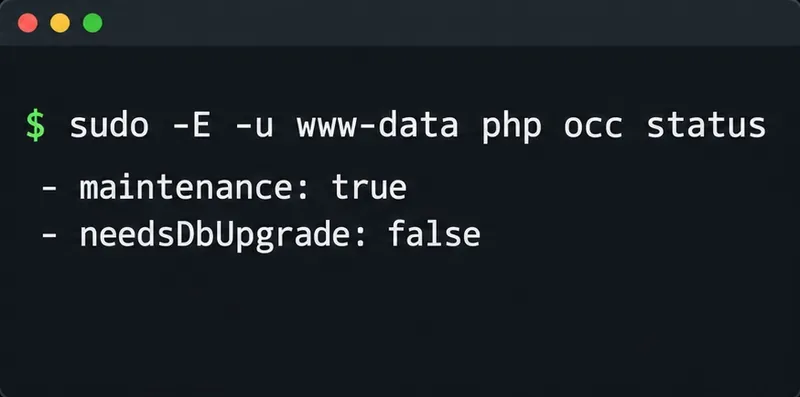
Use OCC to restore Nextcloud access, verify database migration status, and choose the right command for archive, Docker, or Snap installs.
The screen is too bright or too dark, which affects the browsing process, watching movies, listening to music on the computer. Such a long day will affect your eyesight. So it's best to adjust the screen brightness to suit your eyes.
On Windows 10, the built-in Adaptive Brightness feature automatically adjusts the screen brightness according to the surroundings, but many people still want to customize it according to their own preferences. So invite you to refer to the 4 ways below, to adjust to suit yourself.
On the laptop keyboard, there is a shortcut to adjust the screen brightness, depending on the laptop model, the location will be different. You only need to find the sun symbol, usually on the row of function keys from F1 - F12 or the arrow keys up, down, right, left . In some Asus and Dell laptops, you must use the Fn + key combination with the sun icon to increase or decrease the screen brightness.

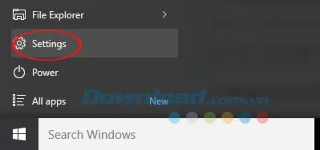
Click the Start Menu icon , select Settings or Windows + I.
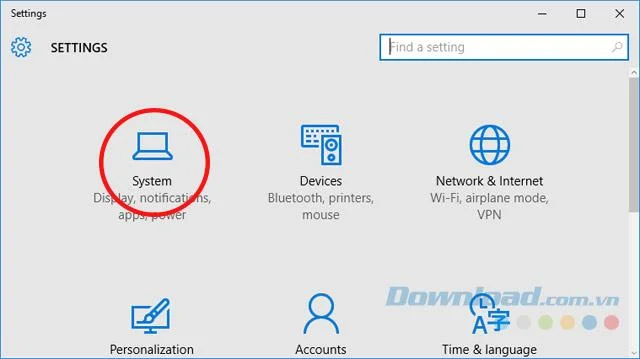
In the Settings section , click System.
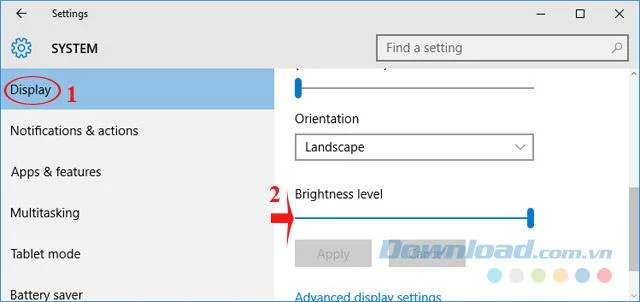
On the Display tab , look to the right to see the Brightness Level bar . Drag this bar to adjust the screen brightness as you like.
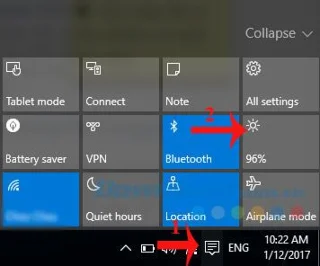
Click the Action Center icon in the bottom right corner of the screen. Navigate to the sun icon, click on it to adjust the screen brightness. Here, there will be 5 levels: 0%, 25%, 50%, 75% and 100% to change the screen brightness accordingly.
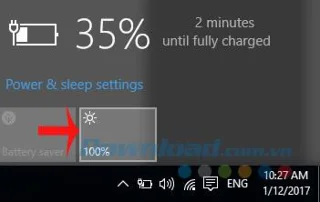
Click on the battery icon, then click on the sun icon . Then adjust the screen brightness accordingly.
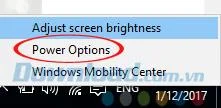
Or right-click the battery icon , choose Power Options.
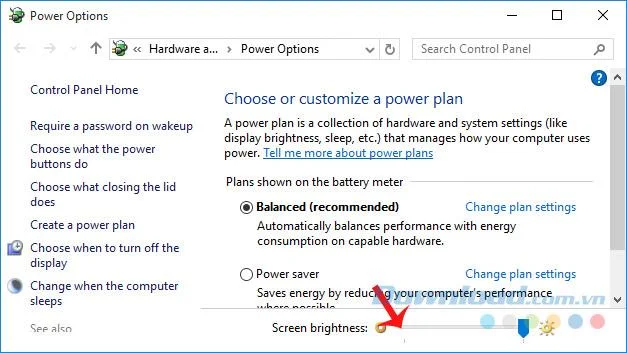
At Power Options , scroll to the bottom to adjust the screen brightness in the Screen Brightness bar .
With 4 ways above, you can easily adjust the screen brightness to suit your eyes.
I wish you successful implementation!
Use OCC to restore Nextcloud access, verify database migration status, and choose the right command for archive, Docker, or Snap installs.
Connect Nextcloud to LDAP or Active Directory, limit access with user and group filters, and verify secure authentication before rollout.
Enable a supported 2FA provider, prepare account recovery, then require two-factor authentication for everyone or selected Nextcloud groups.
Secure files edited in Collabora CODE by encrypting the storage layer, protecting temporary data, and verifying encryption and recovery.
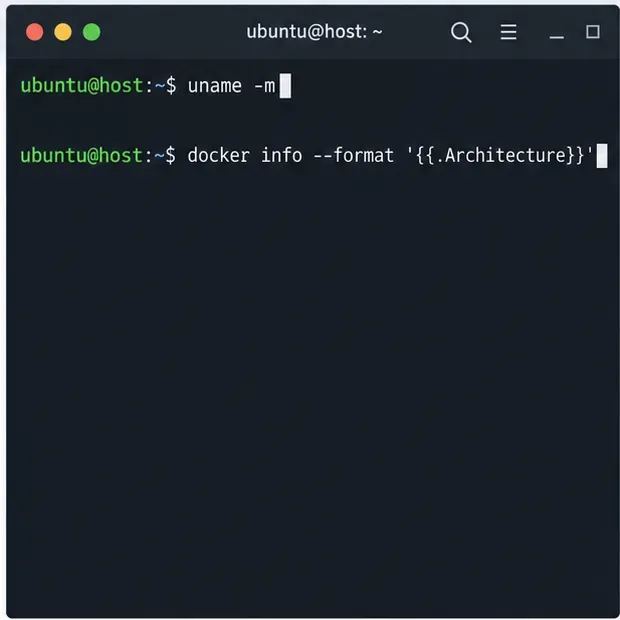
Check your host architecture, confirm the CODE tag publishes ARM64, remove forced AMD64 settings, and separate image errors from permissions or memory issues.
Set up the WOPI connection between Collabora Online and ownCloud Infinite Scale, configure the right service URLs, and verify document edits save.
Prevent document exports in Collabora Online CODE by setting the WOPI DisableExport permission, then verify the host and editor enforce it.
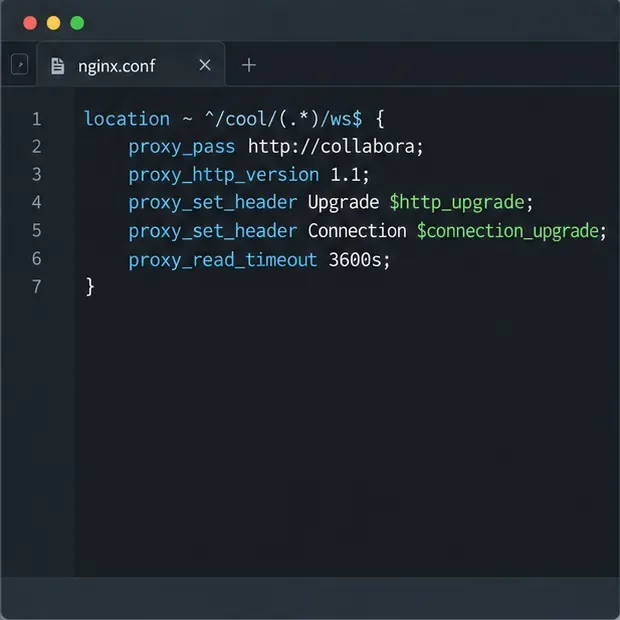
Configure Nginx TLS termination, Collabora routes, and WebSocket headers, then test the public endpoints before opening real documents.
Trace a 10-minute CODE disconnect to its proxy, load balancer, or WebSocket path, then correct the timeout and verify the session stays connected.
Install the official Collabora Helm chart, configure WOPI access and ingress affinity, and verify the deployment without common setup mistakes.