Fix ownCloud Sync Certificate Errors at the TLS Source
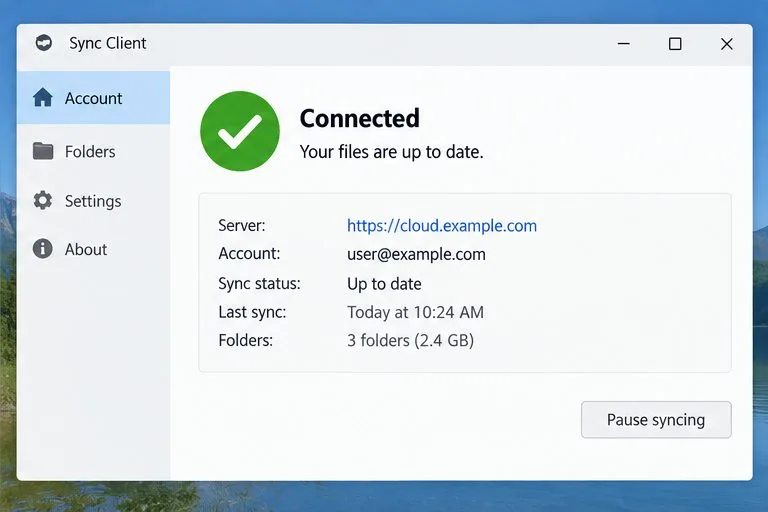
Restore ownCloud desktop syncing by checking the server hostname, certificate chain, private CA trust, and captive portal issues without disabling TLS verification.
Along with WinRAR , PowerISO , BitZipper or WinZip , 7-Zip is one of the extremely effective file compression and decompression tools for computer users. The proficient use, know how to manipulate with tools like this will help us a lot in the process of working, sharing information and data.
The following article will show you two main operations, the most basic of this tool, which is how to compress and decompress files with 7-Zip. This will be extremely useful if you want to shrink space, get more space, or when you need to exchange documents, then compressing the file is extremely important.
Step 1: Open the compression tool and extract the 7-Zip. If not, please refer to the article on how to install and use 7-Zip software and follow.
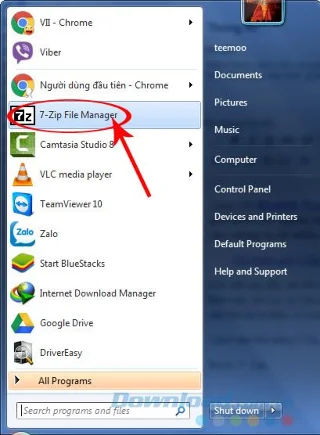
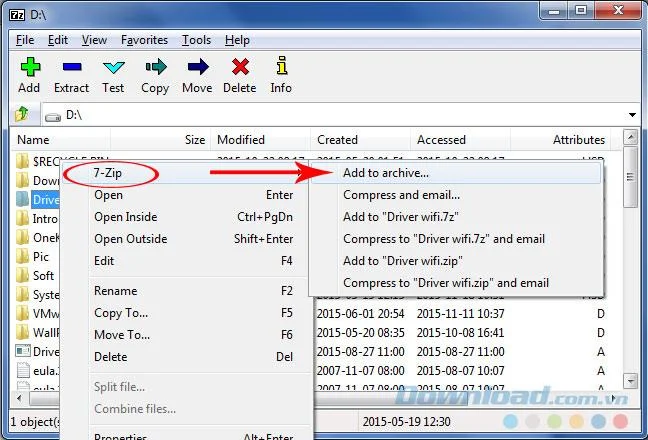
Step 2: From the main interface of 7-zip, find the folder you need to compress , right- click on the file, select 7-Zip / Add to archive ...
Step 3: The editing interface appears, you fill in some information as shown below. Some attention should be paid to the following:
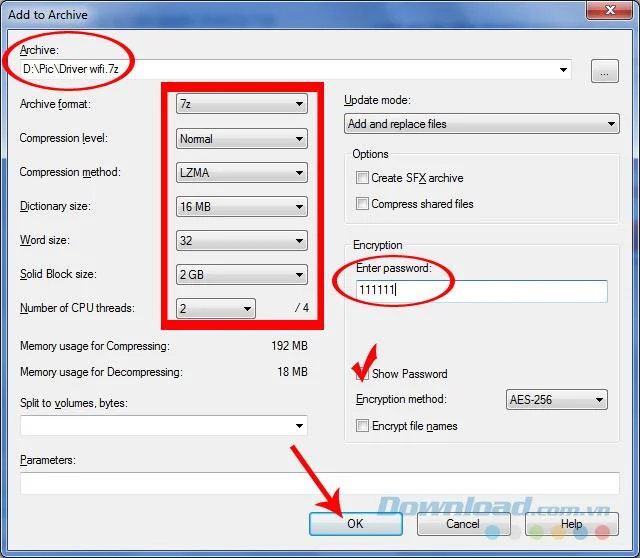
Edit the information, click on OK to start compression
You can freely change the location and name of the compressed file by clicking the dot icon at the top, right hand of Archive item. When a Windows window appears, you choose a new location and a new name for the compressed file and then Open.
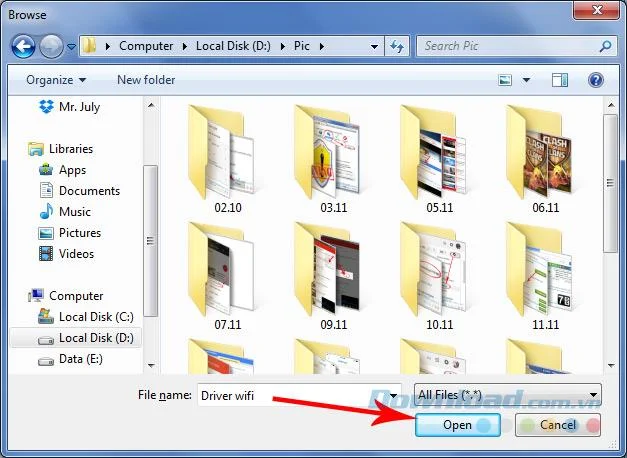
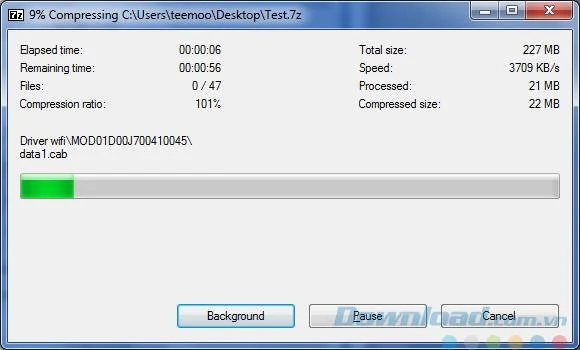
Step 4: We wait a bit for 7-Zip to complete its work. Depending on the size of the file, it may take a long time.
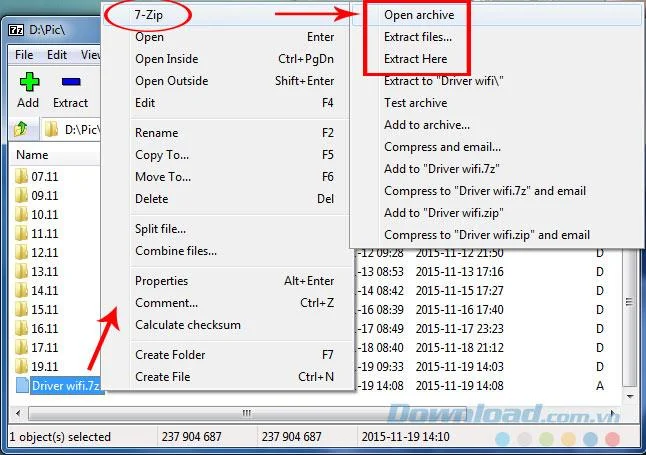
Once you've got any compressed file, you can freely copy, send it via Gmail , Skype , or to USB, save it to online storage services ( Dropbox , Google Drive , OneDrive ... ) to protect, use later ... And if you want to use a compressed file of this type on your computer, also open 7-Zip , then right-click the compressed file , go to 7-Zip , then It is possible to use one of the following three options:
This is the interface of Open archive . From here we can also click Extract (the blue minus sign) to extract the file.
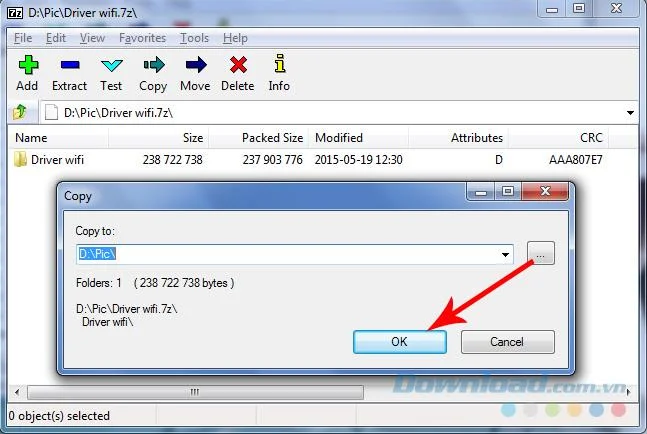
Or not, you can use Extract files. Here, click the three dots icon to select the location to save the extracted file (can be any location, or it can be the same location where the compressed file is stored).
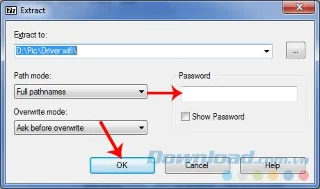
Select the location to open the archive, then OK
And here is the interface of Extract Here - direct extraction. Just enter the password and then OK . If there is no password, the file will automatically run.
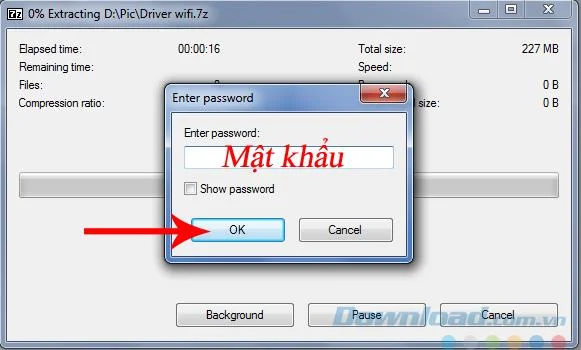
The decompression process takes less time than the compression process, however, if the compressed file is too large, it will also take less time.
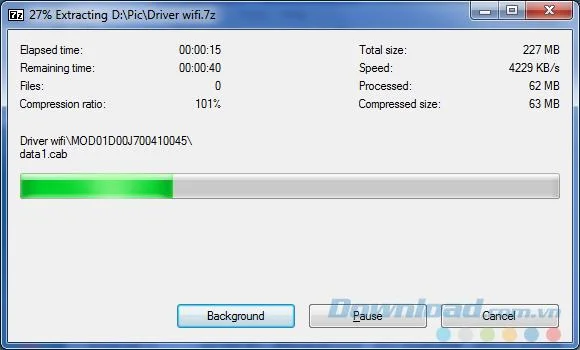
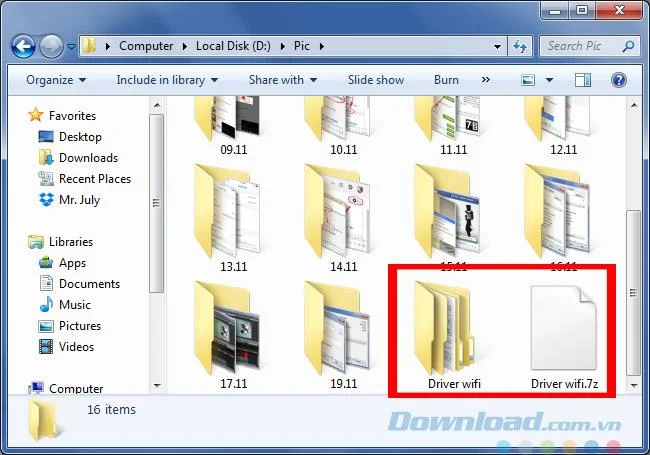
After extraction is complete, we can use it immediately.
So Download.com.vn has just shown you how to compress and decompress files with 7-Zip tool. Hope this article will be helpful for you!
I wish you successful implementation!
Restore ownCloud desktop syncing by checking the server hostname, certificate chain, private CA trust, and captive portal issues without disabling TLS verification.
Use the invalid-file report to identify mismatched core files or app signatures, restore the correct release files, and verify the integrity check safely.
Deploy ownCloud Infinite Scale from its official Compose example, configure domains and persistent storage, then verify TLS, containers, and first login.
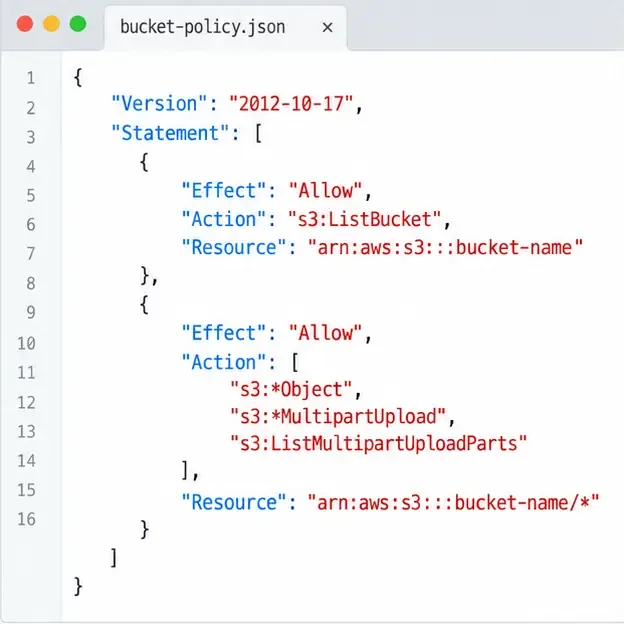
Set up the S3NG driver, bucket permissions, persistent metadata storage, and upload sizing so ownCloud Infinite Scale can store file contents reliably.
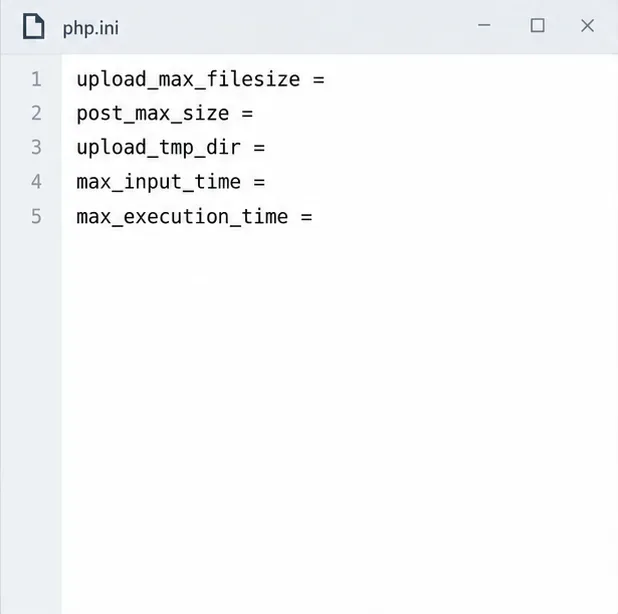
Find why an ownCloud Server upload stops near completion by checking file status, quota, temporary disk space, PHP limits, and proxy timeouts.
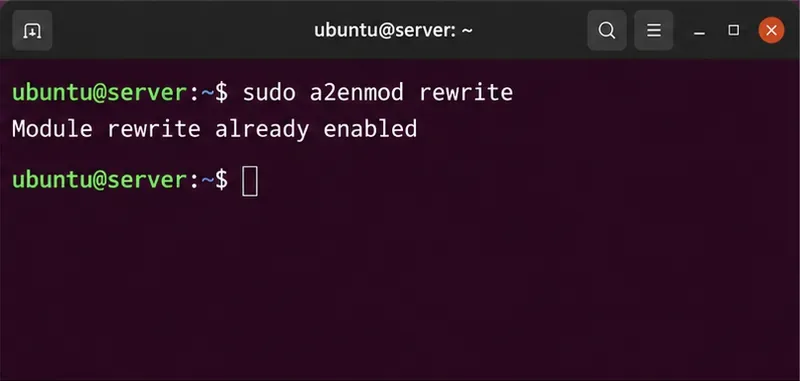
Set AllowOverride All only for ownCloud’s web root, validate the active Apache vhost, and reload safely to restore .htaccess rules.
Enable ownCloud’s Enterprise Auditing app, route admin_audit events to a protected log file, and confirm that real user actions are being recorded.
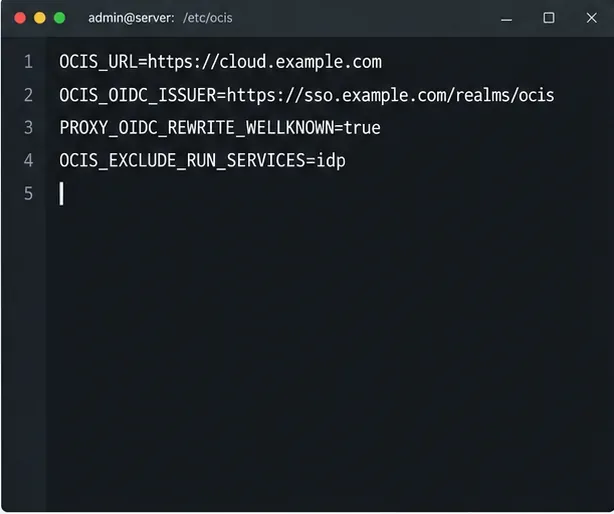
Align Keycloak’s realm issuer, web client, and user claims to let ownCloud Infinite Scale sign users in reliably across the web and mobile clients.
Transfer owned files and outgoing shares with ownCloud’s occ command, understand what stays behind, and verify access before deleting the old account.
Learn when ownCloud 10 database indexes need attention, how to apply supported schema updates safely, and when query tuning or a database change is the better fix.