Move ownCloud Files to a New Owner Without Losing Shares
Transfer owned files and outgoing shares with ownCloud’s occ command, understand what stays behind, and verify access before deleting the old account.
WinRAR or 7-Zip , WinZip is extremely useful software to help users compress and decompress large files, even scanning viruses before they work. But better than the competition, it's a winRar has another convenient feature that other tools do not, that is it allows users to immediately delete the original file after compression is complete.
If in the normal way, after compressing the file, if we want to delete the original file, we will have to do it by hand all the compressed files in turn. It just takes time, it doesn't work. Why not use this feature right inside winRAR itself? It will help you to delete all files that have just been compressed, keeping only the files you just created.
First, open the folder containing the files you need to compress. Highlight all the files, then right click and select Add to archive ...
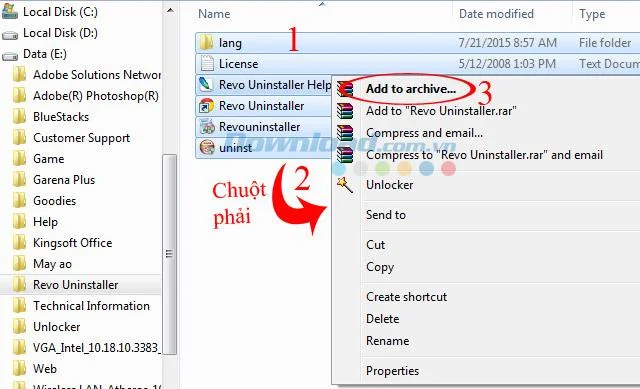
At this time, a small window named Archive name and parameters appears with quite a lot of options for you to use. In particular, the most important:
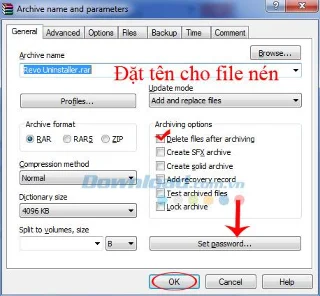
After the compression process is complete, you can see all the original files used will disappear, leaving only the compressed file that you just created.
Transfer owned files and outgoing shares with ownCloud’s occ command, understand what stays behind, and verify access before deleting the old account.
Learn when ownCloud 10 database indexes need attention, how to apply supported schema updates safely, and when query tuning or a database change is the better fix.
Connect a Windows or Samba network share to ownCloud through External Storage, verify credentials, and troubleshoot inaccessible folders safely.
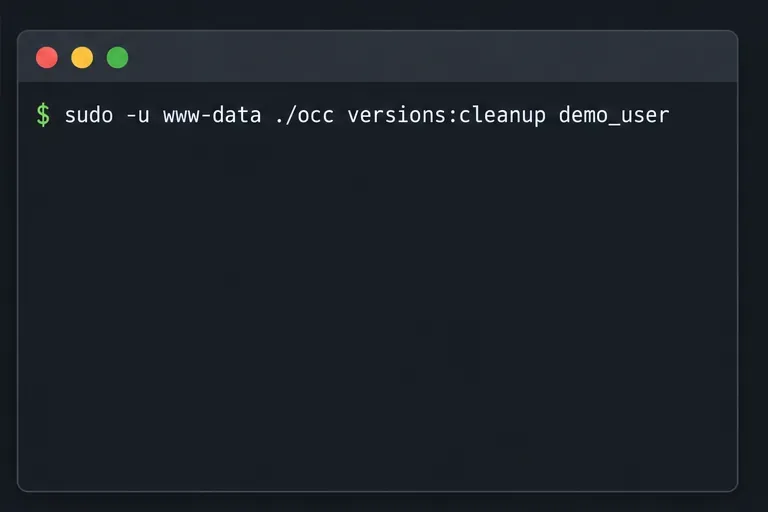
Remove every stored ownCloud Server Classic file version for one account or all users, and distinguish a full purge from retention-based expiry.
Trace an ownCloud mobile connection refusal by checking the server URL, phone network, HTTPS endpoint, and server logs in the right order.
Replace on-demand job runs with a systemd timer that runs ownCloud’s supported occ system:cron command every 15 minutes.
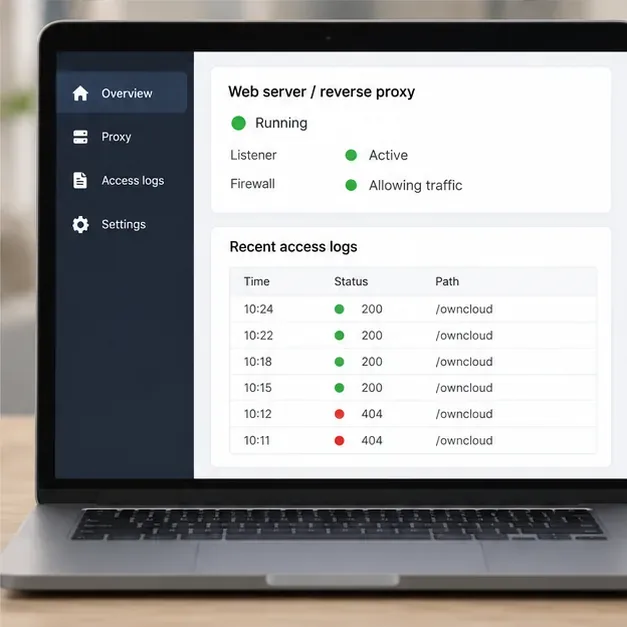
Trace the WebDAV request through Apache, Nginx, or a reverse proxy, then confirm ownCloud sync works with an authenticated PROPFIND test.
Fix Nextcloud’s missing outgoing address warning by setting its canonical URL and checking DNS, HTTPS, and reverse-proxy routing from the server itself.
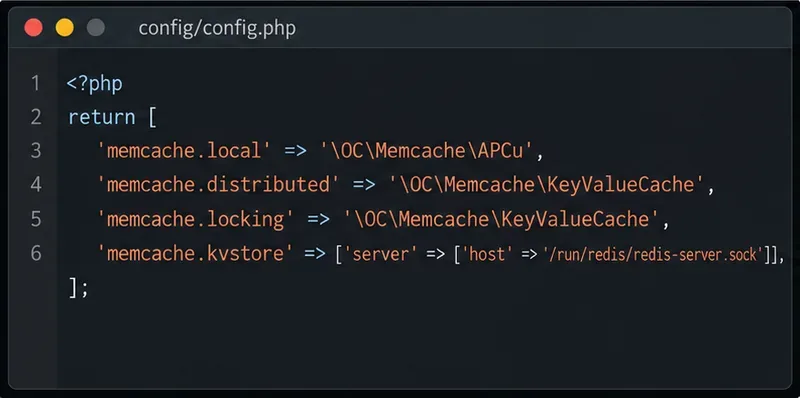
Configure APCu and Redis over a local Unix socket for Nextcloud caching and file locking, with steps for current and older Nextcloud releases.
Check Nextcloud’s cron mode, repair its systemd service and timer, and verify that background jobs run after startup and every five minutes.