Stop Unwanted Printing and Downloads in ONLYOFFICE
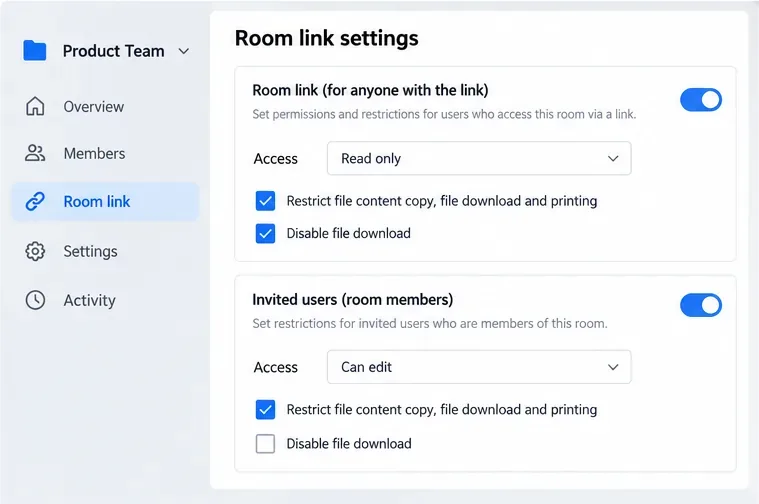
Set print and download limits for ONLYOFFICE links, room members, or Docs API sessions, then verify the restrictions from a recipient account.
When it comes to extracting RAR archives, WinRAR is always the top choice. In this article, let's learn how to use WinRAR on macOS !

WinRAR is a lightweight software that supports multiple platforms, is easy to use and can create compressed files. Unfortunately, WinRAR on Mac does not have a GUI. That might make you uncomfortable because you need to use commands to use this program.
However, don't be discouraged and ignore WinRAR. Try applying the quick step-by-step instructions to extract files with WinRAR on Mac below.
How to use WinRAR on Mac
1. Access Command Line
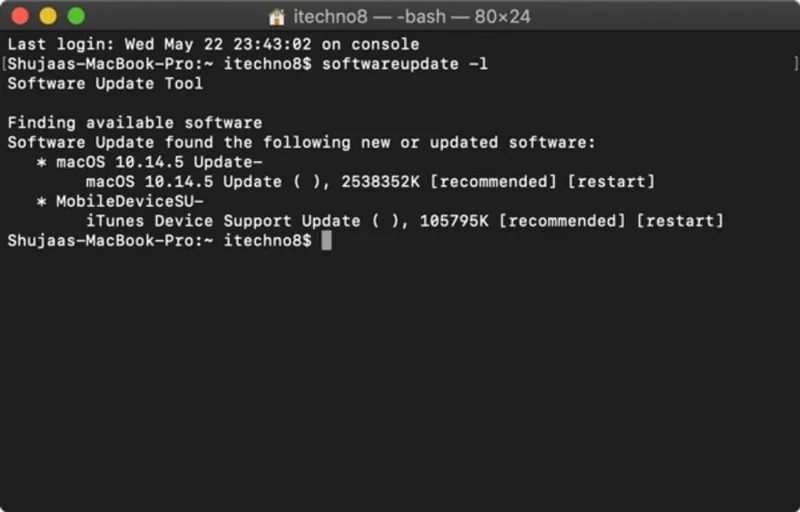
First, you need to access Command Line on Mac. Here are the steps you need to do to open it: Click Applications > Utilities > press Terminal .
2. Change directory
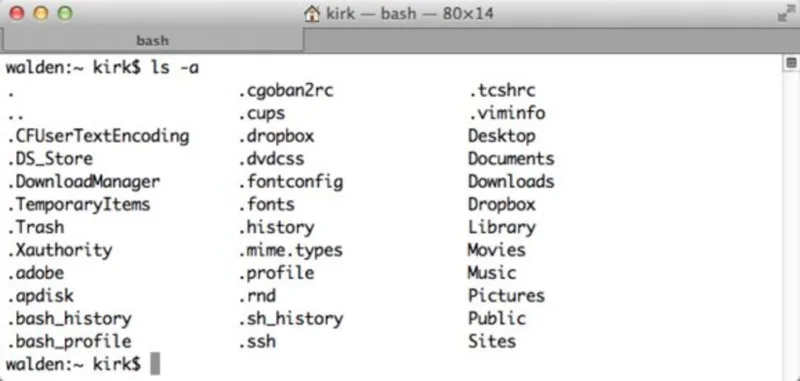
Now you need to change the directory to the location to save the file you want to extract.
3. Compress files
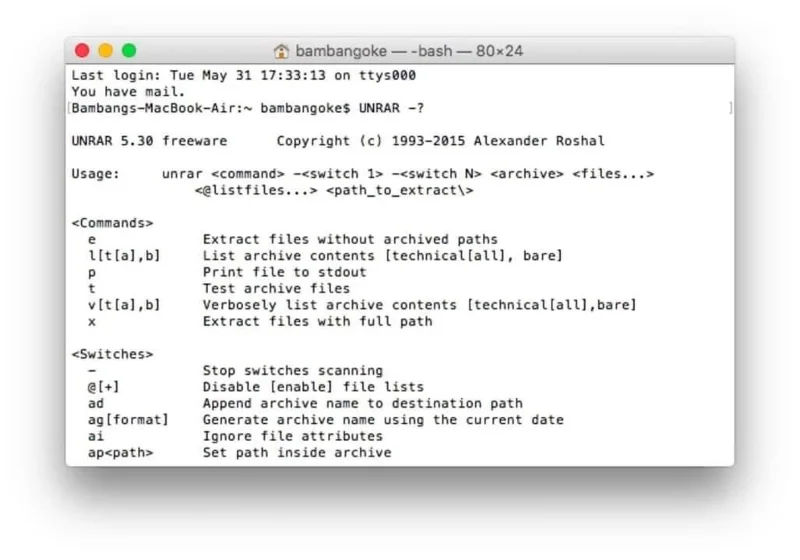
If you want to compress a file, type rar a your_directory_name your_rar_name.rar into the command line to add the content of the desired file. Remember to rename the folder and RAR file name to match your folder name. This makes it easier for you to find this file later.
4. Extract files
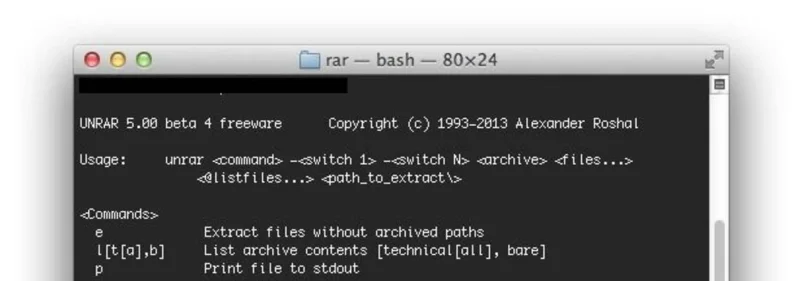
If you want to extract a file, enter unrar your_rar_filename.rar into the command line to extract the RAR file.
Using WinRAR on Mac is simple when you use the command line. It may sound academic at first, but once you know how to use it, you will find it really easy to compress and decompress files with WinRAR on Mac.
Above is how to use WinRAR on Mac . Hope the article is useful to you.
Set print and download limits for ONLYOFFICE links, room members, or Docs API sessions, then verify the restrictions from a recipient account.
Set a backup destination, schedule, Mail coverage, and retention limit in ONLYOFFICE Workspace, then verify the archive is ready to restore.
Start the Enterprise Docker Compose stack, persist its license and data, configure JWT safely, and confirm the editors are ready to integrate.
Use an ONLYOFFICE JavaScript macro to remove nonprinting characters and trim extra spaces from a defined spreadsheet range, with a safe review workflow.
Connect ONLYOFFICE DocSpace to Active Directory or OpenLDAP, import users and groups safely, map account fields, and schedule reliable synchronization.
Move portal data from Disk Default to a supported cloud storage provider, or relocate Docker data safely by changing its host volume mapping.
Identify whether Document Server uses a Linux package or Docker, remove only its components, and check remaining data without deleting shared services by mistake.
Trace slow collaborative editing to Docker resource pressure, proxy connections, or document load, then choose the fix that matches your measurements.
Install custom fonts in ONLYOFFICE Document Server, compare persistent Docker mounts with direct copies, rebuild the font list, and verify the result.
Choose where TLS should terminate, mount a trusted certificate and private key safely, and verify HTTPS access to a Dockerized ONLYOFFICE Docs server.