Stop ownCloud File Lock Timeouts with the Right Backend
Distinguish database lock contention from expired WebDAV locks, then choose and configure the right ownCloud 10 fix.
WinRAR after a long time will use a lot of temporary files, junk files make your computer system run much slower. So how to fix and delete all temporary files WinRAR?
Please refer to the tutorial on how to set the automatic mode of deleting temporary files with WinRAR software is very simple without spending time and without installing any additional software on the computer.
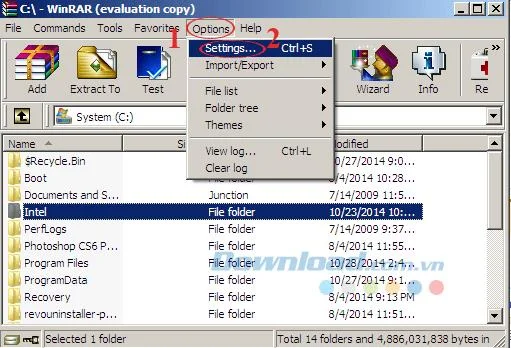
Step 1: Open WinRAR , on the main interface of the program, click the Options tab , then select Settings ... (or use the keyboard shortcut Ctrl + S ).
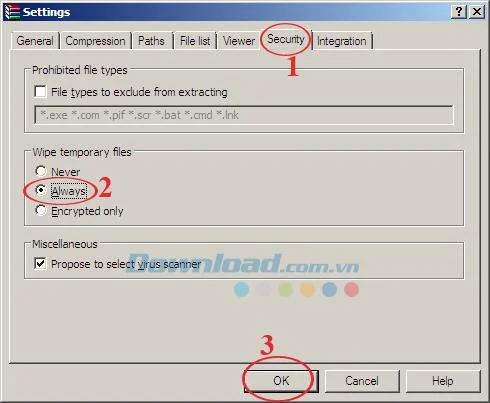
Step 2: The Settings window appears, click on the Security tab . Navigate to the Wipe temporaly files section , here gives you 3 choices:
Here, we choose the Always mode . Then click OK to complete the installation process.
With only 2 very simple steps, you have set up the automatic file deletion mode. Thus, you will not waste time deleting these junk files anymore, helping your computer system run faster.
Not only that, WinRAR can also repair corrupted files , split files , create self-extracting files ... very easily and quickly. In addition, you can also refer to the software WinZip and 7-Zip to compress and decompress files for free.
I wish you successful implementation!
Distinguish database lock contention from expired WebDAV locks, then choose and configure the right ownCloud 10 fix.
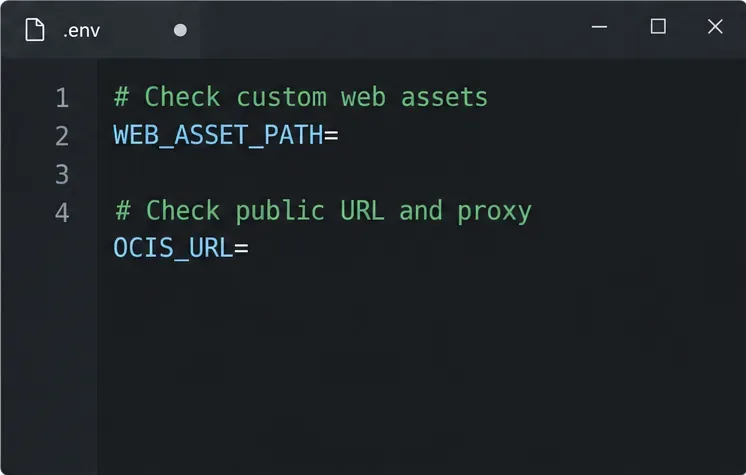
Trace a blank ownCloud Web screen to browser cache, missing web assets, service errors, or reverse-proxy URL settings with targeted checks.
Set ownCloud’s web PHP memory limit, restart the matching service, and verify the active value without confusing it with CLI settings or upload limits.
Find out whether MySQL, PHP, socket settings, or database permissions are blocking ownCloud 10, then verify a safe fix.
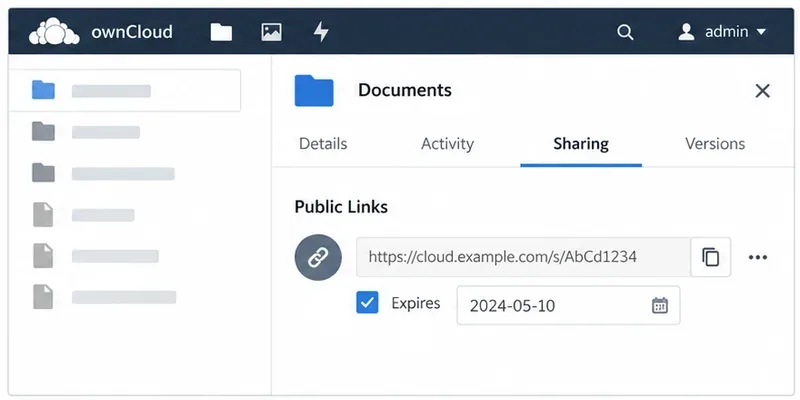
Make public link expiration mandatory in ownCloud Classic, set a maximum lifetime, and check existing shares that may need separate cleanup.
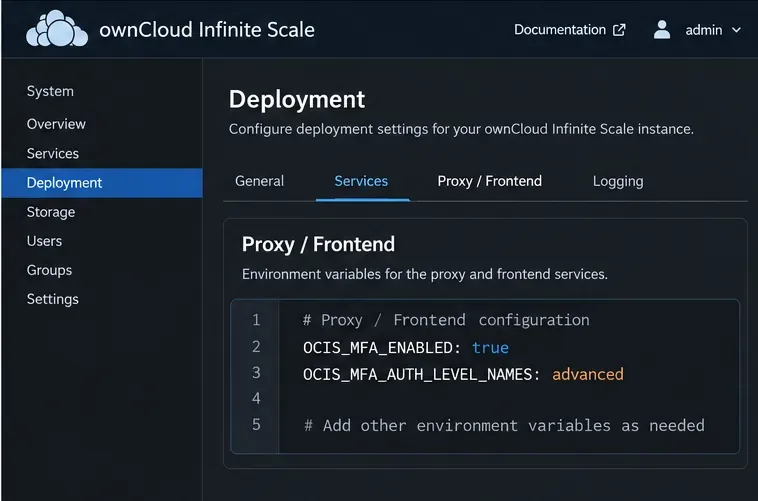
Enable TOTP through Keycloak, enroll users safely, and understand when Infinite Scale’s route-level MFA settings apply.
Check whether the issue is an OC10 and 7.x compatibility break or a damaged CSync journal, then apply the right fix without deleting synced files.
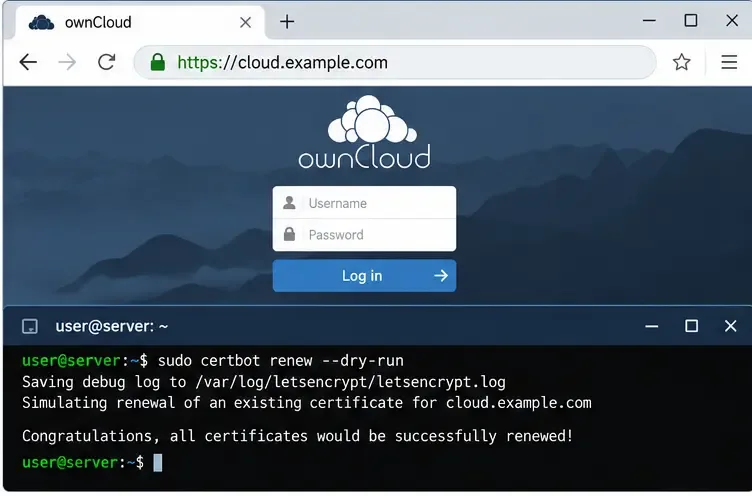
Choose HTTP-01 or DNS-01, configure an ownCloud reverse proxy, and verify Certbot renews HTTPS certificates automatically.
Configure oCIS LDAP sign-in, align user and group lookups, and verify TLS and schema settings before rollout.
Add an Amazon S3 bucket to ownCloud 10, prepare compatible credentials and endpoints, and check access without confusing a mount with primary storage.