Sometimes you want to share documents with your friends over the Internet but the file size is too large to send. So what to do? Similar to WinRAR , 7-Zip also supports split files easily.
After splitting the file, you can also join the file easily with the 7-Zip software itself. Invite you to refer to the following article to share files with friends via Gmail , Facebook , Viber ... easily offline!
How to split a file using 7-Zip to send emails easily
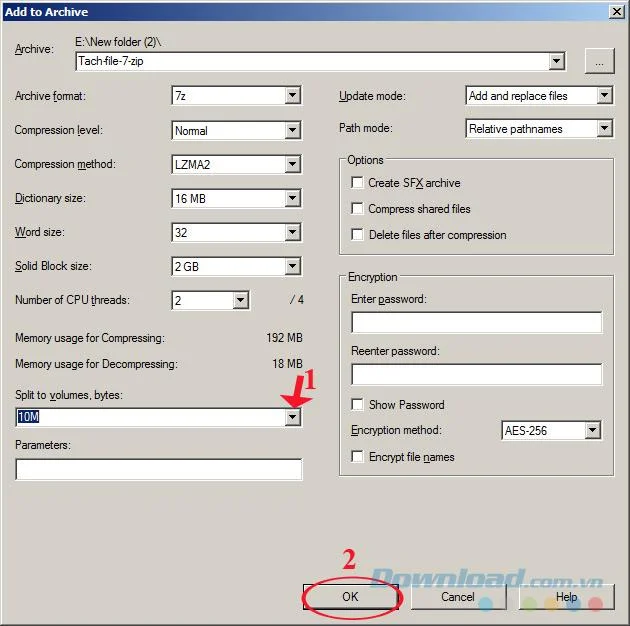
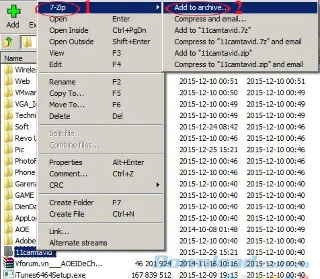
Step 1: Open the folder you want to compress and cut the file up, then right-click 7-Zip, then select Add to Archive ... to compress the file.
Step 2: In the dialog box Add to Archive , select Split to volumes, bytes to cut the file. Here, you can choose 10M, 650M or manually enter the number you want to enter. Also, customize values like:
- Archive format: Compressed file format.
- Compression level: Speed of compression.
- Delete files after compression: Delete files after compression.
- Encryption: Set password ...
Then click OK.

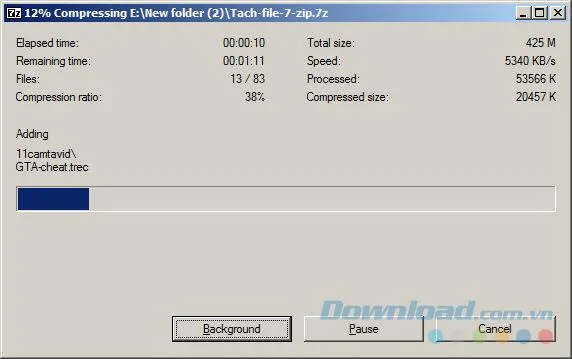
Step 3: Wait a moment for the file splitting process to complete, the speed of how fast or slow depends on the file size.

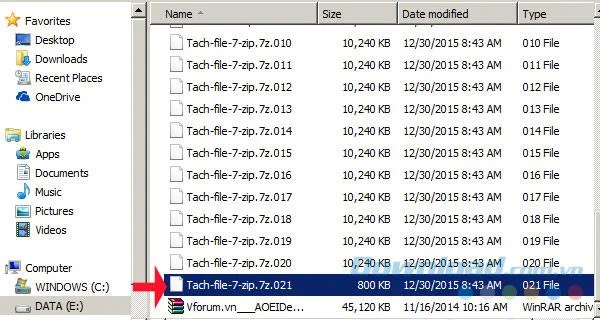
Step 4: After splitting the file successfully, you will see the files numbered from 001 onwards. The size of the final file is always smaller because it is the excess of the original file.

Instructions to merge files by 7-Zip
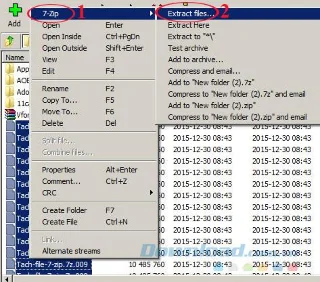
Step 1: Select all the split files, right-click 7-Zip , then select Extract Files ...

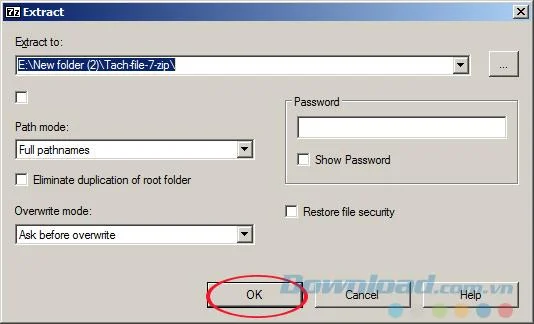
Step 2: Extract window appears, select the path to save the file after transplant. Then click OK.

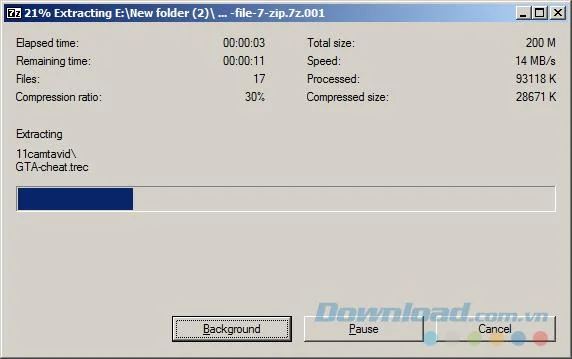
Step 3: Wait for a while for the file assembly process to complete, this process takes place quickly or slowly depending on the size of the file.

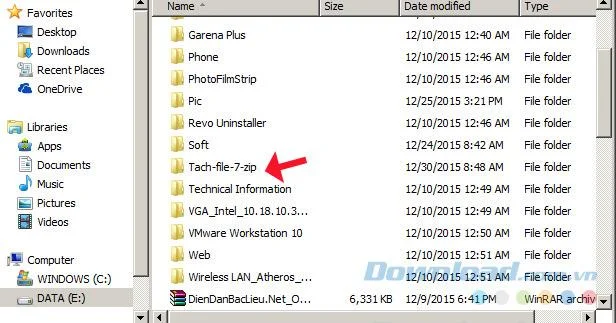
Step 4: So we have successfully grafted files!

So you already know how to split and merge files with 7-Zip already. Pretty simple, isn't it?
I wish you successful implementation!