Deploy Collabora CODE on Kubernetes with Helm

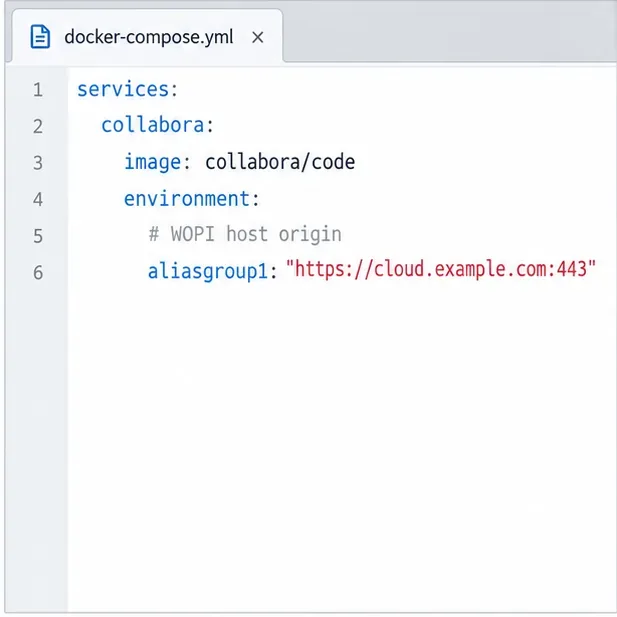
Install the official Collabora Helm chart, configure WOPI access and ingress affinity, and verify the deployment without common setup mistakes.
+ Fast, easy to use, can listen to the rich amount of songs stored on USB.
+ No need to depend on any other supported device to still listen to music from USB.
+ For a more amazing music experience, with rich, high-quality sound.
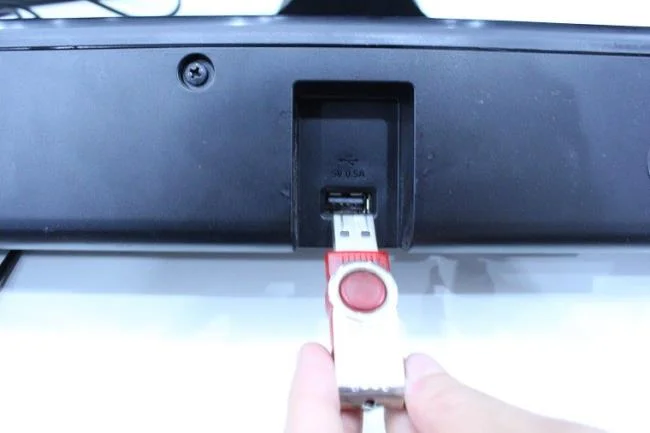
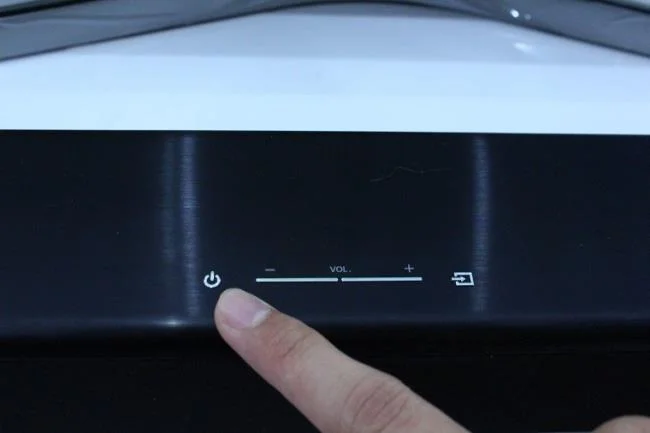
Step 1: First, press the power button to turn on the speaker. Then plug the USB with music into the USB port on the back of the speaker.
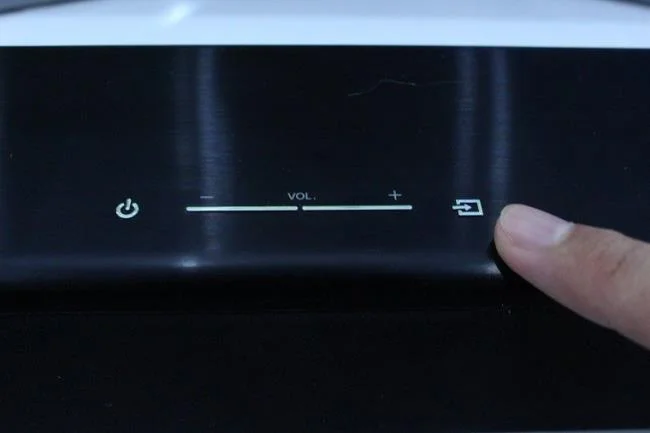
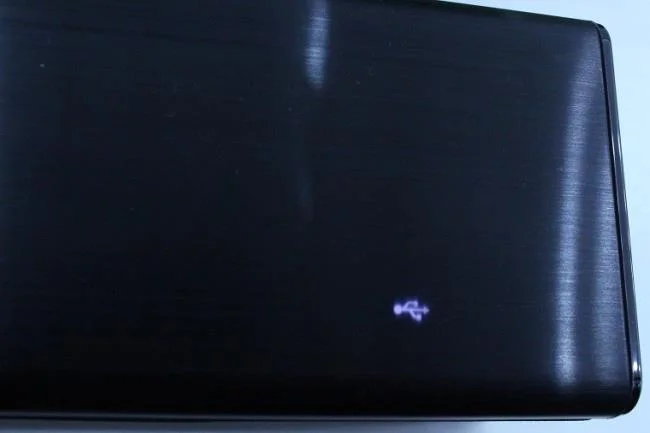
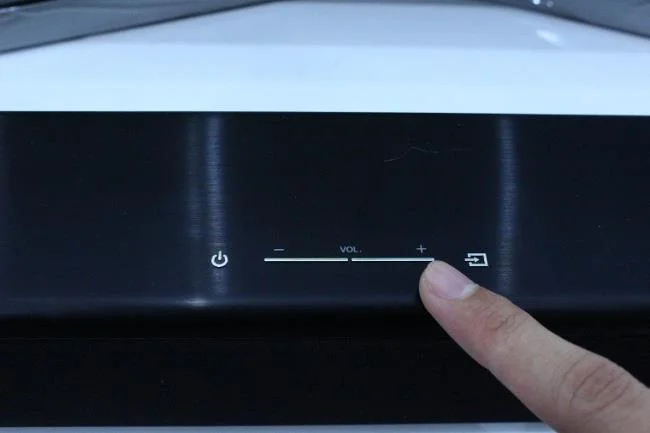
Step 2: Next, you need to turn on USB mode by pressing the icon button with a rectangle and an arrow mark on the Samsung bar speaker or you can also press the USB button on the remote, the LED shows the mode. USB will light up, now everything is ready. Music that you have stored in the USB flash drive will automatically be played on the speaker.
Note: The product may not be compatible with certain USB drives. Therefore, if you have been connected for about 10 minutes and still do not listen to music, you should change the USB or connect the speaker to another device such as television, phone, tablet ... ..
See more:
How to connect TV to Samsung speaker bar with Optical cable
Above is how to connect Samsung sound bar to USB. If you have any questions, feel free to leave your comments in the comments section below.
Install the official Collabora Helm chart, configure WOPI access and ingress affinity, and verify the deployment without common setup mistakes.
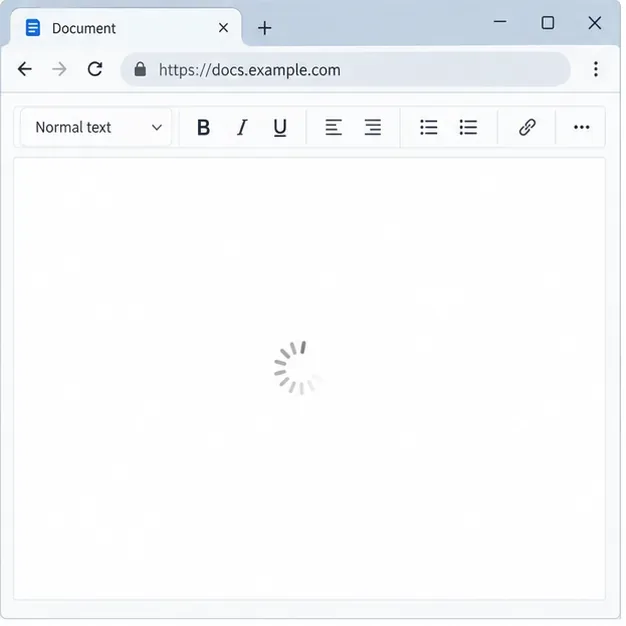
Use browser requests, WOPI logs, and targeted proxy checks to find why Collabora opens a blank document—and choose a fix that fits the evidence.
Configure CODE Docker dictionaries and tag document passages correctly so English, French, and other supported languages receive the right spell-checking.
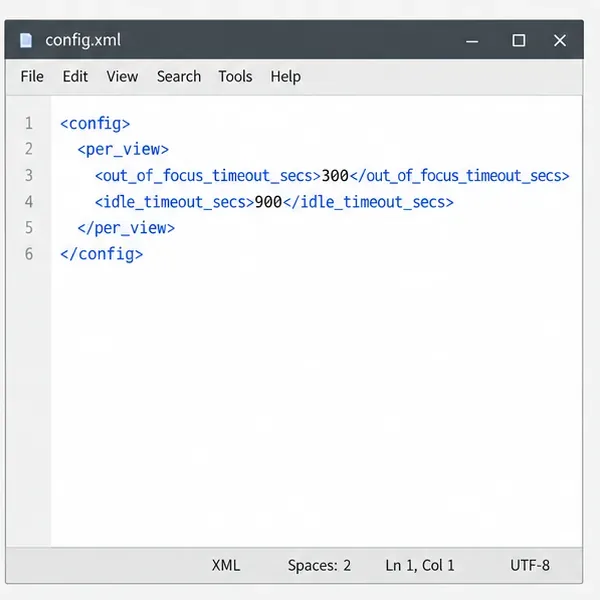
Adjust the per-view inactivity threshold in coolwsd and distinguish it from background-tab dimming, document unloading, autosave, and login expiration.
Stop scheduled CODE update checks, review optional remote services, and use outbound network controls without breaking document editing.
Enable secure document editing in Seafile by configuring Collabora’s discovery URL, HTTPS, and WOPI access for your deployment.
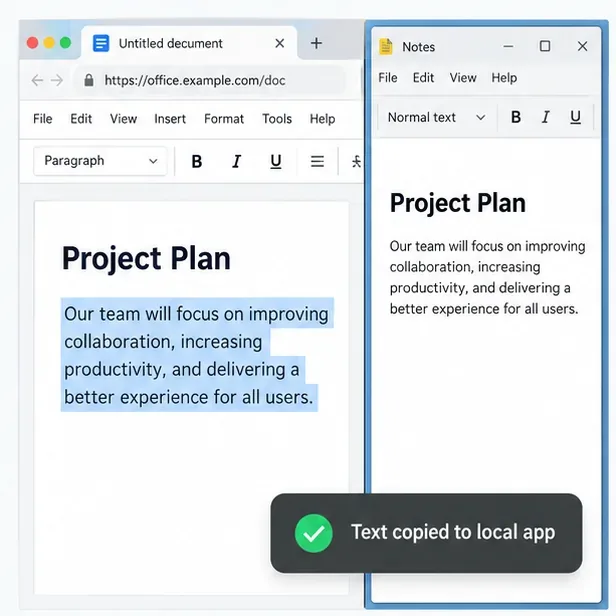
Test the system clipboard, adjust browser permissions, and identify when an embedded Collabora integration needs an iframe policy change.
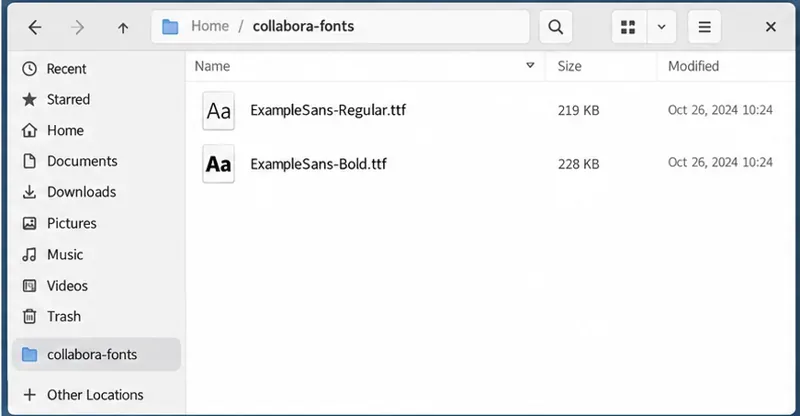
Mount font files into Docker and Collabora’s systemplate so custom typefaces appear in the editor and render correctly in documents.
Back up coolwsd.xml and its deployment sources, restore them safely, and verify CODE before users return to editing.
Allow the exact Nextcloud or other WOPI origin in CODE, then verify the active host allow-list and distinguish it from Nextcloud’s source-IP restriction.