Graphic design software AAA Logo is a very useful logo design application for graphic designers, with AAA logo you will have all the tools to design products for businesses such as business cards, letterheads, banners, leaflets, posters, banners ... Or icons, buttons, logos, banners ... for your web pages will be decorated with many colors and rich effects. Not inferior to professional design software such as Photoshop , Corel DRAW , Adobe Illustrator , AutoCAD ...
With AAA Logo 5.0, anyone can design a logo, change the shape and add text to the logo with just a few small steps, you just need to select the logo layout already available on the template, then then edit some more components, add the name and slogan of the business. Applying a few of your own styles, you can create your own logo project for printing or uploading to the web. Or you can create your own logo very easily.
To do that, today Download.com.vn will guide you how to create logos using AAA Logo software. First you need to install the software, please refer to the article guiding the installation of AAA Logo software on the computer to know how to install offline.
Download AAA Logo on Windows
Instructions for creating logos with AAA Logo software
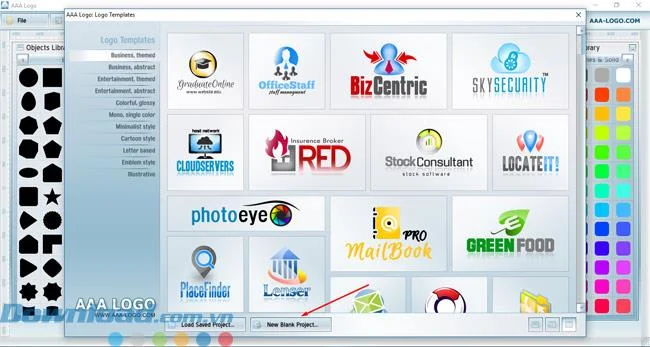
Step 1: After installing the software, create a new project by clicking New Blank Project.
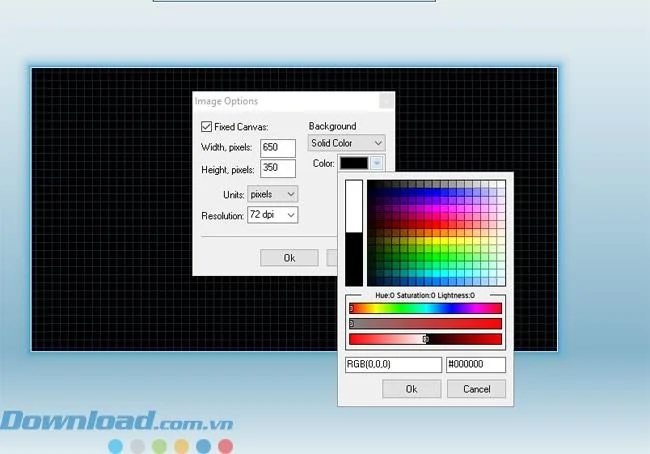
Step 2: Next you will see the option to create color for the project, Fixed Canvas is for you to create the size for the project by filling in the Width, pixels and Height, the pixels are horizontal and vertical. Then click OK to finish creating the project.

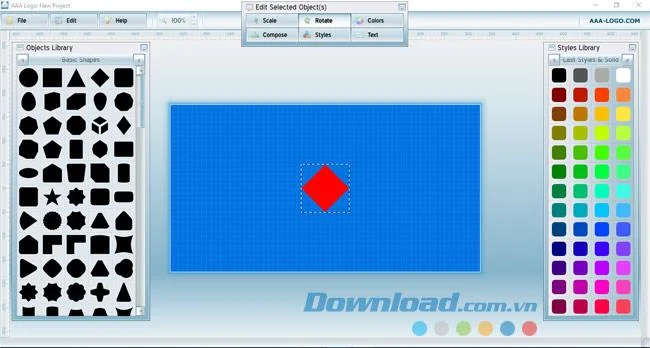
Step 3: To create an initial logo design, click on the image icons in the Objects Library section and they will appear on the project you just created.

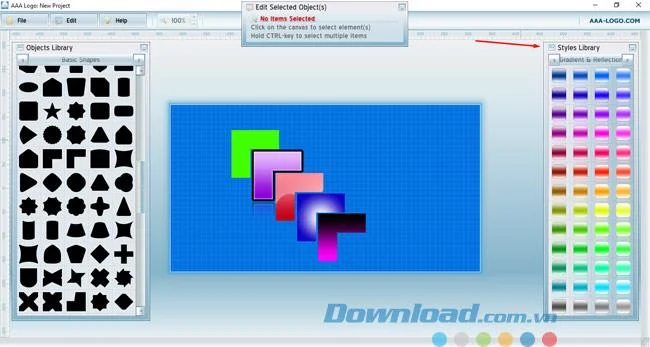
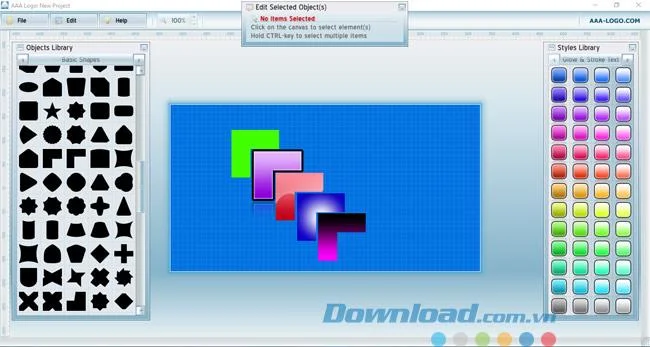
Step 4: Besides you can create colors for icons using the Styles Library, you can choose your own color according to the level of shade, single color ...


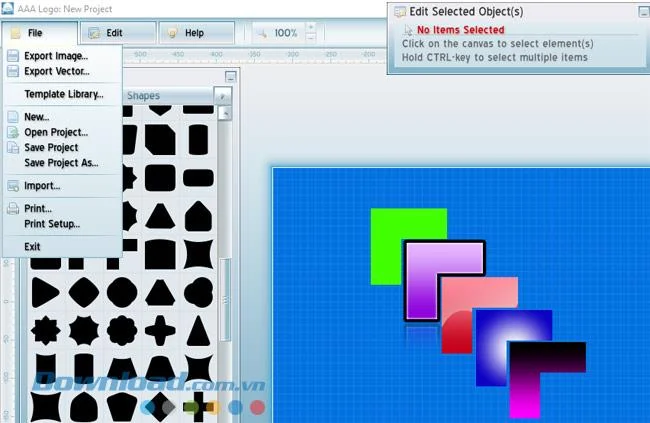
Step 5: Next on the File toolbar you will have optional items such as:
- New: Create a new file.
- Open Project: Open an existing file.
- Save Project: Save the file being edited.
- Save Project As: Save the file being edited into a path.

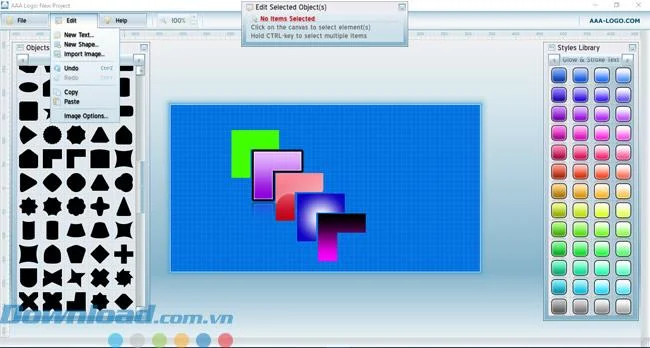
Step 6: The Edit section is to edit your project, you will have the edit section as:
- New Text: Create a new text entry for the project.
- New Shape: Create a new shape.
- Import Image: Get a new item available on your computer.
- Image Options: Adjust your project background image.

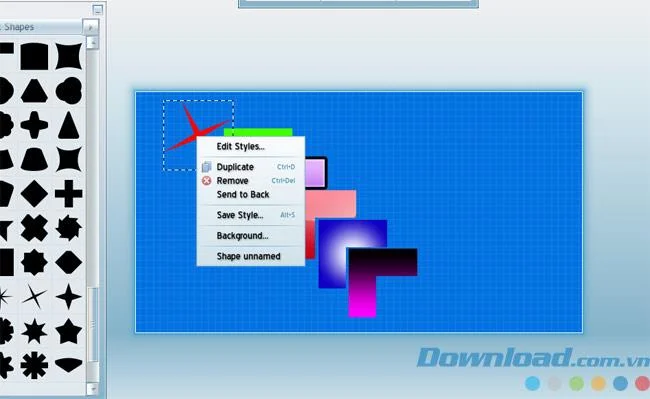
Step 7: Right-click on the icon and you will see items such as:
- Edit Styles: Edit photos with tools like shadows, shadows, opacity ... for the image.
- Duplicate: Make a 2nd copy.
- Remove: Delete the image.
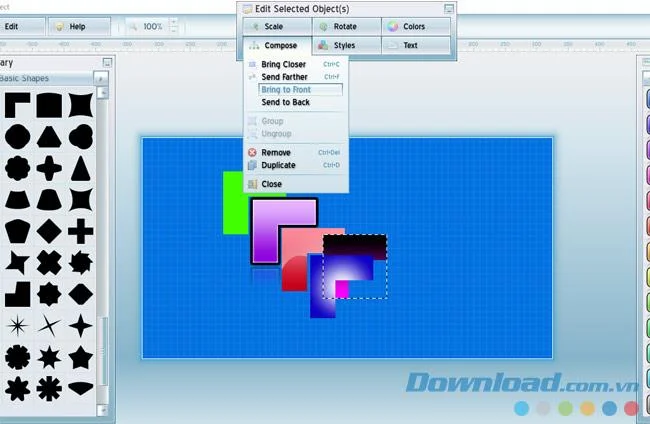
- Send to Back: Arrange icons behind other icons, then there will be a Bring to Front item to bring to the front.
- Save Style: Save the icon with a custom name
- Background: Adjust the background image at the back.
- Shape Unnamed: Delete the name of the icon.

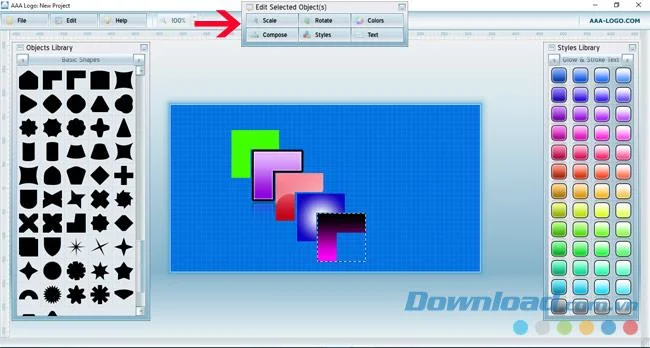
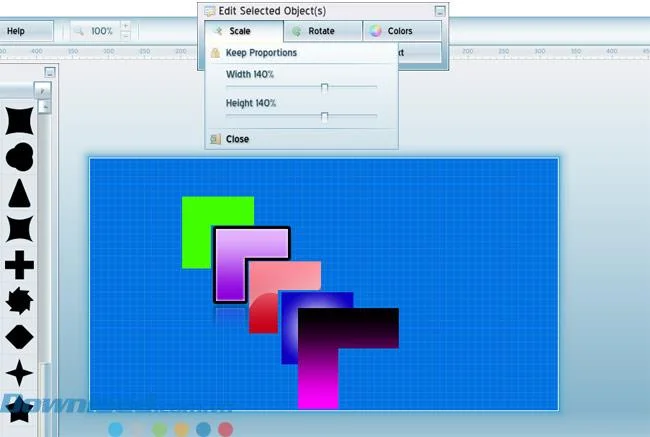
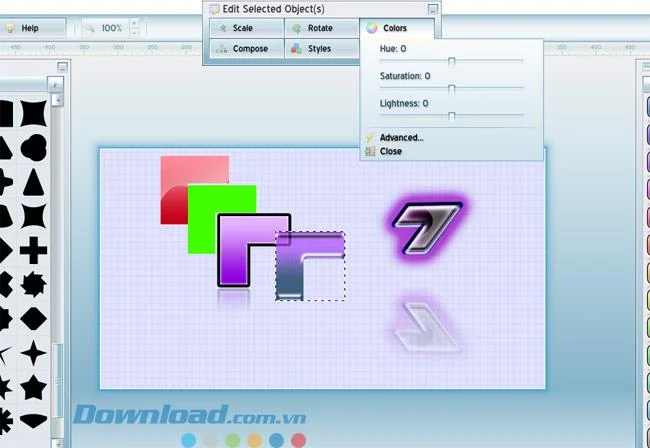
Step 8: You can immediately edit your icon with the options in the Edit Selected Object panel .

The first is Scale , this item you will be given the option to enlarge the size of the icon.

Section Compose will be the arrangement of icons, you can click Bring to Front to arrange the icons on the first, Send to Back to arrange the bottom.

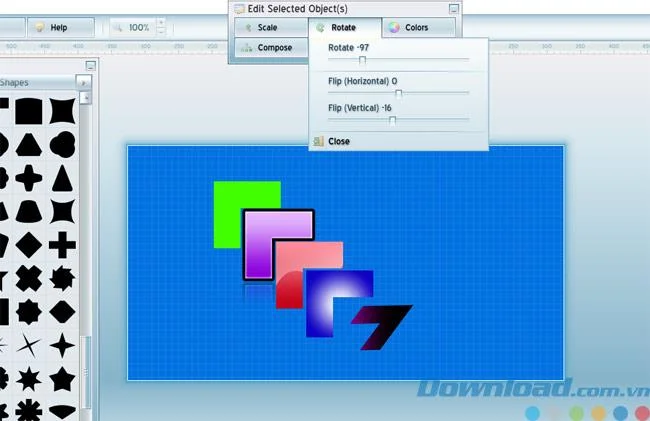
Next Rotate will be rotated, you can use Rotate to rotate, Flip (Horizontal) to flip on the bottom and Flip (Vertical) to rotate before after.

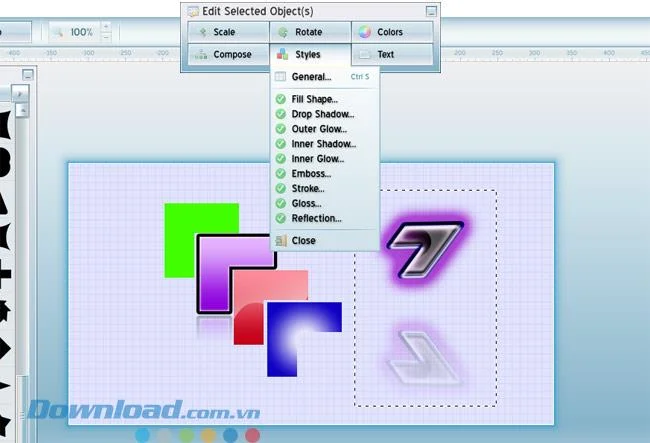
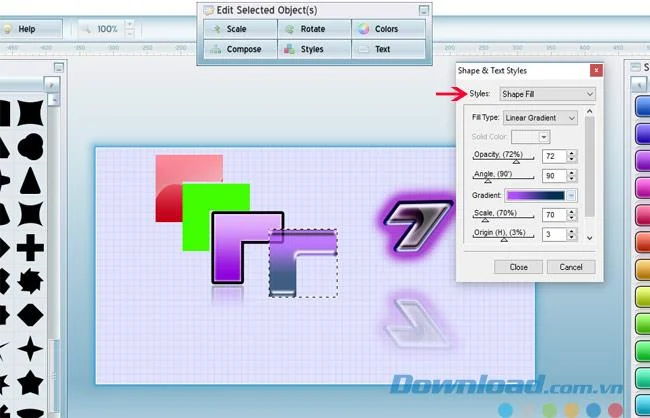
Section Styles will have a lot of options for editing icons such as shadows in, out, bright colors, bright colors, to floating shapes, borders around ...

Section Color will have 3 custom Hue to change the color, Saturation is the degree of saturation, Lightness is the level of light and dark colors.

In addition, you can also click on Advanced to perform tone correction in Styles.

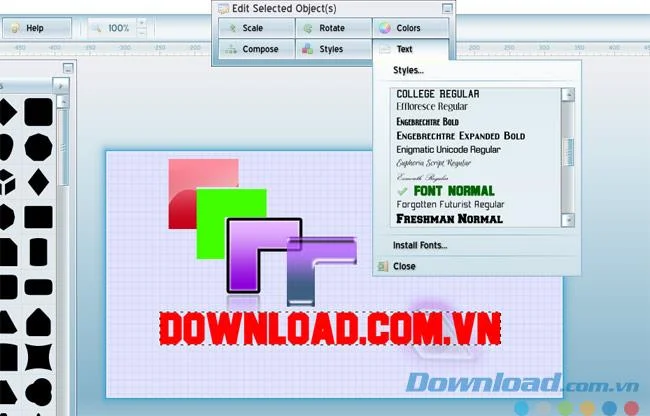
Step 9: If you want to add text, then go to Edit> New Text , then a new line will appear, click on the text to change the content, click Text on the Edit bar to select the font.

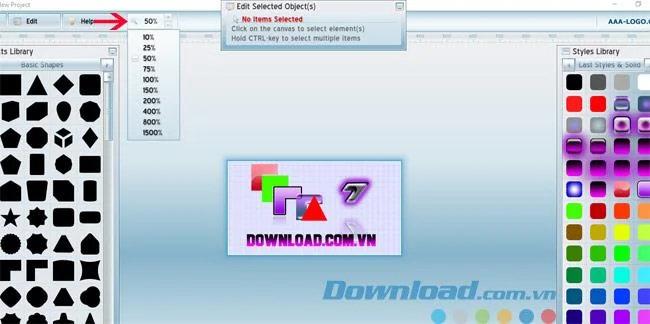
Click the percent display button next to the Help key to choose to zoom in or out on your project.

Above are a few guidelines of Download.com.vn for you to make your own logo design, with AAA Logo, whether you are a professional or an amateur, you can create your Logo easily. the easiest.
Wish you create yourself the best logo for offline.