
Fix “No Bootable Device Found” After Installing Debian on UEFI

Fix Debian’s UEFI boot error by checking boot mode, the EFI System Partition, GRUB files, and firmware boot order—without reinstalling Debian first.
Imagine booting up your Windows 11 PC, only to be hit with a relentless demand for your BitLocker recovery key. You enter it, but the prompt returns like a bad dream—trapping you in an infinite BitLocker recovery key loop. 😩 This common frustration affects many users, especially after updates or hardware changes. But don't worry; you're not alone, and there's a way out.
In this guide, we'll walk you through practical, up-to-date solutions to fix Windows 11 BitLocker recovery key loop problems. By the end, you'll have your system back up and running smoothly, with tips to prevent future headaches. Let's dive in and reclaim your data!
BitLocker is Windows 11's built-in encryption tool that protects your drive from unauthorized access. It requires a recovery key—a 48-digit code—for situations like forgotten passwords or system changes. However, the recovery key loop occurs when Windows repeatedly asks for this key without accepting it, often due to:
According to Microsoft's latest documentation, these issues have been reported more frequently with Windows 11's evolving security features. The good news? Most cases are fixable without data loss. Ready to troubleshoot? Let's start with the basics.
We'll progress from simple to advanced methods. Follow these in order, and test your system after each one. Grab a notebook for any keys or commands—you've got this! 👍
Double-check you're using the correct key. Microsoft stores it in your account, so:
If it still loops, proceed. This simple step resolves about 30% of cases, per user forums like Reddit's r/Windows11.
Safe Mode bypasses some checks. Here's how:
This temporarily disables BitLocker, giving you breathing room. Remember to resume protection later for security.
For deeper fixes, access Command Prompt from recovery:
manage-bde -protectors -disable C: (replace C: with your drive) and press Enter.manage-bde -resume C: to re-enable after a reboot.If protectors are corrupted, add a new one: manage-bde -protectors -adbackup C: -id {YOUR-KEY-ID}. Find your key ID via manage-bde -protectors -get C:. This method, straight from Microsoft's support pages, often breaks the loop by refreshing encryption data.
Corrupted files can cause loops. Run these scans:
| Command | Purpose | How to Run |
|---|---|---|
| SFC /scannow | Scans and repairs protected system files | In Command Prompt (admin): Type and Enter |
| DISM /Online /Cleanup-Image /RestoreHealth | Repairs Windows image if SFC fails | In Command Prompt (admin): Type and Enter (may take 10-20 mins) |
| chkdsk C: /f /r | Fixes disk errors | Run and schedule for next restart |
After running, reboot. These tools are part of Windows 11's built-in diagnostics and have been refined in the latest updates for better reliability.
Hardware tweaks often trigger BitLocker. Enter your BIOS (usually by pressing Del or F2 during boot):
Re-enable Secure Boot afterward. This fixes TPM-related loops, a top issue in recent Windows 11 builds.
If all else fails, decrypt and re-encrypt:
manage-bde -off C: to decrypt (this can take hours—be patient!).Pro tip: Use an external drive for backups to avoid loops from cloud sync issues.
Once fixed, stay ahead of problems:
These habits will keep your encrypted data safe and loop-free. For official guidance, check Microsoft's BitLocker troubleshooting page at support.microsoft.com.
Congratulations on making it through! Fixing the Windows 11 BitLocker recovery key loop might feel overwhelming at first, but with these steps, most users regain access quickly. If you're still stuck, consider reaching out to Microsoft Support or a trusted technician—your data is worth it. 👏
Share your success story in the comments below. What fixed it for you? Stay secure, and happy computing!
Fix Debian’s UEFI boot error by checking boot mode, the EFI System Partition, GRUB files, and firmware boot order—without reinstalling Debian first.
The Outlook Inbox Repair Tool fixes corrupted PST files quickly so you can recover emails and restore normal Outlook function. Follow these exact steps to run scanpst.exe without data loss.
Get the Adobe PDF Installer Offline to install Acrobat Reader on any PC without needing internet during setup. Follow these exact steps for the full standalone package.
Learn how to Chromecast from laptop to TV with this step-by-step guide. Stream browser tabs, videos, or your full screen from Windows or Mac to your TV in minutes.
Learn how to edit an Adobe PDF file in Adobe Acrobat with precise steps for text, images, and layout changes. Make professional edits quickly and save time.
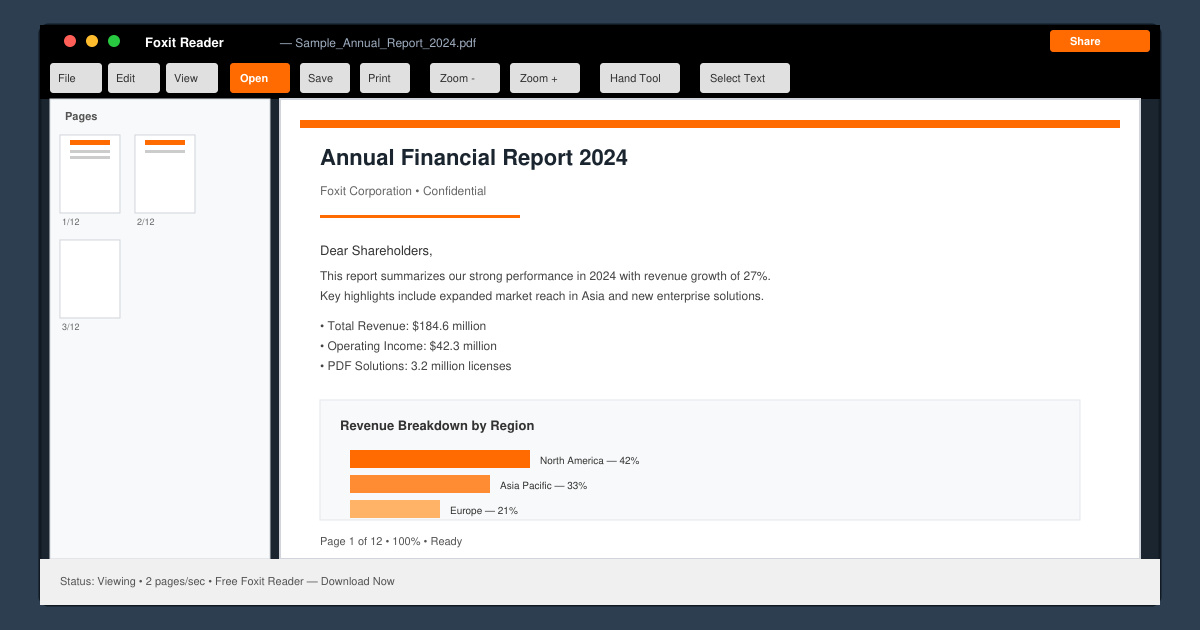
Get your Free Foxit Reader Free Download from the official source with this step-by-step guide that ensures a safe and quick installation for viewing PDFs.
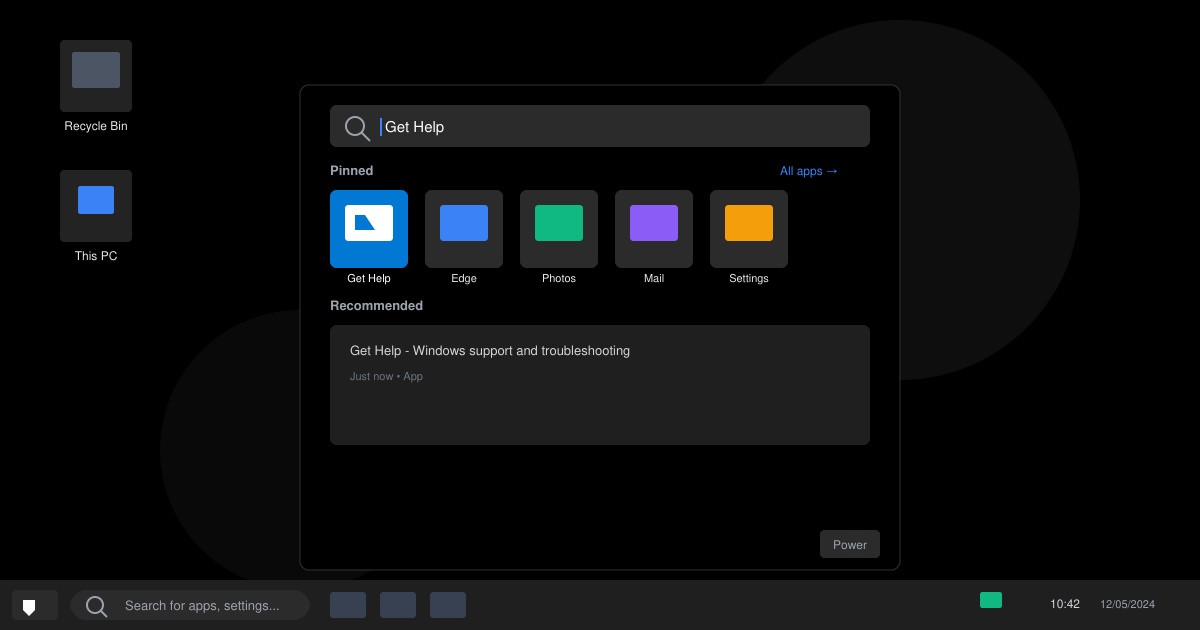
Learn how to get help in Windows 11 with built-in tools like the Get Help app and Quick Assist for fast, official support without third-party downloads.
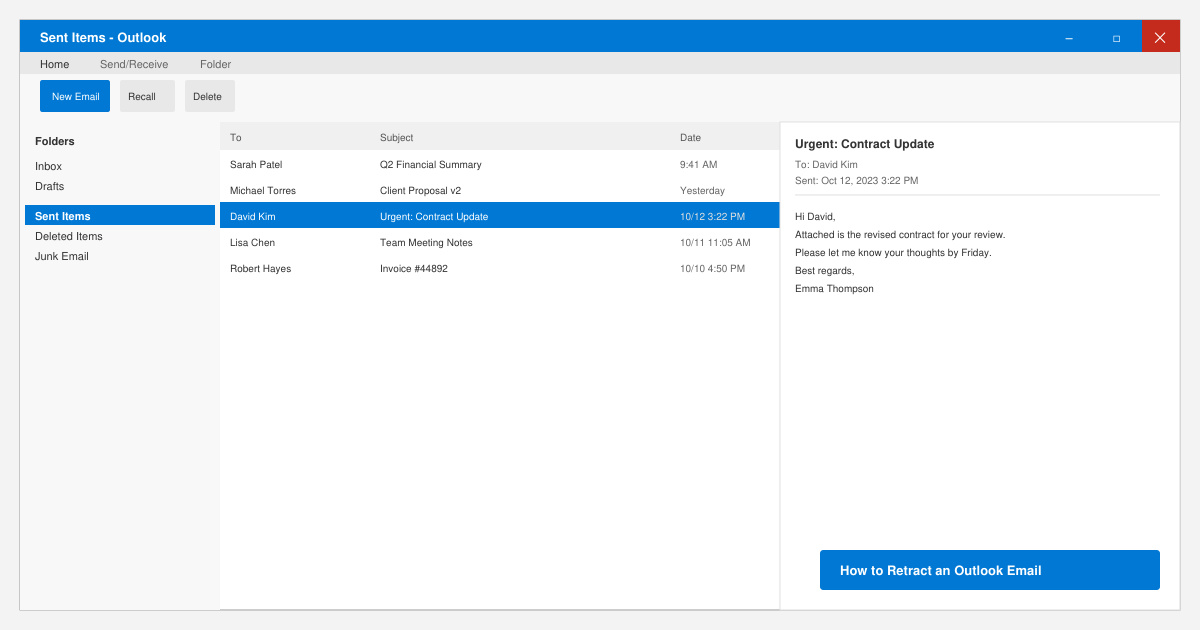
Learn how to retract an Outlook email in Microsoft Outlook when you need to correct a mistake before the recipient opens it. Follow these precise steps for Exchange accounts.
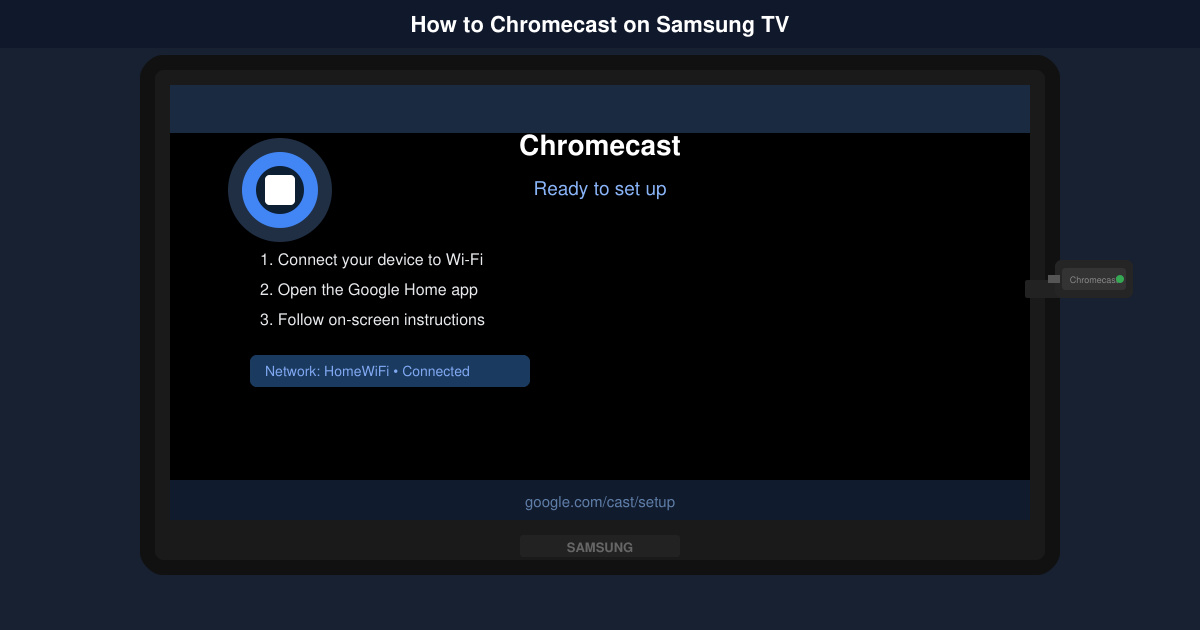
Learn how to Chromecast in Samsung TV by connecting a Chromecast device and streaming from your phone or computer in just a few minutes.
Get the official Adobe Acrobat DC Reader free download safely. Follow this step-by-step guide to install the latest version for viewing and editing PDFs on Windows or Mac.