Fix “No Bootable Device Found” After Installing Debian on UEFI

Fix Debian’s UEFI boot error by checking boot mode, the EFI System Partition, GRUB files, and firmware boot order—without reinstalling Debian first.
Imagine firing up your Windows 11 PC, ready to tackle the day, only to be hit with a frustrating DISM Error 87, DISM Error 112, or DISM Error 1726. These pesky issues can halt system repairs, leaving you stuck with corrupted files or failed updates. But don't worry – you're not alone, and there's a clear path to victory! In this concise guide, we'll walk you through understanding these errors and fixing them step by step. By the end, your system will be running like new, and you'll feel empowered to handle any tech hiccup. Let's dive in and reclaim your smooth Windows experience! 😊
The Deployment Image Servicing and Management (DISM) tool is a powerhouse in Windows 11, designed to repair corrupted system files, manage images, and ensure your OS stays healthy. However, errors like DISM Error 87 (parameter incorrect), DISM Error 112 (file not found or access denied), and DISM Error 1726 (RPC server unavailable) can pop up during commands like DISM /Online /Cleanup-Image /RestoreHealth.
Common culprits include:
These errors aren't random – they're signals your system needs targeted TLC. Fixing them not only resolves the immediate problem but also boosts overall performance. Stick with us; the solutions ahead are straightforward and effective, based on the latest Windows 11 troubleshooting best practices.
DISM Error 87 often stems from incorrect command syntax or permission problems. Here's how to squash it quickly:
DISM /Online /Cleanup-Image /RestoreHealth /Source:WIM:X:\sources\install.wim:1 /LimitAccess (replace X: with your install media drive). Typos here are a common trap!sfc /scannow. This repairs basic file issues, paving the way for DISM success.If these don't work, boot into Safe Mode (hold Shift during restart, go to Troubleshoot > Advanced options > Startup Settings > Restart > Option 4). Retry the DISM command there – it often bypasses conflicts. Feeling relieved already? Keep reading for the next errors; we've got more wins coming!
DISM Error 112 typically means the tool can't access necessary files, often due to low disk space or path errors. Let's fix it efficiently:
| Step | Action | Why It Works |
|---|---|---|
| 1️⃣ | Free Up Disk Space | Run Disk Cleanup (search for it in Start menu) and delete temp files. Aim for at least 20GB free on your system drive. |
| 2️⃣ | Check File Paths | Ensure your Windows ISO or install media is mounted correctly. Use File Explorer to verify the source path in your DISM command. |
| 3️⃣ | Reset Windows Update Components | In admin Command Prompt, run: net stop wuauserv, then net stop cryptSvc, followed by renaming C:\Windows\SoftwareDistribution to SoftwareDistribution.old. Restart services with net start wuauserv. |
| 4️⃣ | Run CHKDSK | Type chkdsk C: /f /r and restart. This scans and repairs disk errors that block file access. |
These steps address the root causes head-on, restoring DISM's ability to fetch and repair files. If Error 112 persists, consider checking for Windows updates via Settings > Update & Security – sometimes a patch resolves underlying issues. You're making great progress; the final error fix is just ahead!
DISM Error 1726 points to Remote Procedure Call (RPC) service woes, often from network or service disruptions. No panic – here's your rescue plan:
services.msc, find "Remote Procedure Call (RPC)," right-click > Restart. Also, ensure "RPC Endpoint Mapper" is running.ipconfig /flushdns, then netsh int ip reset, and netsh winsock reset. Restart your PC to clear network gremlins.DISM /Image:C:\ /Cleanup-Image /RestoreHealth /Source:WIM:D:\sources\install.wim:1 (adjust drives as needed).For deeper RPC issues, Microsoft recommends verifying dependencies like DCOM Server Process Launcher in services.msc – set them to Automatic and start them. This error can feel isolating, but these fixes have helped countless users. Pat yourself on the back for getting this far! 👏
Now that you've tackled Windows 11 DISM Error 87, Error 112, and Error 1726, let's keep them at bay. Regular maintenance is key:
If errors recur stubbornly, consider a System Restore (search in Start menu) or, as a last resort, Reset this PC from Settings > Update & Security > Recovery. For official guidance, check Microsoft's support page on DISM troubleshooting.
Congratulations on navigating these DISM errors! Whether it was Error 87's syntax slip, Error 112's access denial, or Error 1726's RPC rebellion, you're now equipped to fix and prevent them. Your Windows 11 should feel fresh and reliable again. If you hit a snag, drop a comment below – we're in this together. Happy computing! 🎉
Fix Debian’s UEFI boot error by checking boot mode, the EFI System Partition, GRUB files, and firmware boot order—without reinstalling Debian first.
The Outlook Inbox Repair Tool fixes corrupted PST files quickly so you can recover emails and restore normal Outlook function. Follow these exact steps to run scanpst.exe without data loss.
Get the Adobe PDF Installer Offline to install Acrobat Reader on any PC without needing internet during setup. Follow these exact steps for the full standalone package.
Learn how to Chromecast from laptop to TV with this step-by-step guide. Stream browser tabs, videos, or your full screen from Windows or Mac to your TV in minutes.
Learn how to edit an Adobe PDF file in Adobe Acrobat with precise steps for text, images, and layout changes. Make professional edits quickly and save time.
Get your Free Foxit Reader Free Download from the official source with this step-by-step guide that ensures a safe and quick installation for viewing PDFs.
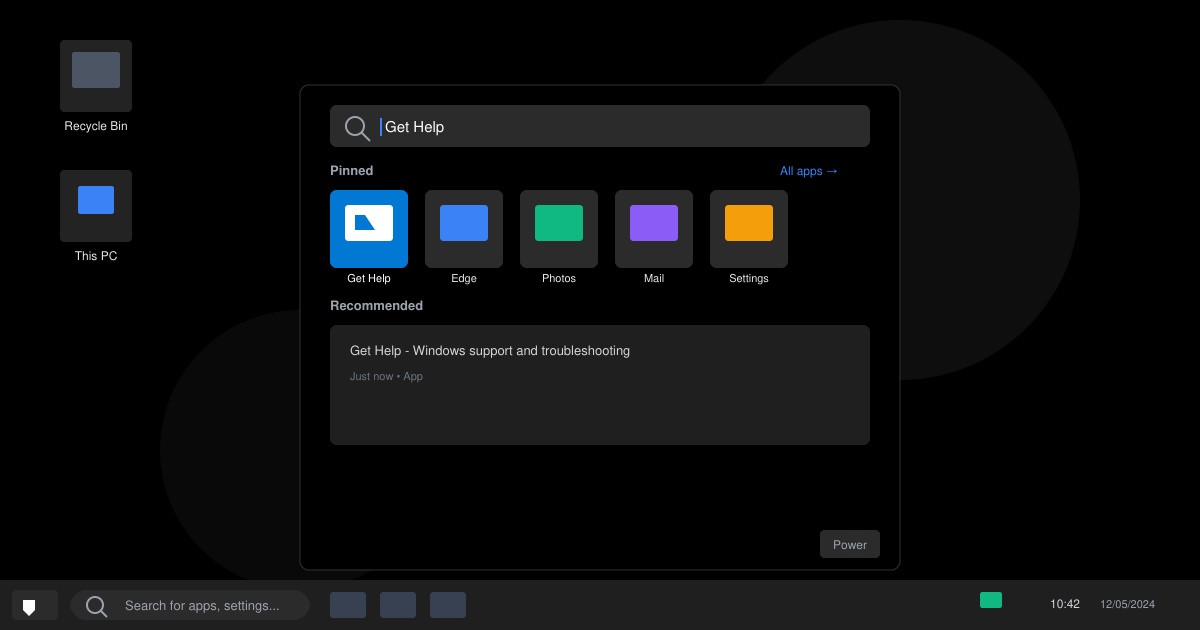
Learn how to get help in Windows 11 with built-in tools like the Get Help app and Quick Assist for fast, official support without third-party downloads.
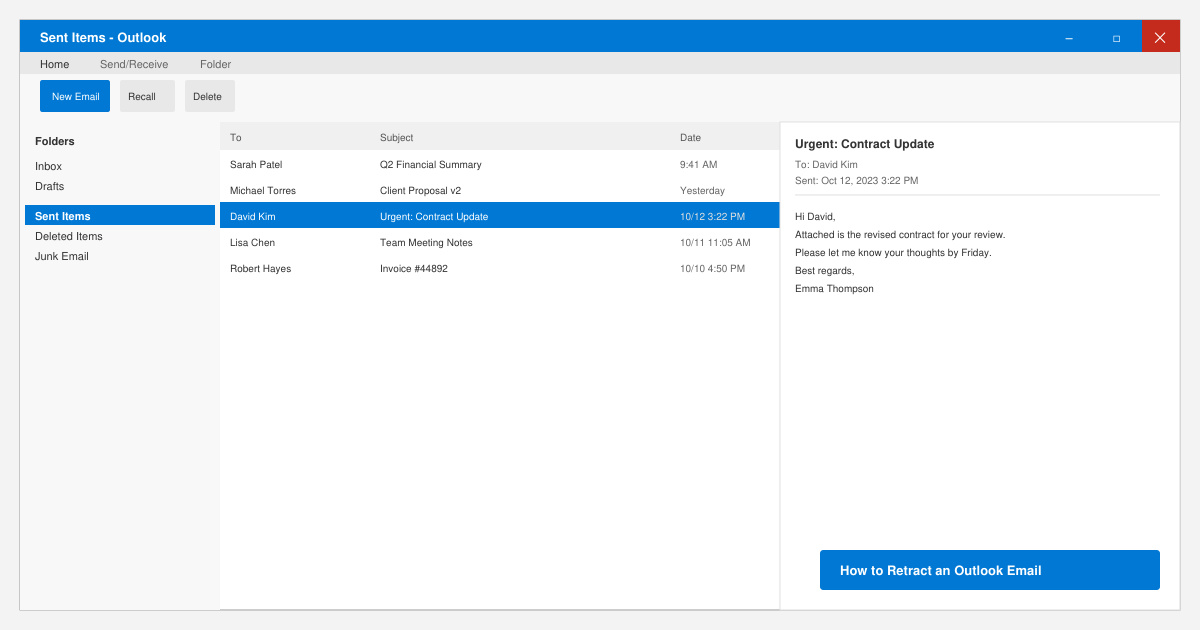
Learn how to retract an Outlook email in Microsoft Outlook when you need to correct a mistake before the recipient opens it. Follow these precise steps for Exchange accounts.
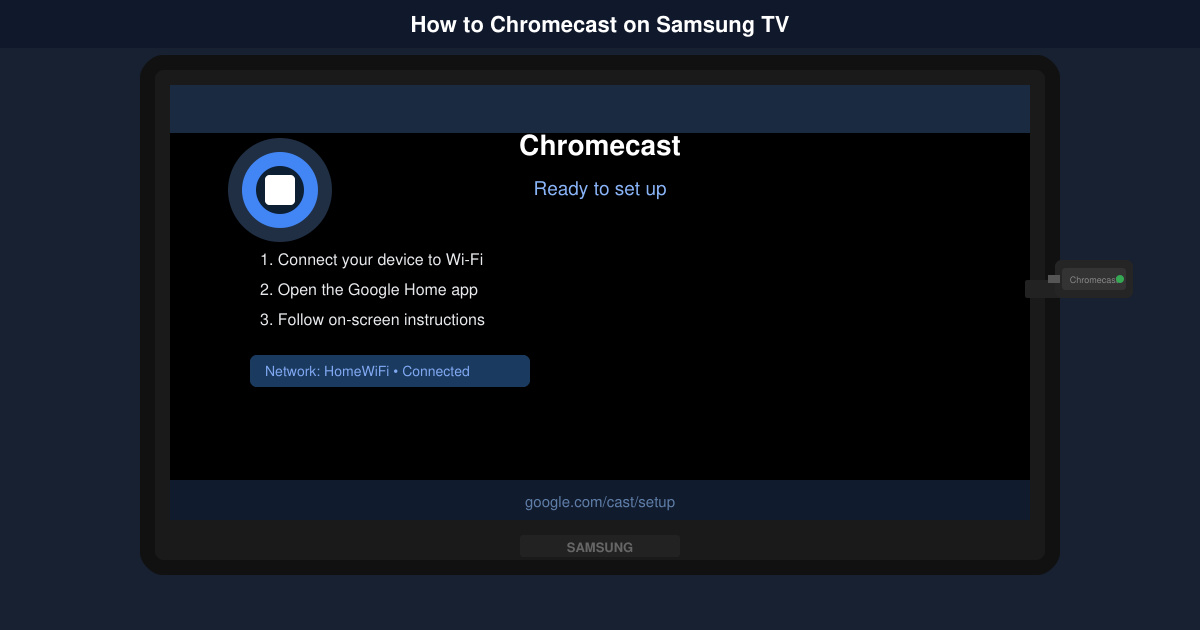
Learn how to Chromecast in Samsung TV by connecting a Chromecast device and streaming from your phone or computer in just a few minutes.
Get the official Adobe Acrobat DC Reader free download safely. Follow this step-by-step guide to install the latest version for viewing and editing PDFs on Windows or Mac.