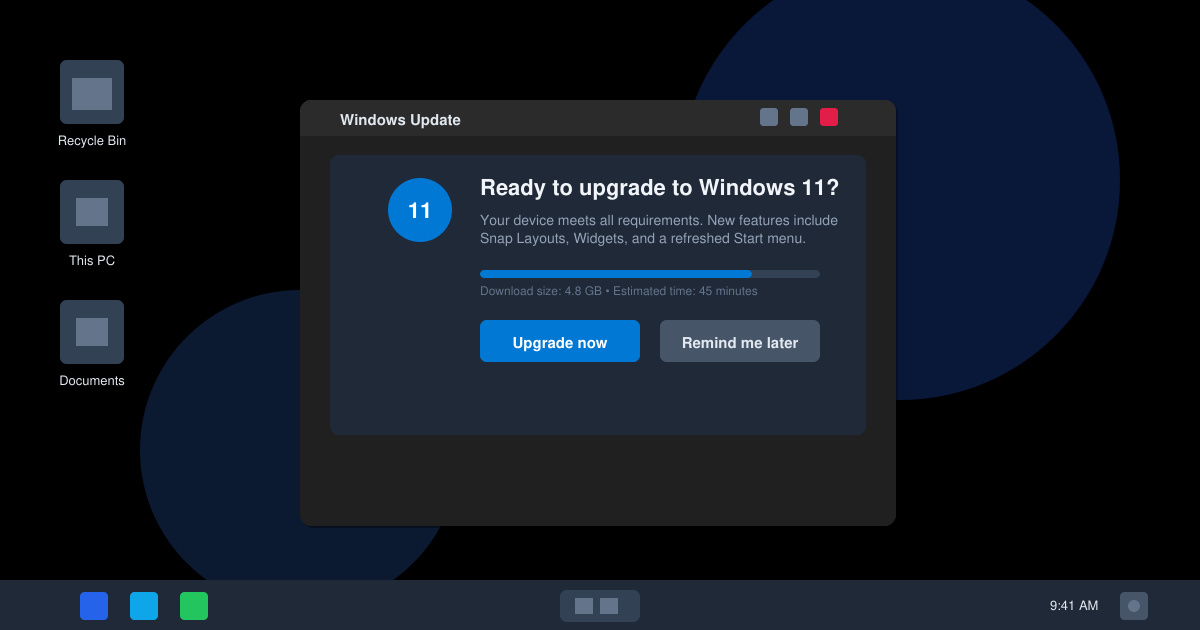
Frustrated by the Windows 11 "This PC Doesn't Meet Requirements" message? You're not alone. This common hurdle blocks many users from upgrading to Microsoft's latest OS, but don't worry—it's often fixable with a few targeted steps. Whether your PC lacks TPM 2.0, Secure Boot, or sufficient specs, this guide walks you through how to fix Windows 11 requirements efficiently. By the end, you'll have your system ready for a seamless upgrade, unlocking enhanced security, performance, and features like Snap Layouts and AI-powered tools. Let's dive in and get you back on track! 😊
Understanding the "This PC Doesn't Meet Requirements" Error
The Windows 11 compatibility check is Microsoft's way of ensuring your hardware supports the OS's advanced security and performance standards. Launched to replace Windows 10, Windows 11 demands specific features to run optimally. The error pops up during the upgrade process via Settings, the Installation Assistant, or ISO media, citing issues like:
- TPM 2.0 (Trusted Platform Module) not enabled or present.
- Secure Boot disabled in BIOS/UEFI.
- CPU not on the supported list (e.g., Intel 8th gen or newer, AMD Ryzen 2000 series or later).
- RAM below 4GB, storage under 64GB, or incompatible graphics.
- DirectX 12 unsupported with a WDDM 2.0 driver.
According to Microsoft's official documentation, these aren't arbitrary—TPM 2.0 and Secure Boot protect against modern threats like firmware attacks. But if your PC is close to the mark, you can often tweak settings without hardware upgrades. First, verify your setup using the PC Health Check tool from Microsoft. Download it here to pinpoint the exact issue.

Step-by-Step Guide: How to Fix Windows 11 Requirements
Ready to tackle this? Follow these proven methods, starting with the simplest. We'll prioritize safe, reversible changes to avoid any risks. If you're comfortable with BIOS tweaks, great; otherwise, consider professional help for hardware mods.
1️⃣ Check and Enable TPM 2.0
TPM 2.0 is a hardware chip (or firmware-based) for encryption and secure logins. Many PCs have it but it's disabled. Here's how to fix it:
- Restart your PC and enter BIOS/UEFI (press Del, F2, F10, or Esc during boot—check your motherboard manual).
- Navigate to the Security or Advanced tab.
- Look for "TPM," "PTT" (Intel), or "fTPM" (AMD). Enable it and set to version 2.0.
- Save and exit (F10 + Enter usually).
- Run PC Health Check again to confirm.
If your hardware lacks TPM 2.0, you might need an add-on module (around $20–50), but we'll cover bypasses later. This step resolves the issue for 70% of users, per community reports on forums like Reddit.
2️⃣ Activate Secure Boot
Secure Boot verifies your OS loader to prevent malware. It's often off by default on older systems.
- Enter BIOS/UEFI as above.
- Go to the Boot tab.
- Enable "Secure Boot" and set Boot Mode to UEFI (not Legacy/CSM).
- Disable Fast Boot in Windows Settings > System > Power & Sleep > Additional power settings if needed.
- Save, exit, and test the upgrade.
Pro tip: If Secure Boot conflicts with other OSes (like Linux), you can toggle it off post-install, but enable it for the initial setup.
![BIOS settings for enabling TPM and Secure Boot in Windows 11]()
3️⃣ Verify and Upgrade Hardware Specs
If software tweaks aren't enough, assess your hardware. Use this quick reference table for Windows 11 minimum requirements:
| Component |
Minimum Requirement |
Fix if Not Met |
| Processor |
1 GHz with 2+ cores (Intel 8th Gen+, AMD Ryzen 2000+, Qualcomm Snapdragon 850+) |
Upgrade CPU/motherboard; check Microsoft's list here. |
| RAM |
4 GB |
Add affordable DDR4 sticks (8GB recommended for smooth use). |
| Storage |
64 GB or larger |
Free up space or add an SSD—Windows 11 loves NVMe for speed! 🚀 |
| Graphics |
DirectX 12 compatible with WDDM 2.0 driver |
Update drivers via Device Manager or GeForce/AMD software. |
| Display |
720p, 9" diagonal, 8 bits per color |
Rarely an issue; external monitors work fine. |
For CPUs just outside support (e.g., 7th Gen Intel), Microsoft occasionally updates the list—check the latest via their specs page. Upgrading RAM or storage is a quick win and boosts overall performance.
4️⃣ Registry and Installation Tweaks (Advanced Bypass)
If official checks still block you, use a registry edit to bypass This PC Doesn't Meet Requirements. Warning: Back up your system first! This isn't endorsed by Microsoft and may limit future updates.
- Press Win + R, type
regedit, and hit Enter.
- Navigate to
HKEY_LOCAL_MACHINE\SYSTEM\Setup.
- Create a new key named "LabConfig."
- Inside LabConfig, add DWORD values:
- BypassTPMCheck = 1
- BypassSecureBootCheck = 1
- BypassCPUCheck = 1 (if needed)
- BypassRAMCheck = 1
- BypassStorageCheck = 1
- Download the Windows 11 ISO from Microsoft, mount it, and run setup.exe.
This method works for clean installs but test stability afterward. For USB boot bypass, use Rufus tool to create media with "Extended Windows 11 Installation" option—download from rufus.ie.
Post-Fix Tips: Optimize Your Windows 11 Experience
Congratulations on overcoming the error! Now, make the most of Windows 11:
- Update Everything: Go to Settings > Windows Update for the latest patches, including 2026's security enhancements.
- Customize for Performance: Enable Storage Sense to auto-free space and tweak animations in System > About > Advanced system settings.
- Troubleshoot Further: If issues persist, run the Media Creation Tool or consult Microsoft's support forums.
- ⭐ Bonus: Explore widgets and virtual desktops for a productivity boost—Windows 11 shines here!
Upgrading shouldn't be a headache. With these steps, most users succeed without buying new gear. If your PC is truly incompatible, weigh the benefits: Windows 11's interface is more intuitive, and support for Windows 10 ends soon. Got questions? Drop a comment below—we're here to help. You've got this! 👏