WinToHDD is a new Win installation tool that does not require USB or DVD to install like before.
Normally, to install Win 10 or Win 7, we will use a USB or DVD containing the installation package for that operating system. However, in case the USB has a problem or the drive does not recognize the DVD, or more simply, you want to shorten the process of installing a new Win, WinToHDD is the right choice.
This tool will shorten the process of new installation, or parallel installation of Windows operating systems on the computer. Users only need the ISO file of the operating system they want to install, then WinToHDD will start the ISO package to install Win right on the hard drive. We can use WinToHDD to install Win 10 or Win 7.
The following article will guide readers how to install Win using WinToHDD. Note to users , you need to back up your data before reinstalling Win.
Step 1:
First, you need to download the ISO file for the operating system you want to install, then save it to drive D or drive E. Next, download and install the WinToHDD software from the link below.
Step 2:
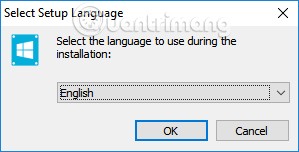
We proceed to install WinToHDD on the computer. In the first interface, select the software installation language .
Step 3:
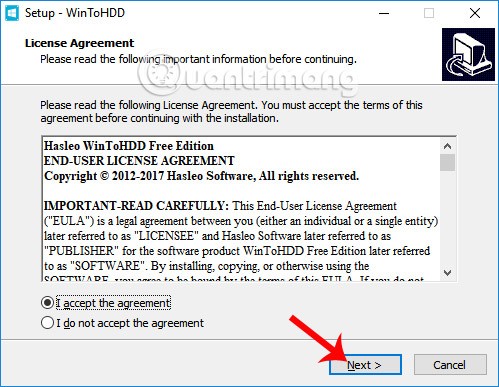
Check I accept the agreement to agree to the WinToHDD installation terms.
Step 4:
Switch to the new interface, we can change the WinToHDD installation folder by clicking Browse, or we can skip and click Next .
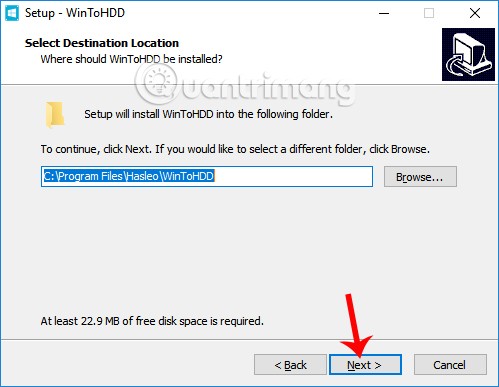
Step 5:
Finally click Next... Install to proceed with installing the WinToHDD tool.
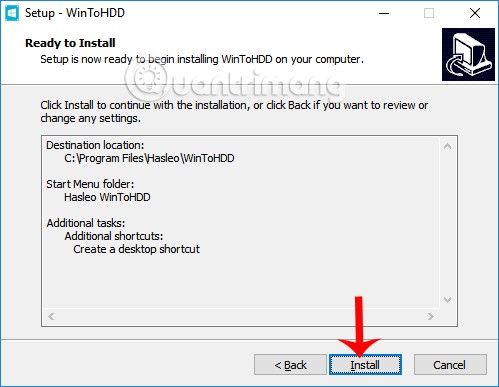
Step 6:
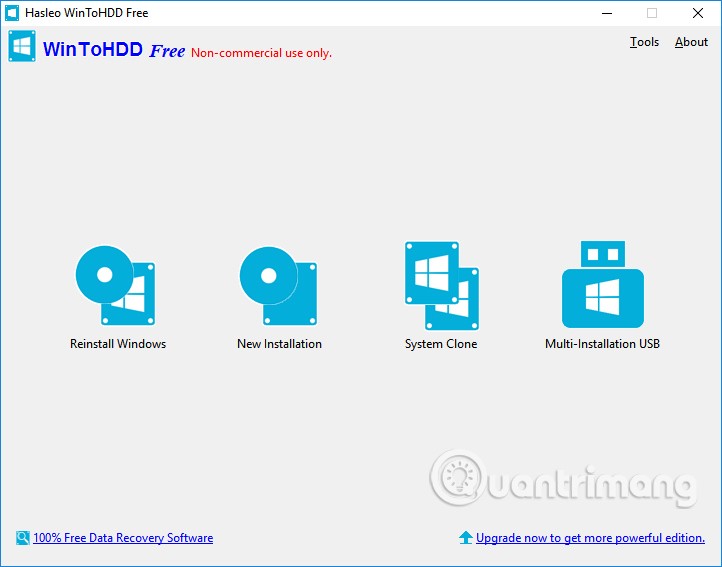
This is the interface of WinToHDD software on the computer. The tool provides users with 4 options. Reinstall Windows to reinstall Windows, New Installation to install Windows on only 1 partition, System Clone creates a copy of the system partition, used when you want to move the operating system from one hard drive to another, Multi-Installation USB creates a USB to install multiple operating systems.
Step 7:
To reinstall Windows on your computer, click on the Reinstall Windows option .
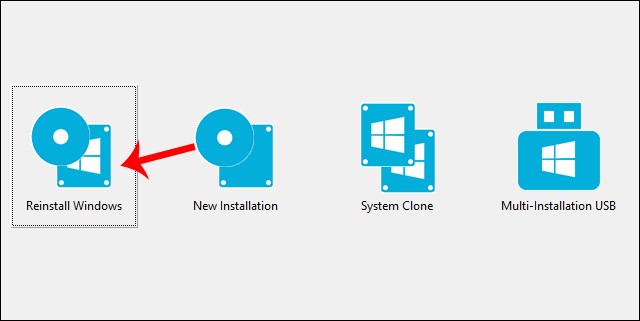
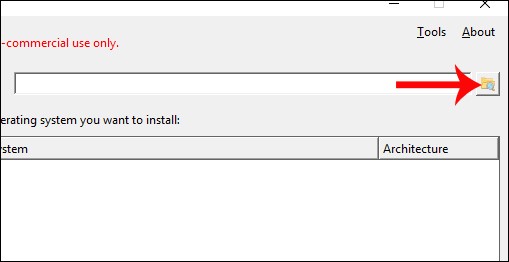
Then, click on the folder icon to find the Win installation ISO file.
Step 8:
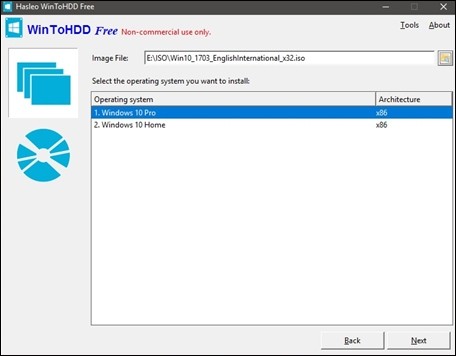
Next, when you have imported the ISO file into the WinToHDD interface, the software will check and display the Windows version included in the ISO package for you to choose, if any. Then click Next below to continue.
Step 9:
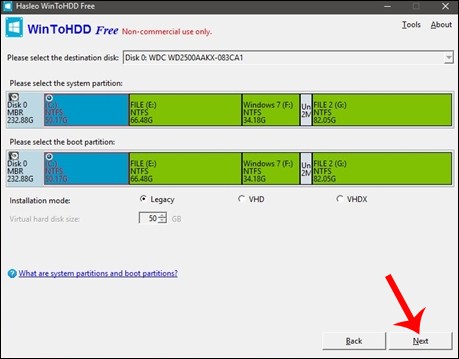
The software will select the system partition to install, or you can choose yourself. Then click Next .
Step 10:
A message appears allowing the software to download and install WinPE , click Yes to agree.
Step 11:
Next, we will be asked if we want to allow WinToHDD to restart the computer and reinstall Windows, click Yes to complete the Windows reinstallation.
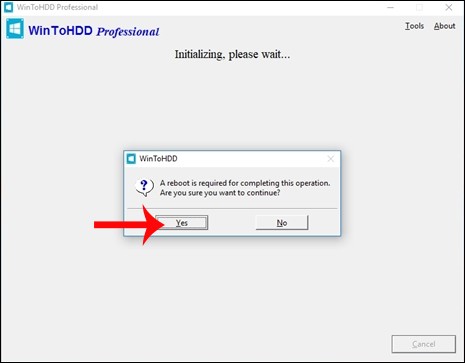
Finally, when you restart your computer, the software will proceed to extract and run the contents from the installed ISO file. The following operations will be carried out automatically without you having to do anything.
WinToHDD installs Win quickly, as well as shortens the Win installation process. We just need to install the WinToHDD software, along with the ISO file, and the software will automatically install Win on the computer.
Good luck!
