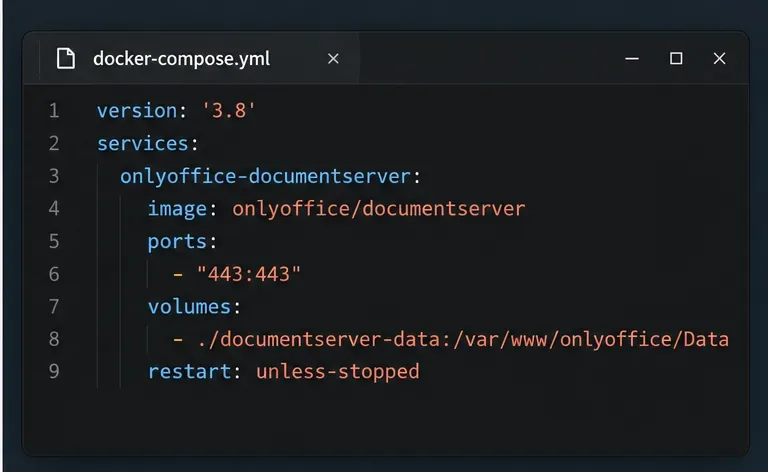
Deploy ONLYOFFICE Docs Enterprise with Its Official Compose File

Start the Enterprise Docker Compose stack, persist its license and data, configure JWT safely, and confirm the editors are ready to integrate.
Facebook has been able to log in to multiple Facebook Messenger accounts on the same device for the Android platform since the beginning of the year, but so far officially supported the iOS platform. This feature is very useful for those who own many Facebook accounts, who borrow the machine to check the message ...
Previously, in order to do that, users had to log out the account before logging in to another account. This multi-account login feature of Multiple Accounts is really convenient, isn't it? So why hesitate any longer, please update Facebook Messenger to the latest version to experience this interesting feature!
Step 1: Open the Facebook Messenger application, click on the personal avatar icon in the top right corner, scroll down and select Switch account. Here, click on the + symbol to add a new Facebook account.

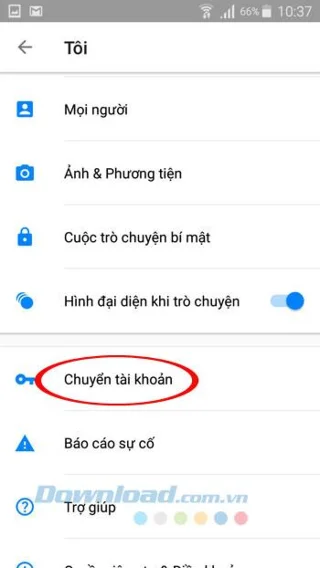

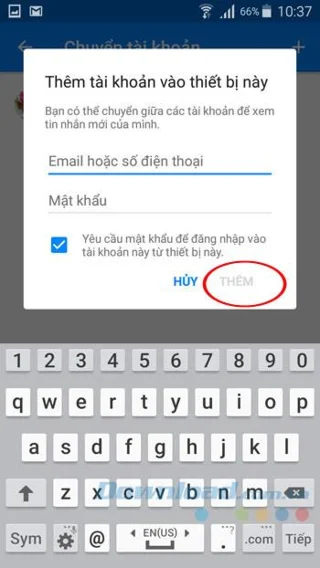
Step 2: Interface Add an account to this device, enter the account name and password and click Add . Immediately after this will appear interface "You are logged in as .... on Messenger! ", Click Continue to add an account.

Step 3: Now at the Account Transfer interface , you will see 2 accounts. Want to add another account just do the same. Also want to switch to another account just click the account you want to transfer. Just then a dialog box asking if you want to continue, click Continue. Click Continue to use another account easily.



Step 4: Still want to log out of the account, just click the vertical 3 symbol next to the name of the account you want to log out, select Delete account . When does the Delete this account window appear ? , click Delete to finish. Then, to use it you need to log in again.


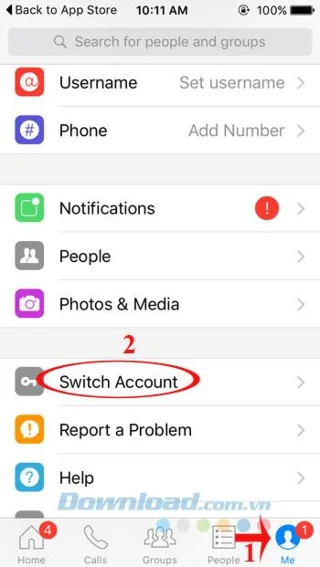
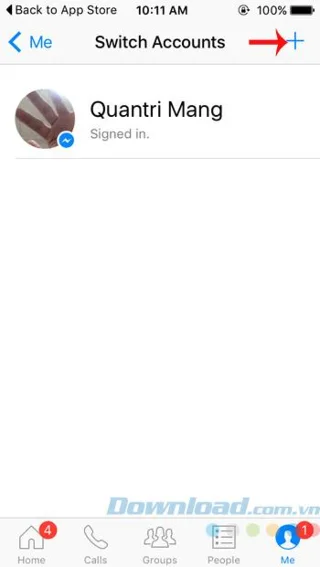
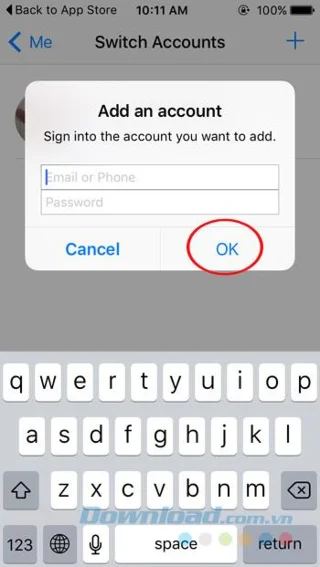
Step 1: Open Facebook Messenger for iOS, switch to the Me tab , scroll down and click Switch Account . Then, click on the + icon in the top right corner of the screen, then log in with another Facebook account.
Step 2: Now you will see 2 different accounts appear, when you want to add another account just do the same. Also want to switch to another account just click the account you want to transfer. A dialog box will appear shortly asking if you want to ask for a password before signing in to an account from this device? If you agree, click Require , then enter your password.
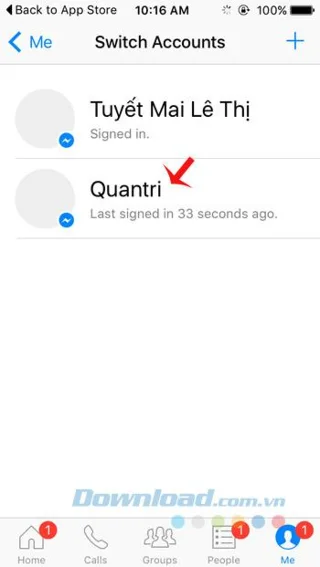
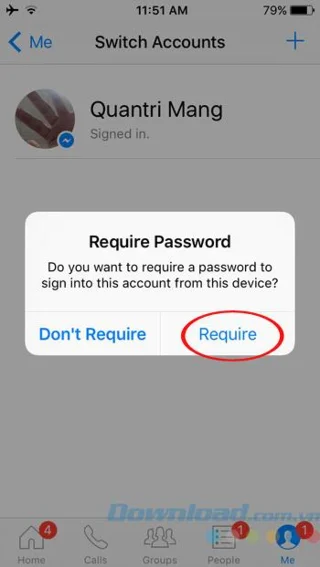
Step 3: When a dialog box appears asking if you want to receive notifications, if you agree, click OK , then click Turn on Notifications 2 times to turn on notifications.
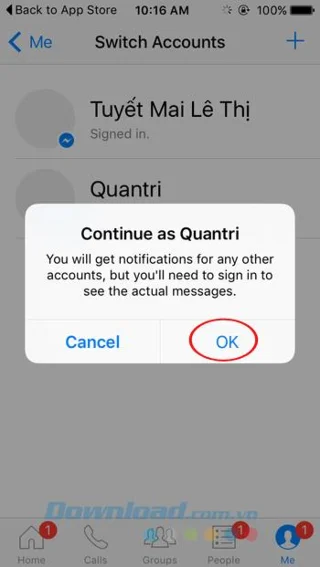
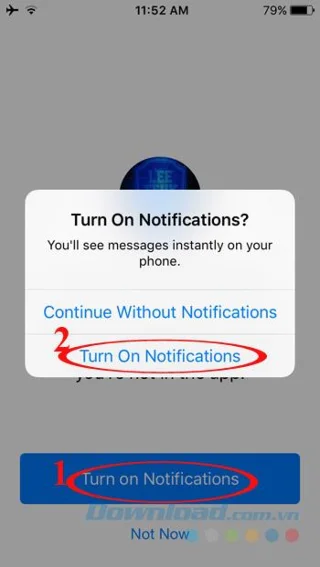
Step 4: Also want to log out of your account, press and hold the account name, drag to the left, select Delete.
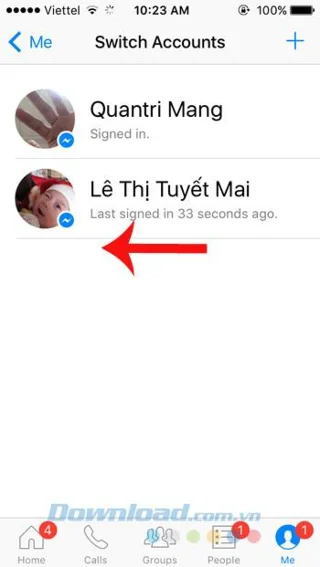
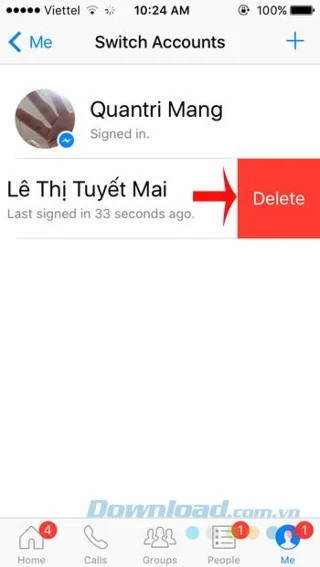
It's great now that users can log in to multiple Facebook Messenger accounts at the same time.
I wish you successful implementation!
Start the Enterprise Docker Compose stack, persist its license and data, configure JWT safely, and confirm the editors are ready to integrate.
Use an ONLYOFFICE JavaScript macro to remove nonprinting characters and trim extra spaces from a defined spreadsheet range, with a safe review workflow.
Connect ONLYOFFICE DocSpace to Active Directory or OpenLDAP, import users and groups safely, map account fields, and schedule reliable synchronization.
Move portal data from Disk Default to a supported cloud storage provider, or relocate Docker data safely by changing its host volume mapping.
Identify whether Document Server uses a Linux package or Docker, remove only its components, and check remaining data without deleting shared services by mistake.
Trace slow collaborative editing to Docker resource pressure, proxy connections, or document load, then choose the fix that matches your measurements.
Install custom fonts in ONLYOFFICE Document Server, compare persistent Docker mounts with direct copies, rebuild the font list, and verify the result.
Choose where TLS should terminate, mount a trusted certificate and private key safely, and verify HTTPS access to a Dockerized ONLYOFFICE Docs server.
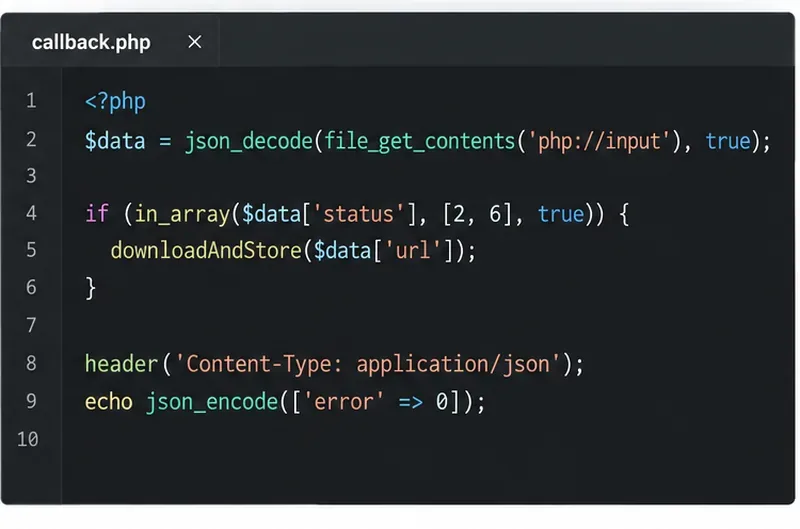
Embed the ONLYOFFICE editor in your PHP app, sign its configuration with JWT, and save edited files through a secure callback.
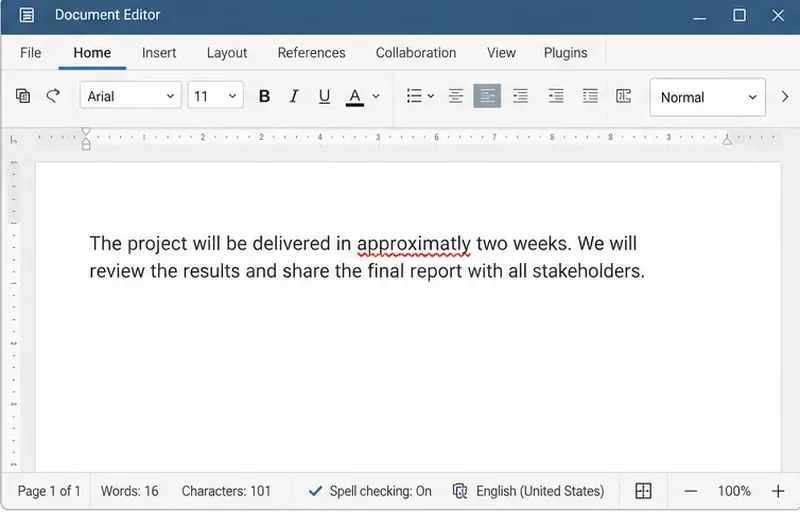
Set the proofing language for the whole document or selected text, confirm spell checking is active, and identify when a server dictionary is missing.