Home
» Discover
»
How to Remove Heavy Halloween Face Paint and Reduce Breakout Risk
How to Remove Heavy Halloween Face Paint and Reduce Breakout Risk
To remove heavy Halloween face paint with less irritation, follow its removal instructions, lift the makeup gently, and finish with a mild cleanser and a moisturizer suited to your skin. Do it before bed, and resist the urge to scrub away every trace of color. For acne-prone skin, the right products and a light touch matter more than an aggressive cleaning routine.
No removal method can guarantee that you will avoid breakouts. The American Academy of Dermatology's guidance on makeup and acne recommends removing makeup before sleep, choosing products that will not clog pores, and avoiding scrubbing. These principles help you clean up without adding unnecessary irritation.
1. Identify the paint and prepare the right supplies
Check the packaging before reaching for a remover. Water-activated paint, cream makeup, waterproof eye makeup, and prosthetic adhesive do not necessarily come off the same way. The FDA's novelty makeup guidance specifically advises following the label's removal method, including the instructions for cosmetic glue.
Gather clean supplies and check the labels on your actual products before starting.
What you wore
Where to start
What to avoid
Water-activated face paint
Use the washing method on its label. For example, Snazaroo says its face paints generally wash off with soap and warm water.
Assuming that a heavy color always requires an oily remover
Cream or greasepaint
Use the compatible cosmetic remover specified by the manufacturer, then cleanse as directed.
Trying to overcome resistant makeup by rubbing harder
Waterproof eye makeup
Use a remover labeled for the eye area and that makeup type.
Using a facial or adhesive remover near the eyes unless its instructions permit it
False lashes, glued-on details, or prosthetics
Follow the adhesive's own removal instructions and use its specified remover.
Pulling off attached pieces or substituting household solvents
The water-based example comes from Snazaroo's removal FAQ. For a different formulation, Mehron's Makeup Remover Cream instructions describe a cream-removal stage followed by washing. These are product-specific examples, not interchangeable instructions for every brand.
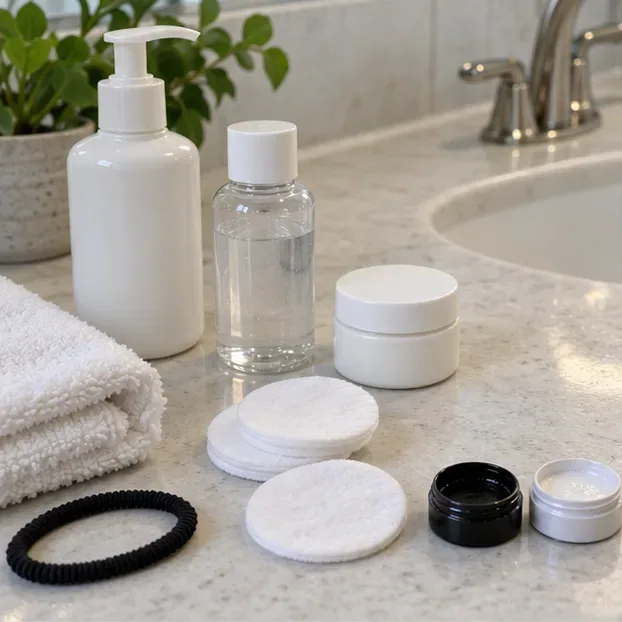
Wash your hands, tie your hair back, and set out your remover if needed, a gentle cleanser, clean soft cotton pads if the remover calls for them, a soft towel, and moisturizer. If you do not know what a makeup artist applied, ask for the product names and removal instructions rather than guessing.
2. Loosen the makeup and lift it with minimal friction
If the paint's instructions call for soap and water, start there. If they call for a separate remover, apply it to dry or damp skin exactly as directed. Allow the product to work for the stated time; there is no universal contact time that suits all removers.
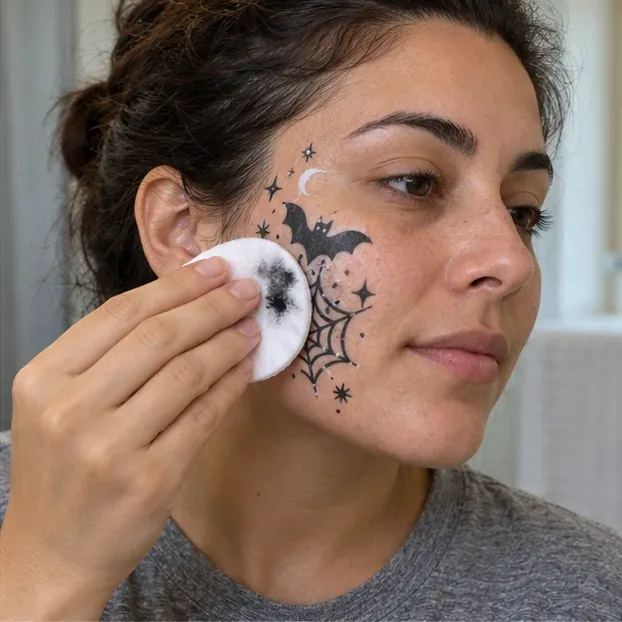
Use gentle fingertips or a properly saturated soft pad when the product instructions call for one. Work in small areas rather than repeatedly dragging the same paint-covered pad across your face. Replace dirty pads as needed, and stop if the process starts to sting or makes the skin sore.
Lift softened makeup gently instead of pressing harder or repeatedly rubbing the skin.
Choose a remover for both the makeup and your skin
For acne-prone skin, the AAD recommends an oil-free makeup remover and products labeled non-comedogenic, meaning formulated not to clog pores. A product still needs to be compatible with the paint you wore. If a particular theatrical formula requires a different remover, follow its instructions; for future use, consider a paint with a removal method your skin already tolerates.
For example, a water-based cheek design may need only gentle washing, while a full layer of greasepaint may need its designated remover first. Neither situation calls for automatically adding multiple balms, wipes, and cleansers.
Be especially gentle around the eyes
Use only products permitted for that area, keep them out of your eyes, and avoid tugging on eyelids or lashes. The FDA notes that facial use does not automatically mean eye-area use. Follow separate adhesive instructions for false lashes; do not pull them free because the rest of your makeup has come off.
3. Cleanse gently, then rinse thoroughly
After a separate makeup remover, wash with a mild facial cleanser to remove what remains. If the paint has already washed away with your cleanser, you do not need another wash simply to complete a routine called “double cleansing.” A second cleansing stage is useful when a separate remover was needed, not a requirement to keep washing until your skin feels stripped.
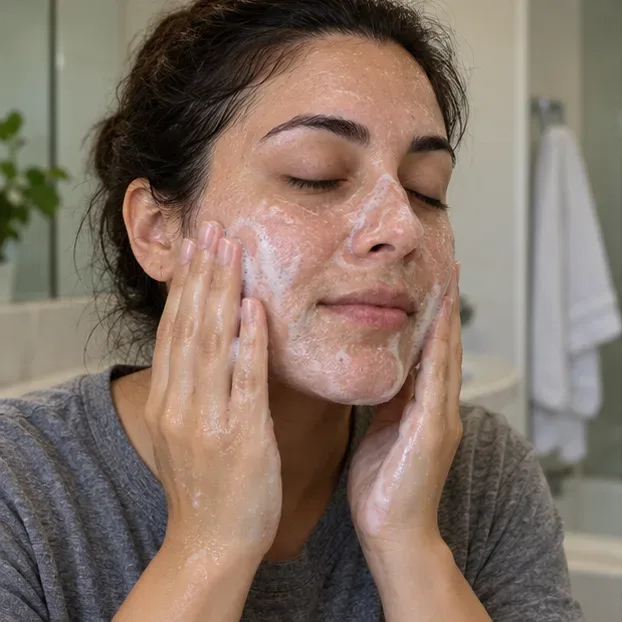
Follow the AAD's face-washing recommendations: use lukewarm water, apply a gentle, nonabrasive cleanser with your fingertips, rinse, and dry with light towel pats. Avoid hot water, cleansing brushes, rough cloths, and gritty scrubs.
Use fingertips for cleansing and rinse with lukewarm water rather than scrubbing.
Check the hairline, jawline, and folds beside the nose in good light. If a visible patch of makeup remains, address that small area using the correct method. Do not restart several full-face washes just because one spot needs attention.
4. Moisturize and keep the rest of the routine simple
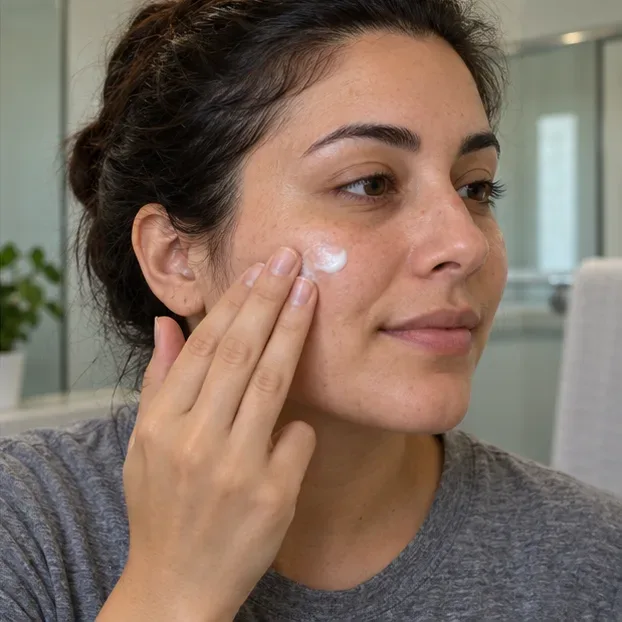
Finish with a familiar moisturizer suited to your skin.
Do not add a strong exfoliant, astringent, or extra acne-treatment doses to compensate for wearing heavy makeup. The AAD's acne-care advice cautions that irritating products and frequent treatment changes can make matters worse. Use established treatments as directed, and ask your clinician how to handle them if your skin becomes irritated.
What if your skin is still stained?
A faint tint after the makeup layer has washed away does not necessarily mean you need stronger cleaning. Snazaroo notes that some highly pigmented colors can leave temporary staining and advises taking a break if scrubbing irritates the skin. That information applies to its products; check your own manufacturer's advice.
Do not chase a lingering tint with rubbing alcohol, nail polish remover, household paint solvent, or repeated exfoliation. If the remaining color worries you, contact the manufacturer for a skin-safe method rather than improvising.
Know when bumps or redness need a different response
Do not assume a new itchy, burning, or swollen rash is simply an acne breakout. Stop using the suspected product and seek medical advice for an unexpected reaction, as recommended in the FDA's cosmetics safety guidance. Keep the packaging and ingredient list so you can identify what you used.
Get prompt medical attention for a painful, blistering, rapidly spreading, or eye-area rash. Trouble breathing or swallowing, or swelling of the eyes or lips, warrants immediate emergency care. These are among the AAD's warning signs for a rash that needs medical treatment.
If you repeatedly break out after the same paint or remover, stop using the suspected product and discuss the pattern with a dermatologist. More vigorous washing will not identify the cause.
Your final check before bed
The visible makeup layer is gone, including along the hairline and jaw.
Adhesives and eye makeup have been handled according to their own instructions.
Your face has been rinsed and gently dried rather than scrubbed.
You have applied a suitable moisturizer without adding an aggressive “rescue” treatment.
You have stopped and sought appropriate advice if there are signs of a reaction.
For next Halloween, check the removal instructions before buying the paint and test unfamiliar products in advance according to their directions. Have the appropriate remover ready before the party. Planning the cleanup makes it easier to remove heavy Halloween face paint gently, even when you are tired.