Imagine powering on your PC and being greeted by a lock screen that not only tells the time but reflects your unique vibe. With Windows 11, customizing your lock screen clock is easier than ever, turning a mundane feature into a personalized canvas. Whether you're a tech enthusiast or just want to add some flair to your daily routine, this guide will walk you through the process. Get ready to elevate your Windows experience with simple, effective steps that bring joy and functionality to your screen. Let's dive in and make your Windows 11 custom lock screen clock shine! 🌟
Why Customize Your Windows 11 Lock Screen Clock?
The lock screen clock in Windows 11 isn't just a timekeeper—it's the first thing you see, setting the tone for your day. Default designs can feel generic, but customization lets you infuse personality. Think bold fonts for a modern edge, subtle colors for calm mornings, or dynamic layouts that match your wallpaper. It's a quick win that boosts your mood and makes your device feel truly yours.
Plus, in the latest updates, Microsoft has refined these tools, making them more intuitive. No more clunky third-party apps; stick to built-in features for a seamless, secure setup. Ready to transform your screen? Follow these steps, and you'll be admiring your handiwork in minutes.
Step-by-Step Guide: Setting Up Your Custom Lock Screen Clock in Windows 11
We'll break this down into clear, actionable steps. Ensure your Windows 11 is updated to the newest version for the smoothest experience—head to Settings > Windows Update to check. Let's get started!
Step 1: Access Lock Screen Settings
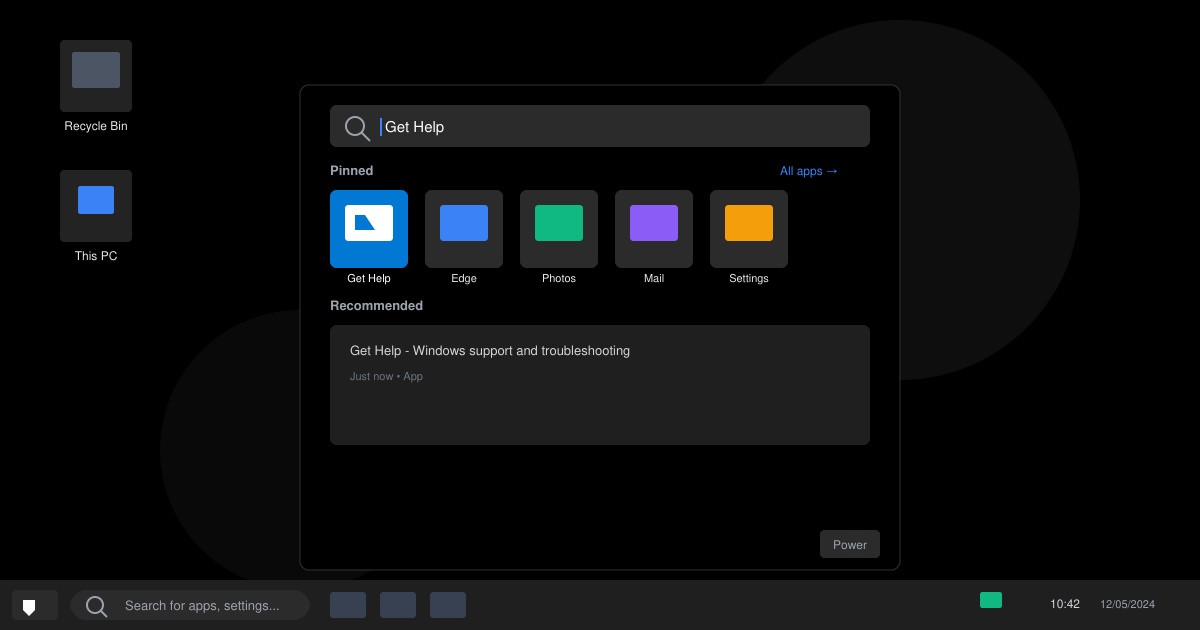
👉 Start by clicking the Start button (Windows icon) on your taskbar. From there, select Settings—it's the gear icon that opens a world of personalization options.
Once in Settings, navigate to Personalization > Lock screen. This is your command center for all things lock screen. You'll see options like background, clock, and more. If you're new to this, it's refreshingly straightforward—no overwhelming menus here.
Step 2: Choose Your Lock Screen Background
Before tweaking the clock, pick a stunning background—it's the foundation for your custom lock screen clock. Under Personalize your lock screen, select from Windows Spotlight (for dynamic images), Picture (upload your own), or Slideshow (for rotating favorites).
Pro tip: Opt for a high-contrast image to make your clock pop. This step enhances visibility and ties everything together, creating that "wow" factor when you lock your screen.
Step 3: Enable and Customize the Clock
Now, the fun part! Scroll to Lock screen status and ensure the clock is set to appear. In recent Windows 11 builds, the clock is enabled by default, but if not, toggle it on.
For deeper customization, Windows 11 integrates with themes and fonts. Head to Personalization > Themes to apply a new theme, which can subtly alter clock styling. Want more? Use the built-in font changer:
- Right-click your desktop and select Personalize > Fonts.
- Preview and add custom fonts from your collection (ensure they're .ttf or .otf files).
- Apply them system-wide, and they'll influence your lock screen clock appearance.
This isn't just cosmetic—it's empowering. Imagine a sleek, minimalist clock that matches your productivity setup. If you're feeling creative, experiment with color accents via Colors in Personalization; choose "Custom" to tweak hues that complement your clock.
![Customizing Clock Fonts in Windows 11 Settings]()
Step 4: Advanced Tweaks with Widgets and Layouts
Windows 11's lock screen supports widgets for added utility. Under Lock screen status, assign spots for weather, calendar, or even a custom clock widget if available in your region.
For layout mastery, consider these options in a handy table:
| Layout Option |
Description |
Best For |
| Default Clock |
Simple, centered time display |
Minimalist users |
| Weather + Clock |
Combines time with forecast |
Busy professionals |
| Custom Widget |
User-selected app integration |
Tech-savvy customizers |
| Slideshow Sync |
Clock adapts to rotating backgrounds |
Dynamic, visual enthusiasts |
These choices let you tailor the Windows 11 custom lock screen clock to your lifestyle. Test by locking your screen (Win + L) and unlocking to preview—it's iterative and fun!
![Previewing Custom Lock Screen Clock in Windows 11]()
Step 5: Test and Troubleshoot
Lock your screen with Win + L to see your masterpiece. If the clock doesn't appear or looks off:
- Ensure no conflicting themes are active—reset via Settings > Personalization > Themes > Get more themes.
- Check display settings for resolution issues (right-click desktop > Display settings).
- Update graphics drivers for optimal rendering.
If you're stuck, Microsoft’s official support is a click away. For in-depth troubleshooting, visit Microsoft Support—it's reliable and up-to-date.
Tips for a Stunning Custom Lock Screen Clock
To keep things fresh:
- Sync with Seasons: Update your clock theme quarterly for a refreshed feel.
- Accessibility First: Use high-contrast modes if you need better readability—it's under Settings > Accessibility > Contrast themes.
- Backup Your Setup: Export themes to avoid losing your custom work.
- Experiment boldly! A custom lock screen clock is your digital signature—own it. 😊
These tweaks not only enhance aesthetics but can subtly improve your daily workflow. Who knew a clock could spark so much creativity?
What's Next? Elevate Your Windows 11 Further
Mastered the lock screen clock? Why stop there? Explore desktop icons, taskbar tweaks, or even Start menu personalization next. Windows 11 is designed for you to make it yours—keep customizing, and your PC will feel like an extension of your style.
Share your custom setups in the comments below; we'd love to see what you've created! If this guide helped, give it a thumbs up. Lock in that personalization today and enjoy the little wins. 🚀