How to Check Purchase History on Apple App Store

Through your purchase history on the App Store, you will know when you downloaded that app or game, and how much you paid for the paid app.
Live Photos on iPhone capture a few seconds of motion before and after you take a photo—creating a little clip that adds life to your photo. But these photos don't always live up to expectations. Here are some tips to improve your Live Photo experience!
1. Use a tripod

Steady shots are essential to getting a high-quality Live Photo. Even the slightest shake or movement can blur the image. To prevent this, use a tripod to keep your phone steady or place it on a stable surface. When the light is low, the shutter needs to stay open longer to capture enough light; any movement during this time can distort the image.
In situations like concerts or crowded places where using a tripod may not be practical, hold your phone with both hands and keep your elbows close to your body for stability.
2. Adjust focus and exposure
Just like a regular photo, you can adjust the focus and exposure of a Live Photo. This is useful in varied lighting conditions or when highlighting a specific subject.
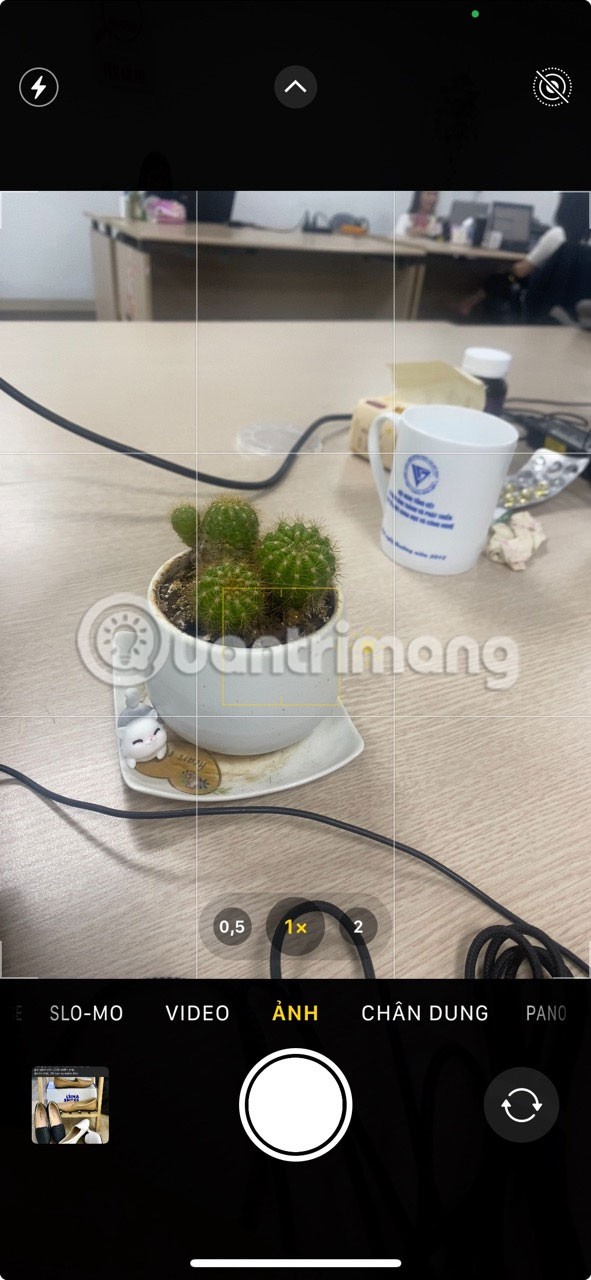
To adjust the focus, tap the screen and a yellow box will appear around that area. You can drag this square to change the focus point. In addition to the yellow box, you'll see a sun icon with a small slider to adjust the exposure; slide it up to increase the exposure or down to decrease it.
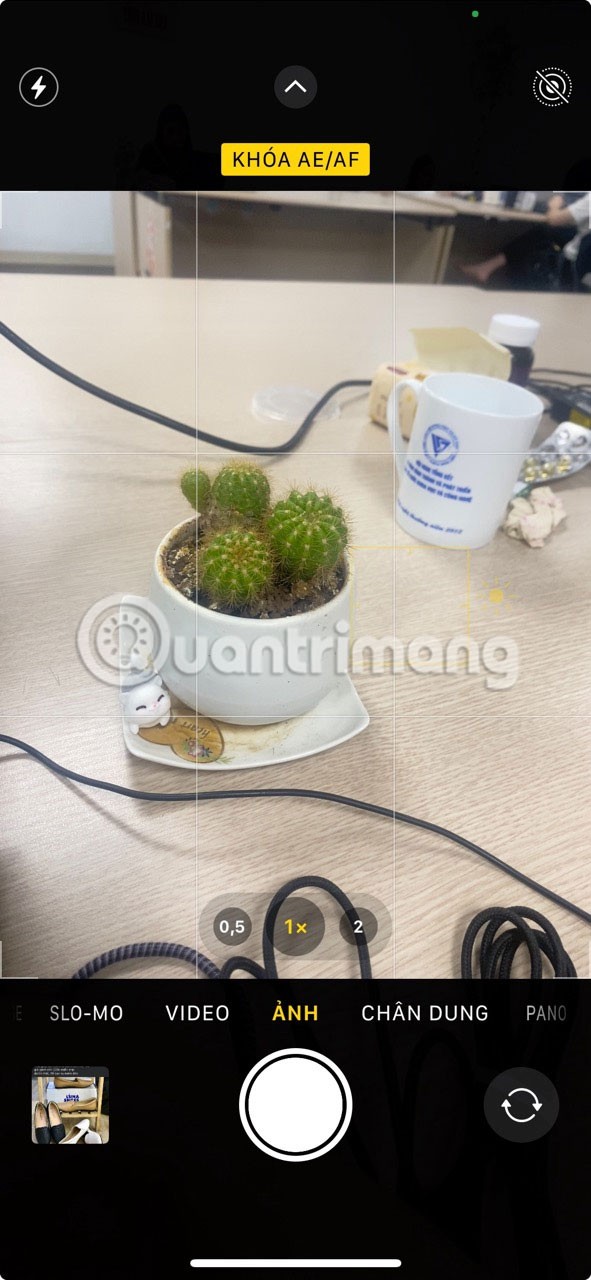
If you tap and hold on the screen, you'll see a yellow AE/AF LOCK banner at the top. This will lock the focus and exposure so you can reposition the camera without losing your settings. Then, scroll your finger up or down to adjust the exposure.
3. Add effects to Live Photo
You can add effects to your Live Photo. There are four options available: Loop, Now, Long Exposure, and Live: Off. Here's what each option does.

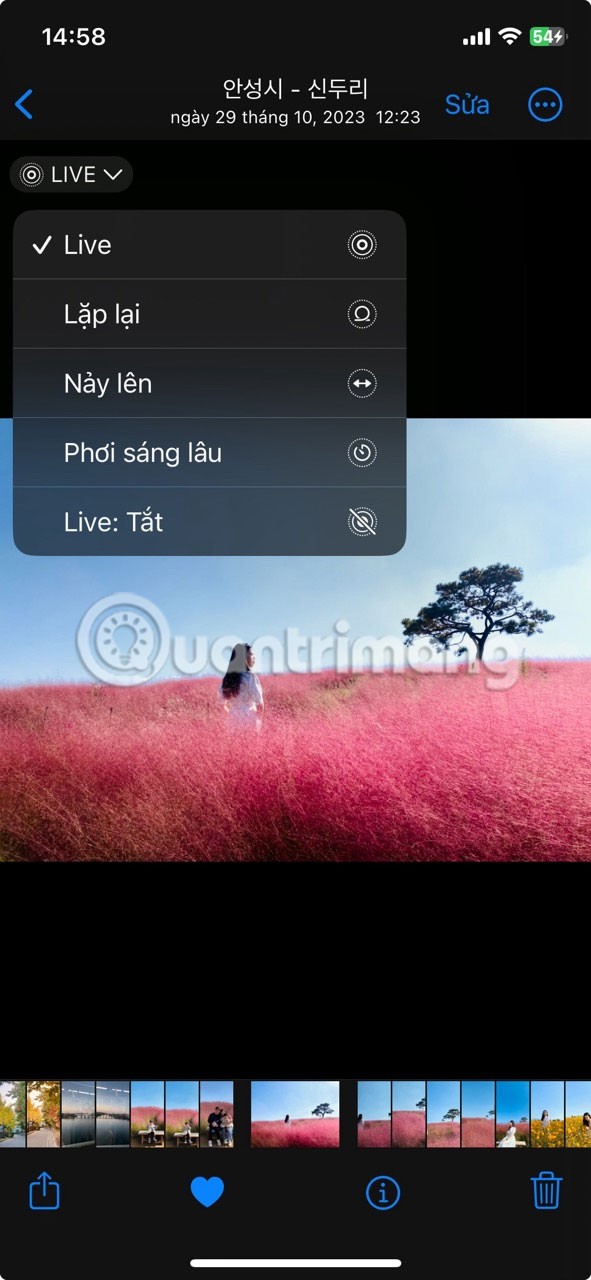
To use these effects, open a Live Photo in the Photos app. In the top left, you'll see Live (two overlapping circles); tap it to open the effects menu. Then, select the effect you want and it will be applied to your photo.
4. Set a unique main photo
The main photo is the still photo that appears in your photo library before you tap Live Photo. This is also what you'll see if you've synced your Live Photos to other devices.
Sometimes the automatically generated key photo isn’t the best. For example, you blinked or made an awkward expression when you took a Live Photo. Or, you might have taken a group photo and the main photo has someone not looking at the camera. In those cases, you can choose and set a different key photo.
To choose a different main photo, open the photo in Photos and tap Edit in the upper right. Next, tap Live at the bottom (the one with three interlocking circles). You'll now see a timeline of all the frames in your Live Photo.
Scroll through to find the frame you want to use as your key photo. The white dot above it shows your current key photo. Then tap Set as key photo just above the key frame. When you're finished, tap Done in the top right corner. The Live Photo thumbnail now shows your new key photo.

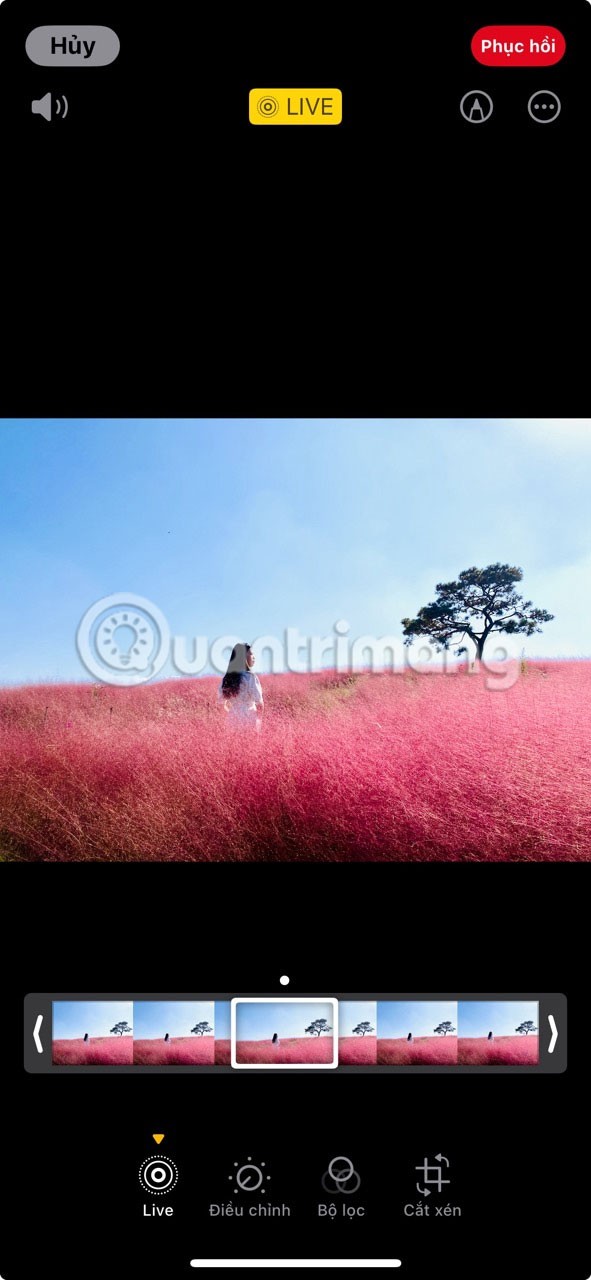
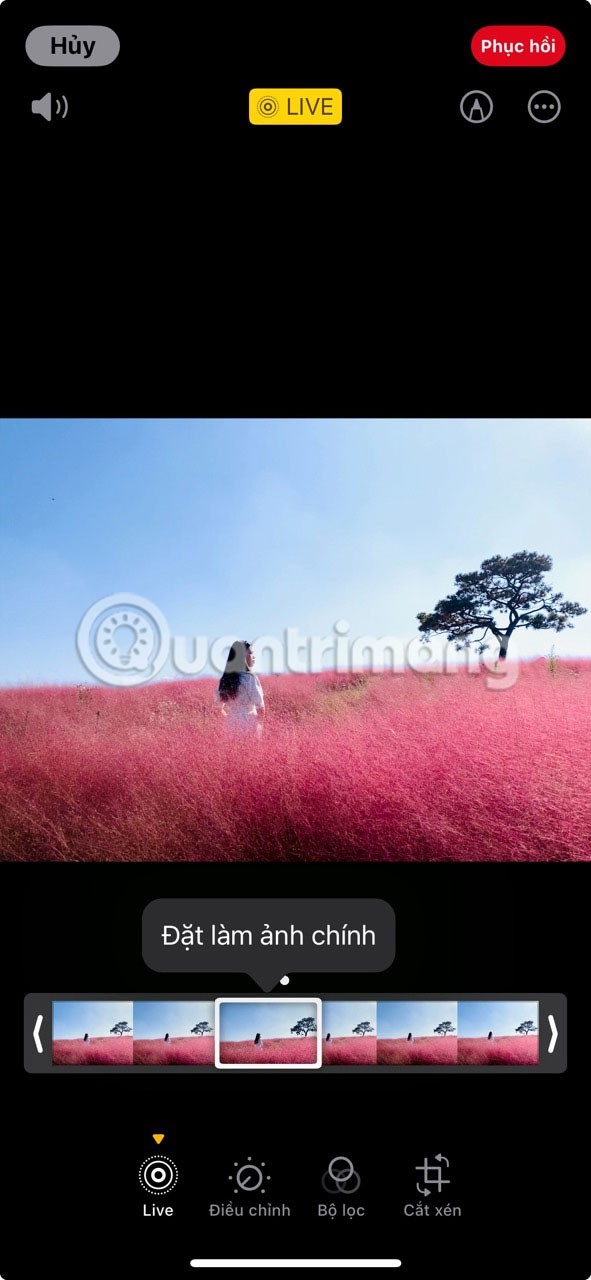

If you want, you can also restore the original main photo. To do this, open the Live Photo and tap the three dots in the upper right corner. From the menu, select Restore Original . This will remove all edits and restore the Live Photo to its original state.
5. Crop Live Photo
Sometimes Live Photos capture moments you don’t want to include. For example, you’ve captured a beautiful landscape with birds flying across the frame, but someone walks in and ruins the shot. In cases like this, you can crop your Live Photo to remove unwanted frames. However, this cropping can only be done at the beginning and end of the Live Photo; frames in between can’t be removed.
To crop a Live Photo, open it in Photos and tap Edit. Next, tap Live at the bottom to access the timeline. At the bottom of the timeline, you'll see vertical bars with white arrows; these indicate where your Live Photo starts and ends.
Drag these bars to the frames you want to keep. Anything outside of these bars will be cropped off. Next, tap Done in the upper right corner to save your changes. The Live Photo will now be cropped and the thumbnail will reflect these changes.

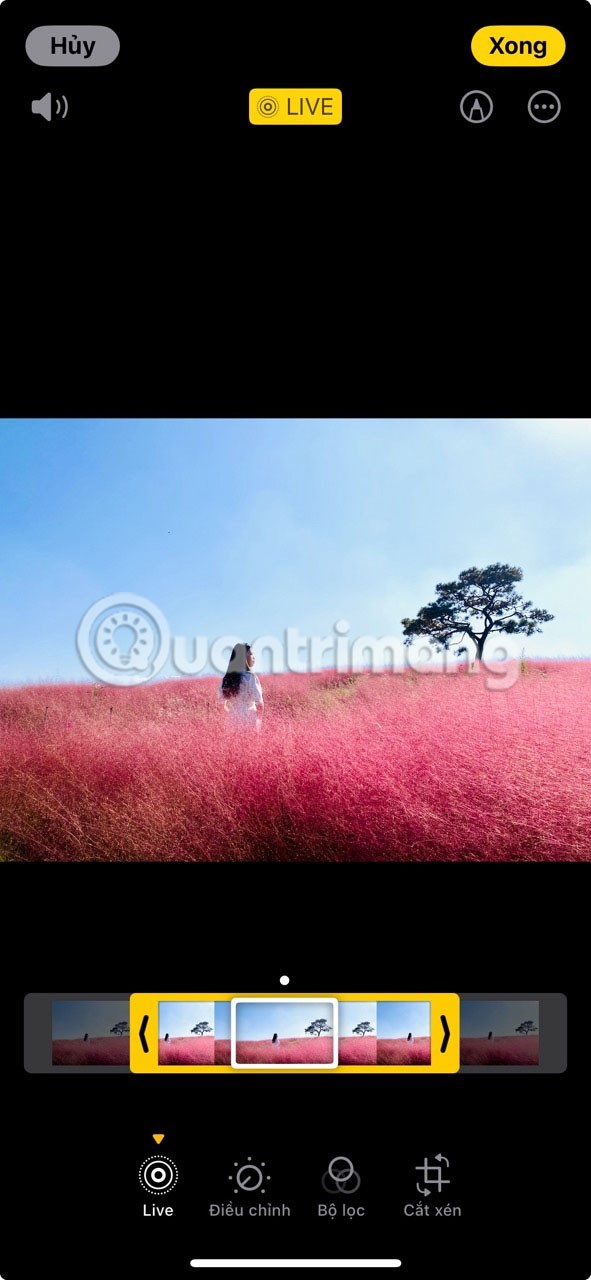
To restore the original photo with all frames intact, open the photo in Photos, tap the three dots, and select Restore Original .
6. Turn Live Photo into video
Did you know you can convert Live Photos to video? This feature is ideal for sharing Live Photos on social media platforms that don't support its format.
To turn a Live Photo into a video, open it in Photos and tap the three dots. From the menu, select Save as video . This will save the Live Photo as a video to your camera roll.


7. Find the right time
Even with these tricks, you can still get dull or uninteresting photos. Since Live Photos capture movement, timing is important—you have to pick the moment that really matters. For example, when taking a photo of someone jumping, tap the shutter button right before they jump so that the Live Photo captures their preparation and actual jump.
Here are some tips and tricks for taking and editing Live Photos on iPhone. Remember that Live Photos don't just capture a moment, they capture the emotion and action around it. So try these scenarios and see how your Live Photos come to life.
Through your purchase history on the App Store, you will know when you downloaded that app or game, and how much you paid for the paid app.
iPhone mutes iPhone from unknown callers and on iOS 26, iPhone automatically receives incoming calls from an unknown number and asks for the reason for the call. If you want to receive unknown calls on iPhone, follow the instructions below.
Apple makes it easy to find out if a WiFi network is safe before you connect. You don't need any software or other tools to help, just use the built-in settings on your iPhone.
iPhone has a speaker volume limit setting to control the sound. However, in some situations you need to increase the volume on your iPhone to be able to hear the content.
ADB is a powerful set of tools that give you more control over your Android device. Although ADB is intended for Android developers, you don't need any programming knowledge to uninstall Android apps with it.
You might think you know how to get the most out of your phone time, but chances are you don't know how big a difference this common setting makes.
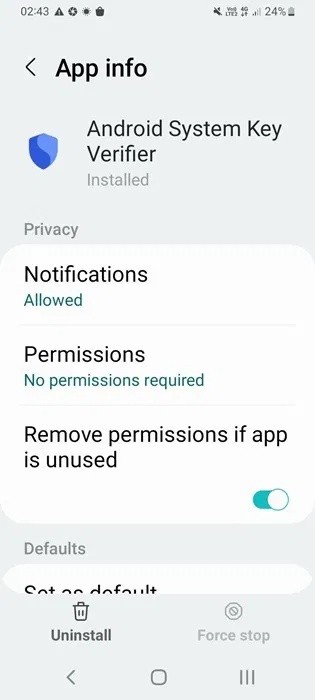
The Android System Key Verifier app comes pre-installed as a system app on Android devices running version 8.0 or later.
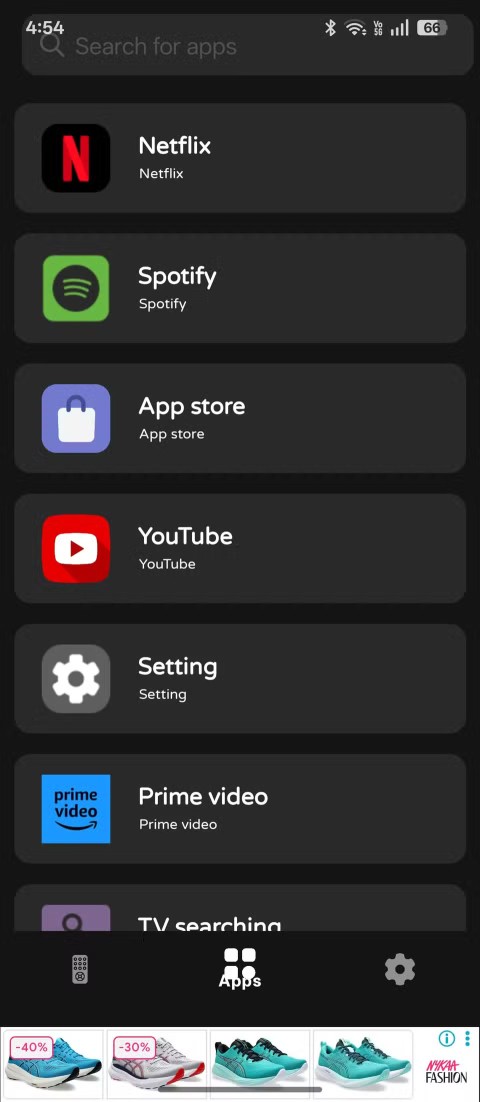
Despite Apple's tight ecosystem, some people have turned their Android phones into reliable remote controls for their Apple TV.
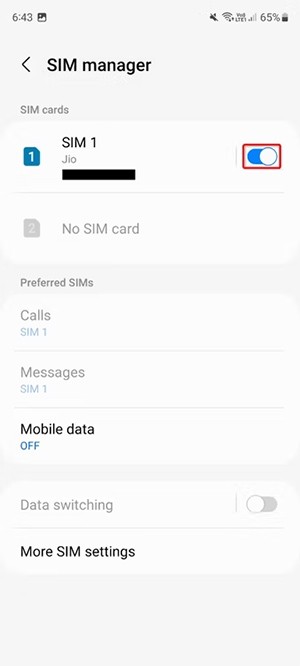
There are many reasons why your Android phone cannot connect to mobile data, such as incorrect configuration errors causing the problem. Here is a guide to fix mobile data connection errors on Android.
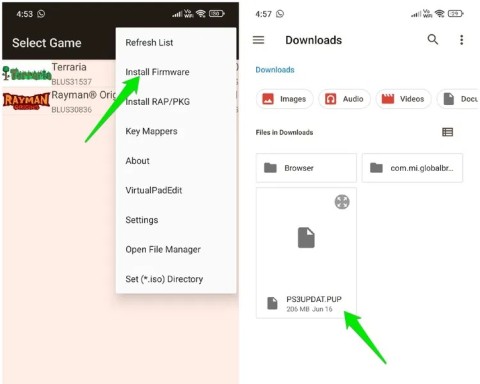
For years, Android gamers have dreamed of running PS3 titles on their phones – now it's a reality. aPS3e, the first PS3 emulator for Android, is now available on the Google Play Store.
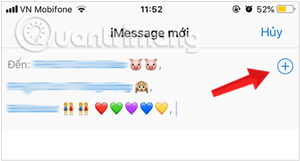
The iPhone iMessage group chat feature helps us text and chat more easily with many people, instead of sending individual messages.
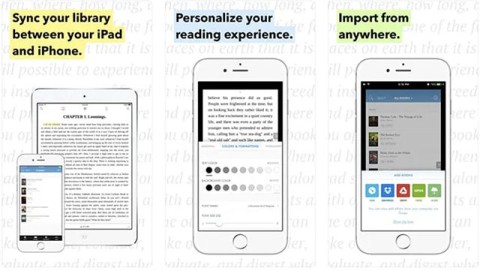
For ebook lovers, having a library of books at your fingertips is a great thing. And if you store your ebooks on your phone, you can enjoy them anytime, anywhere. Check out the best ebook reading apps for iPhone below.
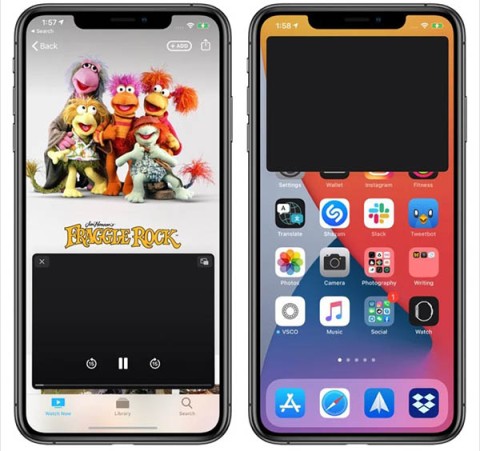
You can use Picture in Picture (PiP) to watch YouTube videos off-screen on iOS 14, but YouTube has locked this feature on the app so you cannot use PiP directly, you have to add a few more small steps that we will guide in detail below.
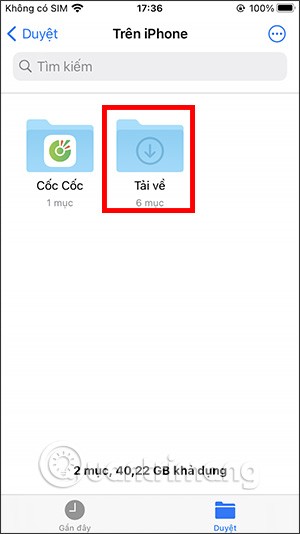
On iPhone/iPad, there is a Files application to manage all files on the device, including files that users download. The article below will guide readers on how to find downloaded files on iPhone/iPad.
If you really want to protect your phone, it's time you started locking your phone to prevent theft as well as protect it from hacks and scams.
