Fix “No Bootable Device Found” After Installing Debian on UEFI

Fix Debian’s UEFI boot error by checking boot mode, the EFI System Partition, GRUB files, and firmware boot order—without reinstalling Debian first.
Imagine your Windows 11 PC acting up—slow performance, printer woes, or internet glitches—and you're staring at the screen, frustrated. 😩 But what if you had a secret toolkit right inside your operating system to zap those problems away? Enter the Windows 11 built-in troubleshooters, your reliable sidekicks for hassle-free fixes. These powerful tools are designed to diagnose and repair common issues automatically, saving you time and stress. In this guide, we'll walk you through how to use Windows 11 built-in troubleshooters step by step, so you can get back to enjoying your device without the headache.
Whether you're a tech newbie or a seasoned user, mastering these troubleshooters will empower you to tackle glitches confidently. Let's dive in and unlock the magic! 🚀
The Windows 11 built-in troubleshooters are pre-installed diagnostic tools from Microsoft that scan your system for problems and suggest or apply fixes. They're like a virtual mechanic for your PC, handling everything from hardware conflicts to software hiccups. Unlike complex third-party apps, these are lightweight, secure, and always up-to-date with the latest Windows features.
Why love them? They're intuitive, require no downloads, and work offline for many issues. In the latest Windows 11 updates, they've been enhanced for better AI-driven detection, making them even smarter at spotting root causes. Ready to see them in action? Let's explore the types available.
Windows 11 offers a variety of troubleshooters tailored to specific problems. Here's a quick overview in a handy table:
| Troubleshooter Name | What It Fixes | Best For |
|---|---|---|
| Hardware and Devices | Detects issues with printers, displays, audio, and other hardware | Peripheral connectivity problems |
| Internet Connections | Resolves Wi-Fi, Ethernet, and network adapter glitches | Slow or dropped internet |
| Bluetooth | Fixes pairing and connection issues with Bluetooth devices | Headsets, mice, or keyboards not connecting |
| Windows Update | Addresses download, installation, or update failures | Stuck updates or error codes |
| Power | Optimizes battery life and power settings | Laptop draining too fast |
| Program Compatibility | Helps older apps run on Windows 11 | Legacy software crashes |
This isn't exhaustive—Windows 11 also includes specialized ones for audio, speech, and more. The beauty? You can run multiple if needed, and they'll guide you gently. Now, let's get hands-on with accessing them.
Accessing these tools is a breeze. We'll cover the two main methods: via Settings and the classic Control Panel. Follow along, and you'll be troubleshooting like a pro in minutes.
The modern way is through the Settings app, optimized for Windows 11's sleek interface.
Pro tip: If you're dealing with a specific issue, use the search bar in Settings to type "troubleshoot" for quick access. It's that simple!
If you prefer the traditional route or Settings isn't cooperating:
This method shines for hardware-related fixes and works seamlessly in the latest Windows 11 builds.
Let's make this practical. Suppose your printer won't print—frustrating, right? Here's how to use the Printer troubleshooter:
For internet woes, the Internet Connections troubleshooter is a star. It checks adapters, DNS, and firewalls, often fixing drops without rebooting. And for Windows Update errors? Run that one to clear caches and retry installs automatically.
Feeling empowered? These examples show how targeted how to use Windows 11 built-in troubleshooters can be. But what if a fix doesn't stick?
To maximize success:
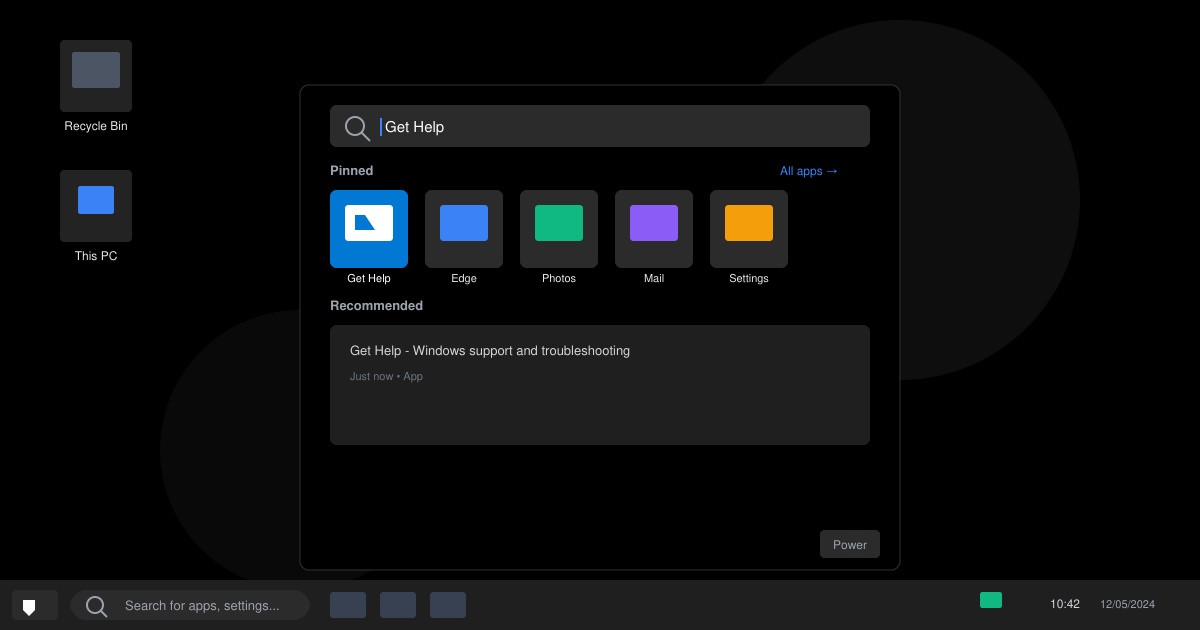
Bonus: For stubborn problems, Microsoft recommends the Get Help app in Windows 11, which integrates troubleshooter suggestions with AI chat support. It's like having a tech buddy on speed dial! 😊
Even pros slip up. Here's what to watch for:
By steering clear of these, you'll boost your success rate to 90% or more. Impressive, huh?
In a world of bloated apps and endless forums, these native tools stand out for their reliability and zero cost. They're battle-tested by Microsoft and evolve with each update, ensuring compatibility with the newest hardware like AI PCs or foldables. Plus, using them reduces the need for support calls, saving you hours.
For official guidance, check Microsoft's support page: Improve PC Performance in Windows. It's a goldmine for deeper dives.
Now that you've mastered how to use Windows 11 built-in troubleshooters, your PC is in good hands. From quick printer fixes to smoothing out updates, these tools turn tech troubles into triumphs. Next time a glitch hits, remember: you've got the power built right in. Give it a try today and feel the relief! 👏
Got a specific issue? Drop it in the comments below—we're here to help you keep your Windows 11 running smoothly.
Fix Debian’s UEFI boot error by checking boot mode, the EFI System Partition, GRUB files, and firmware boot order—without reinstalling Debian first.
The Outlook Inbox Repair Tool fixes corrupted PST files quickly so you can recover emails and restore normal Outlook function. Follow these exact steps to run scanpst.exe without data loss.
Get the Adobe PDF Installer Offline to install Acrobat Reader on any PC without needing internet during setup. Follow these exact steps for the full standalone package.
Learn how to Chromecast from laptop to TV with this step-by-step guide. Stream browser tabs, videos, or your full screen from Windows or Mac to your TV in minutes.
Learn how to edit an Adobe PDF file in Adobe Acrobat with precise steps for text, images, and layout changes. Make professional edits quickly and save time.
Get your Free Foxit Reader Free Download from the official source with this step-by-step guide that ensures a safe and quick installation for viewing PDFs.
Learn how to get help in Windows 11 with built-in tools like the Get Help app and Quick Assist for fast, official support without third-party downloads.
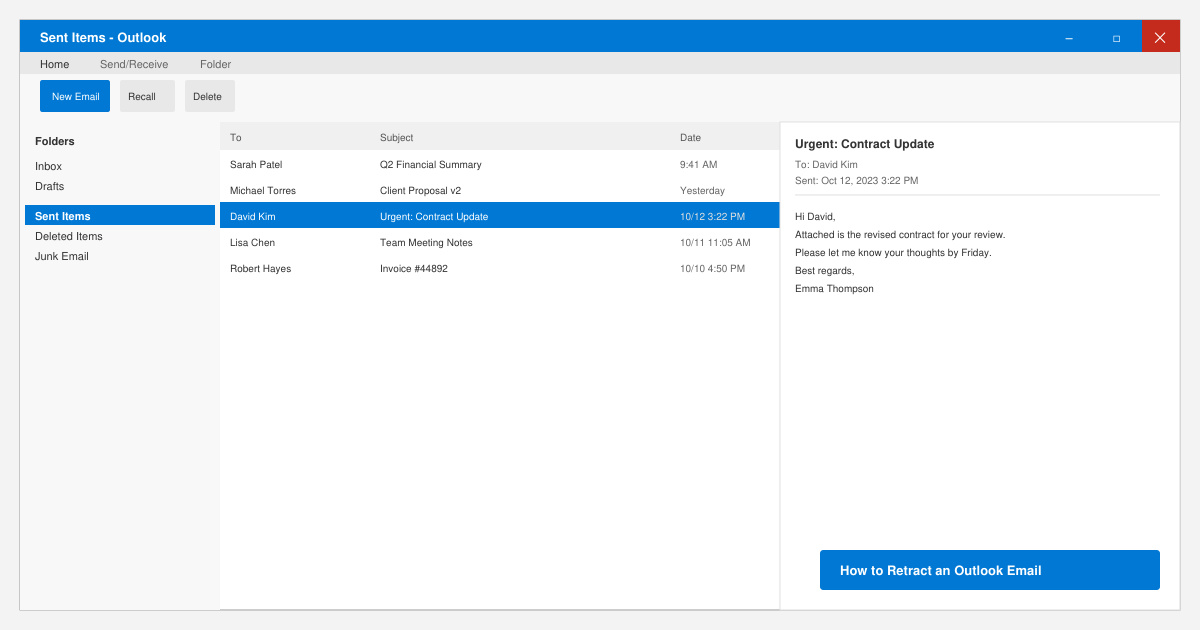
Learn how to retract an Outlook email in Microsoft Outlook when you need to correct a mistake before the recipient opens it. Follow these precise steps for Exchange accounts.
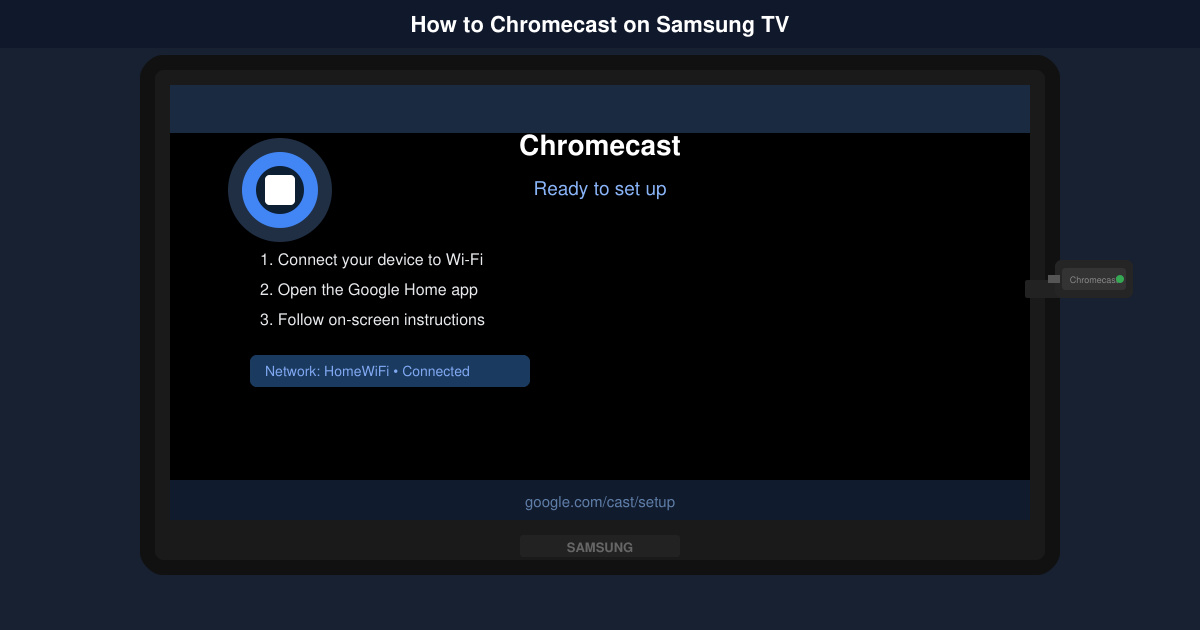
Learn how to Chromecast in Samsung TV by connecting a Chromecast device and streaming from your phone or computer in just a few minutes.
Get the official Adobe Acrobat DC Reader free download safely. Follow this step-by-step guide to install the latest version for viewing and editing PDFs on Windows or Mac.