Deploy Collabora CODE on Kubernetes with Helm

Install the official Collabora Helm chart, configure WOPI access and ingress affinity, and verify the deployment without common setup mistakes.
Teaching Handbook – For teachers who often have to work and design E- learning lessons, iSpring will certainly be a familiar tool. This tool is integrated on PowerPoint, so the use process is much more convenient. With iSpring Suite, teachers can create many different types of quizzes, as described in the iSpring tutorial .
After teachers have created multiple choice questions, it is necessary to format our essays to become more beautiful and vivid. In the article below, the Teaching Manual will guide teachers on how to format multiple-choice exercises on iSpring Suite.
Instructions for formatting iSpring Suite quizzes
1. Format Intro Slide
The Intro Slide section will appear in the first content in the slide of multiple-choice exercises. This section usually contains introductory sentences to start the multiple-choice exercise.
Step 1
Click on the Intro Slide slide and then click on the Slide View tab , click on the Home tab to proceed to adjust the text format to your liking. This part of content you do the same as when editing the content format on PowerPoint.
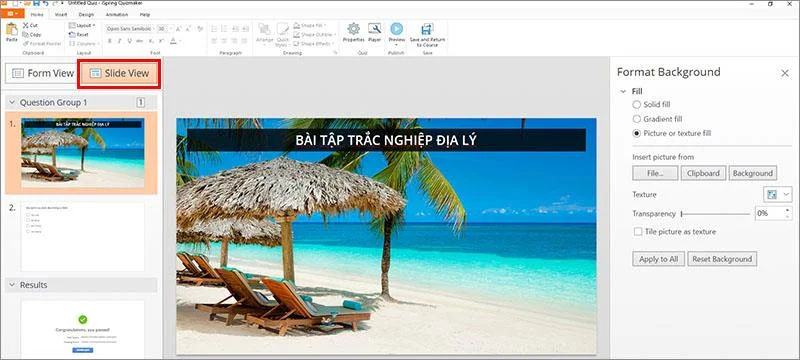
Here teachers can change the font, font size, font color, insert images, background images for slides.
Step 2:
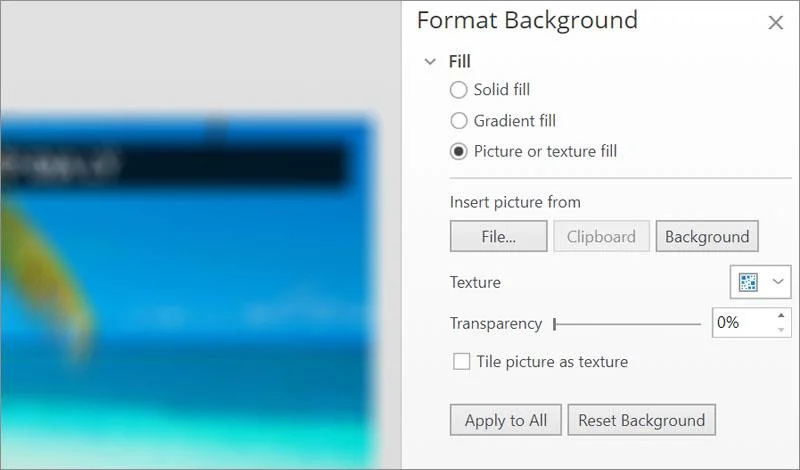
Click on the Insert item to insert more objects such as images, cubes. To insert a background image for the Intro slide, click the Design tab and then select the Themes section to select an available wallpaper.
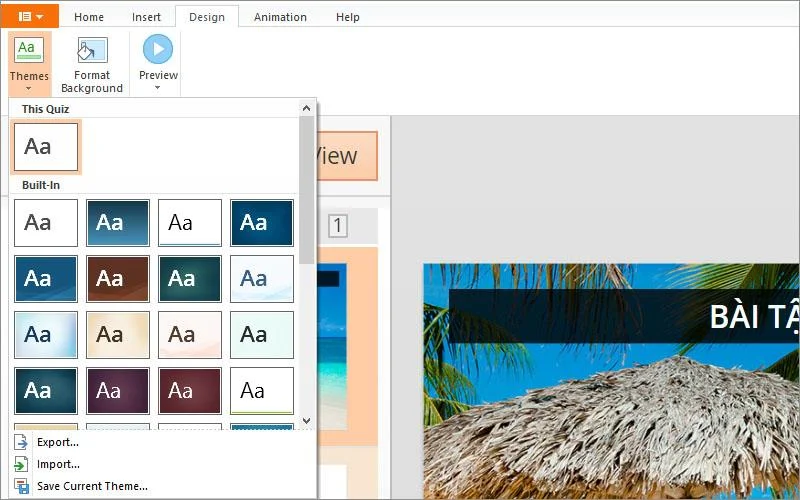
If you want to insert more images, click Format Background . Teachers perform the same operations as when inserting a background image into a slide on PowerPoint.
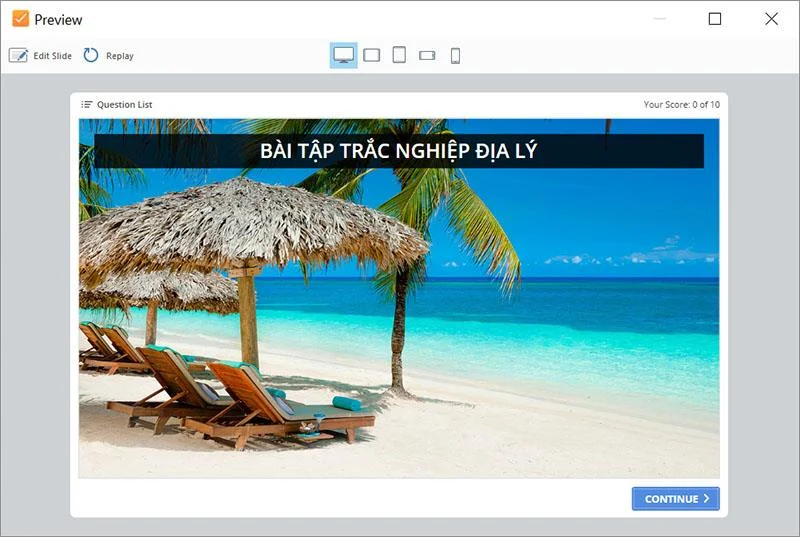
When you click the Preview button , the teacher will see her intro slide showing the preview interface as below. Clicking the Start Quick button will enter the multiple choice test.
2. Format of multiple choice exercises
Step 1:
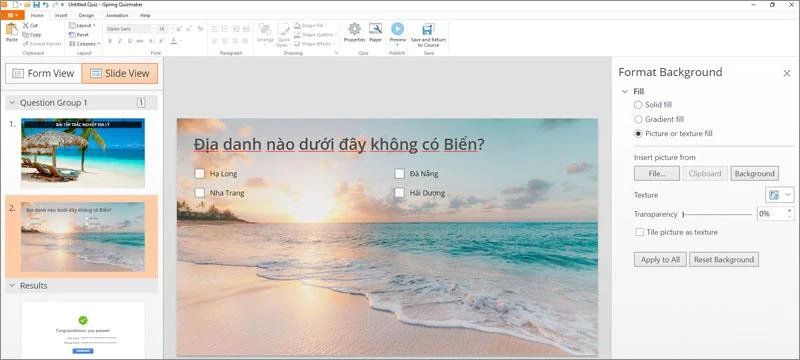
Teachers click on any multiple choice exercise, for example, on the Multiple Choice exercise and click Slide View to enter the editing interface. We also adjust the font, font color like the Intro if desired.
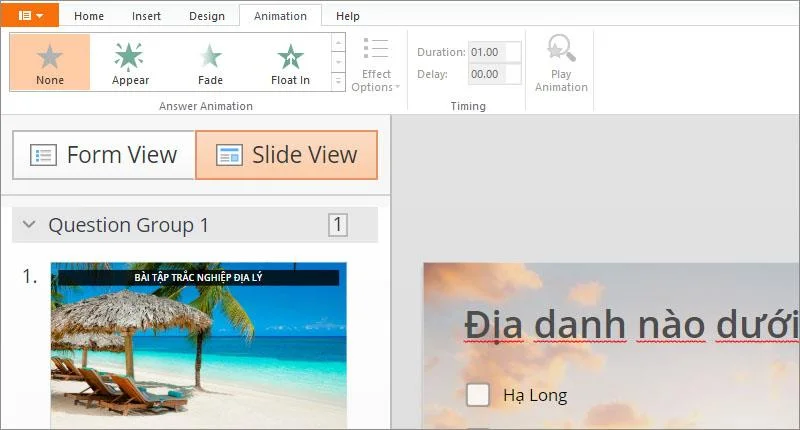
Click on the Animation tab to add motion effects to the slide. Teachers can also click Effect Options to choose more options for effects like on Powerpoint
3. Slide Format Passed/ Failed
Slide Passed / Failed is always the last slide in a multiple-choice test to evaluate the results of the student's work, with Passed being passed and Failed as failing .
Step 1:
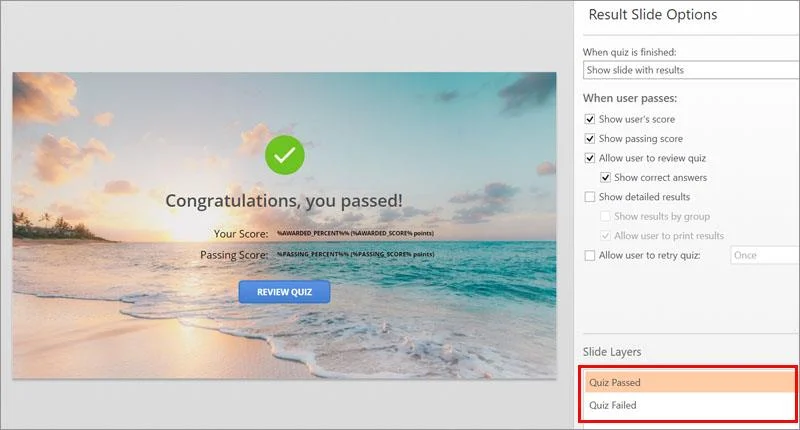
Teachers click on the Quiz Results slide and then click on Slide View to edit. In the window to the right of the Slide Layers section interface, click Quiz Passed to edit the pass message.
Step 2:
This interface users change the format similar to the top Intro section interface, add photos, add wallpapers, .
Step 3:
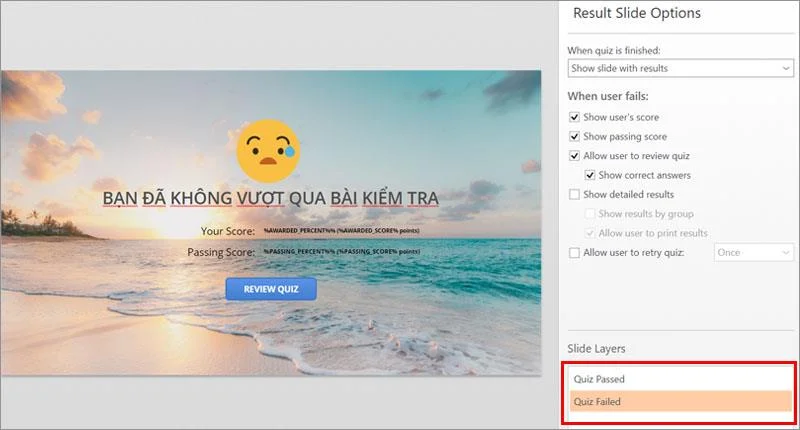
Continue in the Quiz Failed slide as above. Finally, click the Preview button to preview the created multiple-choice exercise and you're done.
Teachers need to pay attention to some options
So teachers know how to format multiple-choice exercises on iSpring Suite. The format of the multiple choice exercises will be similar, only the Intro and the final Result part are different. Note that teachers need to access the Slide View section to be able to change the content format in the slide.
Install the official Collabora Helm chart, configure WOPI access and ingress affinity, and verify the deployment without common setup mistakes.
Use browser requests, WOPI logs, and targeted proxy checks to find why Collabora opens a blank document—and choose a fix that fits the evidence.
Configure CODE Docker dictionaries and tag document passages correctly so English, French, and other supported languages receive the right spell-checking.
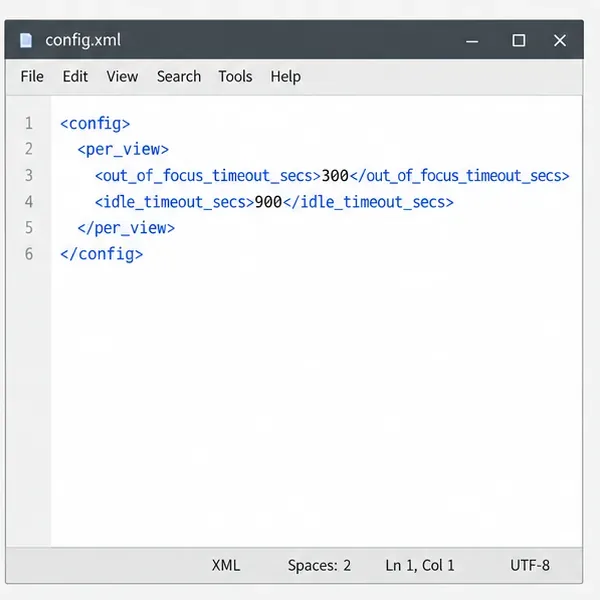
Adjust the per-view inactivity threshold in coolwsd and distinguish it from background-tab dimming, document unloading, autosave, and login expiration.
Stop scheduled CODE update checks, review optional remote services, and use outbound network controls without breaking document editing.
Enable secure document editing in Seafile by configuring Collabora’s discovery URL, HTTPS, and WOPI access for your deployment.
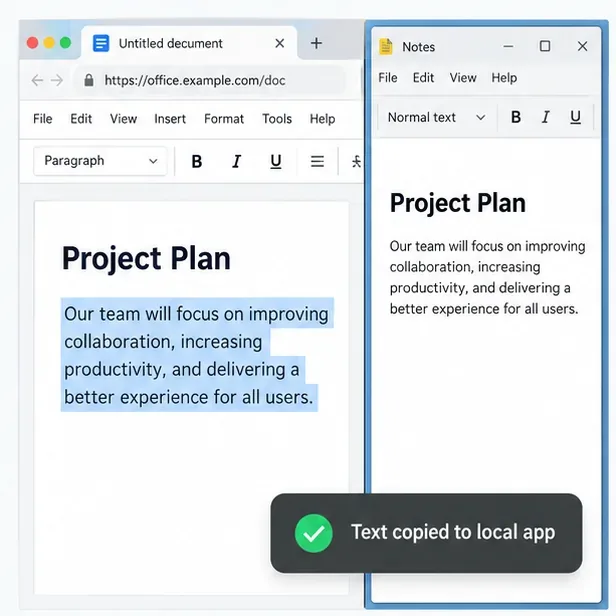
Test the system clipboard, adjust browser permissions, and identify when an embedded Collabora integration needs an iframe policy change.
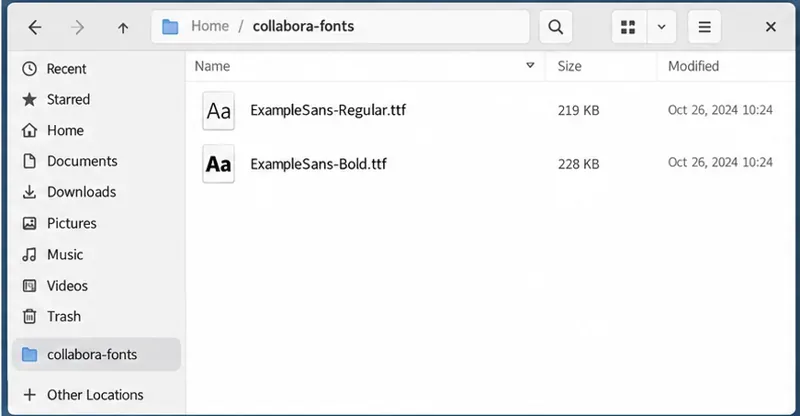
Mount font files into Docker and Collabora’s systemplate so custom typefaces appear in the editor and render correctly in documents.
Back up coolwsd.xml and its deployment sources, restore them safely, and verify CODE before users return to editing.
Allow the exact Nextcloud or other WOPI origin in CODE, then verify the active host allow-list and distinguish it from Nextcloud’s source-IP restriction.