Clear Stuck Nextcloud Maintenance Mode Safely With OCC
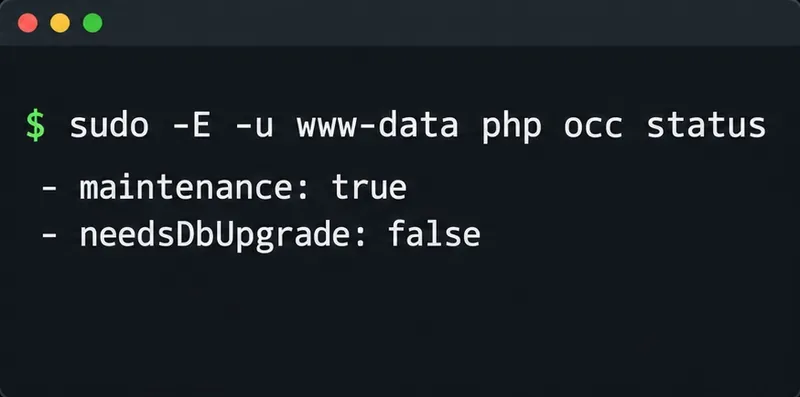
Use OCC to restore Nextcloud access, verify database migration status, and choose the right command for archive, Docker, or Snap installs.
Currently, the online document editing tool Google Docs has become very popular, Google Docs application allows users to edit documents anytime, anywhere on any platform. We don't need to worry about losing data like any other word processor app , all you enter will be saved by Google Docs in the cloud. For that reason, users will not need to copy data to storage devices such as USB or portable hard drives anymore. All you need to do is create a Google account to use the Gmail , Spreadsheets , Google Drive , etc.
Download Google Docs for Web Download Google Docs for iOS Download Google Docs for Android
If you regularly use Google Docs will discover many interesting things, Google Docs not only supports users to create documents in Doc format but also has a lot of extremely useful effects. In particular, there is a feature that is not very popular but very "beneficial" that Google Docs allows us to install 3rd party applications to add advanced tools to support users. do office work more effectively. Below we will show you how to install Add-ons on Google Docs.
Step 1:
At the main interface of Google Docs, click the plus sign to open a new page editing.
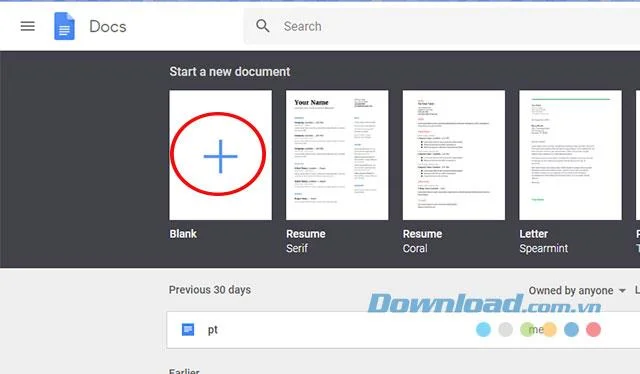
Open a new page in Google Docs
In the main editor interface of Google Docs, click Add-on on the menu bar -> Get add-ons.
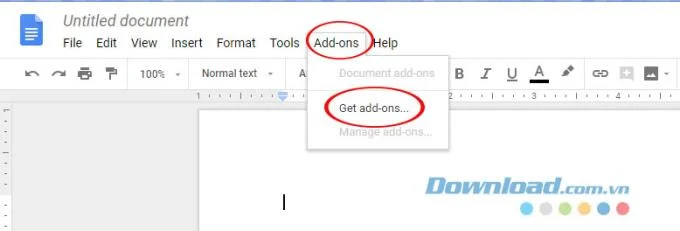
Add-on feature on Google Docs
Step 2:
Add-on page appears, here search for the extension you want to add or can refer to some of the utilities we introduce in the section below.
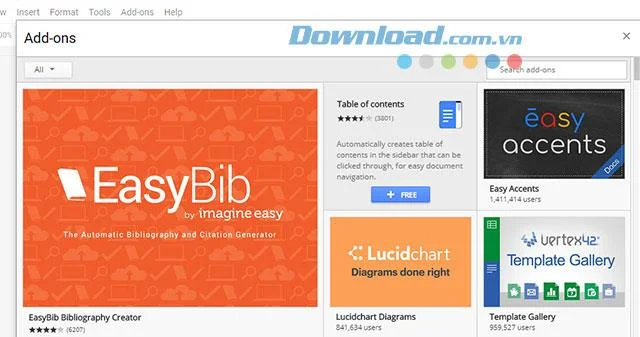
Google Docs extension page
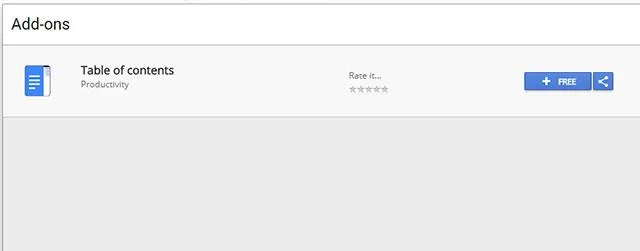
When you have selected the desired utility, press + Free on the introduction window of that utility.
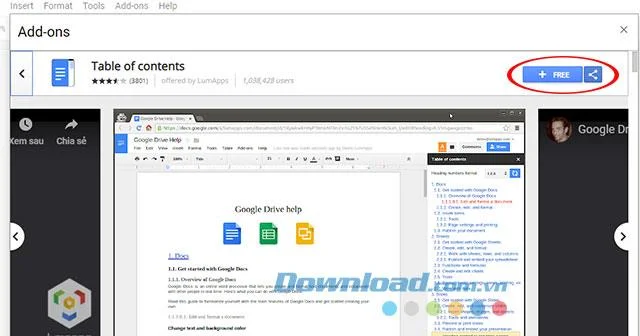
Add extensions on online editing tools
Step 3:
Immediately after that there will be a window asking you to select the account that allows installation of this utility, click on that account or log in the account you want to install the utility.
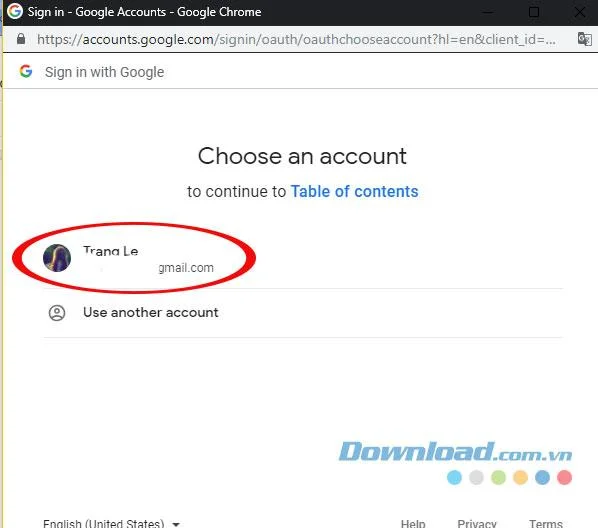
Select an account to install utilities
Then click Allow to allow the utility to install in the Table of contents window wants to access your Google Account to finish the installation process.
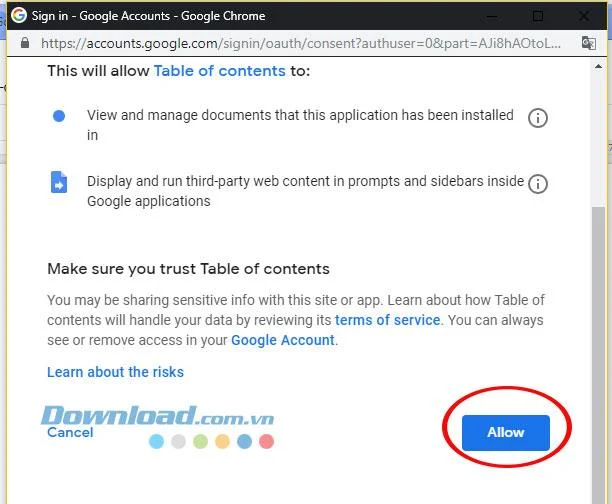
Allows installation of utilities on Google Docs
Step 4:
In the interface of the editor page, click Add-on to check the utility has just installed.
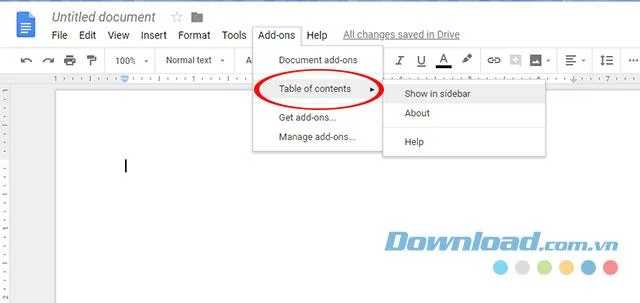
Check the recently installed utility on Google Docs
Step 1:
In the main editor interface of Google Docs, click Add-on on the menu bar -> Manage Add-ons.
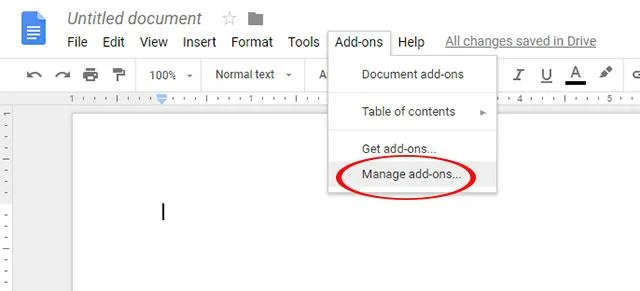
Extensions management page on Google Docs
Step 2:
The Add-on interface appears, which will manage all the Add-ons you have installed on your Google Docs.
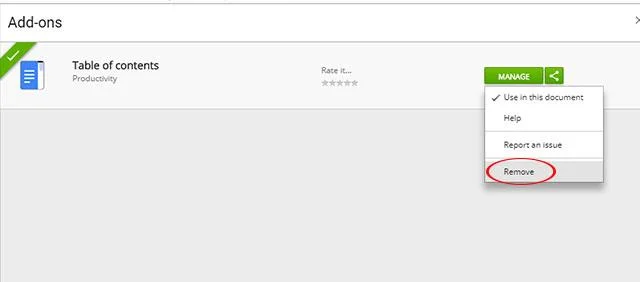
Uninstall the Add-on installed on Google Docs
Find the Add-on you want to remove, then click Manage -> Remove to remove the utility.
The utility interface has been removed
Use OCC to restore Nextcloud access, verify database migration status, and choose the right command for archive, Docker, or Snap installs.
Connect Nextcloud to LDAP or Active Directory, limit access with user and group filters, and verify secure authentication before rollout.
Enable a supported 2FA provider, prepare account recovery, then require two-factor authentication for everyone or selected Nextcloud groups.
Secure files edited in Collabora CODE by encrypting the storage layer, protecting temporary data, and verifying encryption and recovery.
Check your host architecture, confirm the CODE tag publishes ARM64, remove forced AMD64 settings, and separate image errors from permissions or memory issues.
Set up the WOPI connection between Collabora Online and ownCloud Infinite Scale, configure the right service URLs, and verify document edits save.
Prevent document exports in Collabora Online CODE by setting the WOPI DisableExport permission, then verify the host and editor enforce it.
Configure Nginx TLS termination, Collabora routes, and WebSocket headers, then test the public endpoints before opening real documents.
Trace a 10-minute CODE disconnect to its proxy, load balancer, or WebSocket path, then correct the timeout and verify the session stays connected.
Install the official Collabora Helm chart, configure WOPI access and ingress affinity, and verify the deployment without common setup mistakes.