Move ownCloud Files to a New Owner Without Losing Shares
Transfer owned files and outgoing shares with ownCloud’s occ command, understand what stays behind, and verify access before deleting the old account.
After shocked the world with the free version of Kaspersky Free Antivirus earlier this year, recently, the famous security software manufacturer continued to "shock" when it released the Beta version of Kaspersky Cleaner - software specializing in cleaning, speeding up and optimizing your computer.
The most special thing is not that Kaspersky moves from security software to cleaning and speeding up the computer, but also Kaspersky Cleaner, which is also provided to users for free. So this is a very good opportunity for users to have the opportunity to experience a good product for only 0 dong.
Step 1: After downloading, find the file location, left click to proceed.
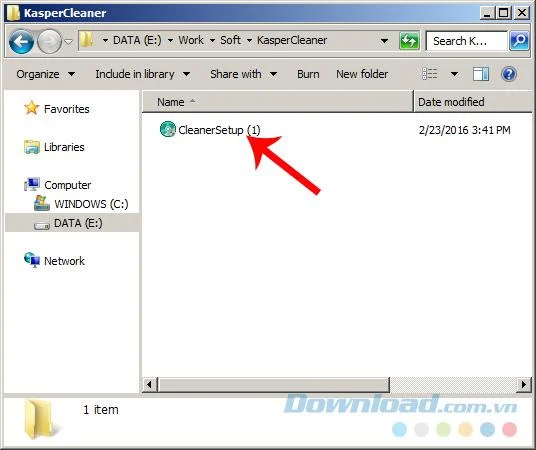
Step 2: Click Install to begin the installation process.
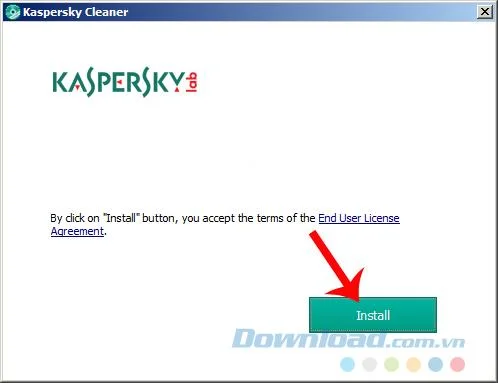
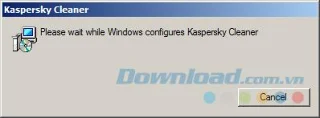
Step 3: The installation process is completely automatic after the initial operation. But we need to pay attention to keep a stable Internet connection, because this package of Kaspersky Cleaner has a capacity of more than 20MB so it will take a few minutes to complete, it is best to use a wired network or WiFi, not use 3G.
After successful installation, the main interface of Kaspersky Cleaner will look like the image below. This is an improvement of Kaspersky when it has omitted a lot of redundant operations such as choosing a save location, language, confirming installation ... like when installing other software.
Step 1: To use, just click on the biggest Start Scan , in the middle of the interface.
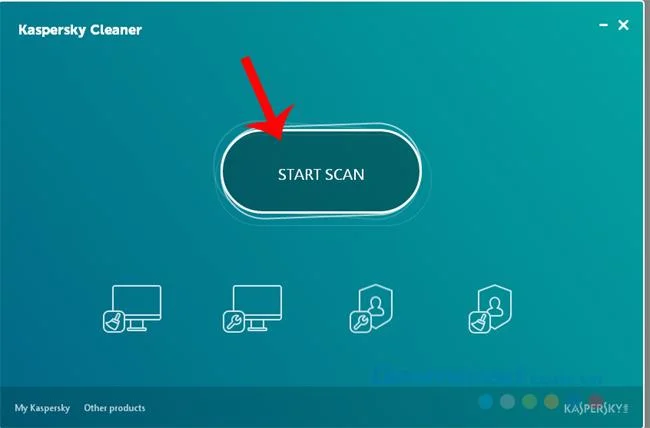
Kaspersky Cleaner has the default language of English
Step 2: The initial interface of the Beta version is quite simple with only 1 quick scan option and 4 other sub-options to use. The scan will run all according to the default settings of Kaspersky Cleaner.
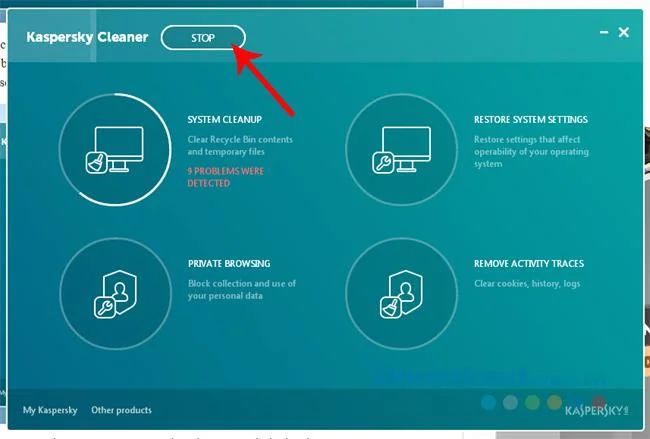
Step 3: After the scan is complete, Kaspersky Cleaner will display the errors on the device in groups, the number of errors is quite clear and specific.
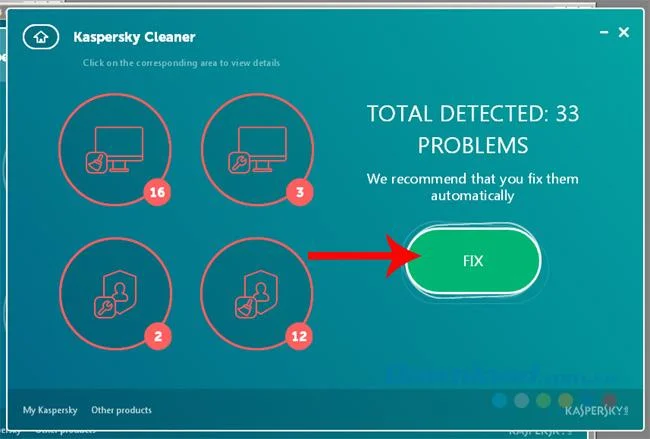
If you want to see details, users can click on any item to go inside or click on Fix to run fixing errors.
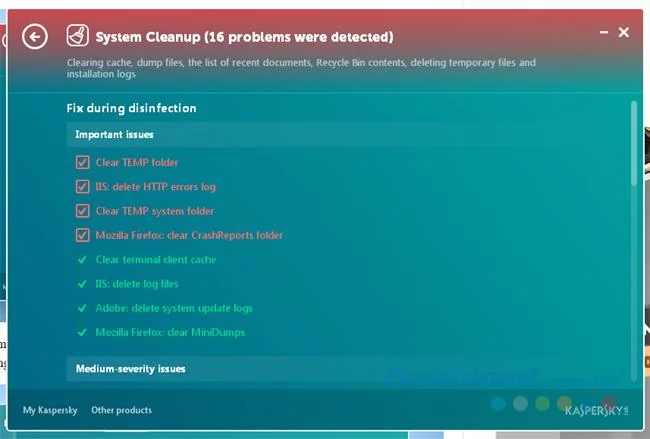
See error details
Step 4: The error correction process takes place in the order in which the software was previously scanned.
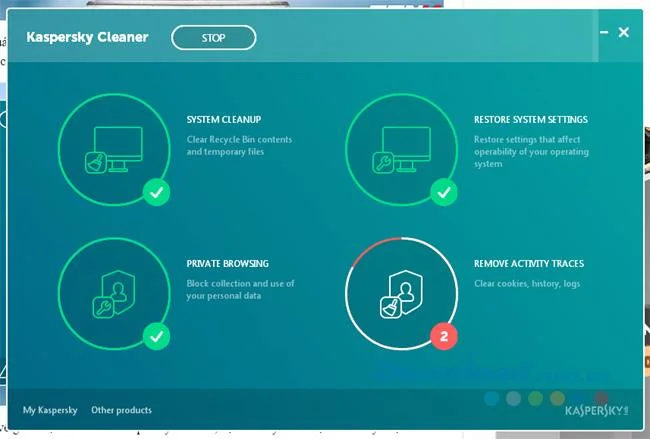
Step 5: After the scan is complete, you will be asked to Reboot - Restart your computer. However, we can also choose to reboot later ( Reboot Later ) if desired.
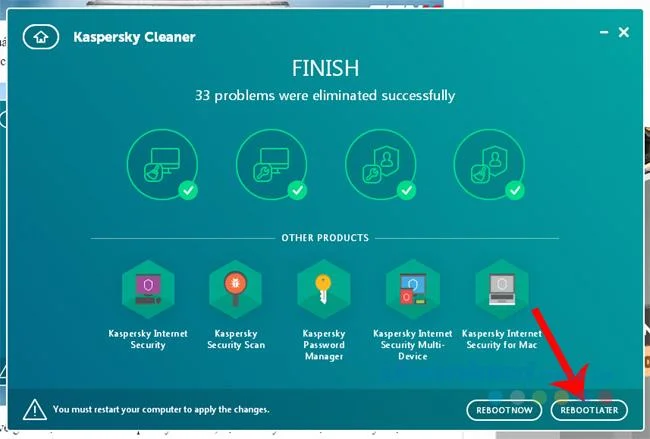
Step 6: After returning to the main interface, the option Roll Back Changes will appear for us to use. This is an option that helps users restore the system to its original state (before the problems are fixed) quickly.
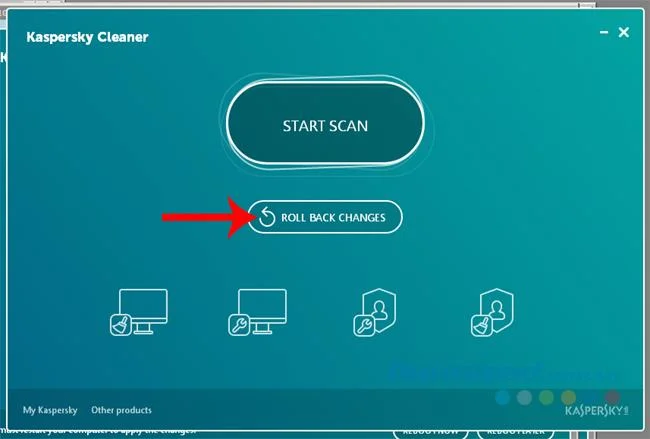
If you feel that "is not good", you can use Roll Back Changes to recover
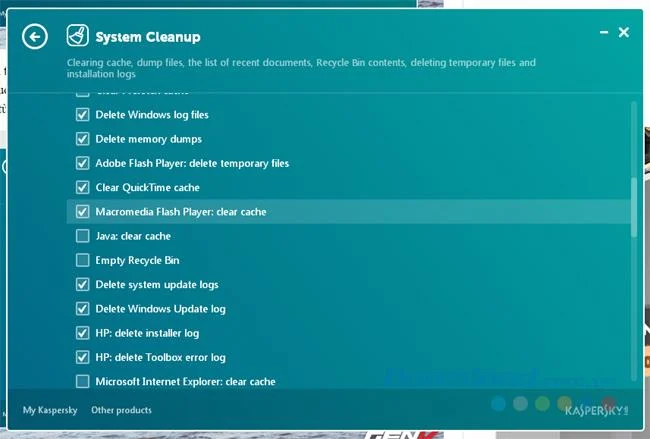
To individually customize the Kaspersky Cleaner scanning process, we can use the 4 options that this software offers. However, if not clear and uncertain, leave it at its default.
According to many reviews and individual writers, after the trial period, there have been no problems arising, the installer is compact, fast, stable, but this is only a beta version, so It is also difficult to avoid mistakes or other errors (if any). We all hope Kaspersky will research, develop and release the following quality versions for us to use.
Some cleaning software, other computer optimization are quite good and completely free that you should refer to:
I wish you successful implementation!
Transfer owned files and outgoing shares with ownCloud’s occ command, understand what stays behind, and verify access before deleting the old account.
Learn when ownCloud 10 database indexes need attention, how to apply supported schema updates safely, and when query tuning or a database change is the better fix.
Connect a Windows or Samba network share to ownCloud through External Storage, verify credentials, and troubleshoot inaccessible folders safely.
Remove every stored ownCloud Server Classic file version for one account or all users, and distinguish a full purge from retention-based expiry.
Trace an ownCloud mobile connection refusal by checking the server URL, phone network, HTTPS endpoint, and server logs in the right order.
Replace on-demand job runs with a systemd timer that runs ownCloud’s supported occ system:cron command every 15 minutes.
Trace the WebDAV request through Apache, Nginx, or a reverse proxy, then confirm ownCloud sync works with an authenticated PROPFIND test.
Fix Nextcloud’s missing outgoing address warning by setting its canonical URL and checking DNS, HTTPS, and reverse-proxy routing from the server itself.
Configure APCu and Redis over a local Unix socket for Nextcloud caching and file locking, with steps for current and older Nextcloud releases.
Check Nextcloud’s cron mode, repair its systemd service and timer, and verify that background jobs run after startup and every five minutes.