Having your Windows 11 screen orientation suddenly flipped upside down or sideways can disrupt your workflow, especially if you’re using multi-monitor switching. To fix this, Windows 11 has a few ways to rotate your screen back to normal or to your preferred orientation. Here’s how to rotate your Windows 11 screen.
Rotate Windows 11 screen using Display Settings
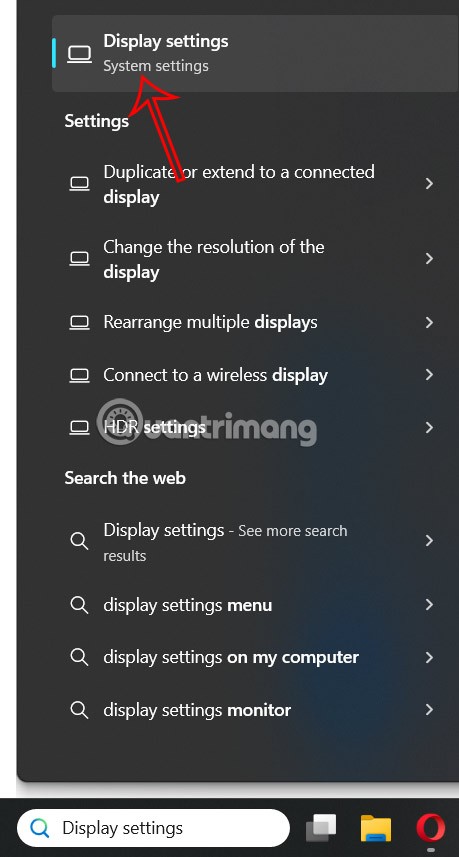
Step 1:
Type Display settings in the search bar and click on the search result.
Step 2:
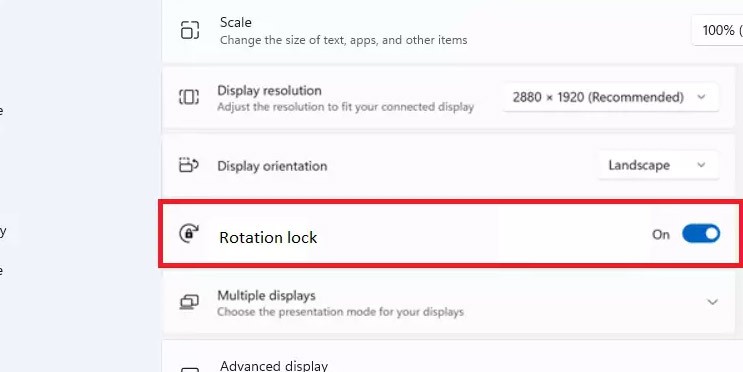
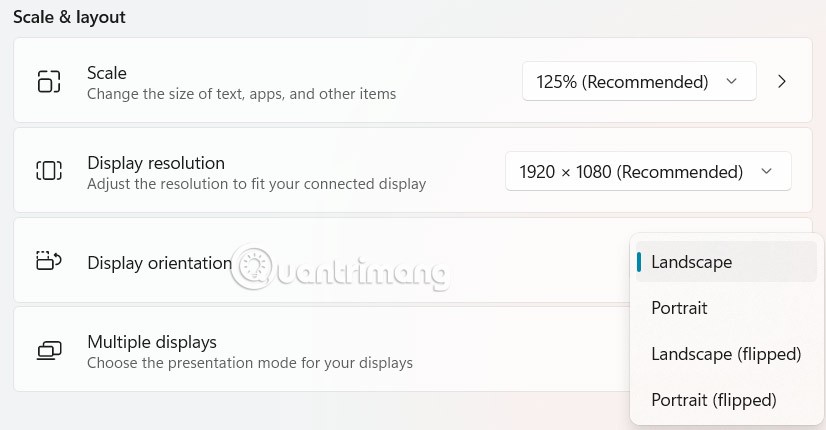
In the new interface displayed on the computer, users drag down below the Scale & layout section to adjust. At Display orientation we will adjust the rotation of the Windows 11 screen as desired.
- Landscape: Standard horizontal orientation.
- Portrait: Vertical orientation is useful for reading or coding.
- Landscape (flipped): Horizontal but flipped upside down.
- Portrait (flipped): Vertical but flipped upside down.
Rotate Windows 11 screen with shortcut keys
To rotate the screen instantly, use the following shortcuts:
- Ctrl + Alt + Up Arrow: Rotate the screen to normal landscape mode.
- Ctrl + Alt + Right Arrow: Rotate the screen to portrait mode.
- Ctrl + Alt + Down Arrow: Rotate the screen to landscape mode.
- Ctrl + Alt + Left Arrow: Rotate the screen to upside down portrait mode.
These shortcuts will change the screen orientation instantly.
How to enable automatic Windows 11 screen rotation
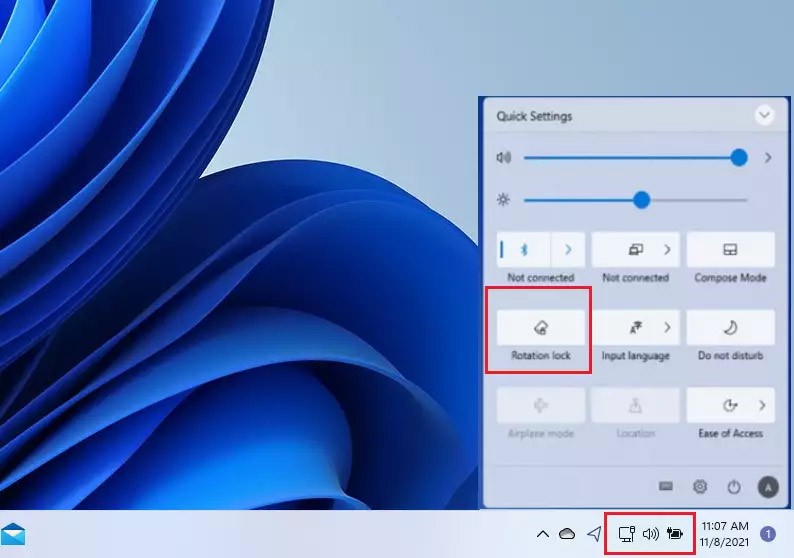
Press Windows + A to open Action Center , then click the rotation lock icon to rotate the computer screen.
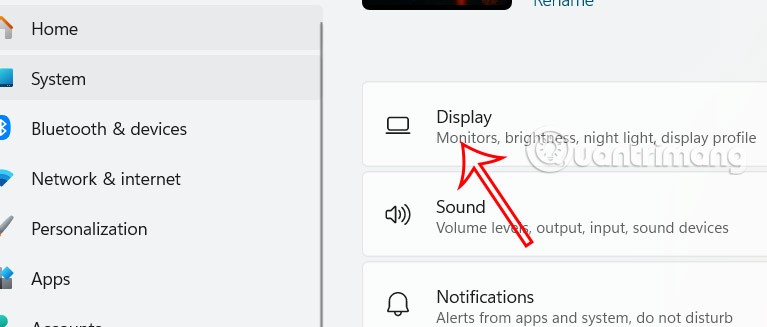
Or you press Windows + I key combination to open Settings. Click on System then select Display on the right side.
Look next to Scale and layout , scroll down and turn on Rotation lock .
